The neighborhood fall potluck was in three hours and I had completely forgotten. Everyone else would be bringing their signature dishes—the kind that take all day and involve obscure ingredients from specialty stores. My neighbor was bringing her famous bourbon pecan pie that she starts prepping the night before. Another friend had been smoking a brisket since 6 AM. I had a half-empty jug of apple cider in my fridge, some cinnamon that was probably past its prime, and roughly an hour before I needed to walk out the door.
Honestly, I almost just grabbed a bottle of wine from the pantry and called it a day. But then I spotted that apple cider and remembered a simple cake I’d made once last fall. I didn’t even have time to overthink it. I just started throwing things together, hoping for the best and expecting a mediocre result that I could at least smile through. Let me tell you, the panic was real. I was measuring flour with one hand and texting my husband to pick up a cake stand with the other.
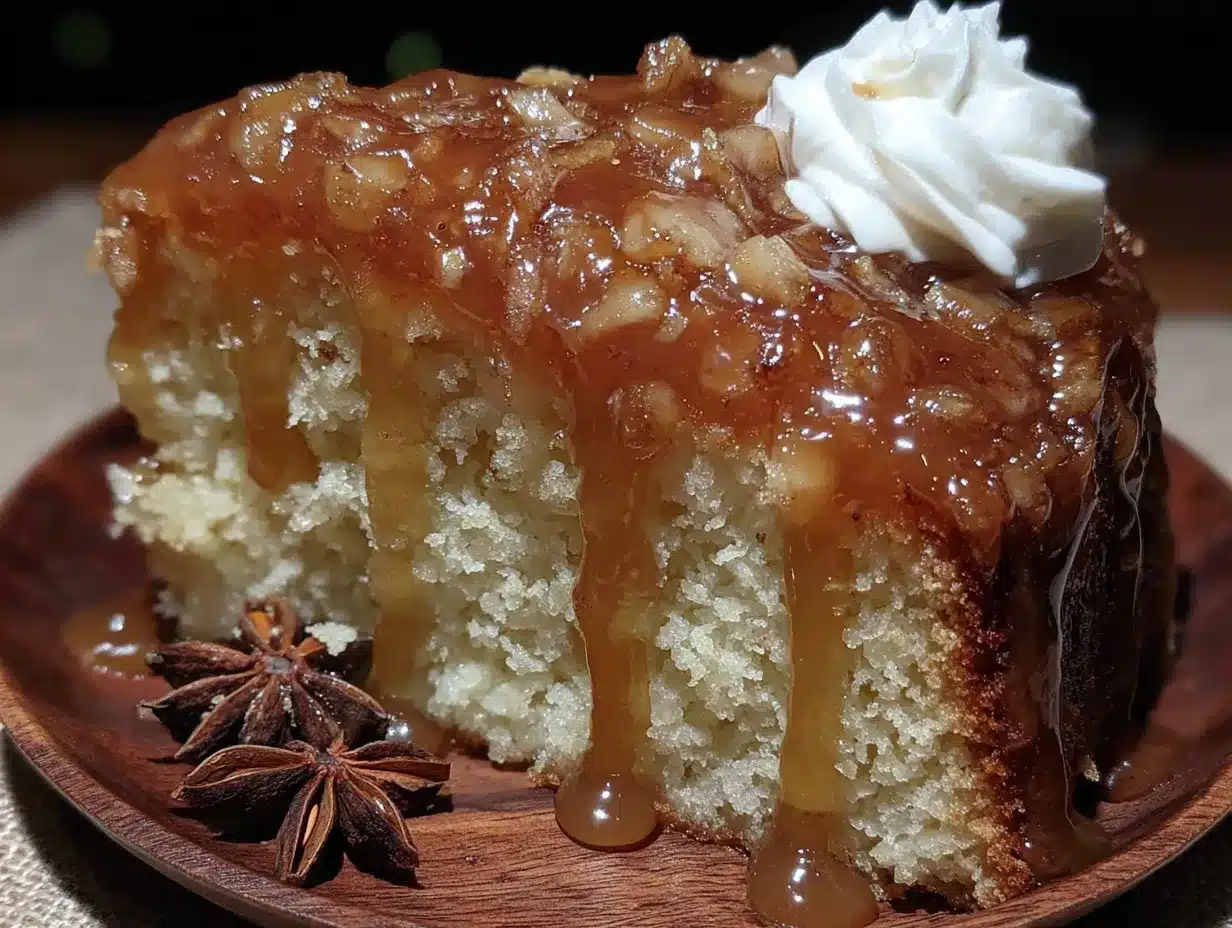
The cake came out of the oven looking—well, fine. A little plain, honestly. I whipped up a quick maple glaze, drizzled it on top while the cake was still warm, and crossed my fingers. I walked into that potluck feeling like I was showing up with a last-minute science project.
Here’s the part I still can’t quite believe: people went nuts for it. That simple, rushed, barely-planned cake got more compliments than the brisket. Someone asked for the recipe before they’d even finished their first slice. And the whole time I was standing there, trying to explain how easy it was, thinking you guys have no idea how close this thing came to never existing. Maybe you’ve been there—the “oops, I forgot” scramble that somehow turns into your best dish of the season. That’s this cake. It’s the happy accident you’ll keep making on purpose.
Why You’ll Love This Recipe
This Quick Cinnamon Apple Cider Cake with Maple Glaze isn’t just another dessert recipe you’ll bookmark and forget. It’s the kind of cake that becomes your secret weapon for every fall gathering, every weeknight craving, and every time you need to bring something to the table without losing your mind.
- Quick & Easy: From start to finish, this cake comes together in under an hour. The active prep time is about 15 minutes. I mean it—you can have this in the oven before you even finish your coffee.
- Simple Ingredients: You probably have 90% of these ingredients in your pantry right now. No trips to specialty stores. No hunting down obscure extracts. Just real, normal kitchen staples.
- Perfect for Weeknights: This is the dessert you make on a Tuesday when you need something sweet but don’t have the energy for a production. It’s also fancy enough for a holiday brunch or a dinner party.
- Crowd-Pleaser: I’ve served this to kids, picky eaters, and serious food people. It disappears every single time. The texture is tender, the cinnamon is warm without being overwhelming, and that maple glaze is pure magic.
- Unbelievably Delicious: The apple cider keeps the cake incredibly moist while the cinnamon gives it that cozy fall feeling. And the maple glaze? It seeps into the warm cake just enough to make every bite taste like autumn in cake form.
What makes this recipe different from every other apple cider cake out there is the texture. Most apple cider cakes can be dense or heavy. This one uses a simple technique of reducing the cider slightly to concentrate the flavor without making the batter too wet. The result is a cake that’s light, tender, and packed with apple flavor in every single bite. It’s comfort food that doesn’t weigh you down—the perfect ending to a busy day.
What Ingredients You Will Need
This recipe uses simple, wholesome ingredients to deliver that warm, spiced flavor without any fuss. Most of these are pantry staples, which makes this cake perfect for those “I need dessert now” moments.
For the Cake:
- 1 ½ cups apple cider (not apple juice—cider has more depth and a tangier flavor that makes the cake better)
- 2 cups all-purpose flour (spooned and leveled—don’t scoop straight from the bag or you’ll pack it too tight)
- 1 ½ teaspoons baking powder
- ½ teaspoon baking soda
- ½ teaspoon salt
- 2 teaspoons ground cinnamon (I prefer McCormick or Simply Organic for the strongest flavor)
- ¼ teaspoon ground nutmeg (freshly grated if you have it, but pre-ground works great too)
- ⅛ teaspoon ground cloves (optional, but adds that “something special” warmth)
- ½ cup unsalted butter, softened to room temperature (this is important—cold butter won’t cream properly)
- ¾ cup granulated sugar
- ¼ cup light brown sugar, packed
- 2 large eggs, room temperature
- 1 teaspoon vanilla extract
For the Maple Glaze:
- 1 cup powdered sugar, sifted (sifting prevents lumps—trust me on this one)
- 3 tablespoons pure maple syrup (not pancake syrup—the real stuff makes a huge difference in flavor)
- 1-2 tablespoons milk or heavy cream (start with 1 tablespoon and add more if needed)
- Pinch of salt (balances the sweetness)
Ingredient Tips: For the apple cider, look for fresh, unfiltered cider in the refrigerated section of your grocery store. It has more apple flavor than the shelf-stable stuff. If you only have apple juice, you can use it, but the cake won’t have quite the same tangy depth. For the maple syrup, I recommend grade A dark amber for the strongest maple flavor. If you’re dairy-free, you can substitute the butter with a good vegan butter brand like Miyoko’s or Earth Balance, and use oat milk in the glaze.
Equipment Needed
You don’t need a fancy kitchen to make this cake. Here’s what you’ll need:
- 9-inch round cake pan (or an 8×8 square pan works too—just adjust baking time by a few minutes)
- Medium saucepan (for reducing the apple cider)
- Large mixing bowl
- Medium mixing bowl
- Hand mixer or stand mixer (you can do this by hand, but a mixer makes it easier to get that light, fluffy texture)
- Whisk
- Rubber spatula
- Cooling rack
- Parchment paper (optional but recommended for easy removal)
Budget-Friendly Tip: If you don’t have a hand mixer, you can cream the butter and sugar by hand with a wooden spoon. It takes a bit more elbow grease, but it works. Just make sure your butter is truly soft to make it easier. For the cake pan, a metal pan works better than glass or ceramic for even browning. If all you have is a glass pan, reduce the oven temperature by 25°F to prevent over-browning.
Preparation Method
- Preheat your oven to 350°F (175°C). Grease your 9-inch round cake pan and line the bottom with a circle of parchment paper. This step isn’t strictly necessary, but it guarantees your cake comes out clean every time. I learned this the hard way after a few cakes that refused to leave their pans.
- Reduce the apple cider. Pour the 1 ½ cups of apple cider into your medium saucepan and bring it to a boil over medium-high heat. Once it’s boiling, reduce the heat to medium and let it simmer, stirring occasionally, until it reduces to about ½ cup. This usually takes 10-12 minutes. You’ll know it’s done when it’s slightly syrupy and smells intensely of apples. Set it aside to cool while you prepare the rest of the batter. Warning: Watch it carefully toward the end—it can go from perfectly reduced to burnt very quickly.
- Whisk the dry ingredients. In your medium bowl, whisk together the flour, baking powder, baking soda, salt, cinnamon, nutmeg, and cloves if using. This step aerates the flour and ensures the leavening agents are evenly distributed. No one wants a pocket of baking soda in their cake.
- Cream the butter and sugars. In your large mixing bowl, beat the softened butter, granulated sugar, and brown sugar together until light and fluffy, about 3-4 minutes. You’re looking for a pale, creamy mixture that’s increased in volume. Scrape down the sides of the bowl halfway through. Pro tip: If your butter isn’t soft enough, microwave it for 5-10 seconds, but don’t melt it. Melted butter won’t trap air the same way.
- Add the eggs and vanilla. Beat in the eggs one at a time, making sure each is fully incorporated before adding the next. Then add the vanilla extract and beat until combined. The mixture might look slightly curdled at this point—that’s totally normal, especially if your eggs were cold. Don’t panic.
- Alternate adding dry ingredients and reduced cider. With the mixer on low speed, add about one-third of the flour mixture, mixing until just combined. Then add half of the reduced apple cider, mixing until incorporated. Repeat with another third of flour, the remaining cider, and finally the last third of flour. Mix until just combined—overmixing at this stage will make your cake tough. Sensory cue: The batter should be thick, smooth, and smell incredibly like cinnamon and apples.
- Pour and spread the batter. Use your rubber spatula to scrape the batter into the prepared cake pan. Spread it evenly to the edges. The batter will be thick, so take your time to smooth the top. Give the pan a gentle tap on the counter to release any air bubbles.
- Bake. Place the pan in the center of the oven and bake for 30-35 minutes. Start checking at 28 minutes if your oven runs hot. The cake is done when a toothpick inserted into the center comes out clean or with just a few moist crumbs. The top should be golden brown and spring back when lightly pressed. Warning: Don’t open the oven door for the first 20 minutes of baking—the temperature fluctuation can cause the cake to sink in the middle.
- Cool the cake. Let the cake cool in the pan for 10 minutes. Then run a knife around the edges, invert onto a cooling rack, and remove the parchment paper. Let it cool completely before glazing. Personal tip: I usually let it cool for about 20-25 minutes and then drizzle the glaze on while the cake is still slightly warm. The glaze seeps in a little and creates this amazing almost-custard-like layer on top.
- Make the maple glaze. While the cake cools, whisk together the sifted powdered sugar, maple syrup, and 1 tablespoon of milk or cream. Whisk until smooth. If the glaze is too thick to drizzle, add another tablespoon of milk. If it’s too thin, add a bit more powdered sugar. You want it thick enough to coat the back of a spoon but thin enough to drizzle.
- Glaze and serve. Drizzle the glaze over the cooled cake. Let it set for about 10 minutes before slicing. The glaze will harden slightly, creating a beautiful, crackly top. Slice and serve.
Cooking Tips & Techniques
Here are some things I’ve learned through trial and error (and a few cakes that didn’t make the cut):
Don’t skip reducing the cider. I know it’s an extra step, and on a busy weeknight, every minute counts. But reducing the cider concentrates the apple flavor and removes excess liquid that would make your cake soggy. If you’re in a real hurry, you can use ½ cup of store-bought apple cider concentrate instead. Just make sure it’s 100% apple cider concentrate, not a juice blend.
Room temperature ingredients matter. I used to think this was one of those “food blogger myths” until I tested it myself. Cold eggs and cold butter don’t emulsify properly. You end up with a greasy, dense cake instead of a light, tender one. To quickly bring eggs to room temperature, place them in a bowl of warm water for 5 minutes. For butter, cut it into small cubes and let it sit on the counter for 15 minutes.
The toothpick test isn’t foolproof. Sometimes a toothpick comes out clean but the cake is still slightly underdone in the center. I’ve started using an instant-read thermometer instead. The cake is done when the internal temperature reaches 200-205°F (93-96°C). This method is especially helpful if you’re using a glass or ceramic pan, which can throw off baking times.
One mistake I made was overmixing the batter because I was distracted by my kids. The cake came out tough and almost rubbery. Now I set a timer and mix on low speed for exactly 30 seconds after the last flour addition. It’s made a huge difference in the texture.
For the glaze, let it set properly. I’ve been too impatient and poured the glaze on a hot cake, only to watch it slide right off and pool on the plate. Let the cake cool for at least 20 minutes. The residual warmth will help the glaze set without it all running off.
Variations & Adaptations
This recipe is forgiving enough to handle all kinds of tweaks. Here are some variations I’ve tried and loved:
Gluten-Free Version: Substitute the all-purpose flour with a 1:1 gluten-free baking flour blend. I’ve had good results with Bob’s Red Mill 1-to-1 Baking Flour. Add an extra tablespoon of milk to the batter since gluten-free flours tend to absorb more liquid. The texture will be slightly more delicate, but the flavor is still fantastic.
Dairy-Free Version: Use vegan butter in place of regular butter, and substitute the milk in the glaze with oat milk or almond milk. I’ve tried this with Miyoko’s vegan butter and it worked beautifully. The cake was slightly less tender but still delicious.
Apple Cider Donut Cake: This is my personal favorite variation. Add ½ teaspoon of apple pie spice to the dry ingredients, and after glazing, toss the top with a mixture of cinnamon and sugar. It tastes exactly like those apple cider donuts from the orchard, but in cake form. I made this for a fall brunch and people couldn’t stop talking about it.
Bundt Pan Version: You can bake this in a greased and floured 10-cup bundt pan. Increase the baking time to 40-45 minutes. The glaze will drip beautifully down the sides. This version looks impressive with almost zero extra effort.
Spiced Maple Walnut Version: Fold in ½ cup of toasted, chopped walnuts into the batter before baking. The nuts add a lovely crunch and pair perfectly with the maple glaze. Toast them first in a dry skillet over medium heat for 3-4 minutes to bring out their flavor.
Less Sweet Version: Reduce the granulated sugar to ½ cup and skip the brown sugar. The cake will be less sweet, but the apple cider and cinnamon flavors will shine through more. The glaze still adds sweetness, so you can also reduce the powdered sugar in the glaze to ¾ cup if you prefer.
Serving & Storage Suggestions
This cake is delicious at any temperature, but here’s how to serve it for the best experience:
Serve warm or at room temperature. If you’re serving it the same day, let it cool for about 20 minutes after glazing, then slice and serve. The texture is most tender when the cake is still slightly warm. If you’re serving it the next day, let it come to room temperature for about 30 minutes before slicing.
Pair it with something creamy. A dollop of lightly sweetened whipped cream or a scoop of vanilla ice cream takes this cake to another level. The cold creaminess against the warm spiced cake is pure comfort. For a dairy-free option, coconut whipped cream works beautifully.
Drink pairings: A hot cup of coffee or chai latte is perfect with this cake. For a cozy evening, try it with a warm mug of spiced apple cider (double down on the apple theme!). If you’re serving it for brunch, a glass of cold milk is honestly the best choice.
Storage: Store the cake in an airtight container at room temperature for up to 3 days. The glaze will soften slightly over time, but the cake stays moist. If your kitchen is warm, you can store it in the refrigerator, but let slices come to room temperature before serving for the best texture.
Freezing: This cake freezes beautifully. Wrap the unglazed cake tightly in plastic wrap, then in a layer of aluminum foil. Freeze for up to 3 months. When you’re ready to serve, thaw it overnight in the refrigerator, bring it to room temperature, and then make the glaze fresh. I always freeze one cake during apple cider season so I can pull it out for unexpected guests.
Flavor development: Honestly, this cake tastes even better on day two. The spices meld together and the apple flavor becomes more pronounced. If you can resist eating it all on day one, you’re in for a treat the next day.
Nutritional Information & Benefits
Here’s the estimated nutritional breakdown for one slice of cake (based on 10 slices, with glaze):
- Calories: 310
- Total Fat: 12g
- Saturated Fat: 7g
- Cholesterol: 55mg
- Sodium: 210mg
- Total Carbohydrates: 48g
- Dietary Fiber: 1g
- Sugars: 32g
- Protein: 4g
Health highlights: While this is definitely a treat, there are some redeeming qualities. Apple cider contains antioxidants called polyphenols, which may help reduce oxidative stress in the body. Cinnamon has anti-inflammatory properties and can help regulate blood sugar levels. Plus, using real maple syrup provides small amounts of minerals like zinc and manganese—far better than artificial flavorings.
Dietary considerations: This recipe contains gluten, dairy, and eggs. For gluten-free and dairy-free options, see the variations section above. This cake is nut-free as written, making it a safe option for school events or gatherings where nut allergies are a concern. It’s also vegetarian-friendly.
My perspective: I believe in balance. This cake isn’t health food, and it doesn’t pretend to be. But using real ingredients—actual apple cider, real maple syrup, butter—means you’re getting something made from scratch with love. That has its own kind of nutritional value, if you ask me. Enjoy a slice, savor every bite, and don’t feel guilty about it.
Conclusion
This Quick Cinnamon Apple Cider Cake with Maple Glaze has become my go-to fall recipe for a reason. It’s the dessert that proves you don’t need hours in the kitchen or a long list of fancy ingredients to make something truly memorable. It’s simple, it’s forgiving, and it delivers every single time.
I love that this cake fits into real life. You can make it on a busy Tuesday when you’re craving something cozy. You can throw it together for a last-minute gathering and still get compliments. You can customize it with whatever you have on hand. It’s not precious or fussy—it’s just really, really good.
I hope you give this recipe a try. Make it for your family on a crisp fall evening. Bring it to your next potluck or holiday dinner. Make it just because you deserve a slice of something warm and sweet. And when you do, I’d love to hear about it. Leave a comment below and let me know how it turned out—did you try any variations? Did it disappear as fast as mine always does? Your stories and photos make my day, and they help other readers discover just how good this cake really is. Happy baking, friends!
Frequently Asked Questions
Can I use apple juice instead of apple cider?
You can, but the flavor won’t be as rich. Apple juice is sweeter and less tangy than cider, so the cake will be slightly less complex. If you’re in a pinch, reduce the apple juice the same way you would cider, and add an extra pinch of cinnamon to compensate for the missing depth.
Why did my cake sink in the middle?
This usually happens for one of three reasons: the oven door was opened too early, the leavening agents (baking powder or baking soda) were expired, or the batter was overmixed. Make sure your baking powder and baking soda are fresh—they lose potency after about 6 months. And resist the urge to peek in the oven for the first 20 minutes.
Can I make this cake ahead of time?
Absolutely. You can bake the cake a day ahead and store it wrapped tightly at room temperature. Make the glaze fresh on the day you plan to serve it for the best appearance. The cake actually tastes even better on day two as the flavors have time to meld together.
How do I know when the apple cider is reduced enough?
The reduced cider should measure about ½ cup and have a slightly syrupy consistency. It will coat the back of a spoon and smell intensely of apples. If you’re unsure, pour it into a liquid measuring cup to check the volume. Remember that it will thicken slightly as it cools.
Can I double this recipe?
Yes! This recipe doubles beautifully. Use a 9×13 inch pan and bake for 35-40 minutes. You’ll need to double the glaze ingredients as well. The cake will be slightly thinner than the round version, but it’s perfect for feeding a crowd. I’ve done this for office parties and it always disappears.
Pin This Recipe!
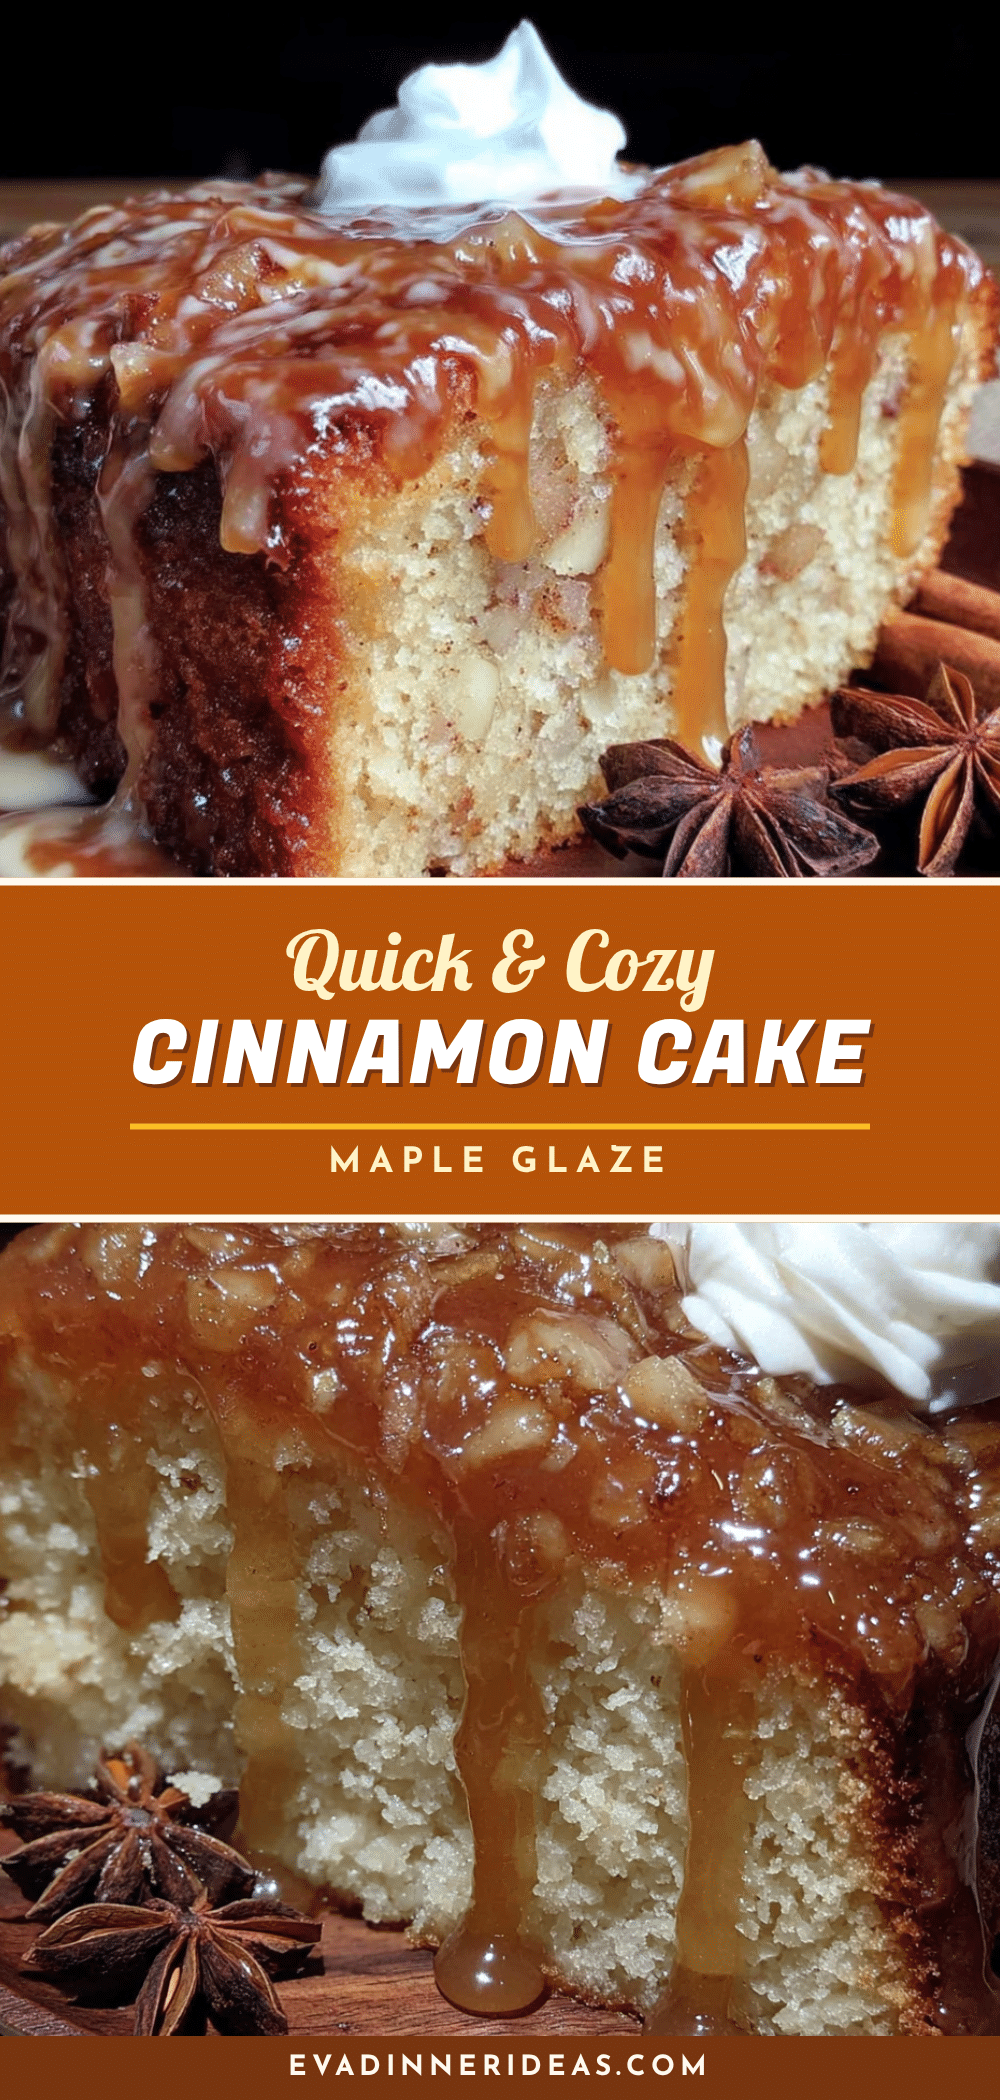
Quick Cinnamon Apple Cider Cake with Easy Maple Glaze
A tender, moist apple cider cake with warm cinnamon spice and a sweet maple glaze. This easy, one-bowl recipe comes together in under an hour and is perfect for fall gatherings, weeknight desserts, or any time you need a quick, crowd-pleasing treat.
- Prep Time: 15 minutes
- Cook Time: 30 minutes
- Total Time: 45 minutes
- Yield: 10 servings 1x
- Category: Dessert
- Cuisine: American
Ingredients
- 1 ½ cups apple cider (not apple juice)
- 2 cups all-purpose flour (spooned and leveled)
- 1 ½ teaspoons baking powder
- ½ teaspoon baking soda
- ½ teaspoon salt
- 2 teaspoons ground cinnamon
- ¼ teaspoon ground nutmeg
- ⅛ teaspoon ground cloves (optional)
- ½ cup unsalted butter, softened to room temperature
- ¾ cup granulated sugar
- ¼ cup light brown sugar, packed
- 2 large eggs, room temperature
- 1 teaspoon vanilla extract
- 1 cup powdered sugar, sifted
- 3 tablespoons pure maple syrup (not pancake syrup)
- 1–2 tablespoons milk or heavy cream
- Pinch of salt
Instructions
- Preheat your oven to 350°F (175°C). Grease a 9-inch round cake pan and line the bottom with a circle of parchment paper.
- Reduce the apple cider: Pour 1 ½ cups apple cider into a medium saucepan and bring to a boil over medium-high heat. Reduce heat to medium and simmer, stirring occasionally, until reduced to about ½ cup (10-12 minutes). Set aside to cool.
- Whisk dry ingredients: In a medium bowl, whisk together flour, baking powder, baking soda, salt, cinnamon, nutmeg, and cloves (if using).
- Cream butter and sugars: In a large mixing bowl, beat softened butter, granulated sugar, and brown sugar together until light and fluffy, about 3-4 minutes. Scrape down the sides of the bowl.
- Add eggs and vanilla: Beat in eggs one at a time, ensuring each is fully incorporated. Add vanilla extract and beat until combined.
- Alternate adding dry ingredients and reduced cider: With mixer on low speed, add about one-third of the flour mixture, mixing until just combined. Add half of the reduced apple cider, mixing until incorporated. Repeat with another third of flour, remaining cider, and final third of flour. Mix until just combined—do not overmix.
- Pour and spread batter: Use a rubber spatula to scrape batter into the prepared pan. Spread evenly. Tap the pan gently on the counter to release air bubbles.
- Bake: Place pan in the center of the oven and bake for 30-35 minutes, until a toothpick inserted into the center comes out clean or with a few moist crumbs. Do not open the oven door for the first 20 minutes.
- Cool the cake: Let cake cool in the pan for 10 minutes. Run a knife around the edges, invert onto a cooling rack, and remove parchment paper. Let cool completely before glazing (or about 20-25 minutes for a slightly warm cake).
- Make the maple glaze: In a small bowl, whisk together sifted powdered sugar, maple syrup, and 1 tablespoon milk or cream until smooth. Add more milk if too thick, or more powdered sugar if too thin. The glaze should coat the back of a spoon but be drizzle-able.
- Glaze and serve: Drizzle glaze over cooled cake. Let set for about 10 minutes before slicing. Slice and serve.
Notes
Don’t skip reducing the cider—it concentrates the apple flavor and prevents a soggy cake. Room temperature ingredients are key for proper emulsification. For a gluten-free version, use a 1:1 gluten-free baking flour blend. For dairy-free, use vegan butter and oat milk. The cake tastes even better on day two. Store in an airtight container at room temperature for up to 3 days. Freeze unglazed cake for up to 3 months.
Nutrition
- Serving Size: 1 slice
- Calories: 310
- Sugar: 32
- Sodium: 210
- Fat: 12
- Saturated Fat: 7
- Carbohydrates: 48
- Fiber: 1
- Protein: 4
Keywords: apple cider cake, cinnamon cake, maple glaze, fall dessert, easy cake, quick dessert, apple cake, potluck dessert


