There used to be a tiny bakery tucked behind a vintage bookstore in Portland called Tandem that made the most incredible brown butter pumpkin snickerdoodles. When they closed their doors three years ago—just a handwritten sign on the window one Tuesday—I honestly felt a little lost. I mean, I’d stop there every single weekend for one of those cookies and a black coffee, and suddenly that ritual was just… gone.
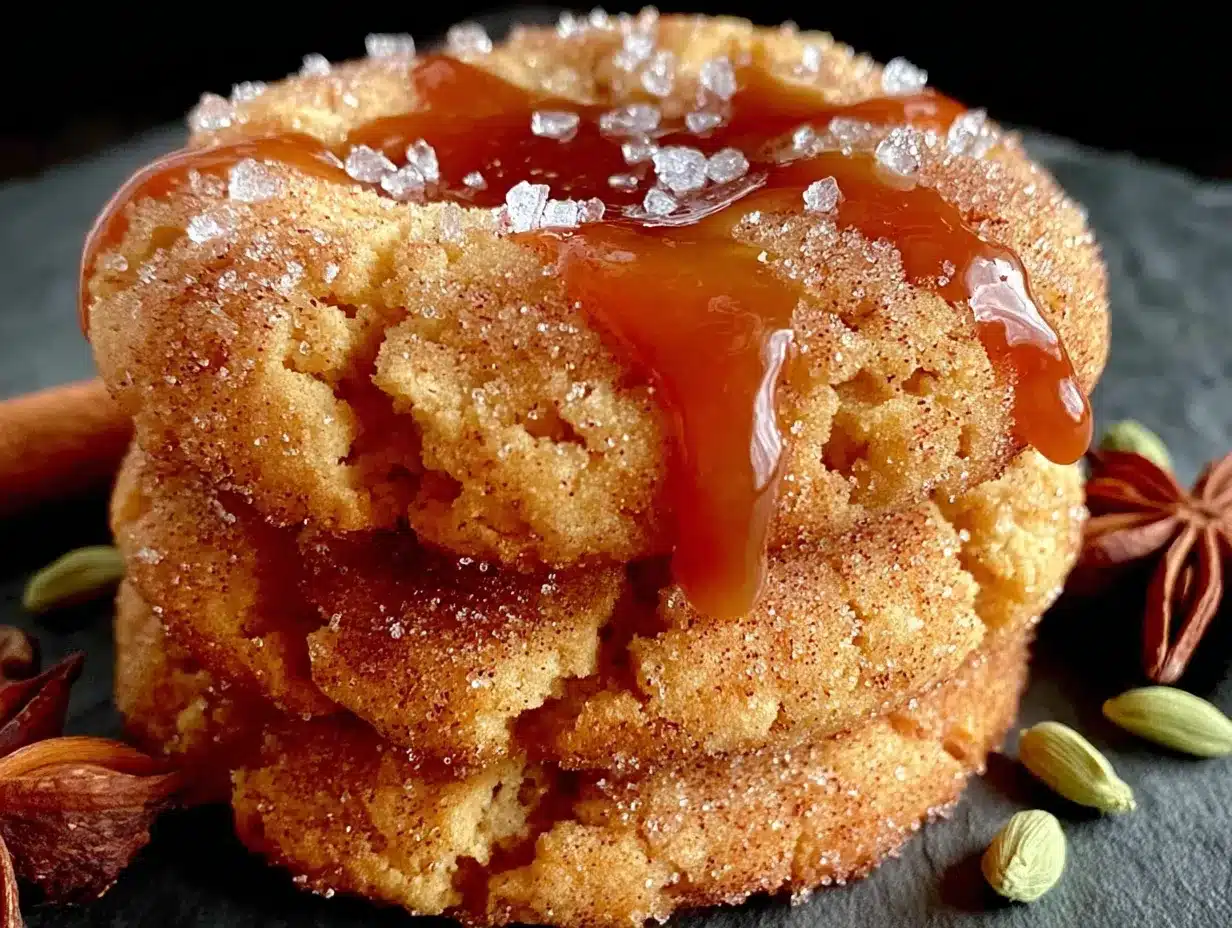
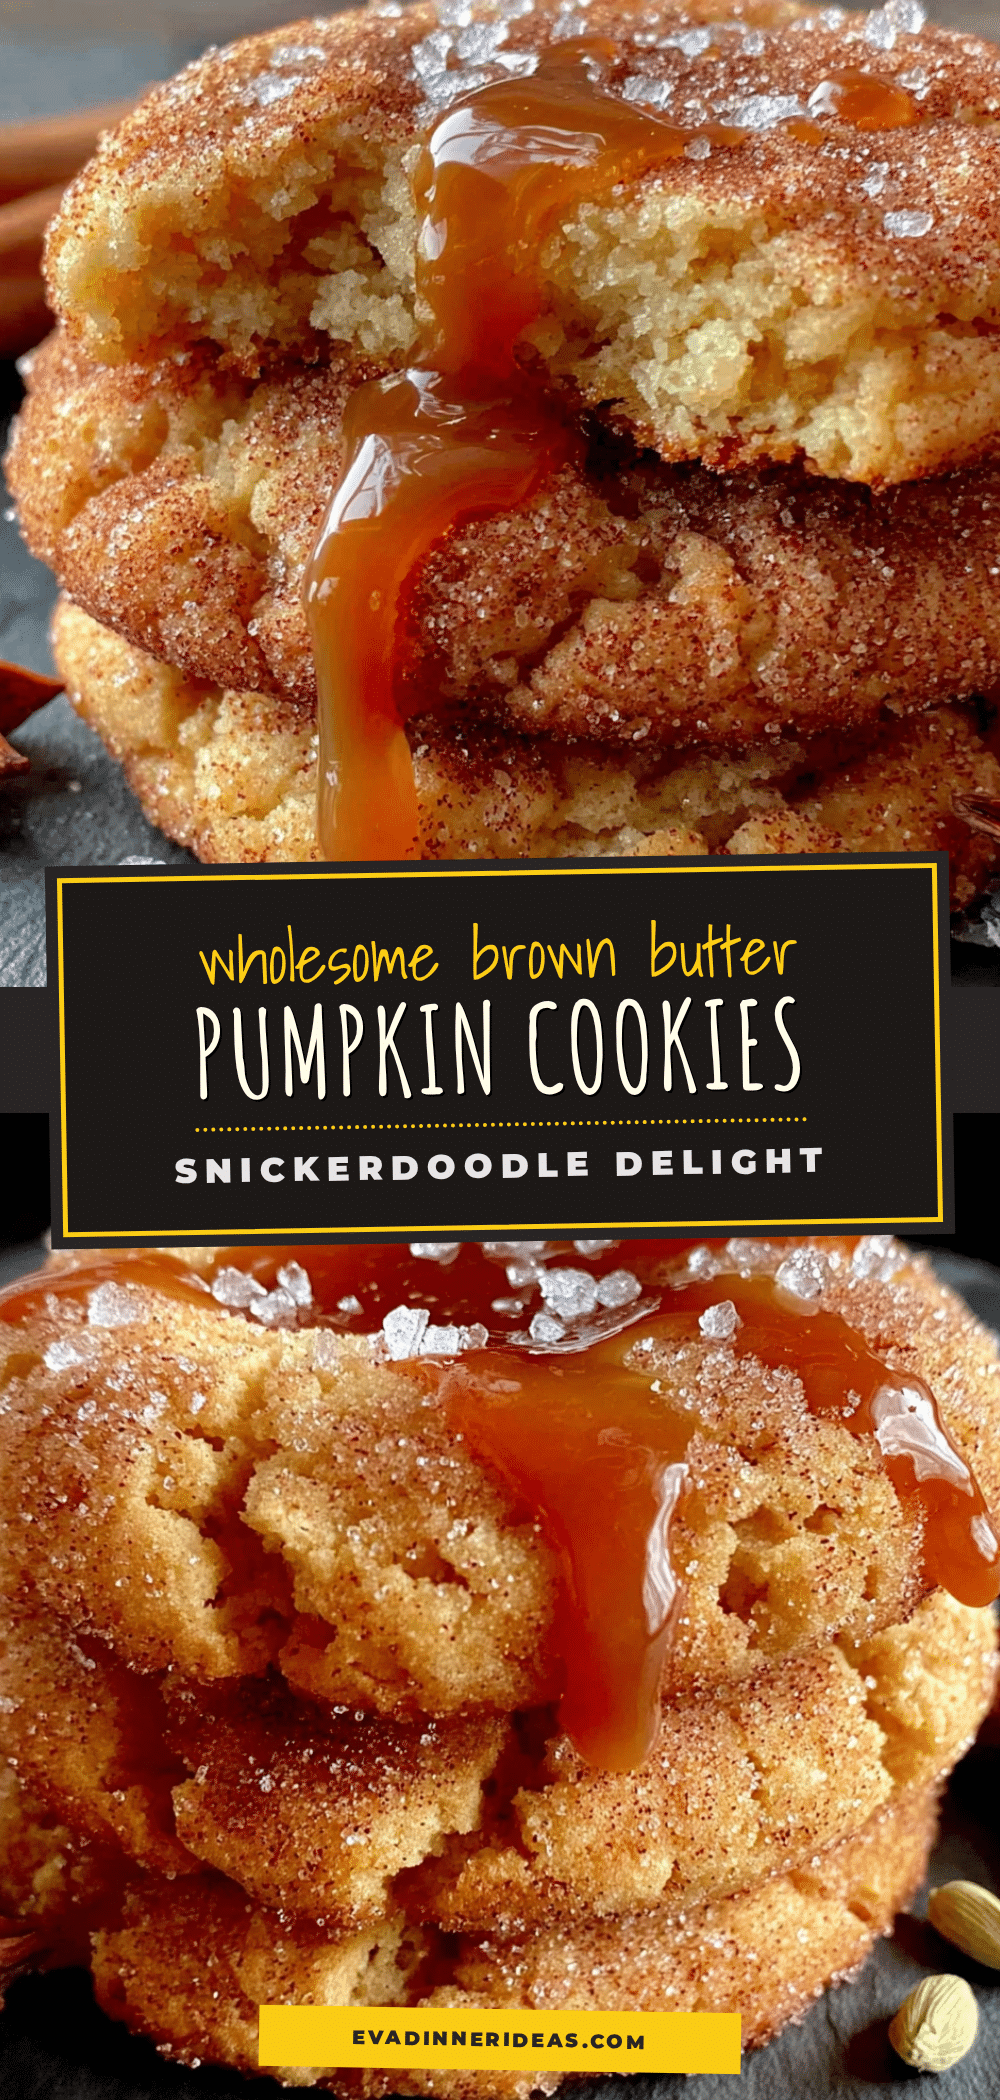
After twelve tries—some so flat they were basically pumpkin-flavored tortillas, others that crumbled into dust the second you looked at them—I finally got it. These Brown Butter Pumpkin Snickerdoodle Cookies are the exact replica of that warm, spiced, slightly nutty cookie I’ve been chasing. The texture is that perfect middle ground: soft and chewy in the center with just a little crackle on the outside from the cinnamon-sugar coating.
The secret, let me tell you, is browning the butter first. It sounds fancy but it’s honestly one of those kitchen tricks that takes maybe five extra minutes and completely transforms the flavor. That nutty, toasty depth paired with pumpkin and warm fall spices? It’s the kind of cookie that makes you close your eyes after the first bite. Maybe you’ve been there—that feeling of trying to recreate something from a beloved spot that disappeared? This recipe is for you.
Why You’ll Love This Recipe
These aren’t your average pumpkin cookies. After testing this recipe more times than I care to admit, I can say with confidence that every single detail here has been dialed in for maximum flavor and that perfect snickerdoodle texture. Here’s why these cookies deserve a permanent spot in your baking rotation:
- Quick & Easy : From start to finish, these come together in about 40 minutes. The dough needs a quick chill (30 minutes minimum), but the active prep time is minimal.
- Simple Ingredients : Nothing weird here. You probably have most of these pantry staples already—flour, sugar, butter, eggs, pumpkin puree, and cinnamon.
- Perfect for Fall Baking : These are made for cozy afternoons, Thanksgiving dessert tables, or just when you want your kitchen to smell like autumn incarnate.
- Crowd-Pleaser : I brought a batch to a neighbor’s potluck last month, and three different people asked for the recipe before I even left. Kids love them, adults love them—they’re universally adored.
- Unbelievably Delicious : The brown butter adds this incredible nutty richness that regular snickerdoodles just don’t have. Combined with pumpkin and a cinnamon-sugar coating, it’s next-level comfort food.
What makes this recipe different from the dozens of pumpkin cookie recipes out there is the technique. Browning the butter isn’t just for show—it actually changes the flavor chemistry, adding compounds that give the cookies a deeper, more complex taste. And the balance here is key: enough pumpkin for moisture and flavor, but not so much that the cookies turn into sad little puddles. This is my best version, perfected through trial and error so you don’t have to go through it yourself.
This recipe is the kind that makes you feel good about baking from scratch—wholesome ingredients, real butter, honest flavors. It’s comfort food reimagined: a little healthier than the original (we’re using whole wheat pastry flour for some fiber!), faster than you’d expect, but with the same soul-soothing satisfaction that makes you reach for a second cookie before you’ve finished the first.
What Ingredients You Will Need
This recipe uses simple, wholesome ingredients to deliver that perfect snickerdoodle experience with a cozy pumpkin twist. Most of these are pantry staples, which makes this an easy last-minute baking project when the fall mood strikes.
For the Cookies
- 1 cup unsalted butter (2 sticks) — you’ll be browning this, so don’t skip this step. I prefer Kerrygold for its richer flavor, but any good quality unsalted butter works.
- 1 cup granulated sugar — adds sweetness and helps create that slightly crackly top.
- 1/2 cup packed light brown sugar — adds moisture and a deeper, molasses-like sweetness that pairs beautifully with pumpkin.
- 1/2 cup pumpkin puree — not pumpkin pie filling! Make sure you grab plain pumpkin puree. Libby’s is my go-to brand for consistent texture.
- 1 large egg — room temperature, which helps it incorporate more smoothly into the brown butter mixture.
- 2 teaspoons vanilla extract — pure vanilla extract makes a difference here, but good quality imitation works in a pinch.
- 2 cups whole wheat pastry flour — this gives the cookies a lovely tender crumb with a little extra fiber. You can substitute all-purpose flour if you prefer.
- 1 teaspoon baking soda — helps the cookies spread just the right amount.
- 1/2 teaspoon cream of tartar — this is the secret to that classic snickerdoodle tang. Don’t skip it!
- 1/2 teaspoon salt — fine sea salt is best. It balances the sweetness and enhances all the warm spices.
- 2 teaspoons ground cinnamon — the star spice here. Use a good quality cinnamon like Saigon or Ceylon for the best flavor.
- 1 teaspoon pumpkin pie spice — or make your own blend: 1/2 teaspoon cinnamon, 1/4 teaspoon ginger, 1/4 teaspoon nutmeg, and a pinch of cloves.
- 1/4 teaspoon ground cardamom — optional but highly recommended. It adds this subtle floral note that makes these cookies taste fancy.
For the Cinnamon-Sugar Coating
- 1/4 cup granulated sugar
- 1 tablespoon ground cinnamon
- Pinch of nutmeg — freshly grated if you have it, for a little extra warmth.
When selecting your pumpkin puree, look for cans that don’t have any added spices or sweeteners. You want pure pumpkin. And if you’re feeling ambitious, you can roast and puree your own sugar pumpkin—just make sure to squeeze out some of the excess moisture with a clean kitchen towel before using it in this recipe.
Equipment Needed
You don’t need a fancy kitchen to make these Brown Butter Pumpkin Snickerdoodle Cookies, but a few key tools will make the process smoother. Here’s what you’ll need:
- Light-colored saucepan — this is crucial for browning butter! A dark pan makes it hard to see when the butter solids turn that perfect golden brown. I learned this the hard way after burning three batches.
- Mixing bowls — one large, one medium. Glass or stainless steel works great.
- Whisk — for combining dry ingredients and smoothing out the wet mixture.
- Rubber spatula — for scraping every last bit of that glorious brown butter out of the pan.
- Electric mixer — a hand mixer or stand mixer with the paddle attachment works well. You can mix by hand too, but your arm might get a workout.
- Baking sheets — two standard half-sheet pans. Line them with parchment paper for easy cleanup.
- Cookie scoop — a 1.5-tablespoon scoop gives you consistent cookies that bake evenly. Worth the investment if you bake often.
- Cooling rack — lets air circulate so your cookies cool properly without getting soggy bottoms.
- Small bowl — for the cinnamon-sugar coating mixture.
If you don’t have a cookie scoop, you can use two spoons to portion the dough. And parchment paper is your best friend here—it prevents sticking and makes cleanup a breeze. I’ve used silicone baking mats too, and they work well, but parchment gives me slightly more consistent browning.
Preparation Method
Let’s make these cookies! I’ve broken this down step by step so you can follow along easily. The key to success here is not rushing the butter-browning step and giving the dough enough time to chill.
- Brown the butter. Cut the butter into tablespoon-sized pieces and add them to your light-colored saucepan. Melt over medium heat, stirring occasionally with a rubber spatula. The butter will foam up, then the foam will subside, and you’ll start to see little brown specks forming at the bottom. This takes about 5-7 minutes. Keep a close eye on it—the butter goes from perfectly browned to burnt very quickly. When it smells nutty and the solids are a warm amber color, remove it from the heat immediately. Pour the browned butter into a heatproof bowl (including all those lovely brown bits!) and let it cool for about 10 minutes.
- Mix the wet ingredients. In a large mixing bowl, combine the cooled brown butter, granulated sugar, and brown sugar. Beat with an electric mixer on medium speed until well combined, about 1 minute. Add the pumpkin puree, egg, and vanilla extract, and mix until smooth. The mixture might look a little separated at first—that’s normal. Keep mixing until it comes together into a smooth, glossy batter.
- Combine the dry ingredients. In a separate medium bowl, whisk together the whole wheat pastry flour, baking soda, cream of tartar, salt, cinnamon, pumpkin pie spice, and cardamom (if using). Make sure everything is evenly distributed—nobody wants a pocket of baking soda in their cookie!
- Combine wet and dry. Gradually add the dry ingredients to the wet mixture, mixing on low speed just until combined. Stop as soon as you don’t see any more streaks of flour. Overmixing at this stage will make your cookies tough. The dough will be soft and slightly sticky—that’s exactly what you want.
- Chill the dough. Cover the bowl with plastic wrap and refrigerate for at least 30 minutes, or up to 24 hours. This step is non-negotiable! Chilling solidifies the brown butter and allows the flavors to meld together. If you skip this, your cookies will spread into thin, greasy pancakes. Trust me, I’ve made that mistake.
- Preheat and prepare. When you’re ready to bake, preheat your oven to 350°F (175°C). Line two baking sheets with parchment paper. In a small bowl, mix together the coating ingredients: 1/4 cup granulated sugar, 1 tablespoon cinnamon, and a pinch of nutmeg.
- Shape and coat the cookies. Using a 1.5-tablespoon cookie scoop, portion out the chilled dough. Roll each portion into a smooth ball between your palms. Drop each ball into the cinnamon-sugar mixture and roll it around until completely coated. Place the coated dough balls on the prepared baking sheets, spacing them about 2 inches apart. They will spread, so give them room.
- Bake. Bake one sheet at a time in the preheated oven for 10-12 minutes. The cookies should look puffed and set around the edges, but still slightly soft in the center. They will continue to set as they cool. For softer, chewier cookies, pull them out at 10 minutes. For slightly crispier edges, go to 12 minutes.
- Cool. Let the cookies cool on the baking sheet for 5 minutes. This allows them to firm up enough to transfer without breaking. Then, carefully move them to a wire cooling rack to cool completely. The smell in your kitchen right now is absolutely incredible—enjoy it!
Cooking Tips & Techniques
After making these Brown Butter Pumpkin Snickerdoodle Cookies more times than I can count, I’ve picked up a few tricks that make a real difference. Let me share what I’ve learned the hard way so you don’t have to.
Watch that butter like a hawk. I cannot stress this enough. The first time I tried browning butter, I got distracted by my phone and ended up with black, acrid-smelling butter that I had to throw away. Stand by the stove, keep stirring, and watch for that moment when the foam clears and the solids turn golden. The whole process takes about 5 minutes, but it feels faster than you think. If you see smoke, you’ve gone too far.
Room temperature ingredients matter. I know it’s tempting to use cold eggs straight from the fridge, but they won’t emulsify properly with the brown butter. Take your egg out 30 minutes before you start baking. Same goes for the pumpkin puree—let it sit out for a bit so it’s not refrigerator-cold.
Don’t skip the cream of tartar. This is what gives snickerdoodles their signature tangy flavor and chewy texture. If you don’t have it, you can substitute with 1 teaspoon of lemon juice or white vinegar, but honestly, just buy some cream of tartar—it keeps forever and you’ll use it for meringues and other cookies too.
Chill the dough thoroughly. I know waiting is hard when you want cookies now, but this step is crucial. The brown butter stays soft even when chilled, so the dough needs that time in the fridge to firm up. If you’re in a rush, you can pop the dough in the freezer for 15 minutes instead of 30 in the fridge, but keep an eye on it—you don’t want it frozen solid.
Bake one sheet at a time. I know it takes longer, but putting two sheets in the oven at once leads to uneven baking. The top sheet will brown faster, and the bottom sheet won’t get enough heat. Your patience will be rewarded with perfectly baked cookies.
Variations & Adaptations
One of the best things about this recipe is how adaptable it is. Here are some variations I’ve tried and loved:
Gluten-Free Version: Swap the whole wheat pastry flour with a good 1:1 gluten-free baking flour blend. I’ve had great results with Bob’s Red Mill 1:1 Baking Flour. The texture will be slightly more delicate, but the flavor is still fantastic. Add an extra tablespoon of flour if the dough seems too sticky.
Dairy-Free Option: Use vegan butter sticks (not margarine) for browning. Miyoko’s European Style Cultured Vegan Butter works beautifully—it browns just like regular butter. The flavor will be slightly different, but still delicious.
Spice It Up: If you love a warm, spicy cookie, add 1/4 teaspoon of ground ginger and a pinch of black pepper to the dry ingredients. The pepper doesn’t make the cookies spicy-hot—it just enhances the other spices in a subtle way.
Chocolate Lover’s Twist: Fold in 1/2 cup of dark chocolate chips or chopped dark chocolate after mixing the dough. The bitterness of dark chocolate pairs beautifully with the sweet, spiced cookie base. I tried this on a whim one rainy afternoon, and it was a game-changer.
Maple Glaze Variation: For an extra-special treat, whisk together 1/2 cup powdered sugar, 2 tablespoons maple syrup, and 1 tablespoon milk. Drizzle over the cooled cookies. It takes them from “delicious” to “dessert table centerpiece.”
Serving & Storage Suggestions
These Brown Butter Pumpkin Snickerdoodle Cookies are best served slightly warm, when the brown butter flavor is at its peak and the cinnamon-sugar coating is still a little bit crackly. Let them cool for about 10 minutes after baking, then grab one and pour yourself a cup of coffee or a glass of cold milk. Pure perfection.
For a pretty presentation, arrange the cookies on a wooden board or a white platter. A sprinkle of flaky sea salt on top right when they come out of the oven adds a lovely finishing touch—it balances the sweetness and makes them look bakery-level fancy.
Storage: Keep these cookies in an airtight container at room temperature for up to 5 days. Place a piece of bread in the container to help maintain moisture—the cookies will absorb it and stay soft. Change the bread every other day.
Freezing: These cookies freeze beautifully! You can freeze the baked cookies in a single layer on a baking sheet, then transfer them to a freezer bag for up to 3 months. Thaw at room temperature for about 30 minutes before serving. Alternatively, freeze the unbaked dough balls on a baking sheet, then transfer to a freezer bag. You can bake them straight from frozen—just add 2-3 minutes to the baking time.
The flavors actually develop and deepen after a day or two in the fridge, so don’t be surprised if these cookies taste even better on day two. That is, if they last that long in your house!
Nutritional Information & Benefits
While these Brown Butter Pumpkin Snickerdoodle Cookies are definitely a treat, they do have some redeeming qualities that make them a slightly more wholesome choice than your average cookie.
| Nutrient | Per Cookie (approx.) |
|---|---|
| Calories | 145 |
| Total Fat | 8g |
| Saturated Fat | 5g |
| Carbohydrates | 18g |
| Sugar | 11g |
| Fiber | 2g |
| Protein | 2g |
The pumpkin puree adds a good dose of vitamin A and fiber, while the whole wheat pastry flour provides more fiber and nutrients than all-purpose flour. The cinnamon in the coating has anti-inflammatory properties and can help stabilize blood sugar levels. And hey, there’s real butter in here—no margarine or shortening—so you’re getting real food ingredients.
These cookies are vegetarian and can easily be made gluten-free or dairy-free with the substitutions mentioned above. If you’re watching your sugar intake, you can reduce the sugar by a quarter cup, though the texture will be slightly less tender.
I believe in enjoying treats in moderation, and these cookies fit perfectly into a balanced lifestyle. One cookie with your afternoon tea is a beautiful thing—it’s not about deprivation, it’s about making smart choices that still feel indulgent.
Conclusion
These Brown Butter Pumpkin Snickerdoodle Cookies are everything I loved about those long-gone Tandem bakery cookies and more. They’re warm, spiced, nutty, and perfectly soft—the kind of cookie that makes you slow down and actually taste what you’re eating. After all those failed attempts, I finally cracked the code, and I’m so excited to share it with you.
What I love most about this recipe is how forgiving it is. Even if your butter gets a little too dark or your dough chills a little too long, these cookies still come out delicious. They’re meant to be enjoyed, not stressed over. So get in that kitchen, brown some butter, and fill your home with the most incredible fall aroma.
I’d love to hear how these turn out for you! Did you try any of the variations? Did you add chocolate chips or go for the maple glaze? Drop a comment below and let me know—I read every single one, and your feedback helps me create better recipes. And if you loved these cookies, please share this post with a friend who needs a little autumn baking inspiration. Happy baking, friends!
Frequently Asked Questions
Can I make these cookies without browning the butter?
You can, but honestly, you’ll be missing out on the best part. Browning the butter adds a deep, nutty flavor that regular butter just can’t replicate. If you’re short on time, you can melt the butter without browning it, but the cookies won’t have that same complex, toasty taste that makes these so special.
Why did my cookies spread too much?
This usually happens for one of two reasons: the dough wasn’t chilled long enough, or too much butter made it into the dough. Make sure you chill the dough for at least 30 minutes, and when you brown the butter, don’t add extra butter to compensate for evaporation. The recipe is designed to work with the exact measurements given.
Can I use fresh pumpkin instead of canned?
Absolutely! Just make sure you roast and puree a sugar pumpkin (not a carving pumpkin), and then squeeze out as much moisture as possible using a clean kitchen towel. Fresh pumpkin puree has more water than canned, so this step is crucial to avoid soggy cookies.
How do I know when the brown butter is done?
Look for three signs: the butter will smell nutty and toasty, the foam will subside to reveal clear golden liquid, and you’ll see tiny brown specks at the bottom of the pan. As soon as you see those specks and smell that nutty aroma, pull it off the heat. If you see smoke, you’ve gone too far—start over.
Can I freeze the dough for later?
Yes! Scoop the dough into balls, roll them in the cinnamon-sugar coating, and place them on a baking sheet in the freezer for about an hour. Once frozen solid, transfer the dough balls to a freezer bag. When you’re ready to bake, just pop them on a lined baking sheet and add 2-3 minutes to the baking time. No need to thaw!
Pin This Recipe!
Perfect Brown Butter Pumpkin Snickerdoodles
These Brown Butter Pumpkin Snickerdoodle Cookies are the perfect fall treat—soft and chewy in the center with a crackly cinnamon-sugar coating, featuring nutty brown butter and warm pumpkin spices.
- Prep Time: 15 minutes
- Cook Time: 12 minutes
- Total Time: 40 minutes (plus 30 minutes chilling)
- Yield: 24 servings 1x
- Category: Dessert
- Cuisine: American
Ingredients
- 1 cup unsalted butter (2 sticks)
- 1 cup granulated sugar
- 1/2 cup packed light brown sugar
- 1/2 cup pumpkin puree (not pumpkin pie filling)
- 1 large egg, room temperature
- 2 teaspoons vanilla extract
- 2 cups whole wheat pastry flour (or all-purpose flour)
- 1 teaspoon baking soda
- 1/2 teaspoon cream of tartar
- 1/2 teaspoon fine sea salt
- 2 teaspoons ground cinnamon
- 1 teaspoon pumpkin pie spice
- 1/4 teaspoon ground cardamom (optional)
- 1/4 cup granulated sugar (for coating)
- 1 tablespoon ground cinnamon (for coating)
- Pinch of nutmeg (for coating)
Instructions
- Brown the butter: Cut butter into tablespoon-sized pieces and melt in a light-colored saucepan over medium heat, stirring occasionally. Cook until butter foams, foam subsides, and brown specks appear at the bottom (about 5-7 minutes). Remove from heat immediately when it smells nutty and solids are amber. Pour into a heatproof bowl and cool for 10 minutes.
- Mix wet ingredients: In a large bowl, combine cooled brown butter, granulated sugar, and brown sugar. Beat with an electric mixer on medium speed until combined (about 1 minute). Add pumpkin puree, egg, and vanilla extract; mix until smooth and glossy.
- Combine dry ingredients: In a separate medium bowl, whisk together whole wheat pastry flour, baking soda, cream of tartar, salt, cinnamon, pumpkin pie spice, and cardamom (if using).
- Combine wet and dry: Gradually add dry ingredients to wet mixture, mixing on low speed just until combined. Do not overmix. Dough will be soft and slightly sticky.
- Chill dough: Cover bowl with plastic wrap and refrigerate for at least 30 minutes (or up to 24 hours).
- Preheat and prepare: Preheat oven to 350°F (175°C). Line two baking sheets with parchment paper. In a small bowl, mix coating ingredients: 1/4 cup granulated sugar, 1 tablespoon cinnamon, and a pinch of nutmeg.
- Shape and coat cookies: Using a 1.5-tablespoon cookie scoop, portion chilled dough. Roll each portion into a smooth ball, then roll in cinnamon-sugar mixture until completely coated. Place on prepared baking sheets, spacing 2 inches apart.
- Bake: Bake one sheet at a time for 10-12 minutes. Cookies should look puffed and set around edges but still soft in center. For chewier cookies, bake 10 minutes; for crispier edges, bake 12 minutes.
- Cool: Let cookies cool on baking sheet for 5 minutes, then transfer to a wire cooling rack to cool completely.
Notes
Watch the butter closely when browning—it can burn quickly. Room temperature ingredients (egg, pumpkin puree) help emulsify properly. Do not skip chilling the dough; it prevents excessive spreading. For gluten-free, use a 1:1 gluten-free baking flour blend. For dairy-free, use vegan butter sticks like Miyoko’s. Cookies can be stored in an airtight container at room temperature for up to 5 days, or frozen for up to 3 months.
Nutrition
- Serving Size: 1 cookie
- Calories: 145
- Sugar: 11
- Sodium: 95
- Fat: 8
- Saturated Fat: 5
- Carbohydrates: 18
- Fiber: 2
- Protein: 2
Keywords: brown butter, pumpkin, snickerdoodles, fall cookies, pumpkin cookies, cinnamon sugar