My Aunt Carol wasn’t trying to impress anyone. I’d stopped by to drop off a book she’d loaned me, and the smell of vanilla and warm sugar hit me before I even got through the screen door. She was standing at the counter in her worn-out apron, piping these little dollops onto a baking sheet like it was the most ordinary thing in the world. “Oh, those are just Forgotten Cookies,” she said when I asked, waving her hand like I’d caught her folding laundry. “You put them in the oven and then you just… forget about them.” I mean, honestly—forget about them? The way they looked, all glossy and perfect with tiny flecks of chocolate? I couldn’t forget about them if I tried. She let me have one that was still a little warm, and the outside had this delicate crunch that gave way to the lightest, airiest center you’ve ever had. It practically dissolved on my tongue. I stood there eating it in her sunny kitchen, and I knew right then I’d be making these for the rest of my life. Maybe you’ve been there—that moment when a recipe so simple it almost feels like cheating turns out to be the best thing you’ve eaten all year. That’s these cookies. They’re called Forgotten Cookies because you literally put them in a turned-off oven overnight and let them do their thing while you sleep. No fussing, no checking, no worrying. Just pure, melt-in-your-mouth magic waiting for you in the morning.
Why You’ll Love This Recipe
I’ve tested a lot of meringue recipes over the years, and honestly, most of them are fussy. You have to watch the temperature, stand over the mixer, and pray the humidity isn’t too high. These Light Forgotten Cookies? They’re the complete opposite. They work every single time, and I’m saying that as someone who has absolutely made every mistake in the book. Let me tell you why this recipe is different.
- No Oven Watching Required : You mix, you pipe, you put them in the oven, and you walk away. That’s it. The residual heat does all the work overnight while you’re catching up on sleep or watching your favorite show.
- Just 4 Simple Ingredients : Eggs, sugar, vanilla, and chocolate chips. You probably have all of them in your kitchen right now. No cream of tartar, no special extracts, no complicated shopping list.
- Perfect for Health-Minded Snacking : Each cookie is naturally low in fat and calories since the base is just whipped egg whites. You get that sweet, indulgent treat without the heavy feeling afterward. It’s dessert that doesn’t weigh you down.
- Always a Crowd-Pleaser : I’ve brought these to potlucks, family gatherings, and casual coffee dates. People always ask for the recipe. The texture is so unique—crisp on the outside, soft and marshmallowy on the inside—that everyone remembers them.
- Unbelievably Easy Technique : The secret is letting the meringue rest in the cooling oven. This creates that perfect texture without any complicated water baths or temperature probes. It’s foolproof once you know the trick.
What makes this recipe truly special is how it balances indulgence with lightness. You get all the satisfaction of a chocolate chip cookie without the butter and flour. The first time I made them, I honestly couldn’t believe how good they turned out. I kept peeking through the oven door the next morning like a kid on Christmas. Trust me, you’ll feel the same way.
What Ingredients You Will Need
This recipe uses the simplest ingredients to create something that feels surprisingly fancy. The magic really comes from how these few items work together. Here’s everything you need and a few notes from my own kitchen experiments.
- 3 large egg whites (room temperature is key here—cold eggs won’t whip up as high or as stable. I usually set my eggs out on the counter about 30 minutes before I start.)
- ¾ cup granulated sugar (Regular white sugar works best. I’ve tried this with organic cane sugar, and it’s fine, but the texture is slightly grainier. For that perfect smooth meringue, stick with standard granulated sugar.)
- 1 teaspoon vanilla extract (Use real vanilla if you can—the flavor difference is noticeable. I’m partial to Nielsen-Massey, but any pure vanilla extract will do. Avoid imitation vanilla here; it has a chemical aftertaste that doesn’t bake out well.)
- ½ cup mini chocolate chips (Mini chips are important because they distribute evenly without sinking to the bottom of the meringue. Regular-sized chips work in a pinch, but they tend to fall through the batter. I like Ghirardelli mini chips for their smooth melt.)
- Pinch of salt (Just a tiny pinch helps balance the sweetness and stabilizes the egg whites. Don’t skip it.)
Ingredient Selection Tips: When you’re picking out eggs, try to find the freshest ones you can. Fresh egg whites whip up more easily and hold their shape better. If you’re unsure about freshness, place an egg in a bowl of water—fresh eggs sink, older eggs float. For the chocolate chips, I’ve found that higher-quality chocolate makes a real difference. The chips are the main flavor besides vanilla, so you want them to taste good on their own.
Substitution Guidance: If you need a dairy-free option, most semi-sweet chocolate chips are naturally dairy-free, but double-check the label. For a sugar-free version, you can try using a granulated monk fruit sweetener, but I have to warn you—the texture won’t be quite the same. The cookies might not get that same crisp shell. You can also swap the vanilla for almond extract if you want a different flavor profile. Just use half the amount since almond extract is stronger.
Equipment Needed
You don’t need a fancy kitchen to make these cookies, but having the right tools makes everything easier. Here’s what I use every time.
- Electric mixer (A stand mixer with the whisk attachment is ideal, but a hand mixer works perfectly fine. You’ll be whipping for about 8-10 minutes, so your arm might get tired with a hand mixer, but it’s doable.)
- Large mixing bowl (Make sure it’s completely clean and dry. Any trace of grease will prevent your egg whites from whipping up properly. I wipe mine down with a little vinegar before starting.)
- Baking sheets (Two standard-sized sheets work well. Line them with parchment paper—don’t skip this step. The cookies will stick otherwise.)
- Piping bag with a star tip (You can use a zip-top bag with the corner snipped off in a pinch. I’ve done it plenty of times. A star tip gives the cookies that pretty ridged look, but round tips work too.)
- Rubber spatula (For folding in the chocolate chips gently. A metal spoon can deflate the meringue if you’re not careful.)
- Cooling rack (Not strictly necessary since the cookies cool in the oven, but helpful if you need to move them around.)
Budget-Friendly Options: If you don’t have a piping bag, just use a sturdy zip-top bag. Fill it, seal the top, and snip off about half an inch from one corner. The cookies won’t look as fancy, but they’ll taste exactly the same. I actually prefer the rustic look sometimes—it feels more homemade.
Preparation Method
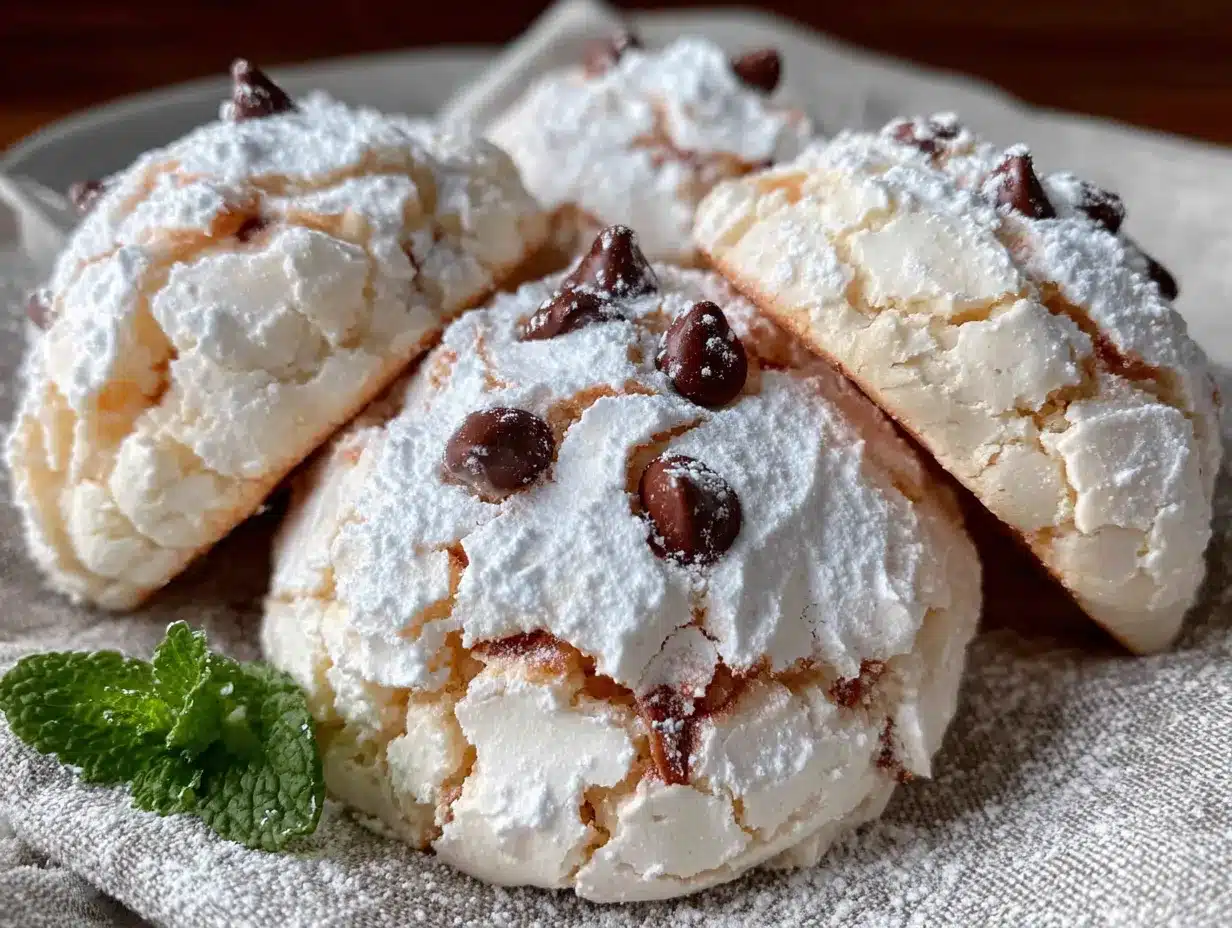
Making these Light Forgotten Cookies is almost meditative. The process is simple, but there are a few moments where paying attention really pays off. Follow these steps, and you’ll have perfect cookies every time.
- Preheat your oven to 350°F (175°C). This is important because you need the oven hot before you start, even though you’ll be turning it off later. Line two baking sheets with parchment paper and set them aside.
- Prepare your egg whites. Separate three eggs while they’re cold—it’s easier to separate yolks from whites when they’re straight out of the fridge. Then let the whites sit at room temperature for about 30 minutes. I know it’s tempting to skip this step, but room-temperature egg whites whip up to triple the volume of cold ones. Trust me on this.
- Start whipping. Pour the egg whites into your perfectly clean mixing bowl. Add that tiny pinch of salt. Begin whipping on medium speed until the whites become frothy and bubbly—about 1 to 2 minutes. You’ll see them transform from clear liquid to white foam.
- Add the sugar gradually. With the mixer running on medium-high, start adding the sugar one tablespoon at a time. I know it feels slow, but this gradual addition is what creates that stable, glossy meringue. If you dump all the sugar in at once, the cookies won’t hold their shape. Keep adding until all the sugar is incorporated.
- Whip until stiff peaks form. Once all the sugar is in, increase the speed to high and whip for about 5 to 7 more minutes. You’re looking for stiff, glossy peaks that hold their shape when you lift the whisk. The mixture should look thick and shiny, like marshmallow fluff. Here’s a test: rub a tiny bit between your fingers. If it feels gritty, keep whipping. If it’s smooth, you’re done.
- Add the vanilla. Pour in the vanilla extract and whip for another 30 seconds until it’s fully incorporated. You’ll notice the meringue gets even glossier at this stage.
- Fold in the chocolate chips. Remove the bowl from the mixer. Sprinkle the mini chocolate chips over the top of the meringue. Using a rubber spatula, gently fold them in with a sweeping motion—cut down through the middle, scrape along the bottom, and bring it up over the top. Do this just until the chips are evenly distributed. Overmixing will deflate your beautiful meringue.
- Pipe the cookies. Transfer the meringue to your piping bag fitted with a star tip. Pipe small dollops onto the prepared baking sheets, spacing them about 2 inches apart. Each cookie should be about 1.5 inches wide. Don’t make them too big—they don’t spread, but they need room for air circulation. You should get about 30 to 36 cookies total.
- Into the oven they go. Place the baking sheets in the preheated oven. Immediately turn the oven OFF. Yes, off. Close the door and do not open it for at least 6 hours, but overnight is best. I know it’s tempting to peek, but every time you open that door, you let out heat and moisture. Just walk away.
- Wait and enjoy. After 6 to 8 hours (or overnight), open the oven door. Your cookies should be dry to the touch and easily lift off the parchment paper. If they’re still sticky, leave them in the turned-off oven for another hour or two. Gently peel them off the paper and transfer to a serving plate.
Sensory Cues: When you’re whipping the meringue, listen for the sound change. It starts with a sloshy, liquid sound and gradually becomes quieter and more muffled as the mixture thickens. The bowl should feel warm to the touch at the end from the friction of whipping. When you fold in the chocolate chips, you should see ribbons of meringue folding over themselves—that’s how you know the texture is right.
Troubleshooting Tip: If your meringue looks grainy or separated, you might have added the sugar too quickly. Don’t panic—you can sometimes save it by adding a teaspoon of cold water and whipping on high for another minute. If it doesn’t come back together, start over with fresh egg whites. It happens to everyone at least once.
Cooking Tips & Techniques
I’ve made these Light Forgotten Cookies more times than I can count, and I’ve definitely had my share of failures. Here’s what I’ve learned the hard way so you don’t have to.
The Humidity Factor: Meringue and humidity are not friends. If it’s a rainy or super humid day, your cookies might turn out sticky instead of crisp. I learned this the hard way when I made a batch during a summer thunderstorm. The cookies looked beautiful going into the oven, but they came out chewy and soft. Now I check the weather forecast before I make these. If humidity is above 60%, I wait for a drier day.
Don’t Overwhip: There’s a fine line between stiff peaks and overwhipped meringue. If you whip too long, the meringue will start to look dry and curdled, and the water will separate from the egg whites. This is called “weeping,” and it’s a sign you’ve gone too far. Stop as soon as the peaks hold their shape firmly. When in doubt, stop a little early—you can always whip a bit more.
The Overnight Advantage: I know some recipes say you can leave these in the oven for just 2 hours, but honestly, overnight is better. The longer they sit in the cooling oven, the drier and crispier they get. I usually make them right before I go to bed. The oven is already warm from preheating, so it takes a while to cool down completely. That gradual cooling is what creates the perfect texture.
Timing Strategy: Here’s how I plan my day. I start preheating the oven around 9 PM. While it’s heating up, I separate the eggs and let them come to room temperature. By 9:30, I’m whipping the meringue. By 10, the cookies are in the oven and I’ve turned it off. I go to bed, and by 7 AM, breakfast is ready—except it’s cookies!
Consistency Secret: For perfectly uniform cookies, use a cookie scoop or measure your piped portions. I use a small scoop that holds about 1 tablespoon. This way, every cookie is the same size and bakes evenly. It also makes the cookies look more professional if you’re serving them to guests.
Variations & Adaptations
One of the best things about this recipe is how easy it is to change up. I’ve experimented with all sorts of variations, and here are my favorites.
Dark Chocolate & Sea Salt: Swap the mini chocolate chips for dark chocolate chunks and sprinkle a tiny bit of flaky sea salt on top before they go into the oven. The salt cuts through the sweetness perfectly. I tried this after having a salted caramel cookie at a bakery, and honestly, it might be my new favorite version.
Mint Chocolate Chip: Replace the vanilla extract with ½ teaspoon of peppermint extract. Use dark chocolate chips instead of semi-sweet. The combination of cool mint and rich chocolate is incredible. Just be careful with the peppermint—it’s strong, and too much will make the cookies taste like toothpaste.
Lemon Blueberry: Omit the chocolate chips entirely. Add 1 teaspoon of lemon zest and ½ teaspoon of lemon extract to the meringue. Gently fold in ¼ cup of freeze-dried blueberries (not fresh—fresh blueberries release too much moisture). The result is bright, fruity, and perfect for spring. I made these for a baby shower and they disappeared in minutes.
Vegan Adaptation: You can make these with aquafaba—the liquid from a can of chickpeas. Use ½ cup of aquafaba in place of the 3 egg whites. Whip it the same way, adding sugar gradually. It takes a little longer to reach stiff peaks, but it works surprisingly well. The texture is slightly less crisp, but still delicious.
Spiced Chai Version: Add ½ teaspoon of cinnamon, ¼ teaspoon of cardamom, and a pinch of ground ginger to the sugar before whipping. Fold in white chocolate chips instead of semi-sweet. The warm spices pair beautifully with the vanilla. This is my go-to fall variation.
Serving & Storage Suggestions
These Light Forgotten Cookies are best served at room temperature, straight from the oven (well, after they’ve cooled overnight). The contrast between the crisp exterior and the soft, marshmallowy interior is at its peak right after they’re done. If you’re serving them at a party, arrange them on a pretty plate or tiered stand. They look elegant without trying too hard.
What to Serve With Them: These cookies are wonderful on their own, but they also pair beautifully with fresh berries and a dollop of whipped cream for a quick dessert. A cup of hot tea or coffee is the perfect companion—the slight bitterness balances the sweetness. For a special treat, crumble a couple over vanilla ice cream. The texture contrast is amazing.
Storage Instructions: Store these cookies in an airtight container at room temperature. Do not refrigerate them—the moisture in the fridge will make them sticky. They’ll stay fresh for about 5 to 7 days, though honestly, they rarely last that long in my house. If you live in a humid climate, add a food-safe silica gel packet to the container to absorb excess moisture.
Freezer Tips: You can freeze these cookies for up to 3 months. Place them in a single layer in a freezer-safe container with parchment paper between layers. To thaw, let them sit at room temperature for about 15 minutes. They might lose a tiny bit of their crunch, but they’re still delicious. I usually freeze half the batch for emergency cookie cravings.
Flavor Development: These cookies actually get better after a day or two. The flavors meld together, and the texture becomes even more uniform. If you can resist eating them all immediately, let them sit in the container for 24 hours. The vanilla flavor deepens, and the chocolate seems to distribute more evenly throughout the meringue.
Nutritional Information & Benefits
Per cookie (based on 36 cookies): Approximately 35 calories, 1g fat, 7g carbohydrates, 1g protein, 6g sugar. These are estimates and will vary based on exact ingredients used.
Health Benefits: These cookies are naturally low in fat since the base is just egg whites. Egg whites are an excellent source of protein without the cholesterol found in yolks. They also contain selenium and B vitamins. The mini chocolate chips add a small amount of antioxidants from the cocoa. Compared to traditional chocolate chip cookies, these have about half the calories and a fraction of the fat.
Dietary Considerations: This recipe is naturally gluten-free, making it perfect for anyone with celiac disease or gluten sensitivity. It’s also nut-free if you use certified nut-free chocolate chips. For a dairy-free version, check that your chocolate chips are dairy-free—many semi-sweet varieties are. The recipe is also low in sodium, with less than 10mg per cookie.
Personal Wellness Perspective: I love that these cookies let me enjoy a sweet treat without feeling like I’ve derailed my whole day. They’re light enough that I can have two or three without guilt, and the protein from the egg whites gives them a tiny nutritional boost. They’re perfect for those evenings when you want something sweet but don’t want to undo your healthy eating efforts.
Conclusion
These Light Forgotten Cookies are honestly one of my favorite recipes to make and share. They’re proof that you don’t need complicated techniques or fancy ingredients to create something truly special. The fact that you just put them in the oven and forget about them overnight feels almost like magic—waking up to perfectly baked cookies without any effort. I love that this recipe lets me enjoy a sweet, indulgent treat that doesn’t weigh me down. It fits right into my balanced approach to eating: wholesome ingredients, sensible portions, and absolutely no sacrifice on flavor.
I’d love to hear how these turn out for you. Did you try any of the variations? Did your family love them as much as mine does? Drop a comment below and let me know. And if you come up with your own twist on these Forgotten Cookies, please share it—I’m always looking for new ideas to try. Until next time, happy baking and don’t forget to forget your cookies tonight!
Frequently Asked Questions
Can I make these cookies in a convection oven?
Yes, you can, but the timing might be slightly different. Convection ovens cool down faster than conventional ovens, so the cookies might not dry out as thoroughly. I recommend leaving them in the turned-off oven for the full 8 hours or even a little longer. If they’re still soft in the center, you can leave them in the unopened oven for another 2 hours.
Why did my cookies turn out chewy instead of crisp?
Chewy cookies usually mean there was too much moisture in the air or the oven cooled too quickly. This often happens on humid days or if you opened the oven door during the cooling process. Next time, check the humidity before you start and resist the urge to peek. You can also try leaving the cookies in the oven for an extra hour or two.
Can I use liquid egg whites from a carton?
I don’t recommend it. Carton egg whites are pasteurized and often have stabilizers added that prevent them from whipping up properly. They won’t reach stiff peaks the same way fresh egg whites do. If you’re in a pinch, you can try, but the cookies might not have the same light, airy texture.
How do I know when the meringue is whipped enough?
Lift the whisk attachment out of the bowl. The meringue should form stiff peaks that stand straight up without drooping. If the peaks flop over, keep whipping. Another test is to hold the bowl upside down—if the meringue stays put, you’re done. Just be careful with this test; I’ve definitely ended up with meringue on my kitchen floor before.
Can I double this recipe?
Absolutely. Just make sure your mixing bowl is large enough to accommodate the increased volume. Meringue expands a lot as it whips. You might need to bake the cookies in batches or use multiple oven racks. If you’re using multiple racks, rotate the baking sheets halfway through the cooling process to ensure even drying.
Pin This Recipe!
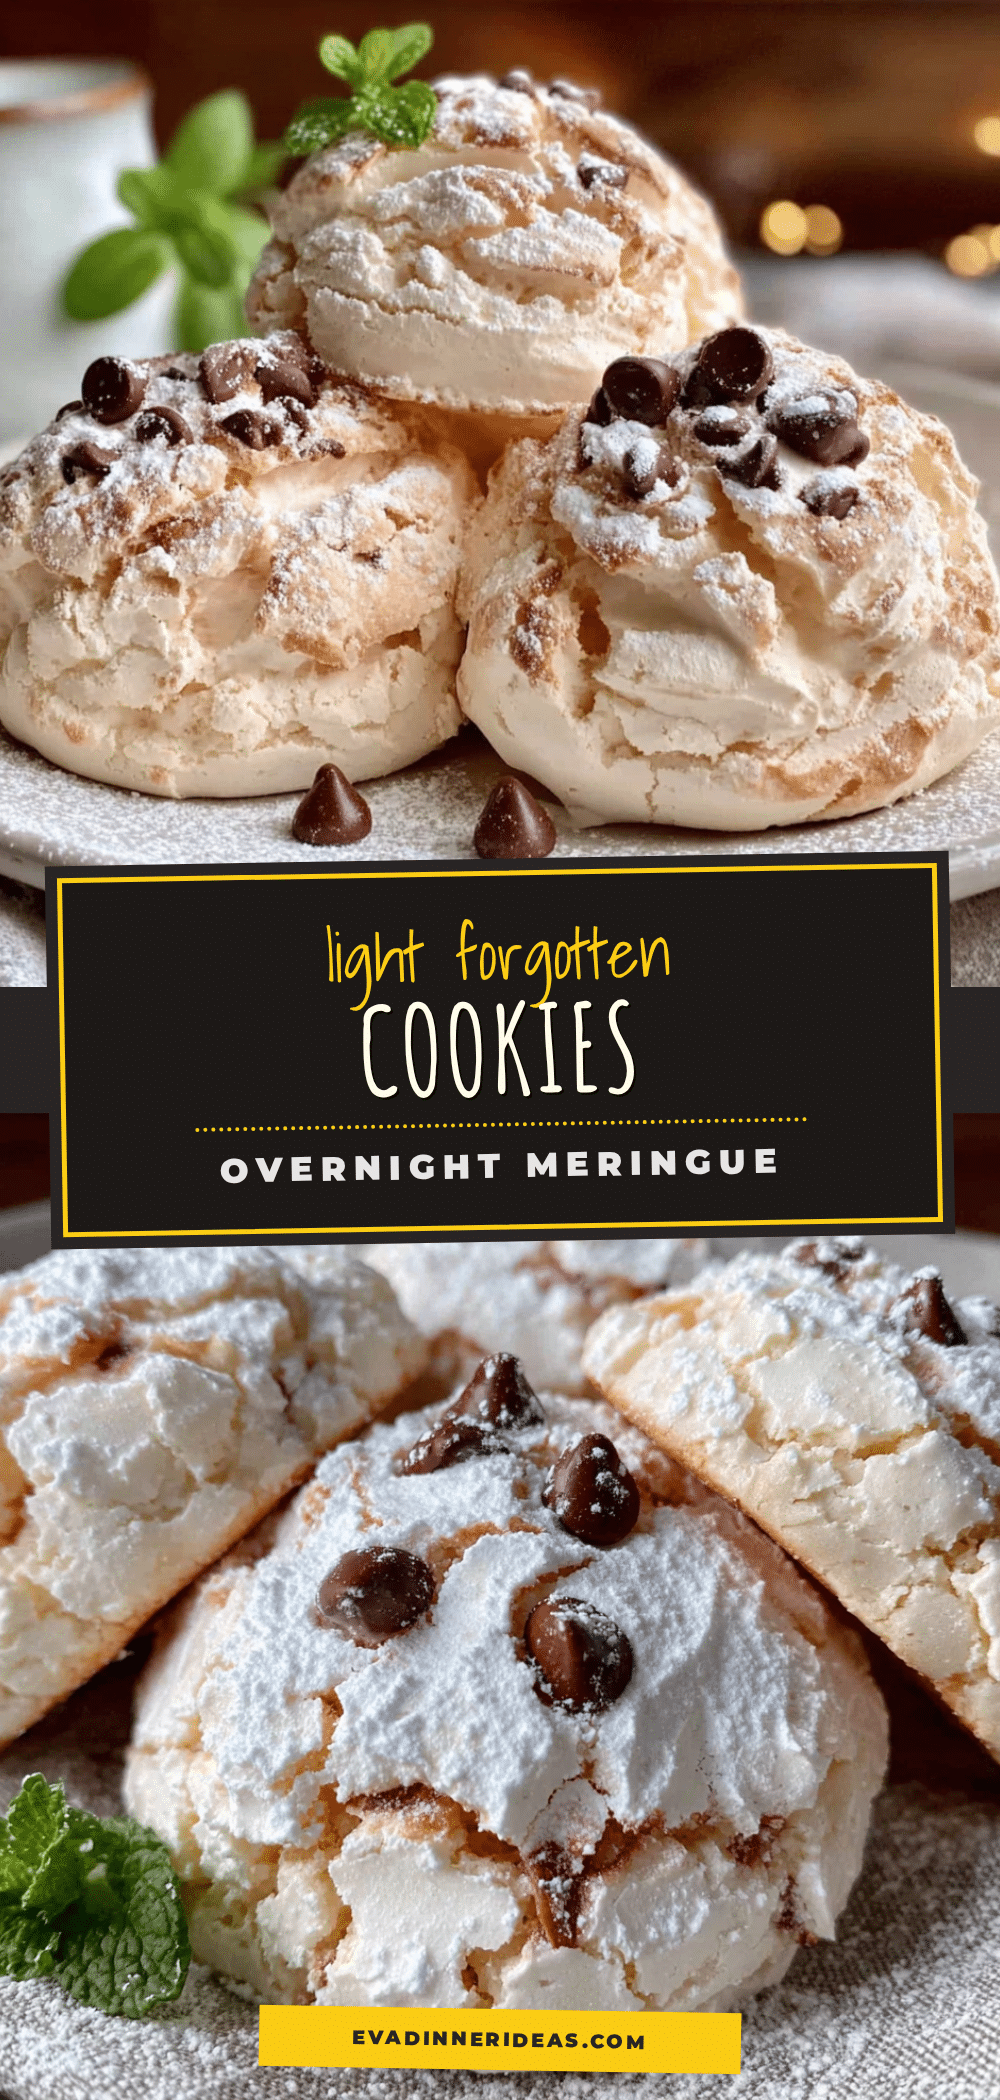
Light Forgotten Cookies: Easy Overnight Chocolate Chip Meringue

These light and airy meringue cookies are made with just 4 simple ingredients and baked overnight in a turned-off oven. The result is a crisp exterior with a soft, marshmallowy center—a perfect guilt-free treat.
- Prep Time: 15 minutes
- Cook Time: 0 minutes (oven is turned off)
- Total Time: 6 hours 15 minutes (includes overnight resting)
- Yield: 30-36 cookies 1x
- Category: Dessert
- Cuisine: American
Ingredients
- 3 large egg whites (room temperature)
- ¾ cup granulated sugar
- 1 teaspoon vanilla extract
- ½ cup mini chocolate chips
- Pinch of salt
Instructions
- Preheat your oven to 350°F (175°C). Line two baking sheets with parchment paper.
- Separate three eggs while cold, then let the whites sit at room temperature for about 30 minutes.
- Pour the egg whites into a clean, dry mixing bowl. Add a pinch of salt. Whip on medium speed until frothy and bubbly, about 1-2 minutes.
- With the mixer running on medium-high, add the sugar one tablespoon at a time until all sugar is incorporated.
- Increase speed to high and whip for 5-7 minutes until stiff, glossy peaks form. The mixture should be thick and shiny, like marshmallow fluff.
- Add the vanilla extract and whip for another 30 seconds until fully incorporated.
- Remove the bowl from the mixer. Sprinkle mini chocolate chips over the meringue and gently fold them in with a rubber spatula until evenly distributed.
- Transfer the meringue to a piping bag fitted with a star tip. Pipe small dollops (about 1.5 inches wide) onto the prepared baking sheets, spacing them about 2 inches apart. You should get 30-36 cookies.
- Place the baking sheets in the preheated oven. Immediately turn the oven OFF. Close the door and do not open it for at least 6 hours, but overnight is best.
- After 6-8 hours (or overnight), open the oven door. The cookies should be dry to the touch and easily lift off the parchment paper. If still sticky, leave in the turned-off oven for another 1-2 hours. Gently peel them off the paper and serve.
Notes
For best results, avoid making these on humid days (humidity above 60%). Do not open the oven door during the cooling process. If the meringue looks grainy, you may have added the sugar too quickly; try adding 1 teaspoon cold water and whipping on high for another minute. Store in an airtight container at room temperature for up to 5-7 days. Freeze for up to 3 months.
Nutrition
- Serving Size: 1 cookie
- Calories: 35
- Sugar: 6
- Sodium: 10
- Fat: 1
- Saturated Fat: 0.5
- Carbohydrates: 7
- Protein: 1
Keywords: forgotten cookies, meringue cookies, chocolate chip meringue, overnight cookies, light cookies, easy cookies, gluten-free cookies, low-fat cookies


