The lady at the community garden, Mrs. Kowalski, saw me staring at her pumpkin patch one September morning. I wasn’t trying to be nosy, honestly—I was just admiring how her vines had taken over the whole fence line. She didn’t say a word at first, just wiped her hands on her apron and walked over with a small, misshapen sugar pumpkin. “This one’s for you,” she said, pushing it into my hands. “But don’t you dare make a pie. Pie is boring. Make something the kids will fight over.”
I took that pumpkin home and stared at it for three days. I mean, what do you make that isn’t pie? I thought about muffins, but muffins feel like breakfast. I thought about bread, but that felt too predictable. Then my youngest walked into the kitchen, saw the pumpkin sitting on the counter, and said, “Can we put chocolate chips in it?” And just like that, the Kid-Approved Spiced Pumpkin Chocolate Chip Snack Cake was born. It came together in a messy, flour-covered afternoon—I accidentally used brown sugar instead of white, got eggshell in the bowl (had to fish it out with a bigger piece of shell, you know how it goes), and the first batch came out a little lopsided because my oven runs hot. But that first bite? The kids actually stopped arguing for a solid five minutes. That’s a parenting win if I’ve ever seen one.
Maybe you’ve been there—staring at a pumpkin, wondering what to do with it that isn’t the same old thing. Or maybe you just need a dessert that feels special without making you want to cry over a complicated recipe. This cake is that. It’s the kind of thing you whip up on a Tuesday afternoon, and suddenly the whole house smells like fall, and everyone’s hovering around the kitchen asking when it’ll be ready. It stayed with me because it solved a real problem: how to make something that feels like a treat, tastes like the season, and actually gets eaten by everyone at the table. No pie required.
Why You’ll Love This Recipe
Let me tell you why this cake has become the most-requested dessert in my house, and probably will be in yours too. I’ve tested this recipe about seven times—yes, seven whole cakes in one month—to get the texture and flavor just right. My family didn’t complain, obviously. But here’s what makes it stand out from every other pumpkin recipe you’ve seen:
- Quick & Easy: From start to finish, this cake is ready in about 45 minutes. The batter comes together in one bowl—no stand mixer required, no fussing with softened butter. Just whisk, pour, and bake.
- Simple Ingredients: You probably have most of these in your pantry right now. Canned pumpkin, flour, sugar, eggs, oil, and chocolate chips. No weird specialty items that cost a fortune.
- Perfect for Fall Gatherings: Whether it’s a school bake sale, a playdate, or just a cozy Sunday afternoon, this cake fits right in. It’s not too sweet, not too heavy—just right for snacking.
- Crowd-Pleaser: I’ve served this to kids who “don’t like pumpkin” and adults who “don’t like cake.” Everyone goes back for seconds. The chocolate chips do most of the heavy lifting, honestly.
- Unbelievably Delicious: The texture is what gets me every time. It’s moist without being soggy, tender without being crumbly. The spices warm you up from the inside, and the chocolate chips add little pockets of melty goodness.
What makes this recipe different from the rest? It’s the balance. Most pumpkin cakes are either too dense or too dry. This one uses the right ratio of pumpkin to oil to eggs, so it stays perfectly moist for days. Plus, the spice blend is dialed in—cinnamon, nutmeg, ginger, and a tiny pinch of cloves. Not too spicy, not too bland. It’s the kind of cake that makes you close your eyes after the first bite, even if you’re standing at the counter eating it straight from the pan (no judgment here). This is comfort food reimagined—faster, simpler, but with the same soul-soothing satisfaction that makes fall baking worth every dirty dish.
What Ingredients You Will Need
This recipe uses simple, wholesome ingredients to deliver that perfect fall flavor without any fuss. Most of these are pantry staples, so you might not even need a grocery run. Here’s what you’ll need:
For the Cake
- Canned pumpkin puree – 1 cup (not pumpkin pie filling, just plain puree). I prefer Libby’s for consistent texture, but any brand works.
- All-purpose flour – 1 ½ cups (spooned and leveled, not scooped)
- Granulated sugar – ¾ cup
- Brown sugar – ¼ cup, packed (adds moisture and a hint of molasses flavor)
- Vegetable oil – ½ cup (or any neutral oil like canola or avocado)
- Large eggs – 2, at room temperature (adds structure and richness)
- Baking soda – 1 teaspoon
- Baking powder – ½ teaspoon
- Salt – ½ teaspoon
- Ground cinnamon – 1 ½ teaspoons
- Ground nutmeg – ½ teaspoon
- Ground ginger – ¼ teaspoon
- Ground cloves – ⅛ teaspoon (just a pinch, it’s strong)
- Semi-sweet chocolate chips – 1 cup (I like Ghirardelli, but store brand works great too)
- Vanilla extract – 1 teaspoon
Ingredient Tips and Substitutions
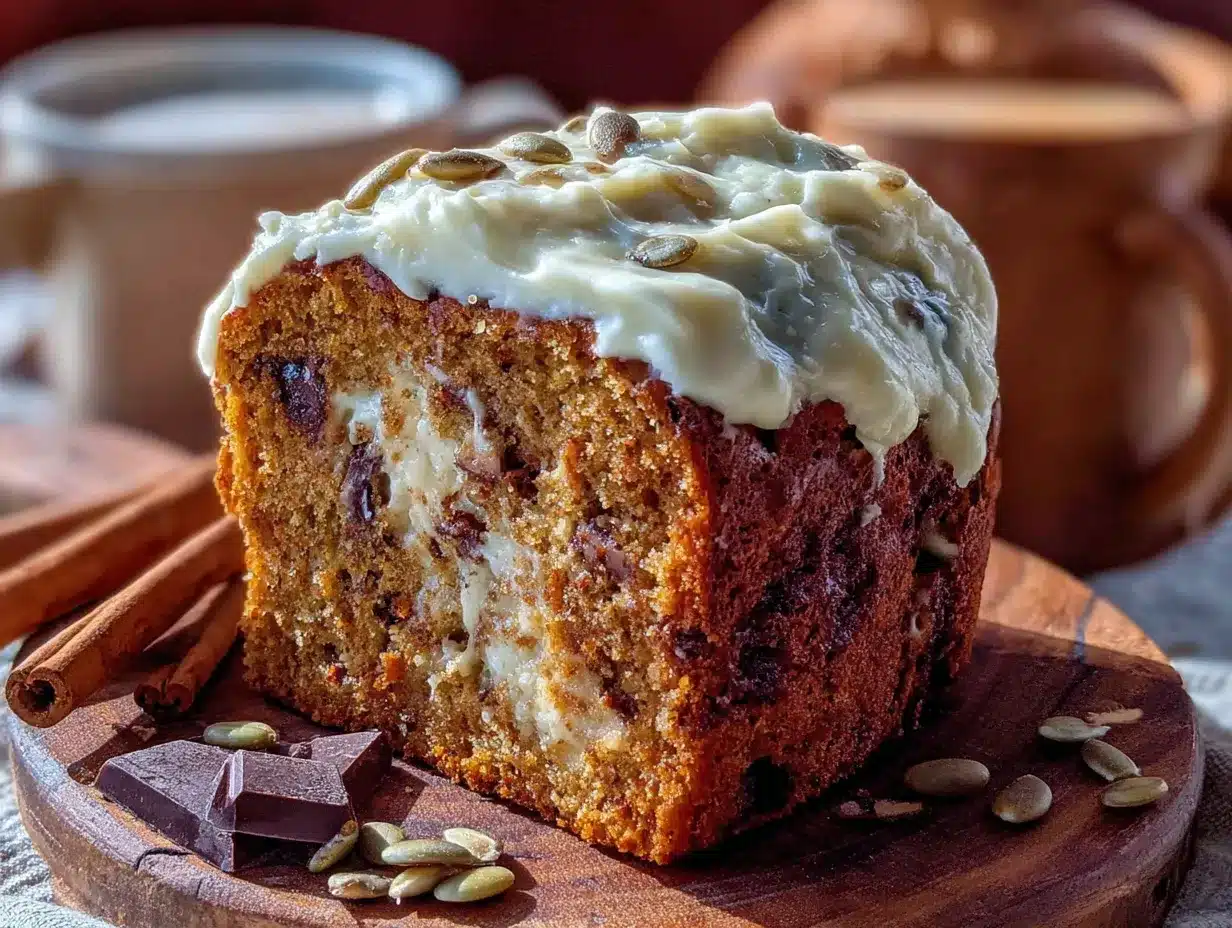
If you’re out of canned pumpkin, you can use homemade pumpkin puree—just make sure it’s drained well so it’s not too watery. For a dairy-free option, check that your chocolate chips are dairy-free; most semi-sweet chips are, but double-check the label. If you want to reduce the sugar, you can cut the granulated sugar down to ½ cup, but the cake will be a little less tender. I’ve tried it with coconut sugar, and it works, but the color turns darker and the flavor is a bit more earthy. For a gluten-free version, swap the all-purpose flour with a 1:1 gluten-free baking flour blend. I’ve used Bob’s Red Mill with good results—just don’t overmix the batter.
One more thing: don’t skip the spices. I know it’s tempting to just use pumpkin pie spice, but making your own blend gives you way more control. If you only have pumpkin pie spice, use 2 teaspoons of that instead of the individual spices. Your cake will still be delicious, I promise.
Equipment Needed
You don’t need a fancy kitchen to make this cake. Here’s what you’ll need:
- 9×9-inch square baking pan (or an 8×8-inch pan for a slightly thicker cake; just add 5 minutes to the baking time)
- Large mixing bowl (any bowl will do, but bigger is better to avoid splashing)
- Whisk (for mixing the wet and dry ingredients)
- Rubber spatula (for folding in the chocolate chips and scraping the bowl clean)
- Measuring cups and spoons (dry and liquid measures)
- Parchment paper (optional, but makes cleanup so much easier)
- Cooling rack (or just a clean countertop if you’re in a pinch)
I’ve made this cake without the parchment paper, and it still comes out fine—just grease the pan really well with butter or cooking spray. If you don’t have a whisk, a fork works in a pinch, but you’ll need to mix a little longer. My first time making this, I used a wooden spoon and it worked perfectly, just took a bit more elbow grease. For budget-friendly options, dollar store measuring cups work just as well as fancy ones—I’ve used the same set for years and they’re still going strong.
Preparation Method
Alright, let’s get to the fun part. Here’s how to make this cake step by step. I’ll include all the little details I wish someone had told me the first time.
- Preheat your oven to 350°F (175°C). While it’s heating, grease your 9×9-inch pan with butter or cooking spray. If you’re using parchment paper, cut a piece to fit the bottom and let the edges hang over the sides for easy lifting later.
- In your large mixing bowl, whisk together the wet ingredients. Add the pumpkin puree, vegetable oil, eggs, and vanilla extract. Whisk until everything is smooth and well combined—about 30 seconds. Don’t worry if it looks a little separated; that’s normal.
- Add both sugars to the wet mixture. Whisk again until the sugars are mostly dissolved. You’ll see the mixture get a little thinner and shinier. This takes about a minute of whisking.
- In a separate small bowl, whisk together the dry ingredients. Combine the flour, baking soda, baking powder, salt, cinnamon, nutmeg, ginger, and cloves. Whisk them together so the spices are evenly distributed. This step matters—nobody wants a bite with a clump of baking soda.
- Gradually add the dry ingredients to the wet ingredients. Add about a third of the flour mixture at a time, stirring gently with your spatula or whisk after each addition. Mix just until the flour disappears—overmixing will make the cake tough. You should see a few small lumps; that’s totally fine.
- Fold in the chocolate chips. Use your rubber spatula to gently fold the chocolate chips into the batter. Don’t stir like crazy—just fold until they’re evenly distributed. If you want, reserve a handful of chips to sprinkle on top of the batter for a prettier presentation.
- Pour the batter into your prepared pan. Spread it evenly with your spatula. The batter will be thick—almost like a muffin batter—so take your time smoothing it out to the corners.
- Bake for 28-32 minutes. Start checking at 28 minutes. The cake is done when a toothpick inserted into the center comes out clean or with just a few moist crumbs attached. If you see wet batter, give it another 2-3 minutes. My oven runs hot, so I usually check at 27 minutes.
- Let the cake cool in the pan for 10 minutes. Then, if you used parchment paper, lift it out and transfer to a cooling rack. If not, just let it cool completely in the pan. Cutting it while it’s still warm will give you crumbly slices—trust me, I learned this the hard way.
- Slice and serve. Cut into 9 or 16 squares, depending on how hungry your crew is. The cake is delicious warm, at room temperature, or even cold from the fridge.
A quick note: if your kitchen is cold or humid, the batter might feel a little stiff. That’s normal—just don’t add extra liquid. The pumpkin provides plenty of moisture, I promise.
Cooking Tips & Techniques
After making this cake more times than I can count, I’ve picked up a few tricks that make a real difference. Here are my best tips:
- Room temperature eggs matter. Cold eggs can make the batter seize up, especially when mixed with oil. If you forgot to take them out of the fridge, place them in a bowl of warm water for 5 minutes before using.
- Don’t overmix the batter. This is the number one mistake I see. Mix until the flour just disappears, then stop. Overmixing develops gluten, which makes the cake dense and rubbery instead of tender.
- Use a light hand with the flour. Spoon the flour into your measuring cup and level it off with a knife. Scooping directly from the bag packs the flour down, and you’ll end up with too much. This is why some people’s cakes turn out dry.
- Check your oven temperature. Ovens lie. I learned this after my first batch came out dark on the outside and raw in the middle. An inexpensive oven thermometer is worth its weight in gold.
- Let it cool properly. I know it’s hard to wait, but cutting into a warm cake will give you crumbly, messy slices. The cake continues to set as it cools, and the flavors actually deepen. Give it at least 30 minutes before serving.
One of my biggest failures? I once forgot the baking soda entirely. The cake came out flat and dense—like a pumpkin hockey puck. My kids still ate it, but they asked for extra chocolate chips on top to “make it better.” So, double-check your leavening agents before you start mixing.
Variations & Adaptations
This cake is super flexible, which is one of the reasons I love it. Here are some ways to change it up:
- Add nuts for crunch: Fold in ½ cup of chopped pecans or walnuts along with the chocolate chips. Toast them first for extra flavor—just 5 minutes in a dry pan does the trick.
- Make it dairy-free: Use dairy-free chocolate chips and swap the butter in the pan for coconut oil. The cake itself doesn’t contain dairy, so this is an easy swap.
- Try a different spice blend: Add ¼ teaspoon of cardamom or allspice for a more complex flavor. I tried this once when I ran out of nutmeg, and it was surprisingly good.
- Turn it into muffins: Divide the batter into a lined muffin tin and bake for 18-22 minutes. Perfect for lunchboxes or on-the-go snacks.
- Add a cream cheese swirl: Mix 4 ounces of softened cream cheese with 2 tablespoons of sugar and 1 egg, then drop spoonfuls on top of the batter and swirl with a knife before baking. This is my “company’s coming” version.
- Go gluten-free: Swap the all-purpose flour with a 1:1 gluten-free baking blend. I’ve done this for a friend with celiac disease, and she said it was the best pumpkin cake she’d had in years.
My personal favorite variation? I add a handful of white chocolate chips along with the semi-sweet ones. The sweetness of the white chocolate pairs beautifully with the warm spices. It’s dangerous, honestly—I can’t stop eating it.
Serving & Storage Suggestions
This cake is incredibly versatile when it comes to serving. Here’s how I like to do it:
Serving: Serve at room temperature or slightly warm. If you want to get fancy, dust the top with powdered sugar just before serving. A dollop of whipped cream or a scoop of vanilla ice cream takes it to another level—especially when the cake is still a little warm and the ice cream starts melting into it. For a breakfast twist (no judgment), slice it and toast it lightly in a buttered pan. It’s amazing with a cup of coffee.
Storage: Store leftover cake in an airtight container at room temperature for up to 3 days. The moisture from the pumpkin actually helps it stay soft longer than regular cakes. If your kitchen is warm, you can refrigerate it, but let it come to room temperature before serving for the best texture.
Freezing: This cake freezes beautifully. Wrap individual slices tightly in plastic wrap, then place them in a freezer bag. They’ll keep for up to 3 months. To thaw, just leave a slice on the counter for about 30 minutes, or pop it in the microwave for 15 seconds. I always keep a few slices in the freezer for those days when I need a quick treat.
Reheating: The microwave works fine for a quick warm-up, but the oven gives better results. Place slices on a baking sheet and warm at 300°F for about 5-7 minutes. The edges get slightly crisp while the center stays tender—perfection.
One thing I’ve noticed: the flavors actually get better on the second day. The spices meld together and the pumpkin flavor becomes more pronounced. So if you can resist eating it all on day one, you’re in for a treat on day two.
Nutritional Information & Benefits
Here’s a rough estimate of the nutritional content per serving (based on 16 servings):
| Nutrient | Amount per Serving |
|---|---|
| Calories | 245 |
| Total Fat | 12g |
| Saturated Fat | 3.5g |
| Cholesterol | 23mg |
| Sodium | 210mg |
| Total Carbohydrates | 33g |
| Dietary Fiber | 2g |
| Sugars | 20g |
| Protein | 3g |
Now, I’m not a nutritionist, but I do know that pumpkin is packed with vitamin A and fiber, which is good for digestion and eye health. The chocolate chips add antioxidants (that’s what I tell myself, anyway), and the eggs provide protein. This cake isn’t health food, but it’s made with real ingredients—no preservatives, no artificial flavors. For a dessert that makes your kitchen smell like autumn and brings the whole family running, I’d say that’s a pretty good trade-off.
If you’re watching your sugar intake, you can reduce the sugar to ¾ cup total (omit the brown sugar or use a sugar substitute). The cake will be a little less tender, but still delicious. For a lower-fat option, substitute half the oil with unsweetened applesauce. It changes the texture slightly—it’ll be a bit more dense—but it’s still tasty.
Conclusion
This Kid-Approved Spiced Pumpkin Chocolate Chip Snack Cake is more than just a recipe—it’s the solution to that “what do I make with this pumpkin?” dilemma, the answer to “can we have something sweet but not too fancy?” and the kind of dessert that makes everyone at the table happy without making you spend hours in the kitchen. It’s forgiving, flexible, and honestly, it’s hard to mess up. Even my lopsided first batch got devoured in minutes.
I love this recipe because it feels like fall in a pan. The warm spices, the tender crumb, the little pools of melted chocolate—it’s comfort food at its simplest and best. And I love that it came from a conversation with Mrs. Kowalski, who probably had no idea she was starting something that would become a family tradition in my house.
Now I want to hear from you. Have you tried this cake? Did your kids fight over the last piece? Did you add your own twist? Drop a comment below and let me know—I read every single one, and I love seeing how you make this recipe your own. And if you’re looking for more easy fall desserts, don’t miss our easy pumpkin muffins recipe or our one-bowl chocolate cake for another quick treat. Happy baking, friends!
Frequently Asked Questions
Can I use fresh pumpkin instead of canned?
Absolutely. Just make sure you cook and puree the pumpkin until smooth, then drain it well in a fine-mesh strainer or cheesecloth to remove excess water. Fresh pumpkin has more water than canned, so you might need to reduce the oil by a tablespoon or two. The flavor will be a little more subtle, but still delicious.
Why did my cake turn out dense?
This usually happens for one of three reasons: overmixing the batter, using too much flour (scooping instead of spooning), or the baking soda is old. Check your baking soda by dropping a little into vinegar—if it fizzes vigorously, it’s still good. And remember, mix until the flour just disappears, then stop.
Can I make this cake ahead of time?
Yes! This cake actually tastes better the next day. Bake it, let it cool completely, then wrap it tightly in plastic wrap and store at room temperature. You can also freeze it for up to 3 months. Just thaw and serve—no one will know it wasn’t baked that morning.
Can I use pumpkin pie spice instead of individual spices?
Definitely. Use 2 teaspoons of pumpkin pie spice in place of the cinnamon, nutmeg, ginger, and cloves. The flavor will be slightly different—pumpkin pie spice usually has a bit more nutmeg—but it’s a great shortcut when you’re in a hurry.
How do I make this recipe vegan?
To make this cake vegan, replace the eggs with flax eggs (1 tablespoon ground flaxseed mixed with 3 tablespoons water per egg, let sit for 5 minutes). Use dairy-free chocolate chips and a neutral oil like coconut or avocado. The texture will be a little denser, but still moist and delicious. I’ve tested this version, and my vegan friends gave it two thumbs up.
Pin This Recipe!
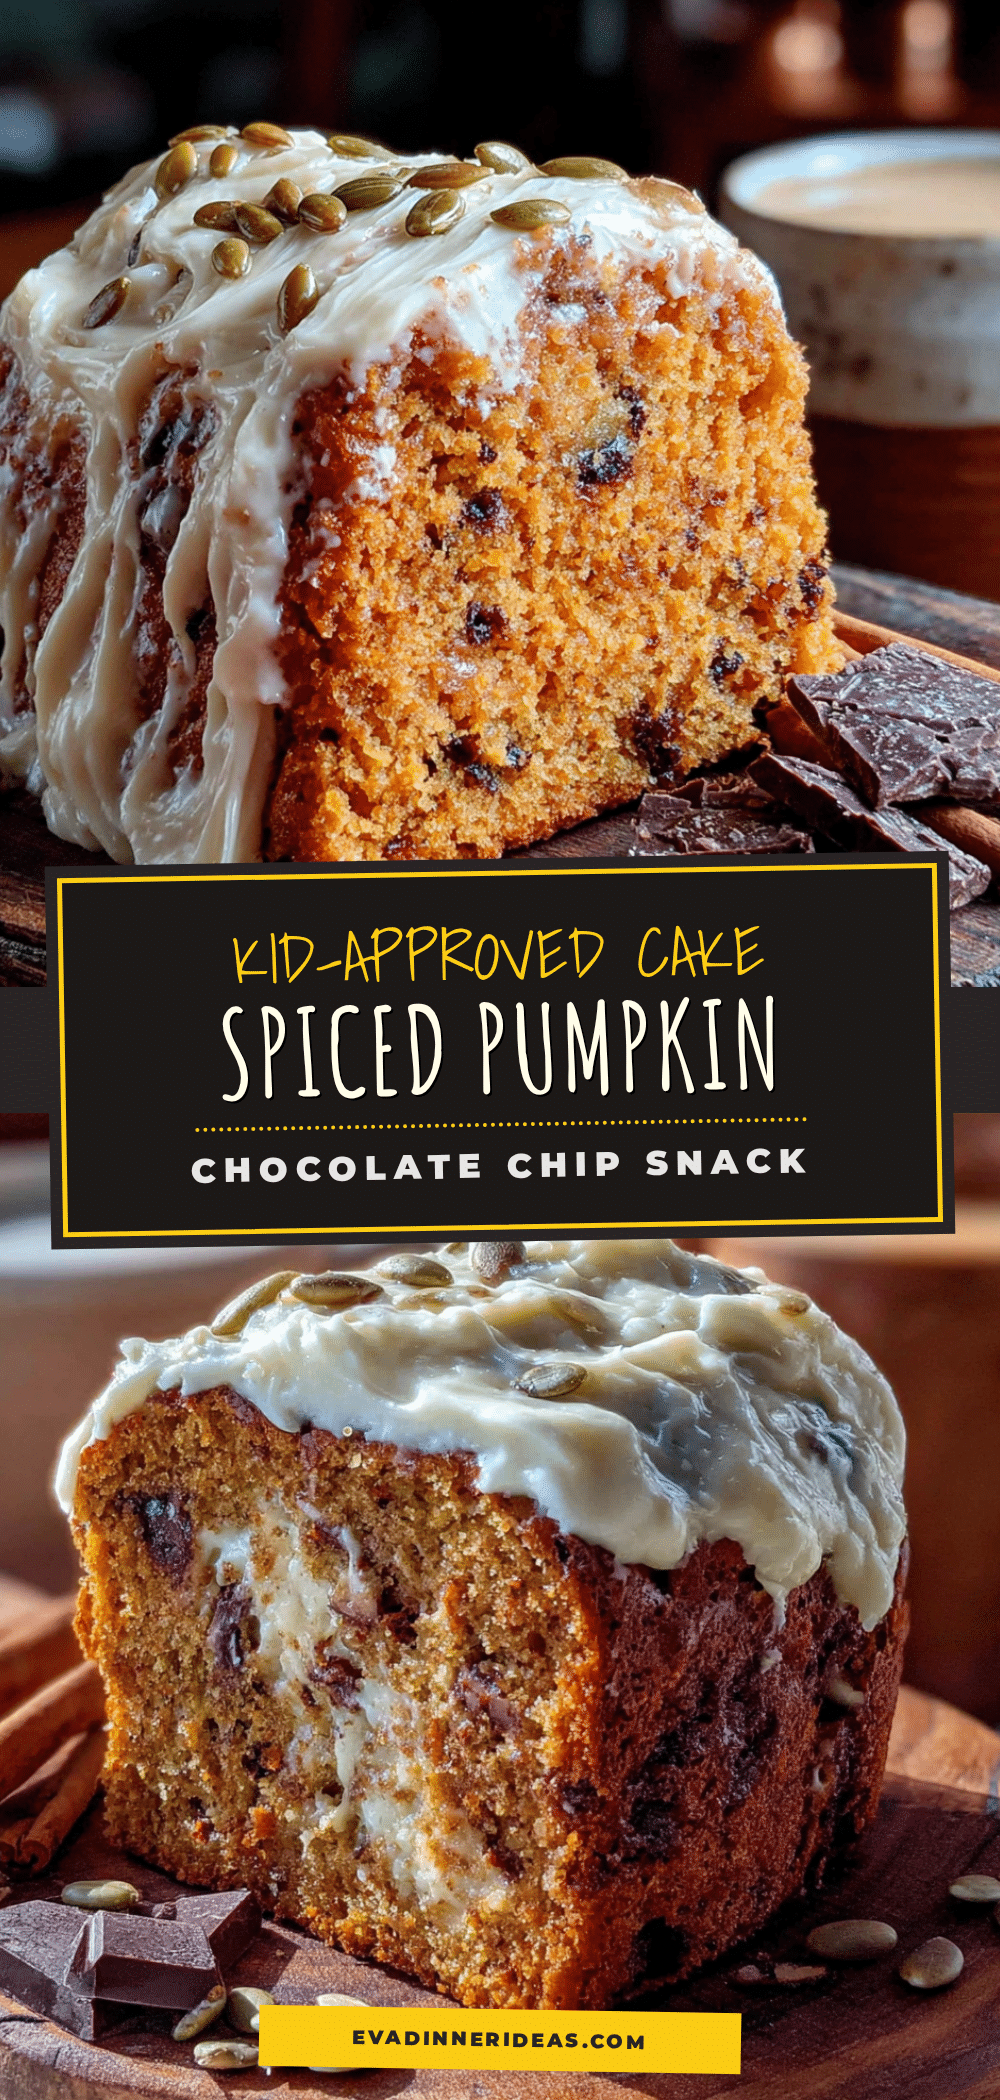
Kid-Approved Spiced Pumpkin Chocolate Chip Snack Cake
A moist, tender pumpkin snack cake loaded with warm spices and semi-sweet chocolate chips. Ready in about 45 minutes with simple pantry ingredients, this easy fall dessert is a crowd-pleaser that kids and adults alike will fight over.
- Prep Time: 15 minutes
- Cook Time: 30 minutes
- Total Time: 45 minutes
- Yield: 16 servings 1x
- Category: Dessert
- Cuisine: American
Ingredients
- 1 cup canned pumpkin puree (not pumpkin pie filling)
- 1 ½ cups all-purpose flour (spooned and leveled)
- ¾ cup granulated sugar
- ¼ cup brown sugar, packed
- ½ cup vegetable oil (or any neutral oil like canola or avocado)
- 2 large eggs, at room temperature
- 1 teaspoon baking soda
- ½ teaspoon baking powder
- ½ teaspoon salt
- 1 ½ teaspoons ground cinnamon
- ½ teaspoon ground nutmeg
- ¼ teaspoon ground ginger
- ⅛ teaspoon ground cloves
- 1 cup semi-sweet chocolate chips
- 1 teaspoon vanilla extract
Instructions
- Preheat your oven to 350°F (175°C). Grease a 9×9-inch square baking pan with butter or cooking spray. Optionally, line with parchment paper for easy removal.
- In a large mixing bowl, whisk together the pumpkin puree, vegetable oil, eggs, and vanilla extract until smooth and well combined, about 30 seconds.
- Add both granulated and brown sugars to the wet mixture. Whisk until the sugars are mostly dissolved and the mixture is slightly thinner and shinier, about 1 minute.
- In a separate small bowl, whisk together the flour, baking soda, baking powder, salt, cinnamon, nutmeg, ginger, and cloves until evenly distributed.
- Gradually add the dry ingredients to the wet ingredients, about one-third at a time, stirring gently with a spatula or whisk after each addition. Mix just until the flour disappears; a few small lumps are fine. Do not overmix.
- Fold in the chocolate chips using a rubber spatula until evenly distributed. Reserve a handful to sprinkle on top if desired.
- Pour the batter into the prepared pan and spread evenly with a spatula. The batter will be thick.
- Bake for 28-32 minutes, or until a toothpick inserted into the center comes out clean or with a few moist crumbs. Start checking at 28 minutes.
- Let the cake cool in the pan for 10 minutes. If using parchment, lift it out and transfer to a cooling rack. Otherwise, let cool completely in the pan.
- Slice into 9 or 16 squares and serve warm, at room temperature, or cold.
Notes
For best results, use room temperature eggs and do not overmix the batter. The cake tastes even better the next day as flavors meld. To freeze, wrap individual slices tightly in plastic wrap and store in a freezer bag for up to 3 months. For a dairy-free version, use dairy-free chocolate chips and coconut oil to grease the pan. For a gluten-free version, swap all-purpose flour with a 1:1 gluten-free baking blend.
Nutrition
- Serving Size: 1 slice (based on 16
- Calories: 245
- Sugar: 20
- Sodium: 210
- Fat: 12
- Saturated Fat: 3.5
- Carbohydrates: 33
- Fiber: 2
- Protein: 3
Keywords: pumpkin cake, chocolate chip cake, fall dessert, snack cake, easy pumpkin recipe, kid-friendly dessert, spiced pumpkin cake