I wasn’t trying to create a new holiday cookie. Honestly, I was just trying to use up the half-gallon of eggnog sitting in my fridge after a holiday party. It was a Tuesday afternoon, and my kitchen counter was a mess of flour, sugar, and butter from a batch of regular snickerdoodles I’d promised my son.
Then it hit me—the smell of cinnamon and nutmeg from the eggnog, mingling with the butter and sugar already in my mixer. I grabbed a measuring cup, poured a splash of that creamy, spiced eggnog into the dough, and held my breath. My daughter, who was supposed to be doing homework at the kitchen table, looked up. “What’s that smell, Mom?” she asked, her nose twitching.
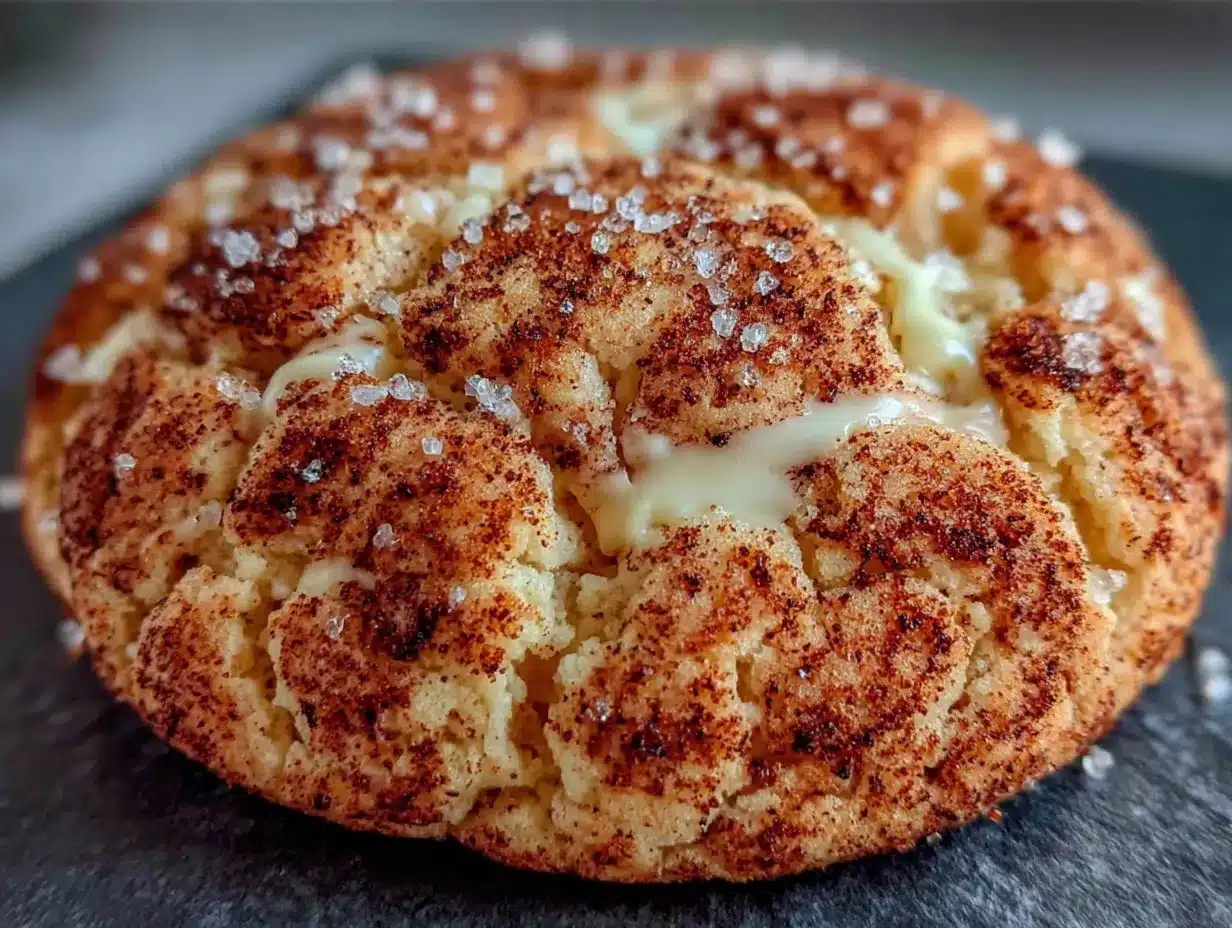
The first batch came out of the oven looking like regular snickerdoodles—crackled tops, a dusting of cinnamon sugar. But the first bite? That was something else. The texture was softer, almost pillowy, with a gentle warmth from the nutmeg that didn’t scream “holiday spice” at you. It just whispered it. I mean, I’d planned to give most of them away to neighbors, but my kids ate half the batch before I could even box them up. Let me tell you, that never happens.
That’s how these Kid-Approved Eggnog Snickerdoodle Cookies were born—not in a test kitchen or from a fancy cookbook, but from a mom trying to be smart with what she had on hand. If you’ve got a carton of eggnog and a hungry family, you’re already halfway there. These cookies are the reason my holiday baking list got a permanent new entry.
Why You’ll Love This Recipe
Look, I’ve tested a lot of cookie recipes over the years. Some are too fussy, some fall flat, and some just don’t deliver on the flavor promise. These Eggnog Snickerdoodle Cookies are different. They’ve earned a permanent spot in my holiday rotation, and here’s why you’ll feel the same way.
- Quick & Easy: From start to finish, these cookies come together in under 30 minutes. No chilling the dough, no complicated steps. Perfect for those after-school baking sessions when the kids are begging for something sweet.
- Simple Ingredients: You probably have most of this stuff in your pantry right now. Butter, sugar, flour, eggs—and that leftover eggnog from your holiday brunch. No special trips to the store required.
- Kid-Approved: This is the big one. My kids are picky. They don’t do “spicy” or “weird.” But these cookies? They disappear faster than I can bake them. The eggnog flavor is subtle enough for little palates but present enough for adults to appreciate.
- Crowd-Pleaser: I brought these to a school holiday party last year, and they were gone in ten minutes. Another mom asked for the recipe before she even finished chewing. That’s the kind of cookie this is.
- Unbelievably Delicious: The texture is what gets me every time. That classic snickerdoodle chewiness, but with an extra softness from the eggnog. The cinnamon-sugar coating gives you that satisfying crunch on the outside, while the inside stays tender and rich.
What makes this recipe different from every other snickerdoodle out there? It’s the balance. The eggnog adds just enough moisture and a hint of nutmeg that doesn’t overpower the cinnamon. It’s not trying to be a fancy holiday dessert. It’s trying to be the cookie your kids ask for again and again. And honestly, that’s the best kind of recipe to have in your back pocket.
What Ingredients You Will Need
This recipe uses simple, everyday ingredients to create something that tastes anything but ordinary. Most of these are pantry staples, which means you can whip up a batch whenever the craving hits—no fancy shopping required.
For the Cookie Dough
- 1 cup (2 sticks) unsalted butter, softened — I prefer using Land O’Lakes for consistent results, but any good-quality butter works. Make sure it’s truly softened, not melted, for the best texture.
- 1 cup granulated sugar — Regular white sugar gives the cookies that classic sweetness and helps with the crackled top.
- 1/2 cup brown sugar, packed — This adds a touch of moisture and a deeper flavor that complements the eggnog beautifully.
- 2 large eggs, room temperature — Room-temperature eggs incorporate more smoothly into the creamed butter and sugar, giving you a lighter dough.
- 1/2 cup eggnog — Use full-fat eggnog for the richest flavor. I’ve tried low-fat versions, and they just don’t give the same soft, tender crumb. (If you’re dairy-free, see the variations section below.)
- 1 teaspoon vanilla extract — Pure vanilla makes a difference here, but imitation works in a pinch.
- 1/2 teaspoon ground nutmeg — Freshly grated is amazing if you have it, but pre-ground works just fine. This is the spice that makes these cookies taste like the holidays.
- 1/2 teaspoon ground cinnamon — Just enough to warm up the flavor without competing with the nutmeg.
- 1 teaspoon baking soda — Helps the cookies spread and rise just right.
- 1/2 teaspoon baking powder — Adds a little extra lift for that soft, pillowy texture.
- 1/2 teaspoon salt — Don’t skip this. It balances the sweetness and brings out all the other flavors.
- 3 cups all-purpose flour — Spoon and level your flour for the most accurate measurement. Scooping directly from the bag can pack in too much flour and make your cookies dry.
For the Cinnamon-Sugar Coating
- 1/4 cup granulated sugar — The base of the coating that gives these cookies their signature sparkle.
- 1 tablespoon ground cinnamon — This is where the classic snickerdoodle flavor shines.
- 1/2 teaspoon ground nutmeg — A little extra nutmeg in the coating ties everything back to the eggnog flavor.
Ingredient Tips: When I’m making these for a crowd, I always buy a quart of eggnog so I have extra for sipping while I bake. And if you’re wondering about using homemade eggnog—yes, absolutely go for it. The flavor will be even more incredible.
Equipment Needed
You don’t need a fancy kitchen to make these cookies. Here’s what you’ll need:
- Electric mixer — A stand mixer with the paddle attachment is my go-to, but a hand mixer works perfectly fine. I’ve made these with both, and the results are the same.
- Large mixing bowls — One for the wet ingredients, one for the dry. I use glass or stainless steel bowls because they’re easy to clean and don’t hold onto odors.
- Baking sheets — Two standard half-sheet pans work well. If you only have one, just let it cool completely between batches to prevent the dough from spreading too much.
- Parchment paper or silicone baking mats — Silicone mats are my favorite because they’re reusable and give you perfectly even browning. Parchment paper is a great budget-friendly alternative.
- Measuring cups and spoons — Accurate measurements are key for baking. I recommend a set of dry measuring cups and a liquid measuring cup for the eggnog.
- Cookie scoop — A 1.5-tablespoon scoop gives you consistent-sized cookies that bake evenly. If you don’t have one, use two spoons to portion the dough.
- Cooling rack — Essential for getting those cookies to cool properly without getting soggy on the bottom.
Budget-Friendly Tip: If you don’t have a cookie scoop, a regular tablespoon works just fine. Just make sure you’re portioning the dough evenly so your cookies all bake at the same rate.
Preparation Method
Alright, let’s get baking. This recipe is straightforward, but I’ll walk you through each step so you get perfect cookies every time.
- Preheat your oven to 350°F (175°C). Line two baking sheets with parchment paper or silicone mats. This ensures your cookies won’t stick and makes cleanup a breeze.
- In a large bowl, cream together the softened butter, granulated sugar, and brown sugar. Beat on medium speed for about 2-3 minutes until the mixture is light, fluffy, and pale in color. Scrape down the sides of the bowl halfway through. You want it to look like a thick, creamy paste.
- Add the eggs one at a time, beating well after each addition. Then add the eggnog and vanilla extract. Mix on low speed until just combined. The mixture might look a little curdled at this point—don’t worry, that’s normal. It will come together once you add the dry ingredients.
- In a separate medium bowl, whisk together the flour, nutmeg, cinnamon, baking soda, baking powder, and salt. Whisking ensures the leavening agents and spices are evenly distributed throughout the flour.
- Gradually add the dry ingredients to the wet ingredients, mixing on low speed. Add about one-third of the flour mixture at a time, mixing just until incorporated after each addition. Be careful not to overmix—stop as soon as you no longer see streaks of flour. Overmixing can make your cookies tough.
- In a small bowl, combine the coating ingredients: 1/4 cup sugar, 1 tablespoon cinnamon, and 1/2 teaspoon nutmeg. Stir with a fork until well blended.
- Using a cookie scoop or tablespoon, portion out about 1.5 tablespoons of dough per cookie. Roll each portion into a ball between your palms. The dough will be slightly soft and sticky, but it should hold its shape.
- Roll each dough ball in the cinnamon-sugar mixture until fully coated. Place the coated dough balls on the prepared baking sheets, spacing them about 2 inches apart. They will spread, so give them room.
- Bake for 10-12 minutes, or until the edges are set and the tops are crackled. The centers will still look slightly soft and puffy—that’s exactly what you want. They’ll continue to set as they cool. For softer cookies, bake for 10 minutes. For slightly crisper edges, go for 12.
- Remove from the oven and let the cookies cool on the baking sheet for 5 minutes. This allows them to finish setting up. Then transfer them to a wire cooling rack to cool completely.
Sensory Cue: When these cookies are done, your kitchen will smell like a holiday candle shop. The edges should be lightly golden, and the tops will have that beautiful crackled look that snickerdoodles are famous for. If you tap one gently, it should feel firm on the edges but soft in the center.
Cooking Tips & Techniques
I’ve made these cookies more times than I can count, and I’ve learned a few things along the way. Here are my best tips for getting them right every time.
Don’t skip softening the butter. I know it’s tempting to microwave it for 10 seconds when you’re in a hurry, but melted butter will change the texture of your cookies completely. They’ll spread too much and end up flat and greasy. Leave your butter out on the counter for about an hour before you start baking. If you forget, cut it into small cubes and let it sit for 20 minutes—that usually does the trick.
Measure your flour correctly. This is the number one mistake I see with cookie recipes. Scooping your measuring cup directly into the flour bag packs in way too much flour, making your cookies dry and dense. Instead, spoon the flour into your measuring cup, then level it off with the back of a knife. It takes an extra 10 seconds and makes a huge difference.
Chill the dough if it’s too sticky. Sometimes, depending on the humidity or the brand of eggnog you use, the dough can be a little too soft to roll into balls. If that happens, just pop the bowl in the fridge for 15-20 minutes. It will firm up nicely and be much easier to handle.
Use a cookie scoop for even baking. I learned this the hard way after baking a tray of cookies where some were burnt and others were underdone. Using a scoop ensures every cookie is the same size, so they all bake at the same rate. Plus, it’s faster than rolling by hand.
Let the cookies cool on the baking sheet. I used to transfer my cookies straight to a cooling rack right out of the oven, and they’d fall apart. Those 5 minutes on the hot baking sheet allow the cookies to finish setting up without overbaking. Trust me on this one.
One mistake I still make: Sometimes I get distracted and leave the cookies in the oven a minute too long. The edges get too brown, and the cookies lose that soft, tender center. Set a timer, and don’t wander too far from the kitchen while these are baking. They’re worth paying attention to.
Variations & Adaptations
One of the best things about this recipe is how flexible it is. Here are some ways to make it your own.
Dairy-Free Version: Swap the butter for a good-quality vegan butter stick (I like Miyoko’s or Country Crock Plant Butter) and use a dairy-free eggnog like So Delicious or Califia Farms. The texture will be slightly different—a little less tender—but the flavor is still fantastic. I’ve made these for a friend with a dairy allergy, and she couldn’t tell the difference.
Gluten-Free Option: Use a 1:1 gluten-free baking flour blend like Bob’s Red Mill or King Arthur. These blends already have xanthan gum in them, so you don’t need to add anything extra. The cookies will be a bit more crumbly, but they’re still delicious. Just handle them gently when transferring to the cooling rack.
Extra Spiced Version: If you’re like me and love a bold spice profile, add 1/4 teaspoon of ground cloves and 1/4 teaspoon of ground ginger to the dry ingredients. It gives the cookies a gingerbread-meets-eggnog vibe that’s perfect for Christmas cookie exchanges.
Eggnog Glaze: For an extra decadent touch, whisk together 1 cup of powdered sugar, 2 tablespoons of eggnog, and 1/4 teaspoon of nutmeg until smooth. Drizzle it over the cooled cookies. It adds a beautiful glossy finish and an extra layer of eggnog flavor. My kids call these the “fancy cookies” and fight over them.
Freeze-and-Bake Option: Roll the dough into balls and coat them in the cinnamon-sugar mixture, then place them on a baking sheet in the freezer for about an hour. Once frozen solid, transfer them to a zip-top bag. When you’re ready to bake, just pop them on a baking sheet and add 1-2 minutes to the baking time. Fresh cookies in minutes, without the mess.
Serving & Storage Suggestions
These cookies are best served slightly warm, when the centers are still soft and the cinnamon-sugar coating is at its crunchiest. I like to arrange them on a festive platter with a few sprigs of fresh rosemary or holly for a holiday touch. They’re perfect alongside a cup of hot cocoa, a mug of coffee, or—you guessed it—a glass of eggnog.
At Room Temperature: Store these cookies in an airtight container at room temperature for up to 5 days. Place a slice of bread in the container to keep them soft—the cookies will absorb the moisture from the bread, staying tender and fresh. Just replace the bread slice every couple of days.
In the Freezer: Baked cookies freeze beautifully. Let them cool completely, then place them in a single layer in a freezer-safe container or zip-top bag, separated by parchment paper. They’ll keep for up to 3 months. When you’re ready to enjoy them, let them thaw at room temperature for about 30 minutes, or pop them in a 300°F oven for 5 minutes to warm them up.
Flavor Development: Here’s a little secret—these cookies actually taste better the next day. The spices have time to meld together, and the texture becomes even softer and more tender. If you can resist eating them all on day one, you’ll be rewarded on day two.
Reheating: If you like your cookies warm, microwave one for about 10-15 seconds. It’ll taste like it just came out of the oven. For a bigger batch, warm them in a 300°F oven for 3-5 minutes.
Nutritional Information & Benefits
Let’s be real—these are cookies, not health food. But that doesn’t mean they can’t have a place in a balanced diet, especially during the holidays when we’re all about treating ourselves.
Per cookie (based on 36 cookies): Approximately 130 calories, 6g fat, 18g carbohydrates, 2g protein, 10g sugar, and 1g fiber. These values will vary slightly depending on the specific brands and ingredients you use.
Health Highlights: The eggnog in this recipe adds a small amount of calcium and vitamin D, thanks to the milk and eggs. The cinnamon and nutmeg are both packed with antioxidants and have anti-inflammatory properties. Plus, the protein from the eggs helps balance out the sugar a bit, giving you a more sustained energy release than a plain sugar cookie.
Dietary Considerations: This recipe contains dairy, eggs, and gluten. For dairy-free or gluten-free options, check the variations section above. These cookies are also nut-free, making them a safe choice for school parties or gatherings where nut allergies might be a concern.
My Take: I’m not here to tell you that cookies are good for you. But I do believe that homemade treats made with real ingredients are infinitely better than anything you’d buy at the store. And when you’re sharing them with the people you love? That’s good for the soul.
Conclusion
These Kid-Approved Eggnog Snickerdoodle Cookies have become a non-negotiable part of my holiday baking. They’re the cookies that disappear first at parties, the ones my kids ask for by name, and the ones I’m proud to give as gifts. They came from a happy accident in my kitchen, but they’ve earned their place through sheer deliciousness.
What I love most about this recipe is how forgiving it is. You don’t need to be a professional baker to nail it. The dough is easy to work with, the ingredients are simple, and the result is always, always good. Whether you’re baking for a holiday gathering, a school party, or just a cozy night in with your family, these cookies deliver.
I’d love to hear how yours turn out! Did you try any of the variations? Did your kids gobble them up as fast as mine do? Drop a comment below and let me know. And if you’re looking for more holiday baking inspiration, be sure to check out my crispy garlic chicken recipe for a savory break from all the sweets or my easy chocolate chip cookies for another crowd-pleasing classic. Happy baking, friends!
Frequently Asked Questions
Can I use low-fat eggnog in this recipe?
You can, but the cookies won’t be as soft and tender. Full-fat eggnog gives the best texture and richest flavor. If you only have low-fat on hand, add an extra tablespoon of butter to compensate for the reduced fat.
Why did my cookies turn out flat?
Flat cookies usually mean the butter was too soft or melted, or the dough wasn’t chilled enough. Make sure your butter is softened but still holds its shape, and if your kitchen is warm, chill the dough balls for 15 minutes before baking.
Can I make the dough ahead of time?
Absolutely! You can refrigerate the dough for up to 3 days. Just wrap it tightly in plastic wrap or store it in an airtight container. When you’re ready to bake, let it sit at room temperature for about 15 minutes to soften slightly before rolling into balls.
How do I get the perfect crackled top on my cookies?
The crackled top comes from rolling the dough balls generously in the cinnamon-sugar mixture and baking them at the right temperature. Make sure your oven is fully preheated to 350°F, and don’t overbake—take them out when the edges are set but the centers still look soft.
Can I double this recipe?
Yes, this recipe doubles beautifully. Just make sure you have enough baking sheets and space in your oven. If you’re baking multiple batches, rotate the baking sheets halfway through to ensure even baking.
Pin This Recipe!
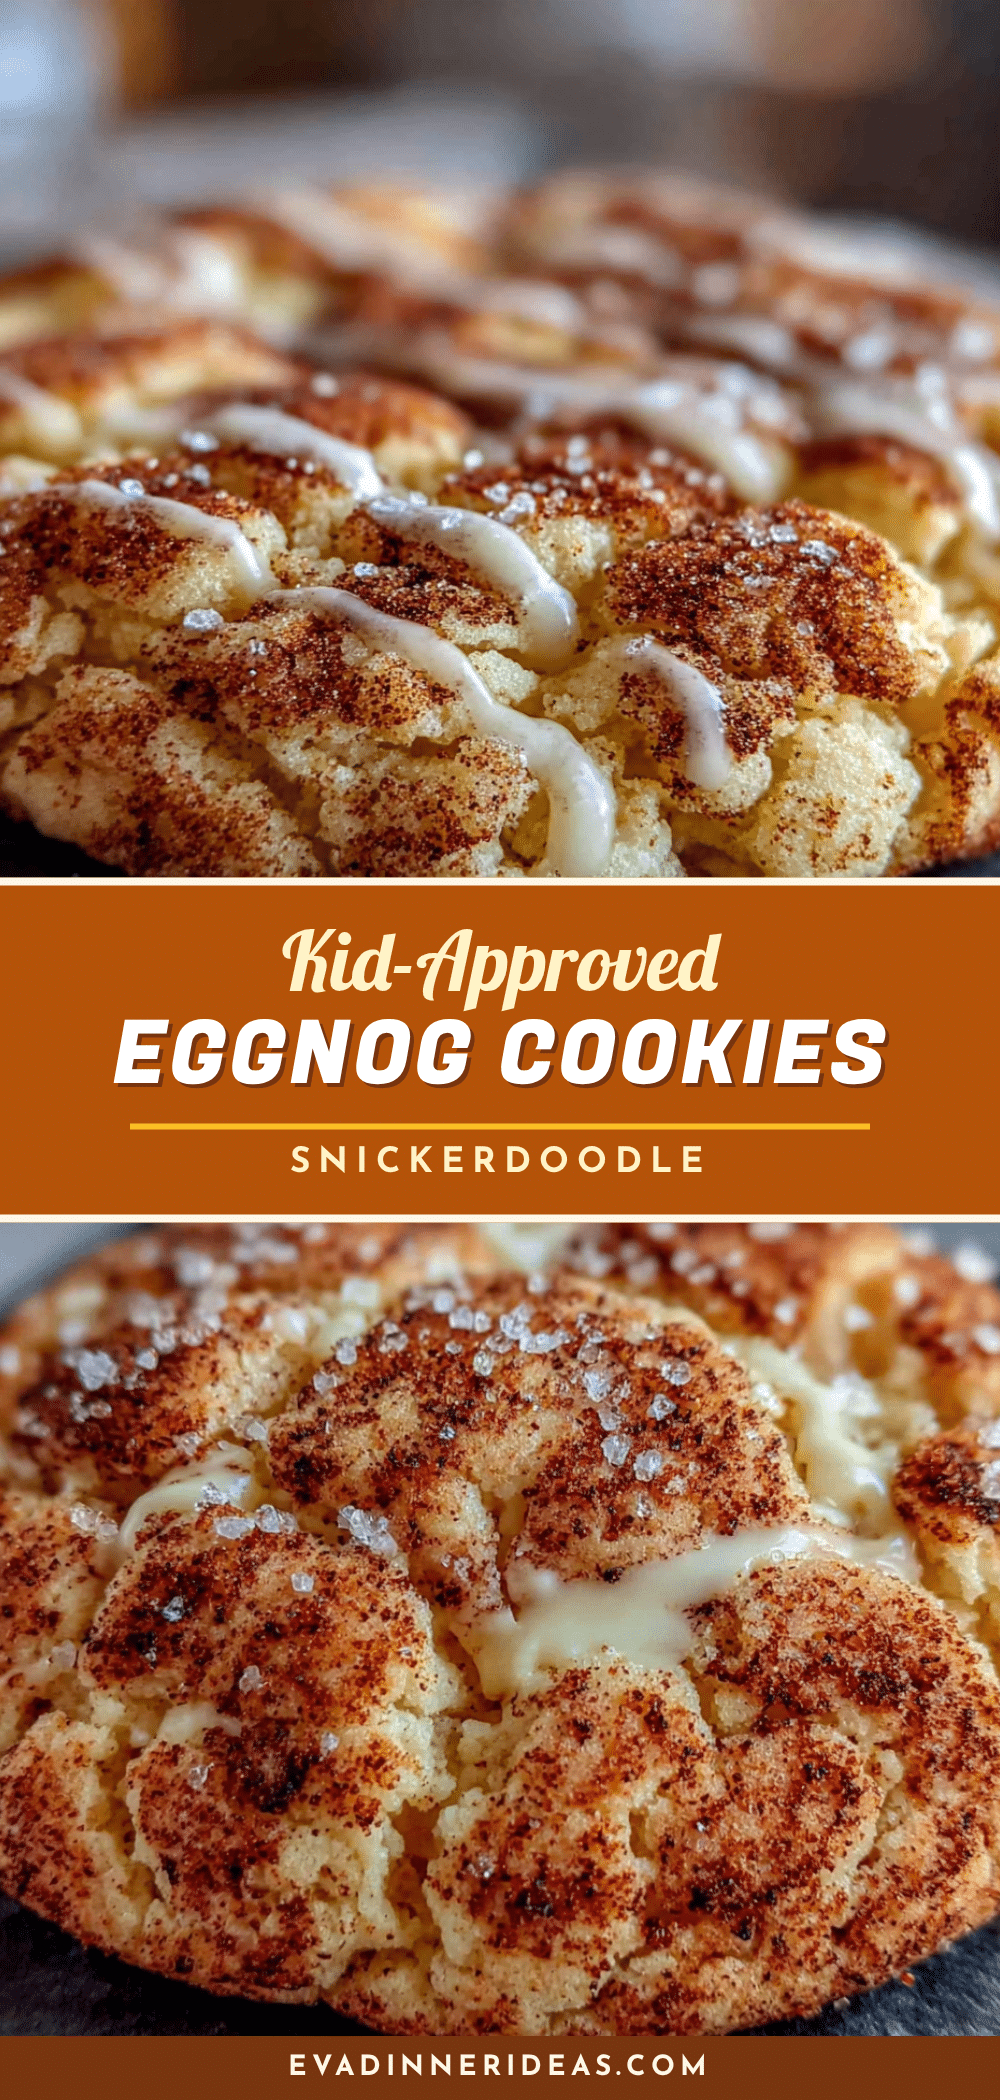
Kid-Approved Eggnog Snickerdoodle Cookies: Easy Holiday Recipe

These soft, pillowy snickerdoodle cookies are made with eggnog for a subtle holiday twist. They’re quick, easy, and kid-approved—perfect for holiday baking.
- Prep Time: 15 minutes
- Cook Time: 12 minutes
- Total Time: 27 minutes
- Yield: 36 cookies 1x
- Category: Dessert
- Cuisine: American
Ingredients
- 1 cup (2 sticks) unsalted butter, softened
- 1 cup granulated sugar
- 1/2 cup brown sugar, packed
- 2 large eggs, room temperature
- 1/2 cup eggnog
- 1 teaspoon vanilla extract
- 1/2 teaspoon ground nutmeg
- 1/2 teaspoon ground cinnamon
- 1 teaspoon baking soda
- 1/2 teaspoon baking powder
- 1/2 teaspoon salt
- 3 cups all-purpose flour
- 1/4 cup granulated sugar (for coating)
- 1 tablespoon ground cinnamon (for coating)
- 1/2 teaspoon ground nutmeg (for coating)
Instructions
- Preheat your oven to 350°F (175°C). Line two baking sheets with parchment paper or silicone mats.
- In a large bowl, cream together the softened butter, granulated sugar, and brown sugar. Beat on medium speed for about 2-3 minutes until light, fluffy, and pale in color. Scrape down the sides of the bowl halfway through.
- Add the eggs one at a time, beating well after each addition. Then add the eggnog and vanilla extract. Mix on low speed until just combined.
- In a separate medium bowl, whisk together the flour, nutmeg, cinnamon, baking soda, baking powder, and salt.
- Gradually add the dry ingredients to the wet ingredients, mixing on low speed. Add about one-third of the flour mixture at a time, mixing just until incorporated after each addition. Be careful not to overmix.
- In a small bowl, combine the coating ingredients: 1/4 cup sugar, 1 tablespoon cinnamon, and 1/2 teaspoon nutmeg. Stir with a fork until well blended.
- Using a cookie scoop or tablespoon, portion out about 1.5 tablespoons of dough per cookie. Roll each portion into a ball between your palms.
- Roll each dough ball in the cinnamon-sugar mixture until fully coated. Place the coated dough balls on the prepared baking sheets, spacing them about 2 inches apart.
- Bake for 10-12 minutes, or until the edges are set and the tops are crackled. The centers will still look slightly soft and puffy.
- Remove from the oven and let the cookies cool on the baking sheet for 5 minutes. Then transfer them to a wire cooling rack to cool completely.
Notes
For softer cookies, bake for 10 minutes. For slightly crisper edges, bake for 12 minutes. The cookies taste even better the next day as the spices meld. Store in an airtight container at room temperature for up to 5 days, or freeze for up to 3 months.
Nutrition
- Serving Size: 1 cookie
- Calories: 130
- Sugar: 10
- Sodium: 95
- Fat: 6
- Saturated Fat: 3.5
- Carbohydrates: 18
- Fiber: 1
- Protein: 2
Keywords: eggnog snickerdoodle cookies, holiday cookies, easy cookie recipe, kid-friendly cookies, snickerdoodle recipe


