I was digging through the back of my freezer last Tuesday, hunting for a bag of frozen peas, when my fingers brushed against a cold, unfamiliar container. I pulled it out—a quart-sized deli tub, the kind you get soup in from the corner spot. I peeled back the lid, and the faint, sweet smell of caramel and vanilla hit me. And just like that, I was eight years old, sitting on the sticky linoleum floor of my aunt Rita’s kitchen in July, watching her crank the handle on that old wooden ice cream maker, the one with the rock salt caked around the rim. She’d let me lick the dasher when she was done, even though my mom always said it wasn’t sanitary. That memory—the cold, the salt, the burn of sugar on my tongue—stayed with me. I’ve been chasing that exact feeling ever since, and honestly, I think I finally caught it with this no-churn version. It’s not the same as Aunt Rita’s (I don’t think anything ever will be), but it’s close. Close enough that I’ve stopped looking.
So let me tell you about this homemade no-churn salted caramel ice cream. It’s the kind of thing you make when you need a win, you know? When you want something that feels fancy but doesn’t ask you to haul out a machine or babysit a custard on the stove. It’s creamy, it’s salty, it’s sweet in that way that makes you close your eyes for a second. And it comes together with five ingredients you probably already have. Maybe you’ve been there—standing in front of the freezer aisle, staring at a pint that costs eight bucks and has a list of ingredients you can’t pronounce. This is the answer to that moment.
Why You’ll Love This Recipe
Look, I’ve tested a lot of ice cream recipes over the years. Some were good. Some were a sad, icy mess that I quietly threw away when no one was looking. This one? This one is the keeper. Here’s why you’re going to love it:
- No Machine Required: You don’t need a fancy ice cream maker or a kitchen aid attachment. Just a bowl, a whisk, and a freezer. That’s it.
- Five Simple Ingredients: Heavy cream, sweetened condensed milk, vanilla extract, flaky sea salt, and homemade caramel sauce. No eggs, no tempering, no stress.
- Budget-Friendly: A pint of good salted caramel ice cream at the store can run you six or seven bucks. This whole batch costs less than that, and you get way more than a pint.
- Crowd-Pleaser: I brought this to a family barbecue last summer, and my uncle—who “doesn’t like sweet stuff”—ate three scoops. Three. It’s that good.
- Picky Eater Approved: My youngest, who lives on plain pasta and air, asked for seconds. I almost cried. (Almost.)
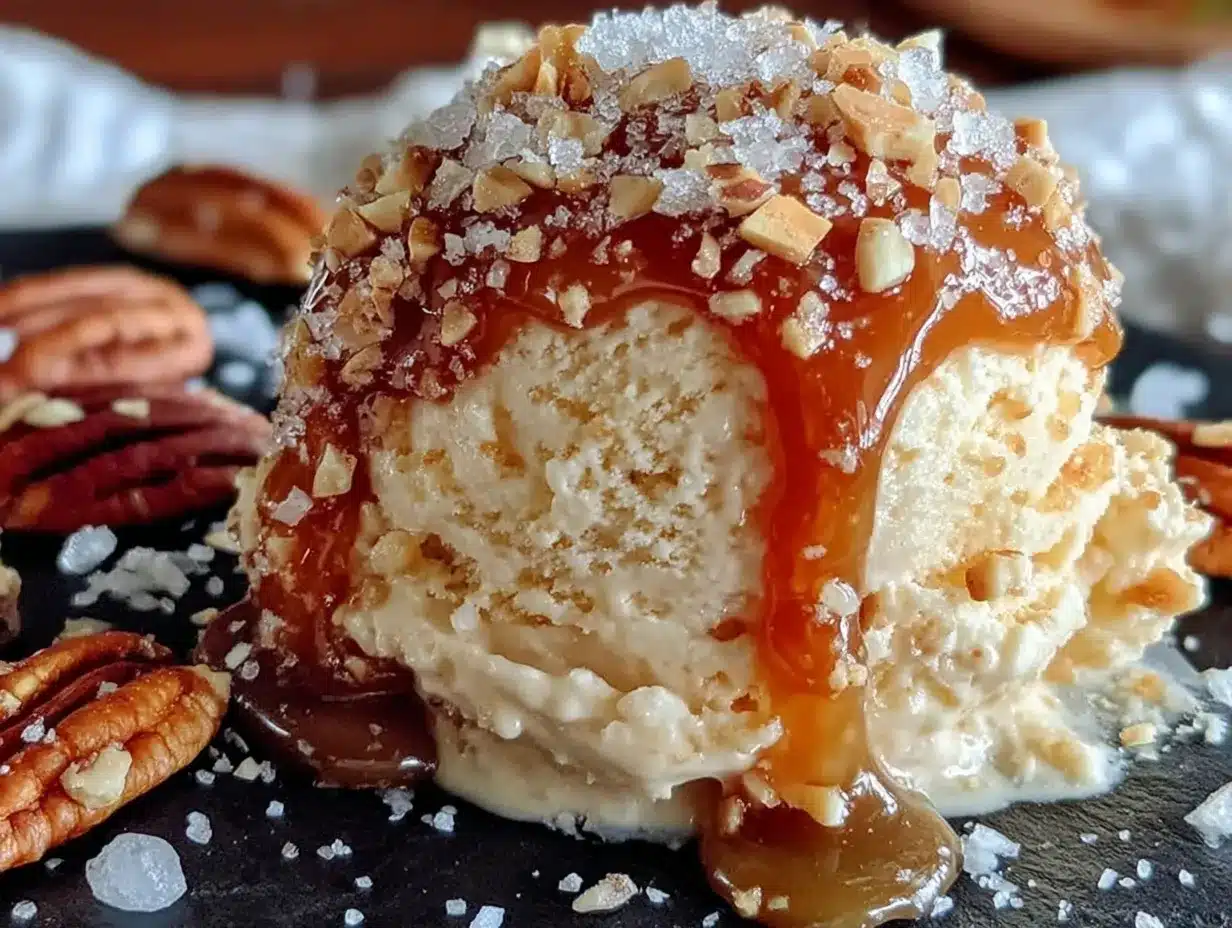
This isn’t just another no-churn recipe you’ll find online. The trick here is how you layer the caramel. Most recipes just swirl it in at the end, but I’ve found that layering it—dolloping it between spoonfuls of the cream base—gives you these gorgeous ribbons of gooey caramel that stay soft even after freezing. It’s a small thing, but it makes a huge difference. Plus, the salt isn’t an afterthought. I use a generous sprinkle of flaky sea salt right before serving, so you get that crunch and pop of salinity against the sweet cream. It’s the kind of detail that turns a good dessert into a memorable one.
What Ingredients You Will Need
This recipe uses simple, everyday ingredients to deliver a dessert that tastes anything but ordinary. Here’s what you’ll need to grab:
- 2 cups heavy cream (cold, straight from the fridge — the colder it is, the faster it whips up)
- 1 can (14 ounces) sweetened condensed milk (I prefer Eagle Brand, but any brand works fine)
- 1 teaspoon vanilla extract (pure, not imitation — it makes a difference in the depth of flavor)
- ½ cup homemade caramel sauce (cooled to room temperature — I’ll share my go-to recipe below, but a good store-bought one like Ghirardelli works in a pinch)
- 1 teaspoon flaky sea salt (like Maldon — don’t use table salt here, it’s too fine and will dissolve. You want those crunchy little crystals)
For the homemade caramel sauce (because it’s so easy, you might as well):
- 1 cup granulated sugar
- 6 tablespoons unsalted butter (cut into cubes, at room temperature)
- ½ cup heavy cream (room temperature — cold cream will seize the caramel)
- 1 teaspoon vanilla extract
- A pinch of sea salt
Now, let’s talk about substitutions. If you’re dairy-free, you can swap the heavy cream for a full-fat coconut cream (the kind in a can, chilled overnight) and use a dairy-free condensed milk like Nature’s Charm. The texture will be slightly different—a little more coconutty, a little less rich—but it’s still delicious. For a lower-sugar version, you can use a sugar-free sweetened condensed milk, but I’ll be honest: the texture won’t be as creamy. Sugar does a lot of heavy lifting in ice cream, keeping it soft and scoopable. If you’re watching your sugar, just make smaller portions and enjoy it as a treat.
When you’re picking your caramel sauce, go for one that’s thick and luscious, not runny. A thin sauce will sink to the bottom of your ice cream and make a mess. If you’re making it from scratch, cook it until it’s a deep amber color—think the color of a penny. That’s when the flavor really develops.
Equipment Needed
You don’t need a lot of fancy tools for this one, which is honestly my favorite part. Here’s what you’ll need:
- A large mixing bowl (metal or glass — plastic can hold onto odors)
- A hand mixer or stand mixer (you can whisk by hand, but your arm will get a workout. I’ve done it. It’s not fun.)
- A rubber spatula (for folding and scraping every last bit of goodness)
- A 9×5-inch loaf pan (or any freezer-safe container — I’ve used a round cake pan in a pinch)
- Parchment paper (optional but helpful for easy removal)
- A small saucepan (if you’re making the caramel from scratch)
- A candy thermometer (helpful for the caramel, but not essential — you can go by color)
If you don’t have a hand mixer, you can absolutely whip the cream by hand. I did it once when my mixer broke mid-recipe, and it took about eight minutes of steady whisking. Put on a good podcast and go for it. Just make sure your cream is really cold, and use a metal bowl — it helps the cream whip faster.
Preparation Method
Alright, let’s get to it. This is the fun part. Take your time, and don’t rush the steps — the results are worth it.
- Make the caramel sauce (if making from scratch): In a medium saucepan over medium heat, melt the sugar, stirring constantly with a heatproof spatula. It’ll clump up at first — don’t panic. Keep stirring, and it’ll eventually melt into a smooth, amber liquid. This takes about 6-8 minutes. Once it’s a deep golden color (like a new penny), remove it from the heat immediately. Whisk in the butter until it’s fully melted and combined — it will bubble up, so be careful. Slowly pour in the cream while whisking continuously. It’ll bubble up again, so keep going. Stir in the vanilla and a pinch of salt. Let it cool completely to room temperature. You can speed this up by putting the saucepan in an ice bath, but don’t refrigerate it — cold caramel will harden.
- Whip the cream: Pour the cold heavy cream into your large mixing bowl. Using a hand mixer or stand mixer fitted with the whisk attachment, beat the cream on medium-high speed until stiff peaks form. You’re looking for peaks that hold their shape when you lift the whisk — not so stiff that they look curdled, but firm enough that they don’t slump. This usually takes about 3-4 minutes. Don’t over-whip, or you’ll end up with butter. (Yes, I’ve done that. It’s a sad day.)
- Fold in the condensed milk and vanilla: Pour the sweetened condensed milk and vanilla extract over the whipped cream. Using a rubber spatula, gently fold everything together until no white streaks remain. Be gentle here — you want to keep as much air in the mixture as possible. That air is what makes the ice cream light and creamy instead of dense and icy.
- Layer in the caramel: Spoon about one-third of the cream mixture into your loaf pan (lined with parchment paper if you’re using it). Drizzle about one-third of the cooled caramel sauce over the top. Don’t stir it in — just let it sit on top. Repeat with another third of the cream mixture, then another third of the caramel. Finish with the last of the cream mixture and the last of the caramel. Take a butter knife and gently swirl it through the mixture — just two or three figure-eight motions. You want ribbons of caramel, not a fully incorporated caramel-flavored base.
- Add the salt and freeze: Sprinkle half of the flaky sea salt over the top. Cover the pan tightly with plastic wrap or a lid, and place it in the freezer. Freeze for at least 6 hours, but overnight is better. The longer it freezes, the firmer it gets.
- Serve: When you’re ready to eat, let the ice cream sit at room temperature for about 5-10 minutes to soften slightly. Scoop into bowls, sprinkle with the remaining flaky sea salt, and enjoy. Trust me on the salt — it’s the finishing touch that makes everything sing.
Cooking Tips & Techniques
I’ve made this recipe about a dozen times now, and I’ve learned a few things the hard way. Here are my best tips:
- Don’t over-whip the cream. I know I said it already, but it’s worth repeating. Stiff peaks are your goal. If you go past that, you’ll start seeing little yellow flecks — that’s the butter separating. Stop immediately if that happens. You can still use it, but the texture won’t be as smooth.
- Cool the caramel completely. I made the mistake of adding warm caramel to the cream base once, and it melted everything into a soupy mess. The ice cream still froze, but it was icy and sad. Let the caramel sit until it’s room temperature — about 30 minutes.
- Use a metal loaf pan. Metal conducts cold better than glass or ceramic, so your ice cream will freeze faster and more evenly. If you only have glass, just plan on a longer freeze time — closer to 8-10 hours.
- Don’t skip the salt. I know it sounds weird to put salt on ice cream, but it’s not about making it salty. It’s about balancing the sweetness and adding a little crunch. My kids love picking out the little salt crystals — it’s like a treasure hunt.
- Plan ahead for scooping. No-churn ice cream freezes harder than churned ice cream because it has less air incorporated. Let it sit out for 5-10 minutes before scooping. If you’re in a hurry, run your scoop under hot water first.
Variations & Adaptations
This recipe is a great base for all kinds of fun twists. Here are a few I’ve tried:
- Chocolate Salted Caramel: Add ¼ cup cocoa powder to the cream mixture before folding. It turns into a fudgy, chocolatey version that’s dangerously good. My neighbor Karen begged me for the recipe after I brought it to a block party.
- Vegan Version: Use full-fat coconut cream and dairy-free condensed milk. The coconut flavor is noticeable, but it pairs beautifully with the caramel. Just make sure your coconut cream is chilled overnight so the solids separate from the liquid.
- Boozy Salted Caramel: Add 2 tablespoons of bourbon or dark rum to the cream mixture. The alcohol keeps the ice cream softer and adds a warm, grown-up flavor. I did this for a dinner party once, and it was a hit.
- Nutty Caramel Crunch: Fold in ½ cup of toasted pecans or salted peanuts before freezing. The crunch is a lovely contrast to the creamy base. I like to toast the nuts in a dry pan for a few minutes until they smell fragrant.
- Mocha Caramel: Dissolve 1 tablespoon of instant espresso powder in the vanilla extract before adding it to the cream. The coffee flavor deepens the caramel and makes it taste even more complex.
If you’re feeling adventurous, try making a salted caramel swirl with a different kind of salt. Smoked sea salt gives it a subtle barbecue vibe that’s weirdly good. Or use a flavored salt, like truffle salt — just a tiny pinch. It’s not for everyone, but I love it.
Serving & Storage Suggestions
This ice cream is best served straight from the freezer, with a generous pinch of flaky sea salt on top. I like to serve it in chilled bowls — just pop them in the freezer for 10 minutes before scooping. It keeps the ice cream from melting too fast.
For a fun presentation, drizzle a little extra caramel sauce over the top and add a few toasted nuts. You can also serve it alongside a warm dessert, like brownies or a slice of apple pie. The hot-and-cold contrast is incredible.
To store, keep the ice cream in a tightly covered container in the freezer. It will keep for up to 2 weeks, but honestly, it never lasts that long in my house. The texture is best within the first week. After that, it might develop a few ice crystals, but it’s still perfectly good — just let it soften a little longer before scooping.
If you’re making this ahead for a party, you can prepare it up to 3 days in advance. Just keep it covered and don’t sprinkle the final salt on until you’re ready to serve. The salt will dissolve if it sits on top too long.
Nutritional Information & Benefits
Let’s be real — this is a treat, not a health food. But here’s the approximate nutritional breakdown per serving (based on 8 servings):
- Calories: 410
- Fat: 28g
- Carbohydrates: 38g
- Protein: 4g
- Sugar: 35g
- Sodium: 180mg
The heavy cream provides a good dose of vitamin A and calcium, and the caramel — well, it’s mostly sugar, but it makes your soul happy. If you’re watching your sugar intake, you can use a sugar-free sweetened condensed milk and a sugar-free caramel sauce. The texture won’t be as creamy, but it’s a decent compromise.
This recipe is gluten-free and nut-free as written, but always check your ingredient labels to be sure. The sweetened condensed milk and caramel sauce are the only potential sources of hidden gluten or nuts.
Conclusion
So there you have it — my homemade no-churn salted caramel ice cream. It’s creamy, it’s salty, it’s sweet, and it’s so much easier than you think. Every time I make it, I think of Aunt Rita and that sticky linoleum floor, and I smile. It’s not the same as her ice cream, but it’s my version — and it’s pretty darn good.
I’d love to hear how yours turns out. Did you try a fun variation? Did your kids love it? Did you accidentally over-whip the cream and learn a lesson? (It happens to the best of us.) Drop a comment below and let me know. And if you share a photo on Pinterest, tag me — I want to see those caramel ribbons!
Go on, give it a try. Your freezer is waiting.
Frequently Asked Questions
Can I use store-bought caramel sauce?
Absolutely. Just pick a thick, high-quality sauce — not the thin kind you’d put on a sundae. Ghirardelli or a good dulce de leche works perfectly.
Why did my ice cream turn out icy?
This usually happens if the cream wasn’t whipped enough or if the caramel was too warm when you added it. Make sure your cream is whipped to stiff peaks and your caramel is completely cool.
Can I make this without a hand mixer?
Yes, you can whip the cream by hand with a whisk. It’ll take about 8-10 minutes of steady work. Use a metal bowl and make sure your cream is really cold.
How long does this ice cream keep in the freezer?
It’s best within the first week, but it will keep for up to 2 weeks if tightly covered. After that, it might develop ice crystals.
Can I double this recipe?
Yes, just double all the ingredients and use a larger container. A 9×13-inch dish works well. The freeze time might be a little longer — closer to 8-10 hours.
Pin This Recipe!
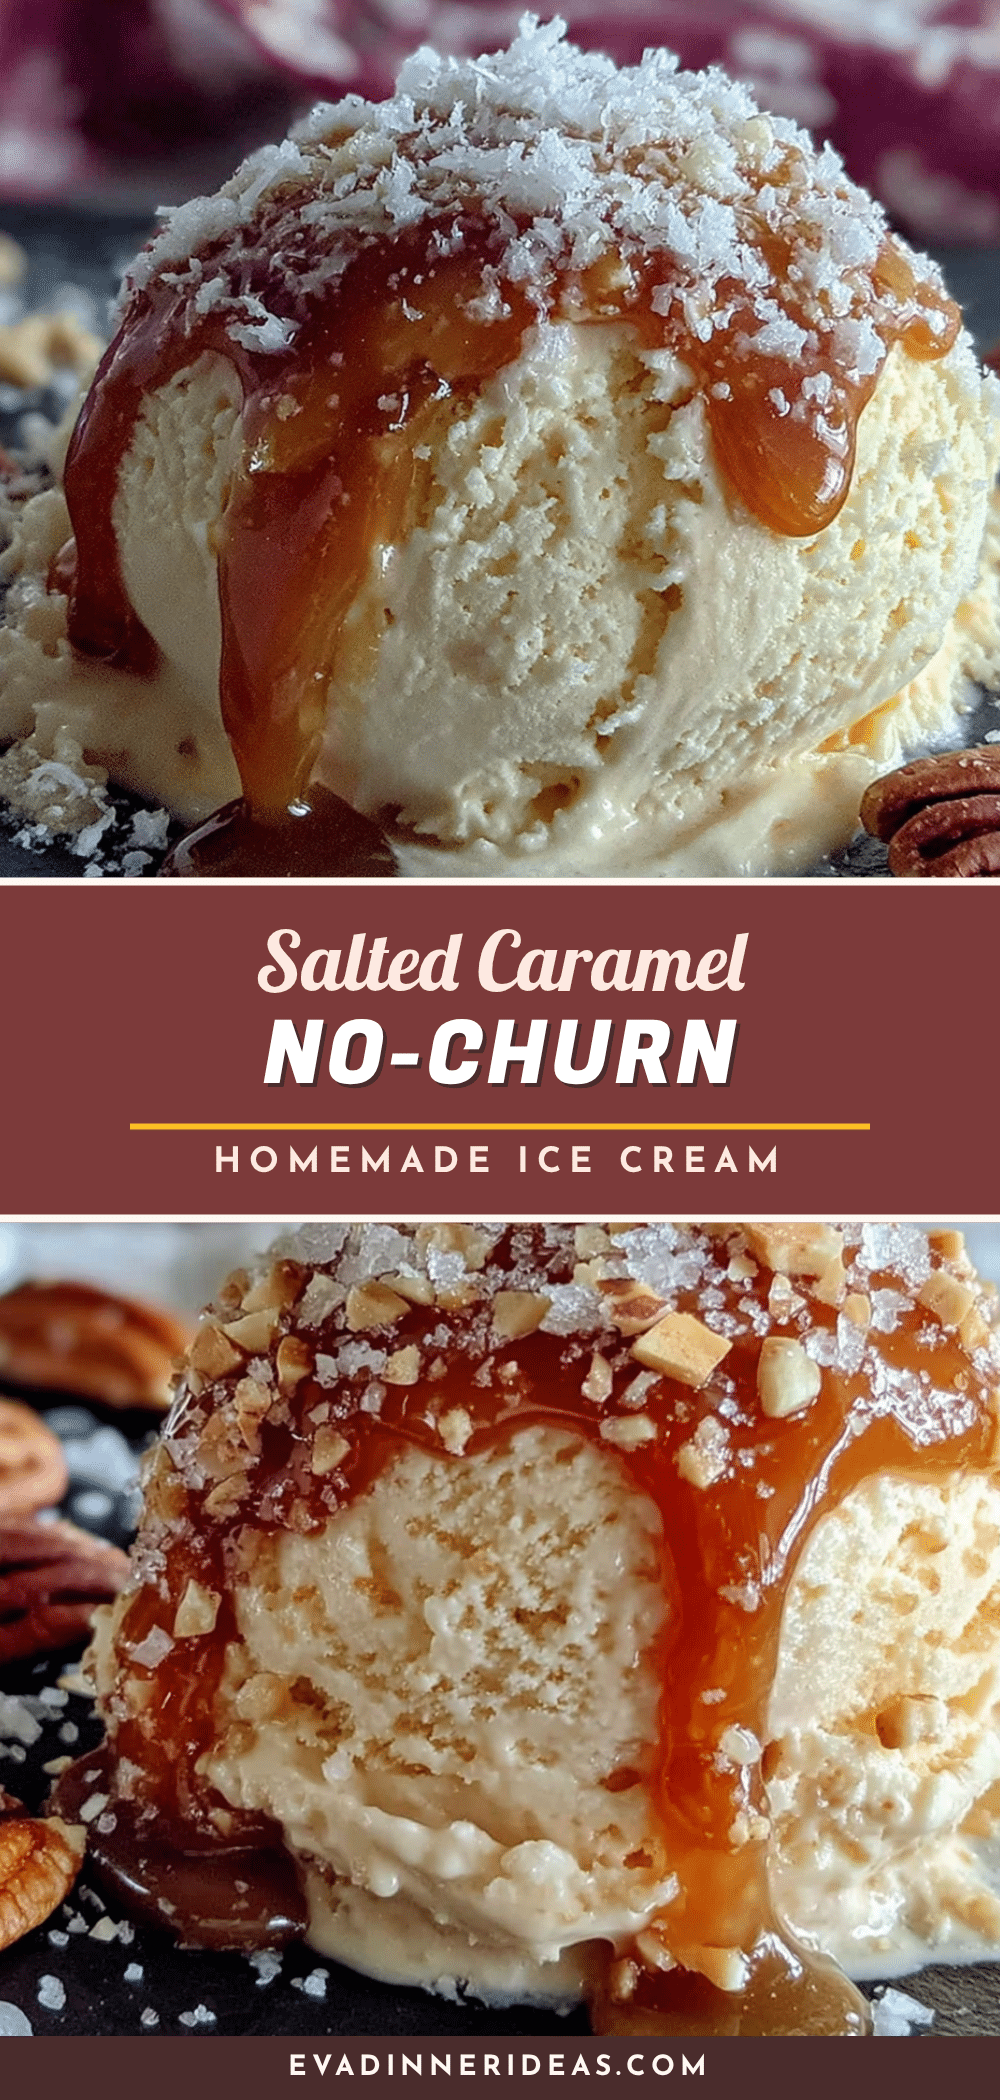
Homemade No-Churn Salted Caramel Ice Cream – Easy 5-Ingredient Recipe

This creamy, salty-sweet no-churn salted caramel ice cream comes together with just five simple ingredients and no machine required. It’s a budget-friendly, crowd-pleasing dessert that delivers gorgeous ribbons of gooey caramel and a crunchy pop of flaky sea salt.
- Prep Time: 15 minutes
- Cook Time: 10 minutes
- Total Time: 6 hours 25 minutes (includes freezing)
- Yield: 8 servings 1x
- Category: Dessert
- Cuisine: American
Ingredients
- 2 cups heavy cream (cold)
- 1 can (14 ounces) sweetened condensed milk
- 1 teaspoon vanilla extract (pure)
- ½ cup homemade caramel sauce (cooled to room temperature)
- 1 teaspoon flaky sea salt (like Maldon)
- For the homemade caramel sauce:
- 1 cup granulated sugar
- 6 tablespoons unsalted butter (cut into cubes, at room temperature)
- ½ cup heavy cream (room temperature)
- 1 teaspoon vanilla extract
- A pinch of sea salt
Instructions
- Make the caramel sauce (if making from scratch): In a medium saucepan over medium heat, melt the sugar, stirring constantly with a heatproof spatula. It’ll clump up at first — don’t panic. Keep stirring, and it’ll eventually melt into a smooth, amber liquid. This takes about 6-8 minutes. Once it’s a deep golden color (like a new penny), remove it from the heat immediately. Whisk in the butter until it’s fully melted and combined — it will bubble up, so be careful. Slowly pour in the cream while …
- Whip the cream: Pour the cold heavy cream into your large mixing bowl. Using a hand mixer or stand mixer fitted with the whisk attachment, beat the cream on medium-high speed until stiff peaks form. You’re looking for peaks that hold their shape when you lift the whisk — not so stiff that they look curdled, but firm enough that they don’t slump. This usually takes about 3-4 minutes. Don’t over-whip, or you’ll end up with butter.
- Fold in the condensed milk and vanilla: Pour the sweetened condensed milk and vanilla extract over the whipped cream. Using a rubber spatula, gently fold everything together until no white streaks remain. Be gentle here — you want to keep as much air in the mixture as possible.
- Layer in the caramel: Spoon about one-third of the cream mixture into your loaf pan (lined with parchment paper if you’re using it). Drizzle about one-third of the cooled caramel sauce over the top. Don’t stir it in — just let it sit on top. Repeat with another third of the cream mixture, then another third of the caramel. Finish with the last of the cream mixture and the last of the caramel. Take a butter knife and gently swirl it through the mixture — just two or three figure-eight motions.
- Add the salt and freeze: Sprinkle half of the flaky sea salt over the top. Cover the pan tightly with plastic wrap or a lid, and place it in the freezer. Freeze for at least 6 hours, but overnight is better.
- Serve: When you’re ready to eat, let the ice cream sit at room temperature for about 5-10 minutes to soften slightly. Scoop into bowls, sprinkle with the remaining flaky sea salt, and enjoy.
Notes
Don’t over-whip the cream; stiff peaks are key. Cool caramel completely before adding to cream base. Use a metal loaf pan for faster freezing. Let ice cream sit out 5-10 minutes before scooping. For best texture, consume within the first week.
Nutrition
- Serving Size: 1 serving (about 1/2
- Calories: 410
- Sugar: 35
- Sodium: 180
- Fat: 28
- Saturated Fat: 17
- Carbohydrates: 38
- Protein: 4
Keywords: no-churn ice cream, salted caramel ice cream, homemade ice cream, easy ice cream, 5-ingredient ice cream, no machine ice cream


