Last July, I was sweating through my third batch of protein shakes that week, trying to convince myself they tasted like a treat. Let’s be real—they didn’t. I was standing in my tiny kitchen, blender already out, when my neighbor across the hall, an older guy named Leo who runs marathons for fun, knocked on my door. He was holding a container of homemade frozen something and said, “You look like you need a break from that chalky stuff.” He handed me a spoonful of what turned out to be the creamiest, most decadent chocolate peanut butter ice cream I had ever tasted—and it was packed with protein. No weird aftertaste, no icy crystals, just pure, rich satisfaction. I asked him how he did it, and he shrugged, saying it was just something he threw together after his long runs. That moment changed my summer dessert game forever. Honestly, I’ve been obsessed ever since, and I’ve tweaked his original method to make it even easier for busy days. Maybe you’ve been there, staring at a pint of store-bought ice cream, wishing it actually fueled you instead of just filling you up. Well, this is the answer.
Why You’ll Love This Recipe
This isn’t just another healthy ice cream recipe that leaves you disappointed. I’ve tested this version more times than I can count, tweaking the ratios until the texture was spot-on—creamy, scoopable, and nothing like the rock-hard blocks you get from protein-heavy recipes. Trust me, I’ve had my fair share of failures (one batch turned into a solid brick that chipped my good spoon).
- Quick & Easy: Comes together in under 10 minutes of active prep, then just a few hours in the freezer. Perfect for those hot afternoons when you need instant gratification.
- Simple Ingredients: No fancy grocery trips needed. You likely have peanut butter, cocoa powder, and milk in your kitchen right now.
- Perfect for Summer: Great for post-workout cool-downs, poolside treats, or late-night cravings without the sugar crash.
- Crowd-Pleaser: Every single person I’ve served this to—from my protein-shake-skeptic sister to my gym buddies—has asked for the recipe.
- Unbelievably Delicious: The combination of rich chocolate and creamy peanut butter is next-level comfort food, but with a protein punch that keeps you full.
What makes this recipe different from the rest is the technique. Instead of relying on heavy cream or loads of sugar for creaminess, I use a clever blend of cottage cheese (trust me on this) and ripe banana. The cottage cheese adds a silky smoothness and a serious protein boost without any cheesy taste—I promise you won’t notice it. The banana adds natural sweetness and a velvety texture that prevents ice crystals. It’s comfort food reimagined—healthier, faster, but with the same soul-soothing satisfaction.
What Ingredients You Will Need
This recipe uses simple, wholesome ingredients to deliver bold flavor and satisfying texture without the fuss. Most of these are pantry staples, especially if you’re someone who keeps protein powder and peanut butter on hand.
- For the base:
- 1 cup cottage cheese (full-fat or 2% works best for creaminess; I prefer Good Culture brand for its thick texture)
- 1 large ripe banana, peeled and sliced (the riper the better—those brown spots mean more sweetness and creaminess)
- 1/2 cup creamy peanut butter (natural, no-stir kind works great; avoid the oily separated kind for best texture)
- 1/4 cup unsweetened cocoa powder (I use Hershey’s Special Dark for a richer chocolate flavor)
- 1/4 cup milk of choice (dairy or unsweetened almond milk both work; add a splash more if the blender struggles)
- 2 scoops chocolate or vanilla protein powder (whey or plant-based; I like Orgain Simple for clean ingredients)
- 2-3 tablespoons maple syrup or honey (adjust based on your sweetness preference and banana ripeness)
- 1 teaspoon vanilla extract
- Pinch of sea salt (enhances the chocolate and peanut butter flavors)
- Optional mix-ins:
- 1/4 cup dark chocolate chips or cacao nibs (for texture)
- 2 tablespoons chopped peanuts (for crunch)
- 1 tablespoon chia seeds (for extra fiber and omega-3s)
Ingredient tips: If you’re dairy-free, use a plant-based cottage cheese alternative (like Kite Hill) and your favorite non-dairy milk. For a nut-free version, swap peanut butter with sunflower seed butter and use a nut-free protein powder. The banana is key here—don’t skip it if you can help it. It’s the secret to that scoopable texture without an ice cream maker.
Equipment Needed
You don’t need a fancy ice cream machine for this recipe, which is honestly one of the best parts. Here’s what you’ll need:
- High-speed blender or food processor: A Vitamix or Ninja works perfectly. If your blender is on the weaker side, let the banana soften at room temperature first and blend in smaller batches.
- Loaf pan or freezer-safe container: A standard 9×5-inch loaf pan works great for even freezing. I’ve also used a wide, shallow dish to speed up freezing time.
- Rubber spatula: For scraping every last bit of that creamy mixture into the pan—don’t waste a drop.
- Parchment paper: Optional, but lining the pan makes lifting out the frozen block much easier.
- Ice cream scoop: A sturdy one with a sharp edge helps when the ice cream is fully frozen. Run it under hot water for easier scooping.
Budget-friendly alternatives: No blender? You can mash the banana by hand and whisk everything together vigorously, though the texture won’t be as silky. No loaf pan? Any freezer-safe bowl works—just cover it tightly with plastic wrap.
Preparation Method
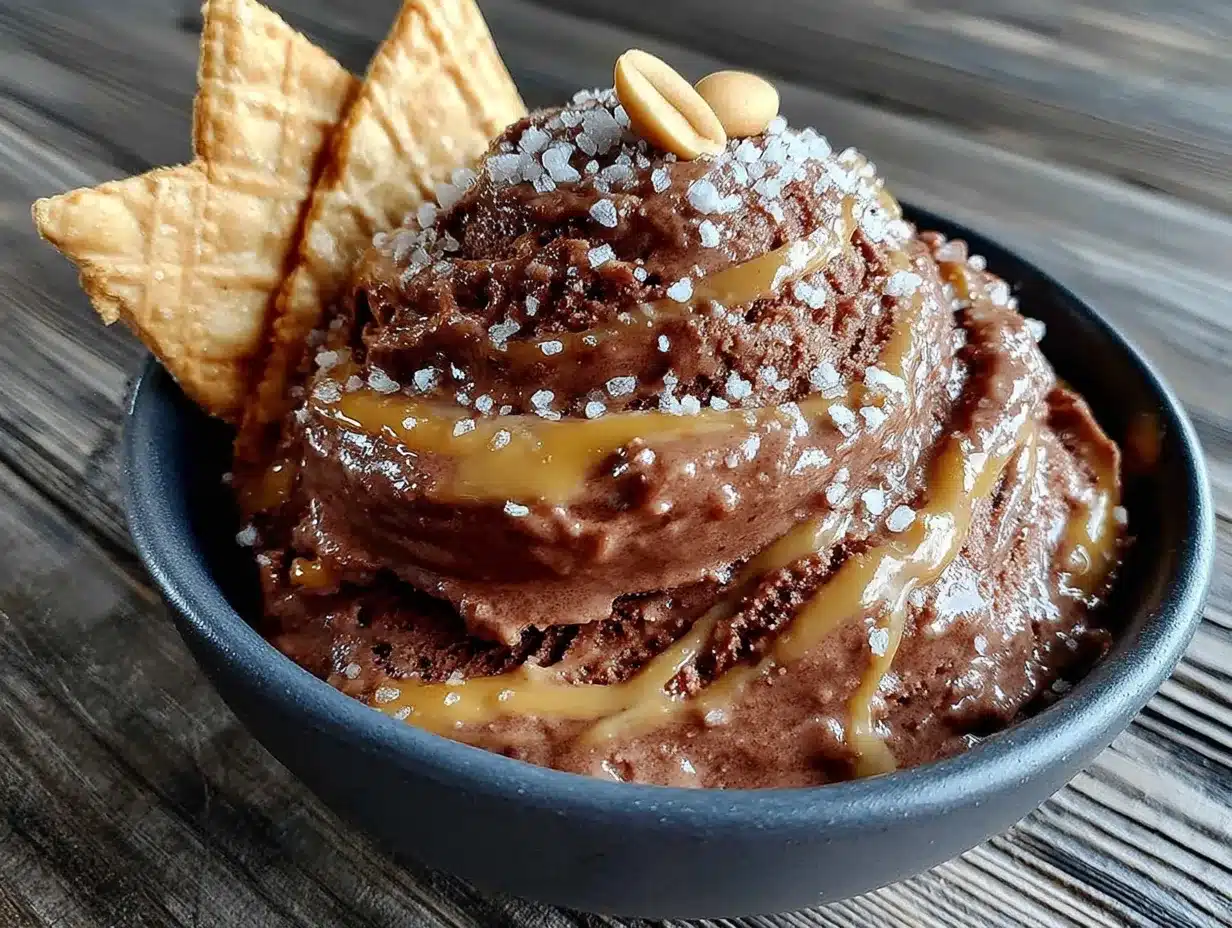
This comes together faster than you’d think. Let me walk you through it step by step, with all the little tricks I’ve learned from making this at least a dozen times this summer.
- Prep your banana and cottage cheese: About 30 minutes before you start, take the banana out of the fridge (if it’s been chilling) and let it come to room temperature. Slice it into chunks. Measure out your cottage cheese and let it sit on the counter too—cold ingredients can make the blending harder and lead to a grainier texture.
- Blend the base: Add the cottage cheese, banana slices, peanut butter, cocoa powder, milk, protein powder, maple syrup, vanilla extract, and salt to your blender. Start on low speed and gradually increase to high. Blend for 45-60 seconds, stopping to scrape down the sides once or twice. The mixture should look like a thick, smooth milkshake—no lumps of cottage cheese or banana chunks visible. If it’s too thick to blend, add another tablespoon of milk.
- Taste and adjust: Here’s the step I never skip. Dip a clean spoon in and taste it. Is it sweet enough? Does the chocolate flavor pop? If you want more sweetness, add another teaspoon of maple syrup. If the peanut butter isn’t coming through, stir in an extra tablespoon. Remember, freezing dulls sweetness slightly, so make it a touch sweeter than you think it needs to be.
- Fold in mix-ins (optional): If you’re using chocolate chips, chopped peanuts, or chia seeds, stir them in by hand now. Don’t blend them—you want little pockets of texture throughout the ice cream.
- Pour into the pan: Line your loaf pan with parchment paper if using, leaving some overhang on the sides. Pour the mixture in and spread it evenly with your spatula. Tap the pan gently on the counter a few times to release any air bubbles.
- Freeze: Place the pan in the freezer, uncovered, for about 1 hour. After that, cover it tightly with plastic wrap or a lid. Freeze for at least 4 hours, but overnight is best for a firm, scoopable texture. The uncovered first hour helps prevent large ice crystals from forming on top.
- Serve: Let the ice cream sit at room temperature for 5-10 minutes before scooping. This softens it just enough to make scooping easy without it melting into soup. Run your scoop under hot water for clean, beautiful scoops.
Sensory cues: When blending, you’ll hear the sound change from a choppy, rattling noise to a smooth, quiet hum—that’s when you know it’s fully emulsified. The final mixture should be thick enough to mound slightly when you pour it, not runny like a smoothie. When you taste it, the banana should be barely detectable—just a hint of natural sweetness backing up the chocolate and peanut butter.
Cooking Tips & Techniques
I’ve made every mistake in the book with this recipe so you don’t have to. Here’s what I’ve learned the hard way:
- Don’t over-blend the protein powder: If you blend for too long, especially with whey protein, the mixture can get a weird, gummy texture. Stop as soon as everything is smooth. I once walked away to answer a text and came back to a blender full of sludge—lesson learned.
- Freezer placement matters: Put the pan in the back of the freezer, not near the door where temperature fluctuates. Consistent cold equals smoother ice cream. I keep mine next to the frozen vegetables, which sounds odd but works perfectly.
- The banana trick: If your banana isn’t super ripe (with brown spots), add an extra tablespoon of maple syrup. Under-ripe bananas can make the ice cream taste starchy instead of sweet. I’ve started keeping a stash of peeled, ripe bananas in the freezer just for this recipe—just thaw them slightly before using.
- Texture troubleshooting: If your ice cream turns out icy, it usually means there wasn’t enough fat or sugar. Next time, use full-fat cottage cheese or add an extra tablespoon of peanut butter. If it’s too hard after freezing, let it sit out for 15 minutes instead of 5.
- Batch prep tip: Double the recipe and freeze it in individual silicone muffin cups. You get perfect single-serving portions that thaw in just 2-3 minutes on the counter. Perfect for those “I need dessert right now” moments.
Variations & Adaptations
This recipe is incredibly flexible. Here are a few ways I’ve changed it up depending on my mood or what’s in my pantry:
- Vegan version: Use a plant-based cottage cheese alternative, dairy-free milk, and a vegan protein powder. Swap the honey for maple syrup. The texture is slightly less creamy but still delicious—I’d recommend adding an extra tablespoon of peanut butter to compensate.
- Mint chocolate chip twist: Reduce the cocoa powder to 2 tablespoons and add 1/4 teaspoon peppermint extract. Fold in dark chocolate chips at the end. My sister says this tastes just like the fancy mint chip from the ice cream shop, but with 20 grams of protein per serving.
- Cookies and cream: Crush 4-5 chocolate sandwich cookies (or gluten-free alternatives) and fold them in after blending. The little cookie bits add a wonderful crunch that contrasts with the creamy base. I did this for a BBQ last month and it disappeared in minutes.
- Lower-carb option: Skip the banana and add an extra 1/4 cup of cottage cheese plus 2 more tablespoons of peanut butter. Use a sugar-free protein powder and monk fruit sweetener instead of maple syrup. It’s still creamy, just less sweet and more protein-dense.
- Spicy Mexican chocolate: Add 1/4 teaspoon cinnamon and a pinch of cayenne pepper to the blender. The heat sneaks up on you after the first bite—so good with the peanut butter. I tried this on a whim after seeing a similar flavor at a local ice cream parlor, and it’s become my secret weapon for impressing guests.
Serving & Storage Suggestions
This ice cream is best served slightly softened, about 5-10 minutes out of the freezer. Scoop it into bowls or sugar cones—the contrast of the cold, creamy ice cream with a crunchy cone is unmatched. For a fun summer presentation, top with a drizzle of warm peanut butter, a sprinkle of flaky sea salt, and a few chocolate shavings. It looks fancy but takes 30 seconds.
Storage: Keep the ice cream in an airtight container in the freezer for up to 2 weeks. After that, it starts to develop ice crystals and lose its creamy texture. If you’ve added mix-ins, it’s best within the first week when the chunks are still crunchy. Pro tip: Press a piece of parchment paper directly onto the surface of the ice cream before sealing the container—this prevents freezer burn and keeps it tasting fresh.
Reheating/softening: If the ice cream is rock hard, microwave the container for 10-15 seconds on low power, or let it sit on the counter for 15-20 minutes. Don’t microwave it too long or you’ll end up with soup. I’ve also found that running the scoop under hot water before each scoop works like magic.
Flavor development: The flavors actually meld and deepen after about 24 hours in the freezer. The first day, the peanut butter and chocolate are distinct. By day two, they’ve married into a single, rich flavor that tastes even more indulgent. If you can wait that long, you’ll be rewarded.
Nutritional Information & Benefits
Here’s the breakdown per serving (about 1/2 cup, based on 6 servings):
- Calories: 245
- Protein: 18g
- Carbohydrates: 22g (fiber: 4g, sugar: 12g)
- Fat: 12g (saturated: 3g)
- Calcium: 8% DV
- Iron: 10% DV
Health highlights: The cottage cheese and protein powder deliver a serious protein punch that keeps you satisfied and helps with muscle recovery after workouts—perfect for active summer days. Peanut butter adds healthy monounsaturated fats and vitamin E, while cocoa powder is packed with antioxidants. The banana provides potassium and natural sweetness without refined sugar. This dessert actually supports your goals rather than derailing them.
Dietary considerations: This recipe is naturally vegetarian and can be made gluten-free with a certified gluten-free protein powder. It’s also lower in sugar than traditional ice cream. Potential allergens include dairy, peanuts, and depending on your protein powder, soy or whey. Always check labels if you’re serving someone with allergies.
Conclusion
This high-protein chocolate peanut butter ice cream has honestly become my summer survival tool. It’s the dessert that doesn’t make me feel guilty, the post-workout reward I actually look forward to, and the treat that impresses everyone without requiring hours in the kitchen. Leo’s original version was great, but this adapted recipe—with its cottage cheese secret and banana creaminess—is the one I keep coming back to. I hope you make it your own, whether that means loading it with chocolate chips, giving it a spicy kick, or keeping it simple and pure. Try it once, and I bet you’ll be making a double batch by next week. Drop a comment below and let me know what mix-ins you tried—I’m always looking for new ideas. Happy summer, and happy scooping!
Frequently Asked Questions
Can I make this without a high-speed blender?
Yes, but the texture will be slightly grainier. Mash the banana very well with a fork, then whisk everything together vigorously until smooth. You can also use an immersion blender in a tall cup. Just be patient and give it extra time to ensure the cottage cheese breaks down completely.
Why did my ice cream turn out icy?
Icy texture usually means there wasn’t enough fat or sugar to prevent ice crystals. Next time, use full-fat cottage cheese, add an extra tablespoon of peanut butter, or include another tablespoon of maple syrup. Also, make sure your freezer is consistently cold and you’re not opening the door too often while it freezes.
Can I use a different nut butter?
Absolutely! Almond butter, cashew butter, or sunflower seed butter all work well. Keep in mind that different nut butters have different fat contents, so the texture might vary slightly. Sunflower seed butter can turn green when combined with cocoa powder (it’s a natural reaction, totally safe), so don’t panic if that happens.
How long does this last in the freezer?
It’s best within the first 2 weeks. After that, it can develop ice crystals and lose its creamy texture. If you’ve added mix-ins like chocolate chips, they stay crunchier in the first week. For longer storage, press parchment paper directly onto the surface to prevent freezer burn.
Can I skip the banana?
You can, but you’ll lose some creaminess and natural sweetness. Replace the banana with an extra 1/4 cup of cottage cheese and add 1-2 more tablespoons of maple syrup or honey. The texture won’t be quite as scoopable, but it will still be delicious and high in protein.
Pin This Recipe!
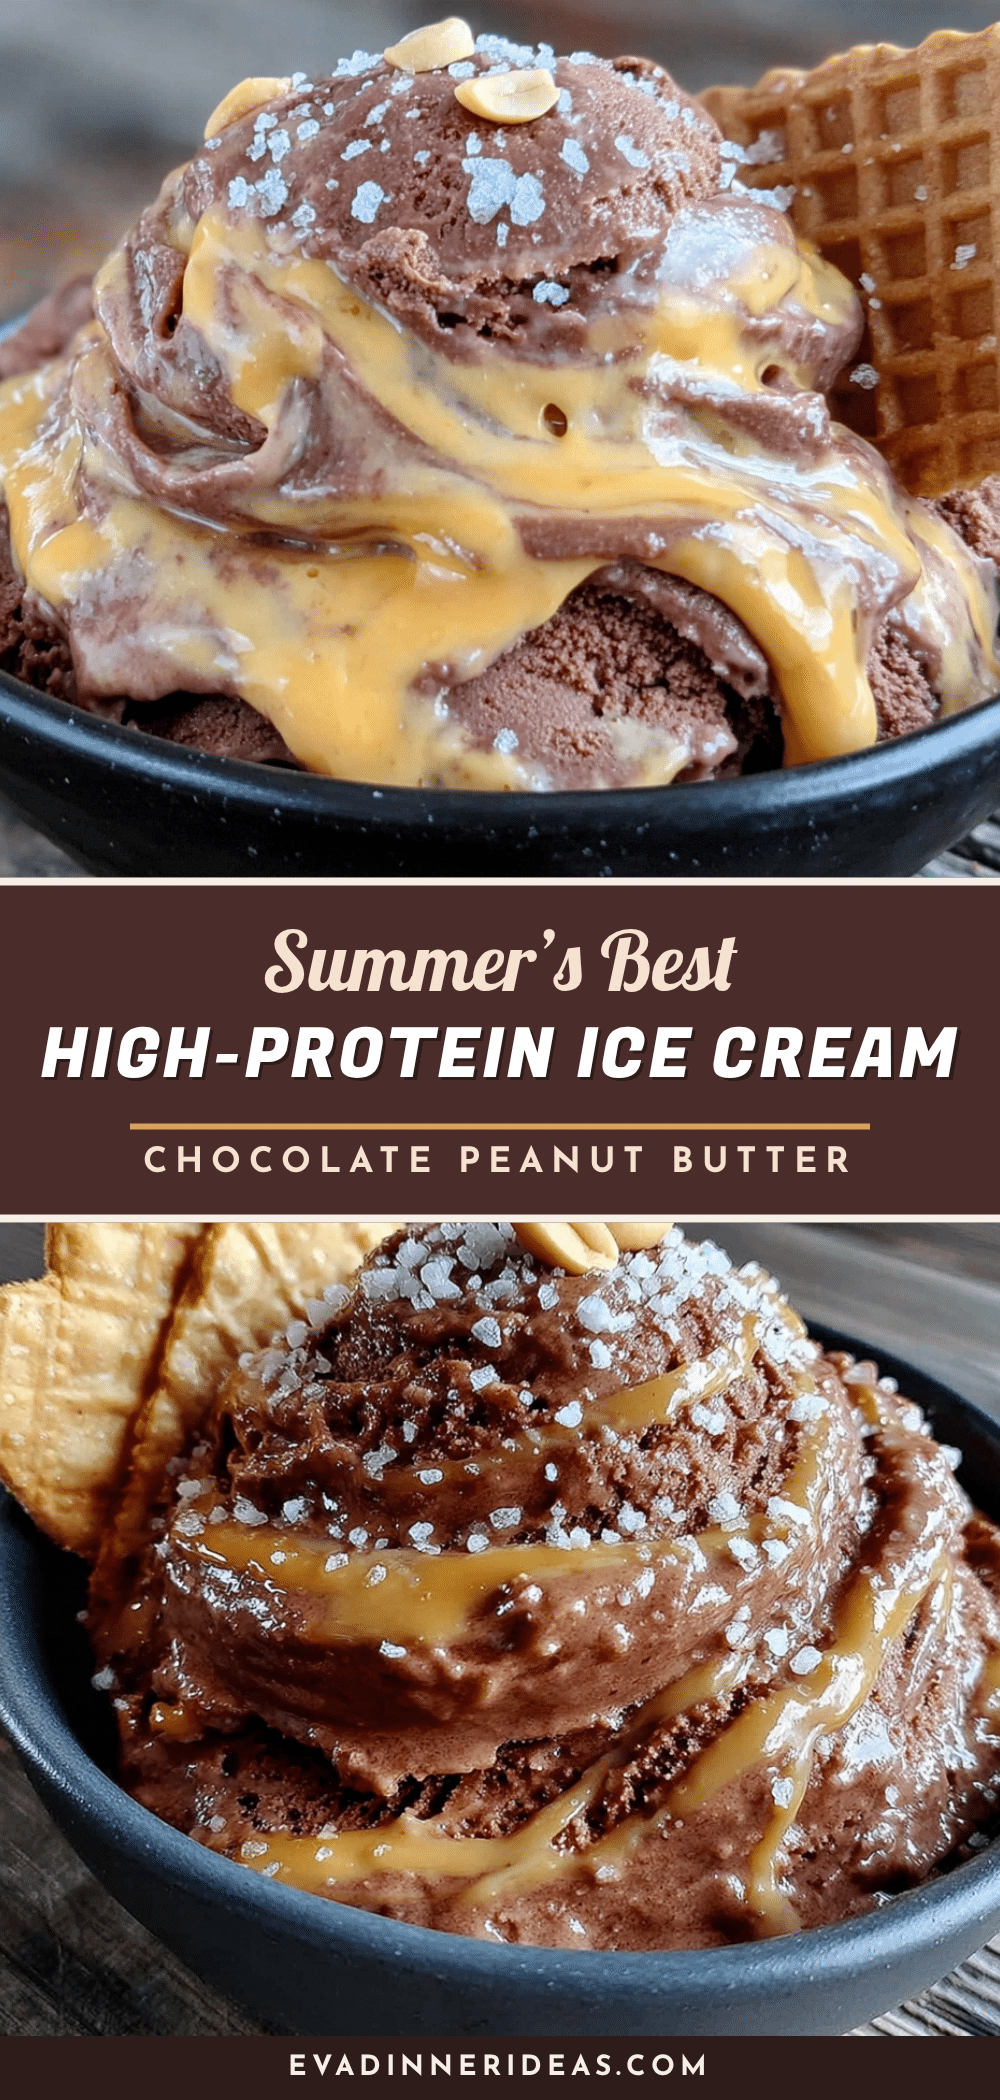
High-Protein Chocolate Peanut Butter Ice Cream: Easy Summer Dessert

This high-protein chocolate peanut butter ice cream is a creamy, decadent summer dessert that’s packed with protein and made with simple ingredients. It’s quick to prepare, requires no ice cream maker, and is perfect for post-workout cool-downs or late-night cravings.
- Prep Time: 10 minutes
- Cook Time: 0 minutes
- Total Time: 4 hours 10 minutes (including freezing time)
- Yield: 6 servings 1x
- Category: Dessert
- Cuisine: American
Ingredients
- 1 cup cottage cheese (full-fat or 2%)
- 1 large ripe banana, peeled and sliced
- 1/2 cup creamy peanut butter (natural, no-stir kind)
- 1/4 cup unsweetened cocoa powder
- 1/4 cup milk of choice (dairy or unsweetened almond milk)
- 2 scoops chocolate or vanilla protein powder (whey or plant-based)
- 2–3 tablespoons maple syrup or honey
- 1 teaspoon vanilla extract
- Pinch of sea salt
- 1/4 cup dark chocolate chips or cacao nibs (optional)
- 2 tablespoons chopped peanuts (optional)
- 1 tablespoon chia seeds (optional)
Instructions
- Prep your banana and cottage cheese: About 30 minutes before you start, take the banana out of the fridge and let it come to room temperature. Slice it into chunks. Measure out your cottage cheese and let it sit on the counter too.
- Blend the base: Add the cottage cheese, banana slices, peanut butter, cocoa powder, milk, protein powder, maple syrup, vanilla extract, and salt to your blender. Start on low speed and gradually increase to high. Blend for 45-60 seconds, stopping to scrape down the sides once or twice, until the mixture is a thick, smooth milkshake.
- Taste and adjust: Dip a clean spoon in and taste it. If you want more sweetness, add another teaspoon of maple syrup. If the peanut butter isn’t coming through, stir in an extra tablespoon.
- Fold in mix-ins (optional): If you’re using chocolate chips, chopped peanuts, or chia seeds, stir them in by hand now.
- Pour into the pan: Line your loaf pan with parchment paper if using, leaving some overhang on the sides. Pour the mixture in and spread it evenly with your spatula. Tap the pan gently on the counter a few times to release any air bubbles.
- Freeze: Place the pan in the freezer, uncovered, for about 1 hour. After that, cover it tightly with plastic wrap or a lid. Freeze for at least 4 hours, but overnight is best for a firm, scoopable texture.
- Serve: Let the ice cream sit at room temperature for 5-10 minutes before scooping. Run your scoop under hot water for clean, beautiful scoops.
Notes
For best texture, use full-fat cottage cheese and a very ripe banana. If the ice cream turns out icy, add more fat (peanut butter) or sugar (maple syrup) next time. Let the ice cream sit at room temperature for 5-10 minutes before scooping. Store in an airtight container for up to 2 weeks.
Nutrition
- Serving Size: 1/2 cup
- Calories: 245
- Sugar: 12
- Fat: 12
- Saturated Fat: 3
- Carbohydrates: 22
- Fiber: 4
- Protein: 18
Keywords: high-protein ice cream, chocolate peanut butter ice cream, healthy ice cream, summer dessert, no-churn ice cream, protein ice cream, easy ice cream


