My daughter looked up from her bowl of instant oatmeal one Tuesday morning and asked, with that particular seriousness only a six-year-old can muster, “Why can’t you just bake it into a muffin so I can take it to school?” I started to explain why that wouldn’t work—the texture would be all wrong, it would fall apart, it needed eggs and flour to hold together. Then I stopped. Honestly, I had no good reason why it wouldn’t work.
So I grabbed a mixing bowl, a can of pumpkin puree I’d been saving for a rainy day, and a bag of oats. I figured I’d prove her wrong, you know? I’d show her that some things are meant to stay in a bowl with a spoon. But somewhere between the first stir of cinnamon and the smell filling my kitchen, I realized I was the one about to learn a lesson. Twenty-five minutes later, I pulled out a tray of golden, perfectly domed oatmeal cups that smelled like fall and held together better than any muffin I’d ever made. She took one bite, smiled, and said, “I told you so.”
And she was right. That morning, my entire approach to weekday breakfasts shifted. I mean, let’s face it—mornings are chaos. There’s always a lost shoe, a forgotten permission slip, or a coffee that just isn’t strong enough. These Healthy Pumpkin Baked Oatmeal Cups became my secret weapon. They’re portable, they’re forgiving, and they make your kitchen smell like a cozy bakery without any of the guilt. Maybe you’ve been there—standing in front of your pantry at 7 AM, wondering how to get something warm and satisfying on the table in under half an hour. This is the answer you didn’t know you needed.
I keep making them because they remind me that sometimes the best ideas come from a kid who just wants breakfast to be easier. And honestly? That’s the kind of cooking I can get behind.
Why You’ll Love These Pumpkin Baked Oatmeal Cups
I’ve tested this recipe more times than I can count—through burnt batches, overly soggy ones, and a particularly memorable disaster where I forgot the baking powder entirely. Each failure taught me something, and what I’m sharing with you today is the absolute best version. These aren’t just another healthy breakfast option; they’re the one that actually works.
- Quick & Easy: From pantry to plate in 30 minutes flat. No complicated steps, no fancy equipment—just a bowl, a whisk, and a muffin tin.
- Simple Ingredients: You probably have most of these in your kitchen right now. Oats, pumpkin puree, eggs, a little maple syrup—nothing weird or hard to find.
- Perfect for Busy Mornings: Make a batch on Sunday, grab one on your way out the door all week. They reheat beautifully and taste just as good cold.
- Crowd-Pleaser: My kids devour these. My husband packs them for work. Even my neighbor who swears she hates oatmeal asked for the recipe after trying one.
- Unbelievably Delicious: The texture is soft and tender with slightly crisp edges. The pumpkin keeps them incredibly moist without being heavy, and the warm spices make every bite taste like comfort.
What makes these different from every other oatmeal cup recipe out there? It’s the ratio. I spent weeks tweaking the oat-to-pumpkin ratio until I found the sweet spot—moist enough to feel indulgent, but sturdy enough to hold together without any flour. The trick is letting the oats soak up the pumpkin mixture for just five minutes before baking. It sounds simple, but it makes all the difference between a crumbly mess and a perfectly tender cup.
These are the kind of breakfast that makes you feel good—not just because they’re wholesome, but because they actually taste like something you’d want to eat. They’re comfort food reimagined: healthier, faster, and somehow even more satisfying than the original.
What Ingredients You Will Need
This recipe uses simple, wholesome ingredients to deliver bold flavor and satisfying texture without the fuss. Most of these are pantry staples, which means you can whip up a batch anytime the pumpkin craving hits.
For the Oatmeal Cups
- Rolled oats, 2 cups (180g) — Use old-fashioned rolled oats for the best texture. Quick oats will work in a pinch but will make the cups softer and less chewy. I prefer Bob’s Red Mill for consistent results, but any brand works fine.
- Pumpkin puree, 1 cup (240g) — Make sure you’re buying 100% pure pumpkin puree, not pumpkin pie filling. Libby’s is my go-to because it’s consistently thick and not watery. If your puree seems runny, blot it with a paper towel before measuring.
- Eggs, 2 large — Room temperature eggs incorporate more smoothly. If you forgot to take them out of the fridge, place them in a bowl of warm water for 5 minutes.
- Milk, 1/2 cup (120ml) — Any milk works here. I usually use unsweetened almond milk, but whole milk, oat milk, or even canned coconut milk will all work beautifully.
- Maple syrup, 1/4 cup (60ml) — Pure maple syrup adds the perfect amount of sweetness without being overpowering. Honey or agave nectar are fine substitutes, but they’ll change the flavor slightly.
- Coconut oil, 2 tablespoons (30ml), melted — Melted coconut oil keeps these moist and adds a subtle richness. You can substitute melted butter or any neutral oil like avocado oil.
- Vanilla extract, 1 teaspoon — Pure vanilla extract is worth the splurge here. It rounds out the pumpkin and spice flavors beautifully.
- Baking powder, 1 teaspoon — This gives the cups a little lift so they’re not dense and flat. Make sure yours is fresh—test it by dropping a little in hot water; it should bubble immediately.
- Pumpkin pie spice, 2 teaspoons — You can use store-bought or make your own by mixing 1 teaspoon cinnamon, 1/2 teaspoon ginger, 1/4 teaspoon nutmeg, and 1/4 teaspoon cloves.
- Cinnamon, 1 teaspoon — I like to add extra cinnamon on top of the pumpkin pie spice because, honestly, you can never have too much cinnamon.
- Salt, 1/4 teaspoon — A little salt balances the sweetness and makes all the flavors pop. Don’t skip it.
Optional Mix-Ins
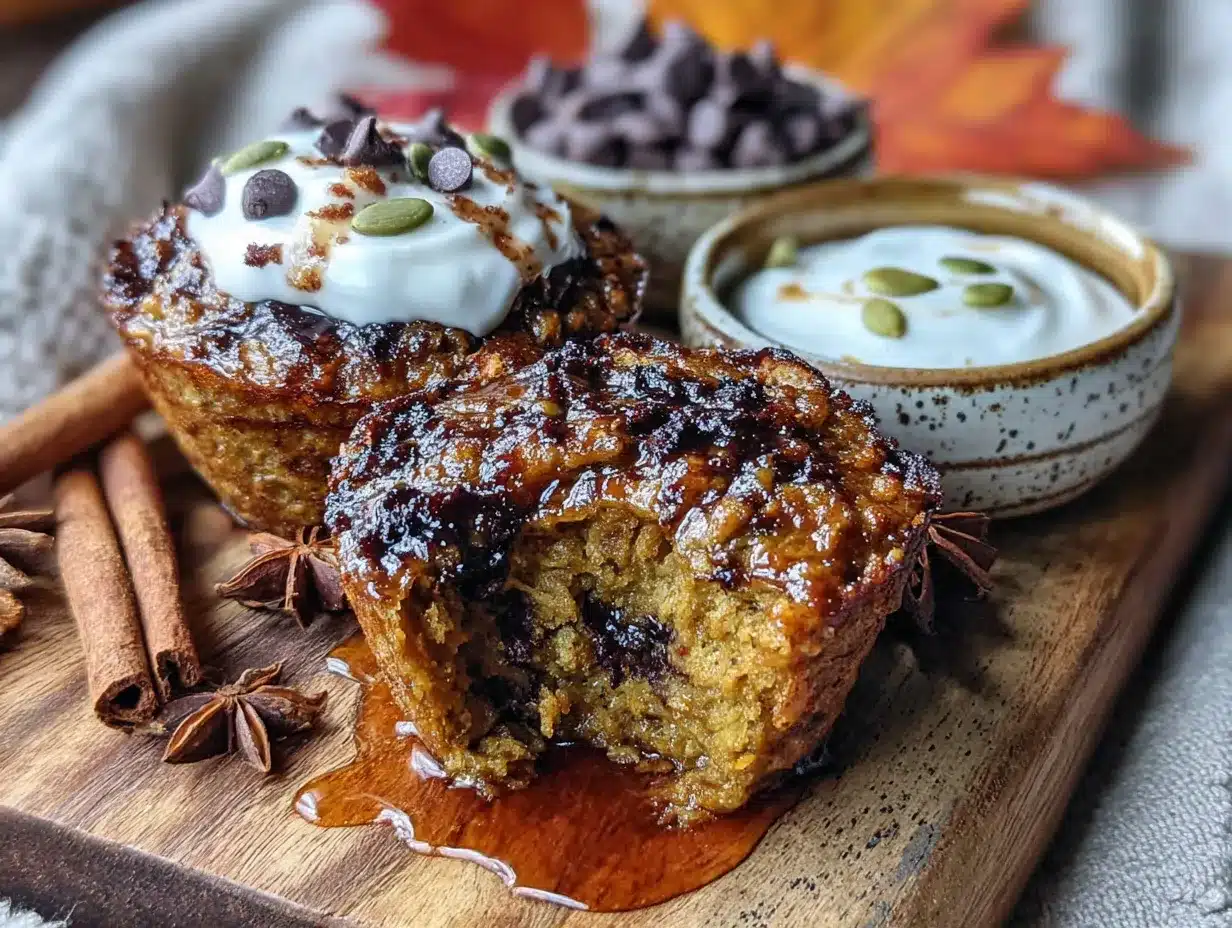
- Dark chocolate chips, 1/3 cup (60g) — Because pumpkin and chocolate are a match made in heaven. Use mini chips so they distribute evenly.
- Chopped pecans or walnuts, 1/3 cup (40g) — Adds a lovely crunch. Toast them first for extra flavor.
- Dried cranberries, 1/4 cup (30g) — Their tartness cuts through the sweetness beautifully.
Equipment Needed
You don’t need a professional kitchen to make these—just a few basic tools you probably already own.
- 12-cup muffin tin — Standard size works best. If you only have a 6-cup tin, you’ll need to bake in batches or halve the recipe.
- Muffin liners — I highly recommend using paper or silicone liners. These cups are naturally moist and can stick to the pan without them. If you go liner-free, grease the tin generously with coconut oil.
- Large mixing bowl — Any bowl big enough to comfortably whisk everything together.
- Whisk — For combining the wet ingredients smoothly.
- Spatula — For scraping down the sides of the bowl and portioning the batter.
- Measuring cups and spoons — Accurate measurements matter in baking, even for something as forgiving as this.
- Ice cream scoop or 1/4 cup measure — This makes portioning the batter into the muffin cups quick and mess-free.
- Cooling rack — Letting the cups cool in the pan for 5 minutes then transferring them to a rack prevents soggy bottoms.
I’ve made these with both a standard metal muffin tin and a non-stick silicone pan. Both work great, but the silicone pan makes removal even easier. If you’re on a budget, a basic metal tin from the grocery store will do the job perfectly—just don’t forget the liners.
Preparation Method
Ready to make your kitchen smell amazing? Follow these steps, and you’ll have a batch of pumpkin oatmeal cups ready before you finish your first cup of coffee.
- Preheat your oven to 375°F (190°C). Line a 12-cup muffin tin with paper liners or grease each cup well with coconut oil. Starting with a hot oven ensures even baking and those slightly crisp edges we’re after.
- In a large mixing bowl, whisk together the wet ingredients: 1 cup pumpkin puree, 2 large eggs, 1/2 cup milk, 1/4 cup maple syrup, 2 tablespoons melted coconut oil, and 1 teaspoon vanilla extract. Whisk until the mixture is completely smooth and uniform in color. It should look like a thick, creamy orange milkshake.
- Add the dry ingredients right on top of the wet mixture: 2 cups rolled oats, 1 teaspoon baking powder, 2 teaspoons pumpkin pie spice, 1 teaspoon cinnamon, and 1/4 teaspoon salt. Stir everything together with a spatula until no dry oats remain. The batter will look thick and almost like a loose cookie dough—that’s exactly what you want.
- Let the batter rest for 5 minutes. This is the most important step, and I learned it the hard way after pulling out a tray of crumbly, falling-apart cups. Letting the oats sit in the liquid gives them time to absorb moisture and soften, which helps the cups hold together beautifully. Set a timer—don’t skip this.
- If using mix-ins, fold them in now. Add 1/3 cup chocolate chips, chopped nuts, or dried cranberries (or a combination) and gently fold them into the batter with your spatula. Be careful not to overmix—just a few turns until they’re evenly distributed.
- Divide the batter evenly among the 12 muffin cups. An ice cream scoop or 1/4 cup measure makes this easy. Each cup should be filled almost to the top—these cups don’t rise much, so you want a generous portion in each. The batter will be thick and sticky, so use the back of a spoon to spread it evenly if needed.
- Bake for 18-22 minutes. The tops should be golden brown and firm to the touch. A toothpick inserted in the center should come out clean or with just a few moist crumbs attached. My oven runs hot, so I always check at 18 minutes. If yours is cooler, you might need the full 22 minutes.
- Let the cups cool in the pan for 5 minutes. This allows them to set up properly. Then transfer them to a wire cooling rack to cool completely. If you try to remove them too early, they might fall apart. Trust me—I’ve been impatient and paid the price with a crumbled breakfast.
And that’s it! From start to finish, you’re looking at about 30 minutes. The smell of cinnamon and pumpkin that fills your kitchen is just a bonus.
Cooking Tips & Techniques
After making these pumpkin oatmeal cups more times than I can count, I’ve collected a few tricks that make the process smoother and the results better.
Don’t overmix the batter. I know it’s tempting to keep stirring until everything looks perfectly smooth, but overmixing can make the cups tough. Stir just until the dry ingredients are incorporated, then stop. A few lumps are totally fine.
Use a cookie scoop for even portions. This is my favorite kitchen hack for anything baked in a muffin tin. A #20 cookie scoop holds exactly the right amount of batter and gives you perfectly uniform cups. No more guessing or uneven baking.
Line your pan with paper liners, then spray them lightly. This sounds extra, but I learned the hard way that even “non-stick” liners can stick to these moist cups. A quick spritz of cooking spray on the liners guarantees they’ll peel away cleanly every time.
Watch your oven temperature. I once baked a batch at 400°F because I was in a hurry and thought I could speed things up. The tops burned before the centers were done. Stick to 375°F and be patient—it’s worth it.
Let them cool completely before storing. If you pack warm oatmeal cups into an airtight container, the steam will make them soggy. I learned this the hard way after a particularly disappointing Tuesday morning breakfast. Let them cool on a wire rack for at least 20 minutes before storing.
Toast your oats first for extra flavor. If you have an extra 5 minutes, spread the rolled oats on a baking sheet and toast them at 350°F for 5-7 minutes until they’re lightly golden and fragrant. This adds a nutty depth that takes these cups to another level.
Variations & Adaptations
One of the best things about this recipe is how flexible it is. Here are some of my favorite variations, all tested and approved.
Vegan Version: Replace the eggs with flax eggs (2 tablespoons ground flaxseed mixed with 6 tablespoons water, let sit for 5 minutes). Use any plant-based milk and swap the maple syrup for agave if you prefer. The texture will be slightly more tender, but still delicious.
Gluten-Free Option: This recipe is naturally gluten-free if you use certified gluten-free rolled oats. Some people with celiac disease react to oats processed in facilities that also handle wheat, so check the label carefully.
Protein-Packed Version: Add 2 scoops of vanilla or unflavored protein powder to the dry ingredients. You’ll need to increase the milk by 2-3 tablespoons to compensate for the extra dry powder. I’ve done this with both whey and plant-based protein powders, and both work well.
Lower Sugar Option: Reduce the maple syrup to 2 tablespoons and add 1/2 teaspoon of stevia or monk fruit sweetener. The pumpkin puree adds natural sweetness, so you won’t miss the extra sugar as much as you’d think.
Apple Pumpkin Version: Replace half the pumpkin puree with unsweetened applesauce. This gives the cups a lighter, fruitier flavor and makes them even more moist. Reduce the milk by 2 tablespoons since the applesauce adds extra liquid.
Savory Twist: Omit the maple syrup and pumpkin pie spice. Add 1/2 teaspoon garlic powder, 1/2 teaspoon onion powder, 1/4 teaspoon black pepper, and 1/2 cup shredded cheddar cheese. These are surprisingly good as a savory breakfast side or snack.
My personal favorite variation is the chocolate chip pecan version. I add both dark chocolate chips and toasted chopped pecans, then sprinkle a little flaky sea salt on top before baking. The sweet-salty-crunchy combination is absolutely addictive.
Serving & Storage Suggestions
These pumpkin oatmeal cups are incredibly versatile when it comes to serving. Here’s how I enjoy them throughout the week.
Serving Temperature: They’re delicious warm from the oven, at room temperature, or even cold straight from the fridge. For a quick warm-up, pop one in the microwave for 15-20 seconds or toast it in a toaster oven for 5 minutes at 350°F. The edges get slightly crisp again, which I love.
Topping Ideas: A drizzle of almond butter or peanut butter adds protein and richness. A dollop of Greek yogurt and a sprinkle of cinnamon makes it feel like a fancy breakfast. For a real treat, warm one up and top it with a scoop of vanilla ice cream—yes, for breakfast. I won’t tell anyone.
What to Serve With: These cups pair beautifully with a hot cup of coffee or chai tea. For a complete breakfast, serve alongside a hard-boiled egg and some fresh fruit. They’re also perfect on their own as a grab-and-go snack or post-workout refuel.
Storage Instructions: Store cooled oatmeal cups in an airtight container at room temperature for up to 3 days, or in the refrigerator for up to a week. Layer them with parchment paper if you’re stacking them to prevent sticking.
Freezer Instructions: These freeze beautifully. Place cooled cups in a single layer on a baking sheet and freeze for 1 hour until solid. Transfer to a freezer-safe bag or container, separating layers with parchment paper. They’ll keep for up to 3 months. To thaw, leave one at room temperature for 30 minutes or microwave for 30-45 seconds.
Flavor Development: Here’s something interesting—these cups actually taste better on day two. The flavors meld together overnight, and the texture becomes even more uniform. I often make a batch on Sunday specifically for Monday and Tuesday breakfasts.
Nutritional Information & Benefits
One of the reasons I love these pumpkin oatmeal cups is that they genuinely feel good to eat. Here’s the nutritional breakdown for one cup (without mix-ins).
| Nutrient | Amount Per Serving |
|---|---|
| Calories | 145 |
| Total Fat | 5g |
| Saturated Fat | 3g |
| Cholesterol | 31mg |
| Sodium | 118mg |
| Total Carbohydrates | 22g |
| Dietary Fiber | 3g |
| Sugars | 8g |
| Protein | 4g |
Pumpkin is packed with vitamin A, which supports eye health and immune function. It’s also rich in fiber, which helps keep you full and satisfied through the morning. Oats provide complex carbohydrates for steady energy, plus beta-glucan, a type of soluble fiber that supports heart health.
These cups are naturally dairy-free if you use plant-based milk, and they’re low in added sugar compared to most store-bought breakfast options. They’re also a great source of whole grains, with no refined flour whatsoever.
From my perspective, these oatmeal cups represent the kind of breakfast that supports a healthy lifestyle without feeling like a sacrifice. They’re nutritious enough to fuel your morning and delicious enough that you’ll actually look forward to eating them.
Conclusion
These Healthy Pumpkin Baked Oatmeal Cups have become a staple in my kitchen for good reason. They’re quick enough for busy weekday mornings, wholesome enough to feel good about feeding my family, and delicious enough that I actually crave them. That’s a rare combination in the breakfast world.
What I love most about this recipe is how forgiving it is. You can swap ingredients, adjust the sweetness, add whatever mix-ins you have on hand, and it still turns out beautifully. It’s the kind of recipe that builds confidence in the kitchen—the first time you make it, you’ll think, “Wait, that’s it? That was so easy.” And then you’ll find yourself making it again and again, tweaking it each time until it’s perfectly yours.
I’d love to hear how these turn out for you. Did you try a fun variation? Did your kids devour them? Did you discover a new favorite mix-in combination? Drop a comment below and share your experience—I read every single one, and your ideas often inspire my next batch. And if you loved this recipe, please share it with a friend who could use a little more pumpkin in their morning.
Happy baking, and here’s to breakfasts that actually make you excited to get out of bed.
Frequently Asked Questions
Can I use quick oats instead of rolled oats?
Yes, you can, but the texture will be different. Quick oats absorb liquid faster and break down more during baking, resulting in a softer, more uniform cup that’s almost like a muffin. Rolled oats give you a chewier, more textured cup with more structure. Both are delicious—it just depends on your preference.
Why did my oatmeal cups fall apart?
The most common reason is not letting the batter rest for 5 minutes before baking. This resting time allows the oats to absorb the liquid and soften, which helps them bind together. Another culprit is removing them from the pan too soon—always let them cool in the pan for 5 minutes first. If you’re still having trouble, try adding an extra egg or reducing the pumpkin puree by 2 tablespoons.
Can I make these without eggs?
Absolutely. Replace each egg with a flax egg (1 tablespoon ground flaxseed mixed with 3 tablespoons water, let sit for 5 minutes until gel-like). The texture will be slightly more tender and a bit less sturdy, but they’ll still hold together beautifully. I’ve made this swap many times with great results.
How do I make these more filling for breakfast?
Try adding a scoop of protein powder to the dry ingredients, or fold in 1/4 cup of chopped nuts or seeds like chia or hemp hearts. Serving them with a side of Greek yogurt or a hard-boiled egg also boosts the protein content and keeps you full longer.
Can I use fresh pumpkin instead of canned?
Yes, but you’ll need to cook and puree it first. Fresh pumpkin contains more water than canned puree, so after pureeing, let it drain in a fine-mesh strainer lined with cheesecloth for about 30 minutes to remove excess moisture. Otherwise, your oatmeal cups might turn out soggy. Canned pumpkin is actually more consistent for baking, which is why I usually reach for it.
Pin This Recipe!
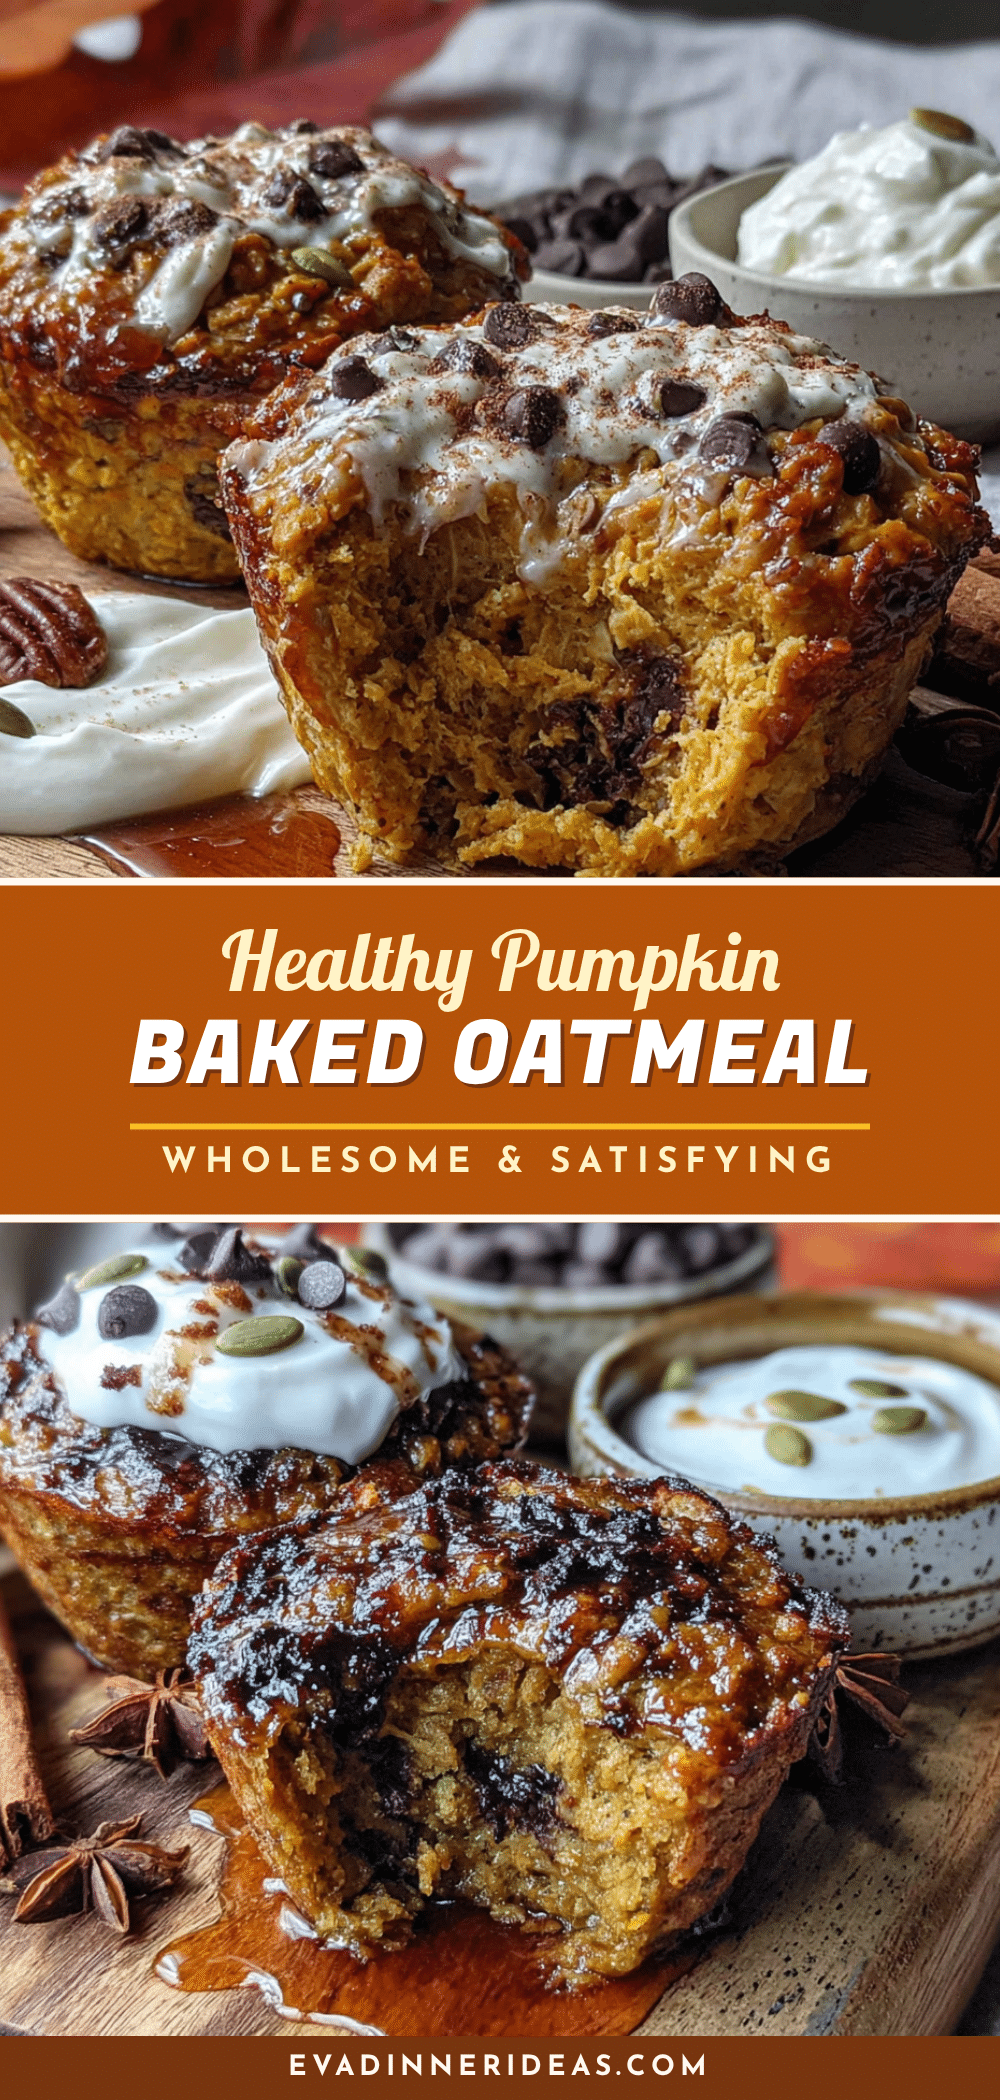
Healthy Pumpkin Baked Oatmeal Cups – 30-Minute Easy Breakfast
These Healthy Pumpkin Baked Oatmeal Cups are a quick, portable, and delicious breakfast option made with simple ingredients like rolled oats, pumpkin puree, and warm spices. Ready in 30 minutes, they’re perfect for busy mornings and can be customized with your favorite mix-ins.
- Prep Time: 10 minutes
- Cook Time: 20 minutes
- Total Time: 30 minutes
- Yield: 12 servings 1x
- Category: Breakfast
- Cuisine: American
Ingredients
- 2 cups (180g) rolled oats
- 1 cup (240g) pumpkin puree
- 2 large eggs
- 1/2 cup (120ml) milk (any kind)
- 1/4 cup (60ml) maple syrup
- 2 tablespoons (30ml) coconut oil, melted
- 1 teaspoon vanilla extract
- 1 teaspoon baking powder
- 2 teaspoons pumpkin pie spice
- 1 teaspoon cinnamon
- 1/4 teaspoon salt
- 1/3 cup (60g) dark chocolate chips (optional)
- 1/3 cup (40g) chopped pecans or walnuts (optional)
- 1/4 cup (30g) dried cranberries (optional)
Instructions
- Preheat your oven to 375°F (190°C). Line a 12-cup muffin tin with paper liners or grease each cup well with coconut oil.
- In a large mixing bowl, whisk together the wet ingredients: 1 cup pumpkin puree, 2 large eggs, 1/2 cup milk, 1/4 cup maple syrup, 2 tablespoons melted coconut oil, and 1 teaspoon vanilla extract until smooth.
- Add the dry ingredients right on top of the wet mixture: 2 cups rolled oats, 1 teaspoon baking powder, 2 teaspoons pumpkin pie spice, 1 teaspoon cinnamon, and 1/4 teaspoon salt. Stir together with a spatula until no dry oats remain. The batter will be thick and like a loose cookie dough.
- Let the batter rest for 5 minutes. This is crucial for the oats to absorb moisture and help the cups hold together.
- If using mix-ins, fold them in now (chocolate chips, nuts, or dried cranberries).
- Divide the batter evenly among the 12 muffin cups, filling each almost to the top. Use an ice cream scoop or 1/4 cup measure for easy portioning.
- Bake for 18-22 minutes, until the tops are golden brown and firm to the touch. A toothpick inserted in the center should come out clean or with a few moist crumbs.
- Let the cups cool in the pan for 5 minutes, then transfer to a wire cooling rack to cool completely.
Notes
Let the batter rest for 5 minutes before baking to ensure the cups hold together. For best results, use paper liners and spray them lightly with cooking spray to prevent sticking. These cups taste even better on day two as flavors meld. Store in an airtight container at room temperature for up to 3 days, in the refrigerator for up to a week, or freeze for up to 3 months.
Nutrition
- Serving Size: 1 oatmeal cup
- Calories: 145
- Sugar: 8
- Sodium: 118
- Fat: 5
- Saturated Fat: 3
- Carbohydrates: 22
- Fiber: 3
- Protein: 4
Keywords: pumpkin oatmeal cups, baked oatmeal cups, healthy breakfast, easy breakfast, pumpkin recipes, oatmeal cups, 30-minute breakfast


