This was supposed to be a batch of those perfectly portioned, lunchbox-friendly muffins. You know the ones—neat, tidy, a little boring. I had the bananas, the flour, the whole plan. But then my three-year-old decided it was a fantastic time to “help” by dumping the entire contents of my brown sugar jar onto the counter. In my frantic clean-up, I grabbed the wrong stick from the butter dish. It was the salted, European-style butter I’d been saving for a special dinner. I was already late getting dinner started, the baby was fussing, and there was a fine layer of brown sugar on the dog. Honestly, the whole situation was a disaster. I figured the muffins were a lost cause.
I melted that fancy butter anyway, figuring I’d just make a regular loaf and hide my shame. But the smell that filled the kitchen—it was different. Nutty, warm, almost like toasted caramel. I poured it into the bowl, mixed it with the overly-sweetened sugar situation, and just kept going. The batter was a little looser than usual, the color a shade darker. I poured it into a loaf pan, crossed my fingers, and shoved it in the oven. What came out forty-five minutes later was nothing like the plan. It was better. It was the most deeply flavorful, tender, and honestly, the best banana bread I’d ever made. That happy little accident with the wrong butter? It was the secret I didn’t know I was looking for. And it’s the only way I make it now.
Why You’ll Love This Recipe
This isn’t just another banana bread recipe to add to your collection. This is the one you’ll come back to, week after week, because it solves the real problems of a busy family kitchen. It’s the kind of recipe that makes you feel like a genius with almost no effort.
- One Bowl Wonder: Less dishes, less stress. You mix everything in a single bowl, which is a game-changer for a quick cleanup after breakfast or a late-night baking session.
- Kid-Approved Magic: The brown butter adds a deep, nutty, almost butterscotch-like flavor that kids absolutely adore. It’s a step up from plain banana bread without being weird or fancy. My kids beg for it.
- Pantry-Friendly: You probably have everything you need right now. Overripe bananas, flour, sugar, eggs, and butter. No special trips to the store for exotic extracts or hard-to-find flours.
- Incredibly Moist: The brown butter works its magic here, creating a loaf that stays moist for days. It’s the perfect texture—dense but tender, never dry or crumbly.
- Freezes Like a Dream: Make a double batch and freeze one loaf for a crazy weekday morning or an unexpected guest. It thaws perfectly and tastes just-baked.
What makes this recipe different from the rest isn’t a complicated technique. It’s the simple act of browning the butter. It sounds fancy, but it takes just five minutes and a watchful eye. That one step transforms a humble, everyday banana bread into something truly special. It’s the kind of bread that makes you close your eyes after the first bite, a little surprised at how good something so simple can be. It’s comfort food, reimagined—faster, easier, and with the same soul-soothing satisfaction that makes you feel like you’ve got it all figured out.
What Ingredients You Will Need
This recipe uses simple, wholesome ingredients to deliver that incredible brown butter flavor and a perfectly tender crumb. Most of these are staples you probably already have in your pantry and fridge, making this a great last-minute baking project.
For the Brown Butter Banana Bread
- Unsalted butter (½ cup / 1 stick / 113 grams): We use unsalted so we can control the salt level. This is the star of the show, so use a good quality butter. I personally love using a brand like Kerrygold for its high butterfat content, which makes for an even more flavorful brown butter.
- Ripe bananas (3 medium, about 1 ½ cups mashed / 340 grams): The riper, the better! Look for bananas that are heavily speckled with brown spots or even mostly black. They are sweeter and have a much stronger banana flavor. If your bananas aren’t ripe enough, you can roast them in a 300°F oven for 15-20 minutes until the skins blacken.
- Granulated sugar (½ cup / 100 grams): Adds sweetness and helps create a tender crumb.
- Light brown sugar (½ cup / 100 grams, packed): This adds moisture and a subtle molasses flavor that pairs beautifully with the nutty brown butter. Don’t skip it!
- Large eggs (2, at room temperature): Room temperature eggs incorporate more easily into the batter, creating a smoother, more even texture. If you forgot to take them out, place them in a bowl of warm water for 5 minutes.
- Vanilla extract (1 teaspoon): Enhances all the other flavors. Use pure vanilla extract if you have it.
- Plain full-fat yogurt or sour cream (¼ cup / 60 grams): This is my secret ingredient for extra moisture and a tender crumb. It also reacts with the baking soda to help the bread rise beautifully. Greek yogurt works too, but full-fat gives the best texture.
- All-purpose flour (1 ½ cups / 190 grams): The foundation of the bread. For the most accurate results, spoon the flour into your measuring cup and level it off with a knife, rather than scooping directly from the bag.
- Baking soda (1 teaspoon): The leavening agent that helps the bread rise.
- Salt (½ teaspoon): Balances the sweetness and enhances the overall flavor. I use fine sea salt.
Optional Add-Ins (Pick Your Favorite)
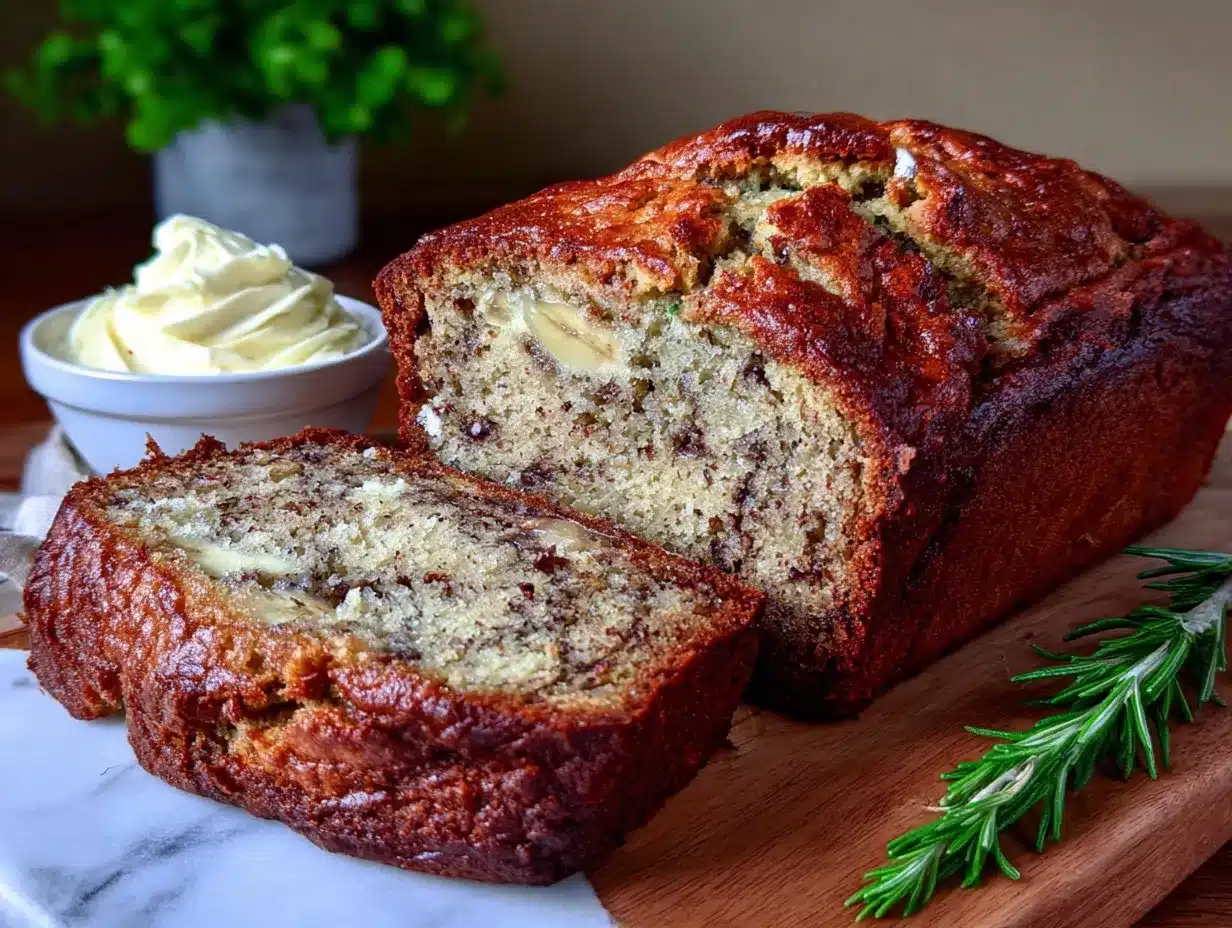
- Chocolate chips (½ cup / 85 grams): Semi-sweet or dark chocolate chips are a classic, kid-approved addition. The slight bitterness of dark chocolate is a perfect contrast to the sweet, nutty bread.
- Chopped walnuts or pecans (½ cup / 60 grams): For a little crunch. Toast them first in a dry pan for a few minutes to deepen their flavor.
- Ground cinnamon (1 teaspoon): A warm spice that complements the banana and brown butter beautifully.
Equipment Needed
You don’t need a fancy kitchen to make this bread. In fact, the whole point is how simple it is. Here’s what you’ll need to get started.
- One large mixing bowl: Any large bowl will do. I use a standard ceramic mixing bowl.
- A 9×5-inch loaf pan: This is the standard size for a loaf of bread. If you use an 8×4-inch pan, your bread will be taller and may need a few extra minutes in the oven.
- A small, light-colored saucepan: This is key for browning the butter. A light-colored pan lets you see the color of the butter as it browns, so you don’t burn it. A heavy-bottomed pan is best for even heating.
- Whisk and rubber spatula: A whisk for the wet ingredients and a spatula for folding in the flour.
- Parchment paper: Lining your loaf pan with parchment paper makes it incredibly easy to lift the bread out once it’s cooled. It’s a game-changer.
- Cooling rack: Essential for letting the bread cool completely so it doesn’t get soggy on the bottom.
Preparation Method
Let’s get to the good part. This method is broken down into simple, foolproof steps. Follow these, and you’ll have a perfect loaf every single time.
- Brown the Butter: Place the ½ cup of butter in your small, light-colored saucepan over medium heat. Let it melt completely, then continue cooking, swirling the pan occasionally. The butter will start to foam and sizzle. Don’t walk away! Watch it closely. After a few minutes, the foam will subside, and you’ll see little specks of golden brown forming at the bottom. It will smell nutty and amazing. Once it’s a medium amber color (think the color of a brown paper bag), immediately remove it from the heat and pour it into a heat-safe bowl to stop the cooking process. Let it cool for 5-10 minutes.
- Preheat and Prep: While the butter cools, preheat your oven to 350°F (175°C). Grease your 9×5-inch loaf pan with butter or cooking spray, then line it with a strip of parchment paper, leaving a little overhang on the two long sides. This will be your “handle” to lift the bread out later.
- Mash the Bananas: In your large mixing bowl, mash the three ripe bananas with a fork or a potato masher until they are mostly smooth with a few small lumps remaining. You want some texture, not a complete puree.
- Mix the Wet Ingredients: To the bowl of mashed bananas, add the cooled brown butter, granulated sugar, brown sugar, eggs, vanilla extract, and yogurt. Whisk everything together until it’s smooth and well combined. Don’t overmix at this stage—just until the sugars are mostly dissolved and the mixture is homogenous.
- Add the Dry Ingredients: Sprinkle the flour, baking soda, and salt evenly over the wet ingredients. Use your rubber spatula to gently fold the dry ingredients into the wet. Stir just until you no longer see any streaks of flour. A few small lumps are totally fine. Overmixing at this stage will make your bread tough. If you’re adding chocolate chips or nuts, gently fold them in now.
- Bake: Pour the batter into your prepared loaf pan and spread it out evenly. Bake for 50-60 minutes, or until a toothpick inserted into the center comes out clean or with just a few moist crumbs attached. If the top is browning too quickly after 40 minutes, tent the pan loosely with a piece of aluminum foil.
- Cool: Let the bread cool in the pan on a wire rack for about 15 minutes. Then, use the parchment paper overhang to lift the bread out of the pan and transfer it to the wire rack to cool completely. This is the hardest part—waiting! But don’t slice it while it’s warm, or it will be gummy and fall apart.
Cooking Tips & Techniques
I’ve made this bread more times than I can count, and I’ve learned a few things along the way. These tips will help you nail it on the first try.
- The Butter is the Boss: Don’t be scared of browning the butter, but don’t walk away either. It can go from perfect to burnt in seconds. If you see black specks, you’ve gone too far. Start over—it’s worth it. I once burned a batch while answering the phone, and the whole kitchen smelled like burnt popcorn. Not good.
- Don’t Overmix: This is the number one mistake people make with quick breads. Once you add the flour, mix just until it’s combined. Overmixing develops the gluten, which makes the bread tough and dense instead of tender and soft. A few lumps are your friend.
- Check for Doneness Early: Every oven is different. Start checking your bread at the 50-minute mark. If the toothpick comes out with wet batter, give it another 5 minutes. If it comes out clean, it’s done. You can also check the internal temperature—it should be around 200-205°F (93-96°C).
- Cool Completely: I know it’s tempting to cut into a warm loaf, but resist the urge! Slicing it while it’s still warm will result in a gummy, crumbly mess. Let it cool completely on the wire rack. The texture will be much better, and the flavors will have a chance to meld.
Variations & Adaptations
This recipe is a fantastic base for all sorts of fun twists. Here are a few of my favorite ways to change it up.
- Gluten-Free: Swap the all-purpose flour for a good quality 1:1 gluten-free baking flour blend. I’ve had great luck with Bob’s Red Mill 1:1 Baking Flour. Don’t overmix, and let the batter rest for 15 minutes before baking to allow the flours to hydrate.
- Vegan: Use a flax egg (1 tablespoon ground flaxseed mixed with 3 tablespoons water, let sit for 5 minutes) instead of the two eggs. Use a plant-based yogurt or applesauce in place of the yogurt, and use a vegan butter stick for browning.
- Chocolate Lover’s: Fold in ½ cup of semi-sweet chocolate chips and ¼ cup of cocoa powder. Reduce the flour by 2 tablespoons to compensate for the cocoa powder. This makes a decadent, fudgy loaf that my kids call “dessert bread.”
- Spiced Autumn: Add 1 teaspoon of cinnamon, ½ teaspoon of nutmeg, and ¼ teaspoon of ground ginger to the flour mixture. This creates a warm, cozy flavor that’s perfect for fall mornings.
Serving & Storage Suggestions
This banana bread is delicious in so many ways. Here’s how I like to serve it and keep it fresh.
Serving: This bread is fantastic at room temperature, but it’s also amazing warm. Slice a piece and toast it lightly, then spread it with a pat of salted butter. The combination of warm, toasty bread and melting butter is pure comfort. It’s also wonderful with a dollop of Greek yogurt and a drizzle of honey for a quick breakfast.
Storage: Store the completely cooled bread in an airtight container at room temperature for up to 4 days. The brown butter helps keep it incredibly moist, so it won’t dry out as quickly as other banana breads. For longer storage, wrap the loaf tightly in plastic wrap, then a layer of aluminum foil, and freeze for up to 3 months. To thaw, just leave it on the counter overnight, or slice it and toast it straight from the freezer.
Nutritional Information & Benefits
While this is definitely a treat, it does have some redeeming qualities! Here’s a quick look at the nutritional breakdown per slice (based on 12 slices, without add-ins).
| Nutrient | Amount per Slice |
|---|---|
| Calories | ~280 kcal |
| Fat | 12g |
| Carbohydrates | 40g |
| Protein | 4g |
| Fiber | 2g |
| Sugar | 22g |
The main health benefit comes from the bananas themselves. They are a great source of potassium, vitamin B6, and fiber, which helps with digestion and keeps you feeling full. The yogurt adds a little protein and calcium. This bread is a wonderful way to use up overripe bananas that might otherwise go to waste. For a slightly lighter option, you can reduce the sugar by ¼ cup, but the texture will be a little less tender.
Conclusion
This one-bowl brown butter banana bread is the recipe I turn to again and again. It’s the perfect blend of simple and special—easy enough for a Tuesday morning, but impressive enough to bring to a brunch or potluck. The brown butter is a game-changer, adding a depth of flavor that will make you wonder why you ever made it any other way. It’s a recipe born from a kitchen disaster, and honestly, I’m so glad it happened.
I’d love to hear how it turns out for you! Did you add chocolate chips? Did your kids gobble it up? Leave a comment below and let me know. And if you’re looking for another easy, family-friendly breakfast, you should try our fluffy sour cream pancakes—they’re another one-bowl wonder! Happy baking!
Frequently Asked Questions
Can I use frozen bananas?
Absolutely! Frozen bananas are perfect for banana bread. Thaw them completely in a bowl—they will release a lot of liquid. Drain off the excess liquid before mashing them. The thawed bananas will be very soft and almost syrupy, which is great for a moist bread.
Why is my banana bread dry?
The most common reason for dry banana bread is overbaking. Start checking for doneness at the 50-minute mark. Another culprit is not using enough banana or using bananas that aren’t ripe enough. Make sure you have three medium, very ripe bananas and measure them accurately.
Can I make this into muffins?
Yes, you can! This batter makes about 12 standard muffins. Line a muffin tin with paper liners and fill each cup about ¾ full. Bake at 350°F (175°C) for 18-22 minutes, or until a toothpick inserted into the center comes out clean.
How do I know when my butter is properly browned?
You’re looking for two things: a nutty, toasty aroma and a deep amber color. The butter will foam and sizzle, then the foam will subside. When you see little golden-brown specks forming at the bottom of the pan, it’s done. Don’t wait for it to turn dark brown—it will continue to cook a bit from the residual heat after you take it off the stove.
Can I skip the brown butter?
You can, but you’ll be missing out on the star of the show! If you’re short on time, you can simply melt the butter and use it as is. The bread will still be delicious, but it won’t have that deep, nutty, almost caramel-like flavor that makes this recipe so special. If you do skip it, consider adding a teaspoon of vanilla bean paste or a pinch of nutmeg to boost the flavor.
Pin This Recipe!
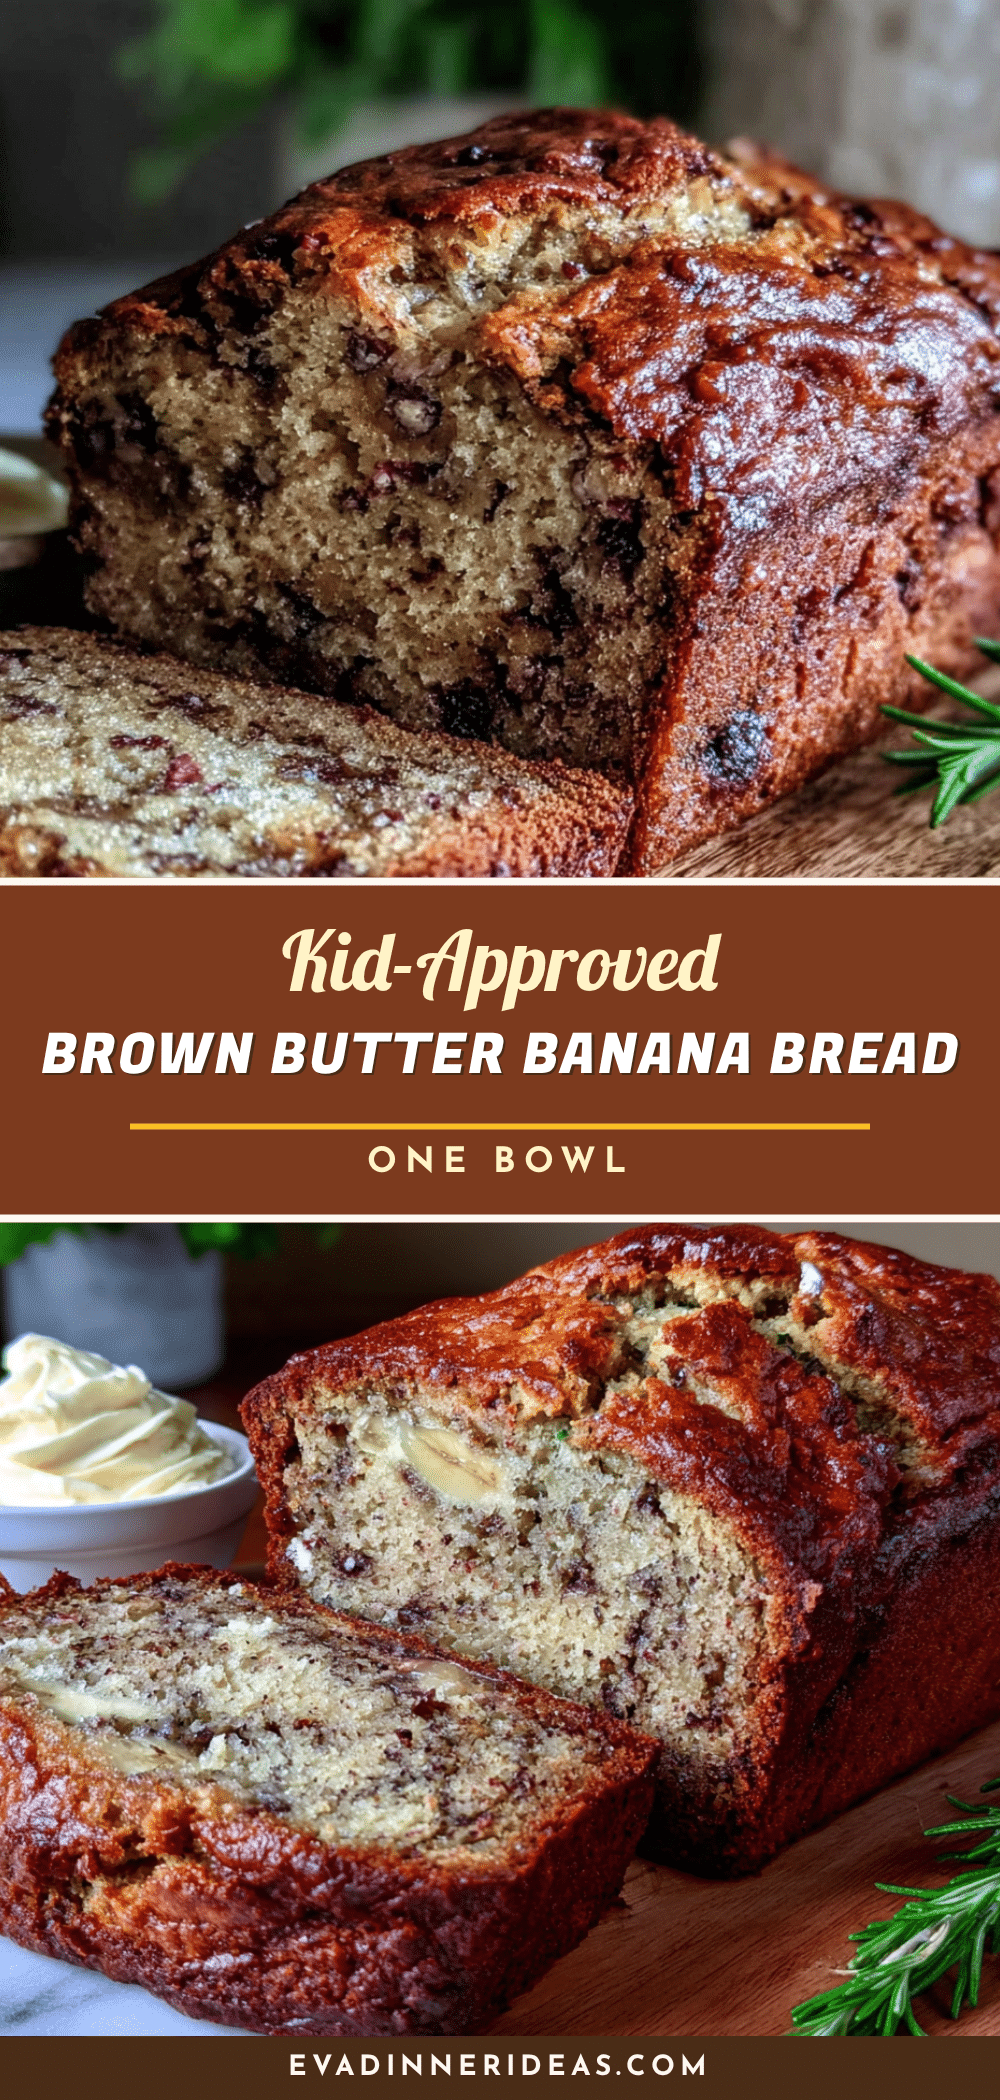
Easy One Bowl Brown Butter Banana Bread
This one-bowl brown butter banana bread is incredibly moist and flavorful, thanks to a happy accident with browned butter. It’s a simple, kid-approved recipe that uses pantry staples and freezes beautifully.
- Prep Time: 15 minutes
- Cook Time: 55 minutes
- Total Time: 1 hour 10 minutes
- Yield: 12 servings 1x
- Category: Dessert
- Cuisine: American
Ingredients
- ½ cup (1 stick / 113 grams) unsalted butter
- 3 medium ripe bananas (about 1½ cups / 340 grams mashed)
- ½ cup (100 grams) granulated sugar
- ½ cup (100 grams) packed light brown sugar
- 2 large eggs, at room temperature
- 1 teaspoon vanilla extract
- ¼ cup (60 grams) plain full-fat yogurt or sour cream
- 1½ cups (190 grams) all-purpose flour
- 1 teaspoon baking soda
- ½ teaspoon fine sea salt
- Optional: ½ cup (85 grams) chocolate chips, ½ cup (60 grams) chopped walnuts or pecans, 1 teaspoon ground cinnamon
Instructions
- Brown the butter: Place ½ cup butter in a small, light-colored saucepan over medium heat. Melt completely, then continue cooking, swirling occasionally, until it foams, subsides, and turns a medium amber color with golden specks and a nutty aroma. Immediately remove from heat and pour into a heat-safe bowl to cool for 5-10 minutes.
- Preheat oven to 350°F (175°C). Grease a 9×5-inch loaf pan and line with parchment paper, leaving overhang on the long sides.
- In a large mixing bowl, mash the bananas with a fork until mostly smooth with a few lumps.
- Add cooled brown butter, granulated sugar, brown sugar, eggs, vanilla, and yogurt to the bananas. Whisk until smooth and well combined.
- Sprinkle flour, baking soda, and salt over the wet ingredients. Gently fold with a rubber spatula until just combined (a few lumps are fine). If using, fold in chocolate chips, nuts, or cinnamon.
- Pour batter into prepared loaf pan and spread evenly. Bake for 50-60 minutes, until a toothpick inserted in the center comes out clean or with a few moist crumbs. If browning too quickly after 40 minutes, tent with foil.
- Cool in the pan on a wire rack for 15 minutes, then lift out using parchment overhang and cool completely on the rack before slicing.
Notes
Don’t overmix the batter to avoid tough bread. Cool completely before slicing to prevent a gummy texture. For gluten-free, use a 1:1 gluten-free flour blend. For vegan, use flax eggs and plant-based yogurt/butter.
Nutrition
- Serving Size: 1 slice
- Calories: 280
- Sugar: 22
- Sodium: 220
- Fat: 12
- Saturated Fat: 7
- Carbohydrates: 40
- Fiber: 2
- Protein: 4
Keywords: banana bread, brown butter, one bowl, easy, moist, kid-friendly, freezer-friendly


