The school bake sale was in twelve hours and I’d completely forgotten. My daughter had reminded me three times, and somehow, between soccer practice and a work deadline, it had slipped right out of my head. Everyone else would be bringing those elaborate cupcakes with the perfect frosting swirls, or those fancy cookies that look like they came from a bakery. I had a can of pumpkin puree in the pantry, some old-fashioned oats, and about fifteen minutes before I needed to pick up the carpool.
Honestly, I almost just grabbed a box of store-bought granola bars and called it a day. But you know that feeling when you just can’t show up empty-handed? So I started throwing things into a bowl, hoping for the best. I mean, pumpkin and oats—how bad could it be? My kitchen looked like a toddler had been let loose with the measuring cups, and I was pretty sure I got more maple syrup on the counter than in the bowl.
I rolled those little balls up, tossed them in a container, and dropped them off at the school without a second thought. The next morning, my phone was blowing up. Three other moms wanted the recipe. The PTA president asked if I could make them for the teacher appreciation luncheon. My daughter, who usually turns up her nose at anything with “healthy” written all over it, asked if I could make another batch for her lunchbox. That’s the thing about these Easy No-Bake Pumpkin Pie Energy Bites—they sneak up on you. They’re simple enough for a frantic weeknight, but good enough to steal the show at any gathering. Maybe you’ve been there, staring into your pantry with no time and no plan. This one’s for you.
Why You’ll Love This Recipe
Let me tell you why these little bites have become my secret weapon for busy weeks. I’ve tested this recipe about six times to get it just right, and my family has been happy to volunteer as taste testers every single time.
- Quick & Easy: These come together in under 15 minutes. No oven, no mixer, no complicated steps. Just a bowl, a spoon, and your hands.
- Simple Ingredients: You only need five ingredients, and I bet you already have most of them in your kitchen. No fancy health food store runs required.
- Perfect for Busy Families: Great for lunchboxes, after-school snacks, or a quick breakfast when you’re running late. They’re also fantastic for holiday parties and fall gatherings.
- Crowd-Pleaser: My kids love them, my husband loves them, and even my picky-eating nephew asked for seconds. They taste like a healthier version of pumpkin pie filling.
- Unbelievably Delicious: The combination of pumpkin, warm spices, and maple syrup is pure comfort. It’s like eating the best part of pumpkin pie without turning on the oven.
What makes these different from all the other energy ball recipes out there? It’s the texture. They’re soft, almost fudge-like, with just enough chew from the oats. The pumpkin keeps them moist without making them mushy—trust me, I learned that balance the hard way. These aren’t dry or crumbly like some recipes. They’re the kind of snack that makes you close your eyes after the first bite and forget you’re eating something reasonably healthy.
This recipe is comfort food reimagined—faster, simpler, but with the same soul-soothing satisfaction as a slice of pumpkin pie. Perfect for impressing other parents at school events without the stress, or turning a regular Tuesday afternoon into something a little more special.
What Ingredients You Will Need
This recipe uses simple, wholesome ingredients to deliver that classic pumpkin pie flavor without any fuss. You probably have most of these in your pantry right now.
- 1 cup (120g) old-fashioned rolled oats — These provide the base and the chewy texture. I prefer old-fashioned oats over quick oats because they hold up better and give a nicer bite. Quick oats will work in a pinch, but the texture will be softer. For a gluten-free version, use certified gluten-free oats.
- 1/2 cup (125g) pumpkin puree — Not pumpkin pie filling, just plain pumpkin puree. Make sure you grab the right can—I’ve made that mistake before and ended up with something way too sweet. Libby’s is my go-to brand for consistent texture and flavor.
- 1/3 cup (80ml) pure maple syrup — This adds natural sweetness and helps bind everything together. Real maple syrup makes a difference here—the flavor is deeper and more complex. If you’re in a pinch, honey works too, but it will change the flavor slightly. Use a little less honey since it’s sweeter than maple syrup.
- 1/2 cup (130g) creamy peanut butter — This acts as the glue that holds everything together. I use natural peanut butter with no added sugar or oil. If you have a nut allergy, sunflower seed butter works beautifully. Almond butter is also great but will give a slightly different flavor. Just avoid the super runny natural butters that separate too much—they can make the mixture too wet.
- 1 tablespoon pumpkin pie spice — This is where the magic happens. You can use store-bought or make your own with cinnamon, nutmeg, ginger, and cloves. If you don’t have pumpkin pie spice, use 2 teaspoons cinnamon, 1/2 teaspoon nutmeg, 1/4 teaspoon ginger, and a pinch of cloves. I actually prefer the homemade blend—it tastes fresher and more vibrant.
Optional add-ins that I love: a pinch of salt to balance the sweetness, 1/4 cup of mini chocolate chips for a little indulgence, or 2 tablespoons of chia seeds for extra fiber and omega-3s. My kids love the chocolate chip version, so I often split the batch and add chips to half.
Equipment Needed
You don’t need much for this recipe, which is honestly my favorite part. Here’s what you’ll need:
- Large mixing bowl — Any bowl will do, but a wider bowl makes mixing easier. I use my grandmother’s old ceramic mixing bowl, but a stainless steel one works just fine.
- Measuring cups and spoons — Accurate measurements matter here, especially for the pumpkin and peanut butter. Too much pumpkin and you’ll have a sticky mess.
- Rubber spatula or wooden spoon — For mixing everything together. A spatula works best for scraping the sides of the bowl.
- Baking sheet or plate — To hold the energy bites while they chill. Line it with parchment paper for easy cleanup.
- Parchment paper — Optional, but it makes life easier. The bites won’t stick to the paper as they chill.
- Small cookie scoop or tablespoon — For making evenly sized bites. A cookie scoop is worth the investment if you make these often—it saves so much time.
- Airtight container — For storing the finished bites. A glass container with a tight lid works best.
If you don’t have a cookie scoop, just use your hands. I actually prefer rolling them by hand—it gives me more control over the size, and honestly, I find it kind of therapeutic.
Preparation Method
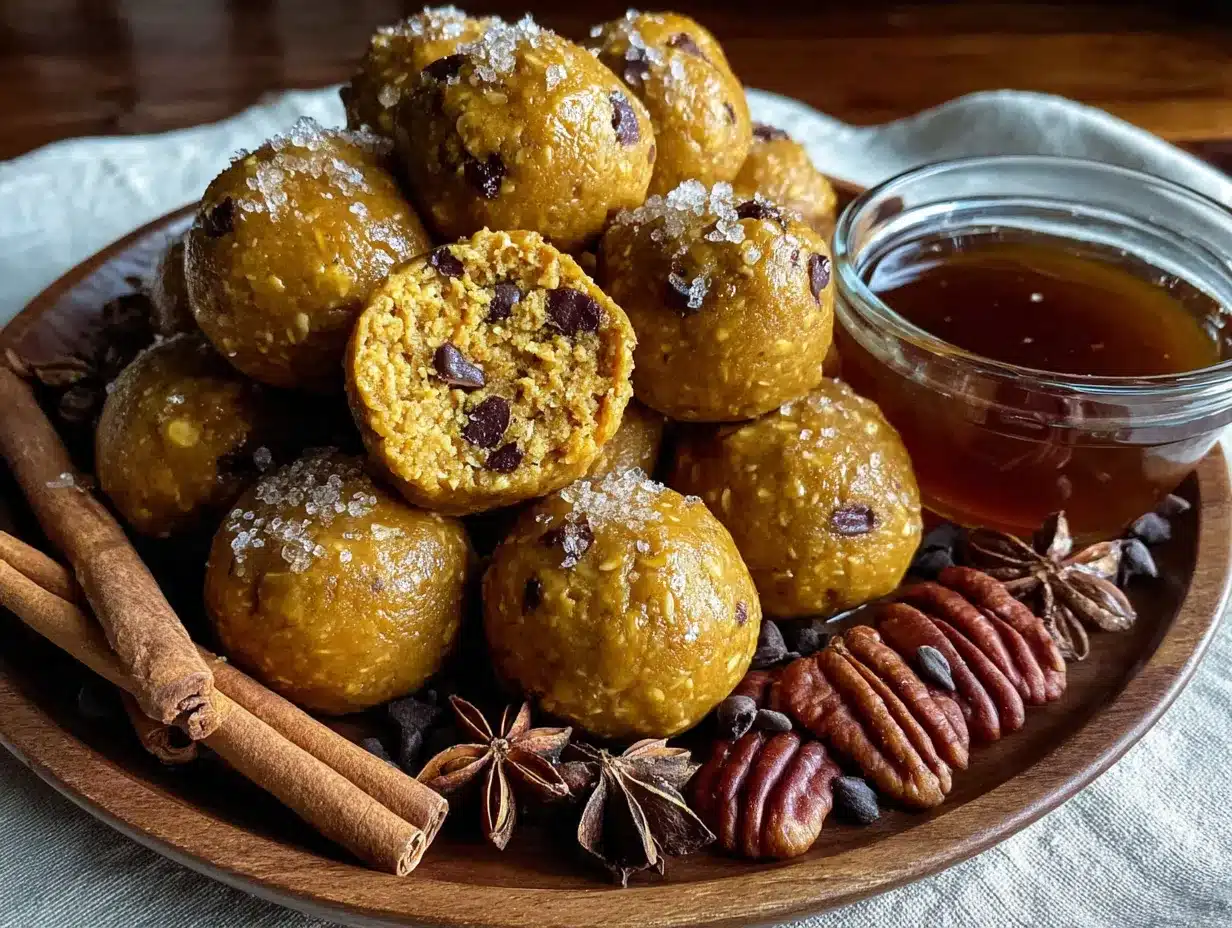
Alright, let’s get to the good part. This recipe is so simple, you’ll wonder why you ever bought expensive energy bars from the store.
- Combine the dry ingredients. In your large mixing bowl, add the rolled oats and pumpkin pie spice. Give them a quick stir with your spatula to distribute the spice evenly. This step seems small, but it makes sure every bite has that warm, cozy flavor.
- Add the wet ingredients. Spoon in the pumpkin puree, maple syrup, and peanut butter. Don’t worry if the peanut butter is a little stiff—it will soften as you mix. Make sure your pumpkin puree isn’t too watery. If there’s liquid sitting on top of the can, pour it off before measuring.
- Mix everything together. Start stirring with your spatula, pressing down firmly to incorporate all the ingredients. At first it will look like a mess—like the pumpkin and peanut butter don’t want to cooperate. Keep going. After about a minute, it will come together into a thick, cohesive dough. The texture should be slightly sticky but firm enough to hold its shape. If it’s too dry, add a teaspoon of maple syrup. If it’s too wet, add a tablespoon more oats.
- Chill the mixture. This step is crucial. Cover the bowl and pop it in the refrigerator for 15-20 minutes. I know you’re eager to roll them up, but trust me on this. Chilling makes the mixture much easier to handle and helps the bites hold their shape. I learned this the hard way when I tried to roll them immediately and ended up with sticky fingers and misshapen balls.
- Roll into bites. Line your baking sheet or plate with parchment paper. Scoop out about 1 tablespoon of the mixture and roll it between your palms to form a ball. You should get about 16-18 bites, depending on how big you make them. If the mixture starts sticking to your hands, lightly wet your palms with water. This trick works like a charm.
- Chill again. Place the rolled bites on the parchment-lined sheet and refrigerate for at least 30 minutes. This allows them to firm up completely. The texture will be soft but not mushy—like a cross between a cookie dough ball and a soft granola bar.
- Enjoy or store. Once they’re firm, you can eat them right away or transfer them to an airtight container. The bites will keep in the fridge for up to a week, or in the freezer for up to three months.
A quick note: the mixture will look slightly darker after it sits—that’s just the oats absorbing the moisture from the pumpkin. Don’t worry, they still taste amazing.
Cooking Tips & Techniques
After making these about a dozen times, I’ve picked up a few tricks that make a real difference. Let me share them so you don’t have to learn the hard way.
Watch your pumpkin puree. Not all pumpkin puree is created equal. Some brands are more watery than others. If your mixture feels too wet, add an extra tablespoon or two of oats. If it’s too dry, add a little more maple syrup or a teaspoon of water. The texture should be like a soft cookie dough—firm enough to roll but still slightly sticky.
Don’t skip the first chill. I know it’s tempting to just mix and roll, but the first chill is what makes these easy to work with. The peanut butter and maple syrup need time to firm up slightly. If you try to roll them right away, you’ll end up with a sticky mess on your hands—literally. Fifteen minutes in the fridge makes all the difference.
Use a cookie scoop for even bites. If you want your energy bites to look uniform and professional, use a small cookie scoop. It’s faster than measuring each one, and they’ll all be the same size, which means they chill evenly. I picked up a cheap scoop at the grocery store for about five dollars, and it’s become one of my most-used kitchen tools.
Keep your hands cool. If your hands are warm, the mixture will start to soften and stick. Run your hands under cold water before rolling, and dry them thoroughly. This simple trick keeps the dough from turning into a sticky mess. I learned this after my first batch turned into more of a pumpkin blob situation.
Double the batch. These freeze beautifully, so I always make a double batch. One for now, one for later. On busy mornings, I just grab a few from the freezer and toss them in lunchboxes. They thaw in about 15 minutes at room temperature, so they’re ready by snack time.
Add mix-ins carefully. If you want to add chocolate chips, dried cranberries, or chopped nuts, fold them in gently after the main mixture is combined. Too much stirring can break up the chips or make the nuts release their oils. I usually add mix-ins by hand at the very end.
Variations & Adaptations
One of the best things about this recipe is how flexible it is. Here are some of my favorite variations to keep things interesting:
Chocolate Pumpkin Bites: Add 2 tablespoons of cocoa powder and 1/4 cup of mini chocolate chips. The chocolate and pumpkin combo is incredible—like a healthier version of a brownie. My kids beg for this version every time.
Vegan Option: This recipe is already vegan if you use maple syrup and a plant-based nut butter. Just make sure your chocolate chips are vegan if you add them. I use Enjoy Life brand for a completely plant-based option.
Nut-Free Version: Swap the peanut butter for sunflower seed butter or tahini. Sunflower seed butter works especially well because it has a similar consistency. Just note that the color will turn a little greenish due to a reaction between the sunflower seeds and pumpkin—don’t worry, it’s totally normal and safe to eat.
Protein-Packed Bites: Add 2 tablespoons of vanilla or unflavored protein powder. You might need to add an extra tablespoon of maple syrup or a splash of milk to balance the dryness. I use collagen peptides for a protein boost without changing the flavor much.
Spicy Pumpkin Bites: Add 1/4 teaspoon of cayenne pepper or a pinch of black pepper to the spice mix. The heat pairs surprisingly well with the sweet pumpkin and maple. It’s not for everyone, but I love the little kick.
No-Bake Pumpkin Pie Bites with Coconut: Roll the finished bites in shredded coconut before the final chill. It adds a nice texture and makes them look fancy for parties. I did this for a holiday gathering and they disappeared in minutes.
I’ve tried all of these variations, and honestly, I can’t pick a favorite. The chocolate version wins with my kids, but I’m partial to the spicy one when I need a little something extra.
Serving & Storage Suggestions
These energy bites are incredibly versatile when it comes to serving. Here’s how I like to enjoy them:
Serving Temperature: They’re best served chilled or at room temperature. Straight from the fridge, they have a firm, fudge-like texture. After sitting out for 10-15 minutes, they soften slightly and become almost creamy. I prefer them cold, but my husband likes them room temperature—so it’s really a matter of preference.
Presentation Ideas: For parties or holiday gatherings, arrange the bites on a platter and dust them with a little cinnamon or pumpkin pie spice. You can also stack them in a mason jar for a cute, rustic look. I’ve given them as homemade gifts in little cellophane bags tied with twine—they’re always a hit.
What to Serve With Them: These pair beautifully with a warm cup of coffee, chai tea, or hot apple cider. For a more substantial snack, serve them alongside apple slices or a handful of almonds. They’re also great crumbled over yogurt or oatmeal for breakfast.
Storage Instructions: Store the bites in an airtight container in the refrigerator for up to one week. Layer them with parchment paper if you’re stacking them to prevent sticking. For longer storage, place them in a freezer-safe bag or container and freeze for up to three months. I like to freeze them in a single layer on a baking sheet first, then transfer them to a bag—this prevents them from clumping together.
Reheating: There’s no need to reheat these, but if you prefer a softer texture, let them sit at room temperature for about 10 minutes. For a warm treat, microwave one for 5-10 seconds—it will be soft and almost like a warm cookie. Just don’t overdo it, or they’ll fall apart.
Flavor Development: Here’s a little secret: these actually taste better the next day. The flavors meld together as they sit, and the spices become more pronounced. So if you can wait, make them a day ahead. I’ve found that day-two bites are always the best.
Nutritional Information & Benefits
Let’s talk about what makes these bites a smart choice for your family. While I’m not a nutritionist, I’ve done my research and I feel good about feeding these to my kids.
Per bite (based on 16 bites):
- Calories: approximately 110
- Protein: 4g
- Fat: 5g
- Carbohydrates: 14g
- Fiber: 2g
- Sugar: 7g (naturally occurring from maple syrup and pumpkin)
Health Highlights: Pumpkin is packed with vitamin A and fiber, which supports eye health and digestion. Oats provide complex carbohydrates for sustained energy—perfect for active kids and busy parents. Peanut butter adds protein and healthy fats to keep everyone full longer. The maple syrup is a natural sweetener with antioxidants, though I keep the amount moderate to avoid a sugar spike.
Dietary Considerations: This recipe is naturally vegetarian, vegan (with maple syrup), and dairy-free. For gluten-free, use certified gluten-free oats. For nut-free, swap the peanut butter for sunflower seed butter. Always check your labels if you have specific allergies—some oats are processed in facilities that also handle wheat.
My Perspective: I love that these bites give my kids real energy without the crash that comes from processed snacks. They’re not a meal replacement, but they’re a fantastic option for that 3pm slump or a pre-soccer practice boost. I feel good about packing them in lunchboxes, and that peace of mind is priceless.
Conclusion
These Easy No-Bake Pumpkin Pie Energy Bites have become a staple in my kitchen, and I have a feeling they’ll become one in yours too. They’re proof that you don’t need fancy ingredients or hours in the kitchen to create something truly delicious. Just five simple ingredients, fifteen minutes, and a little patience while they chill.
What I love most about this recipe is how it brings a little bit of fall magic into any day. Whether you’re packing lunchboxes for school, looking for a quick breakfast on a busy morning, or need a last-minute contribution to a gathering, these bites deliver every time. They’re forgiving, flexible, and absolutely foolproof—even on those days when the kitchen feels chaotic and time is running short.
I’d love to hear how they turn out for you. Did you add chocolate chips? Try the spicy version? Roll them in coconut? Drop a comment below and share your twist on these little bites of autumn goodness. And if you make them for a bake sale or party, don’t be surprised when you’re asked for the recipe—it happens every single time.
Happy rolling, and here’s to simple, honest food that makes life a little sweeter.
Frequently Asked Questions
Can I use quick oats instead of rolled oats?
Yes, you can use quick oats, but the texture will be softer and less chewy. Rolled oats give a better bite and hold up better in the fridge. If you only have quick oats, reduce the chill time slightly since they absorb moisture faster.
How long do these energy bites last in the fridge?
They stay fresh in an airtight container in the refrigerator for up to one week. I’ve found they actually taste better on day two or three as the flavors meld together. Just make sure they’re sealed well so they don’t dry out or absorb other odors from the fridge.
Can I freeze these pumpkin energy bites?
Absolutely! Freeze them in a single layer on a baking sheet, then transfer to a freezer-safe bag or container. They’ll keep for up to three months. Thaw them in the fridge overnight or let them sit at room temperature for about 15 minutes before eating.
My mixture seems too wet. What should I do?
If your mixture is too wet, add extra oats one tablespoon at a time until it reaches a rollable consistency. This can happen if your pumpkin puree is watery or your peanut butter is very runny. A little extra oats usually fixes it right up.
Can I make these without peanut butter?
Yes! Swap the peanut butter for any other nut or seed butter. Almond butter, cashew butter, or sunflower seed butter all work well. Just keep in mind that different butters have different consistencies, so you may need to adjust the oats slightly. Sunflower seed butter is my favorite alternative—it gives a mild, nutty flavor that pairs beautifully with pumpkin.
Pin This Recipe!
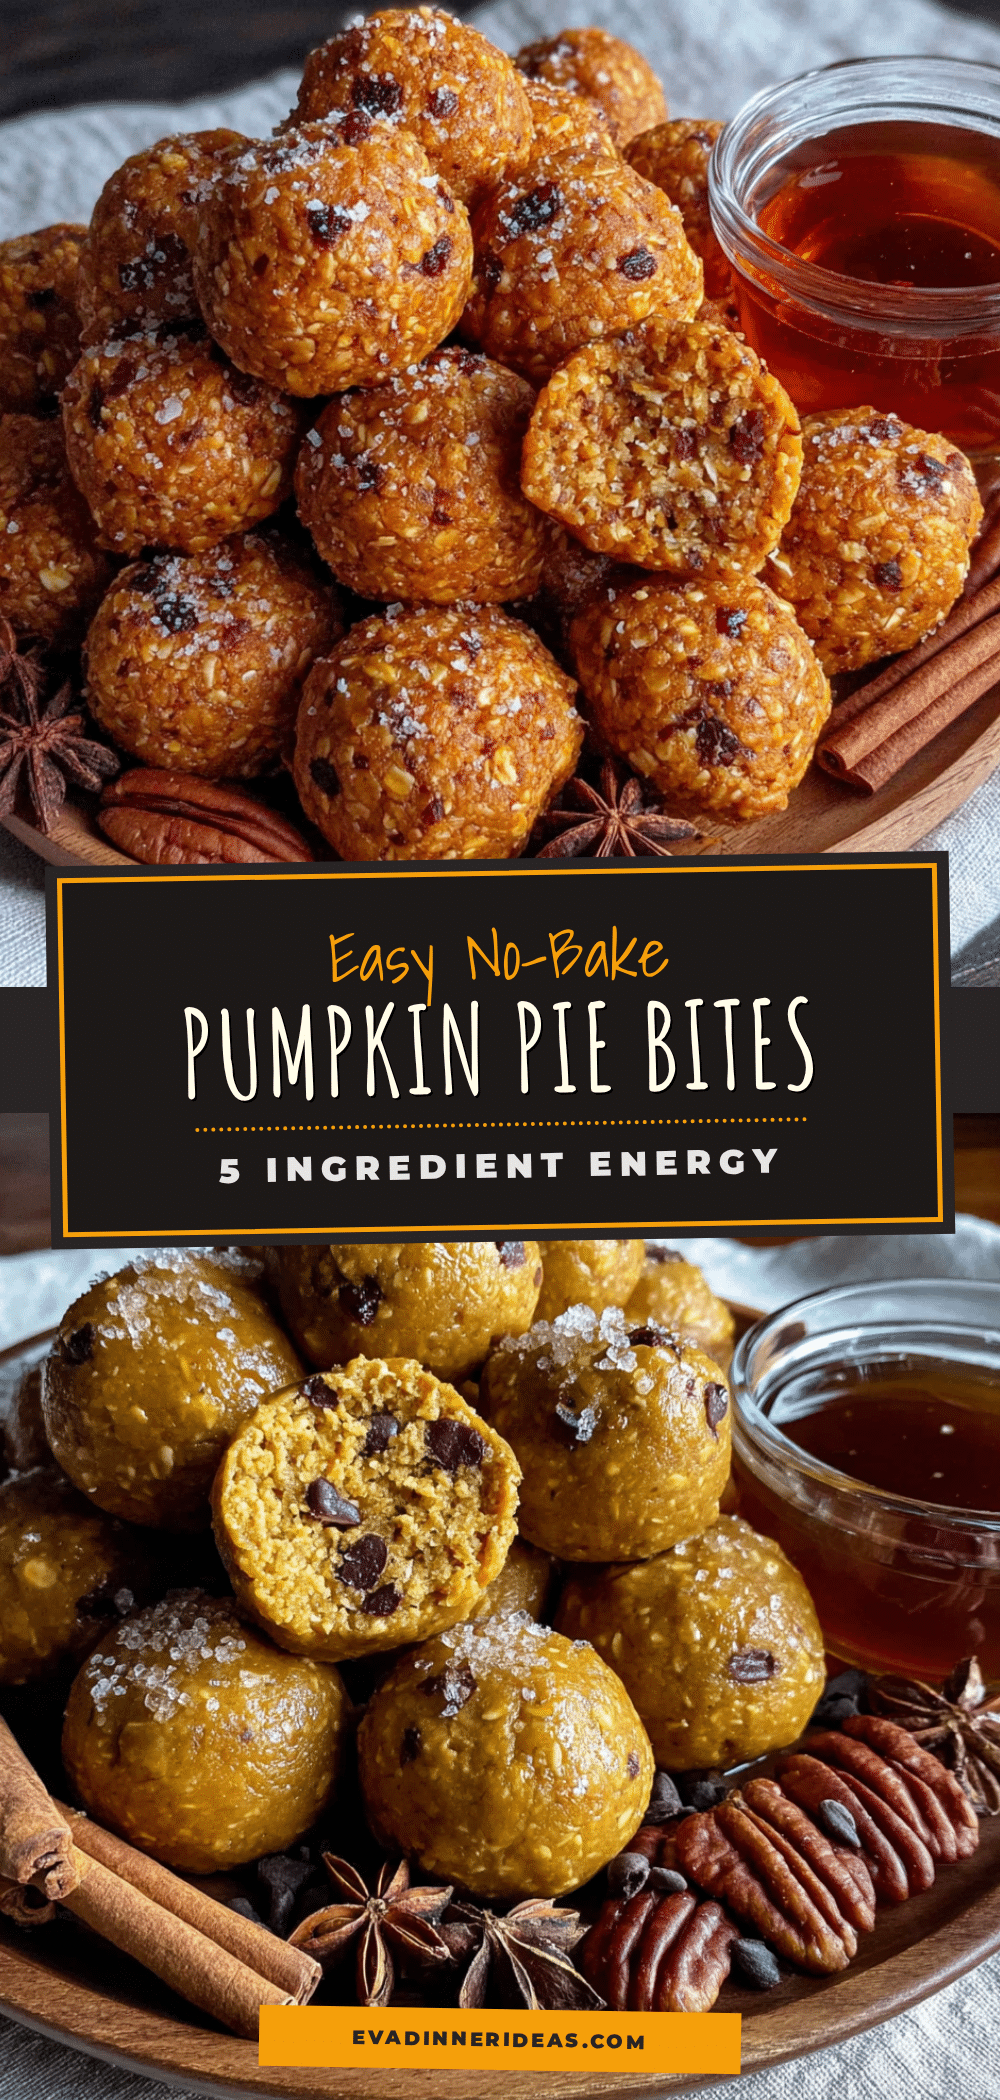
Easy No-Bake Pumpkin Pie Energy Bites: 5-Ingredient Best Treat
These no-bake pumpkin pie energy bites are a quick, healthy, and delicious snack made with just five simple ingredients. Perfect for busy families, lunchboxes, or a last-minute treat, they taste like a healthier version of pumpkin pie filling.
- Prep Time: 15 minutes
- Cook Time: 0 minutes
- Total Time: 1 hour 5 minutes (includes chilling time)
- Yield: 16-18 bites 1x
- Category: Snack
- Cuisine: American
Ingredients
- 1 cup (120g) old-fashioned rolled oats
- 1/2 cup (125g) pumpkin puree (not pumpkin pie filling)
- 1/3 cup (80ml) pure maple syrup
- 1/2 cup (130g) creamy peanut butter (natural, no added sugar or oil)
- 1 tablespoon pumpkin pie spice
Instructions
- In a large mixing bowl, combine the rolled oats and pumpkin pie spice. Stir to distribute the spice evenly.
- Add the pumpkin puree, maple syrup, and peanut butter. Mix with a spatula, pressing down firmly, until a thick, cohesive dough forms. The texture should be slightly sticky but firm enough to hold its shape. If too dry, add a teaspoon of maple syrup; if too wet, add a tablespoon more oats.
- Cover the bowl and refrigerate for 15-20 minutes to make the mixture easier to handle.
- Line a baking sheet or plate with parchment paper. Scoop out about 1 tablespoon of the mixture and roll it between your palms to form a ball. Repeat with the remaining mixture to make 16-18 bites.
- Place the rolled bites on the parchment-lined sheet and refrigerate for at least 30 minutes to firm up completely.
- Enjoy immediately or transfer to an airtight container. Store in the refrigerator for up to a week, or freeze for up to three months.
Notes
For best results, chill the mixture before rolling. If the mixture sticks to your hands, lightly wet your palms with water. These taste even better the next day as flavors meld. Optional add-ins: a pinch of salt, 1/4 cup mini chocolate chips, or 2 tablespoons chia seeds.
Nutrition
- Serving Size: 1 bite
- Calories: 110
- Sugar: 7
- Sodium: 50
- Fat: 5
- Saturated Fat: 1
- Carbohydrates: 14
- Fiber: 2
- Protein: 4
Keywords: no-bake pumpkin pie energy bites, pumpkin energy balls, healthy pumpkin snack, 5-ingredient energy bites, fall snack, lunchbox snack, vegan energy bites, gluten-free energy bites