It was 10:47 PM on a rainy Tuesday, and I had a weird, specific craving for something that tasted like fall but felt like a hug. I didn’t have enough pumpkin for a full loaf of pumpkin bread, and the bananas on my counter were practically begging for mercy—you know, those sad, spotty ones that nobody in the house will touch. But I had a wild idea that just wouldn’t let go: what if I mashed them together? I mean, pumpkin and banana are both sweet, both soft, both the kind of thing you bake when you want the house to smell like comfort. So I grabbed my favorite mixing bowl—the one with the chip in the rim—and started throwing things together. Honestly, I wasn’t sure it would work. The kids were already asleep, and I figured if this experiment flopped, at least nobody would witness my failure. But then the smell started filling the kitchen, and my husband shuffled in, bleary-eyed, asking what in the world I was making at nearly midnight. I told him it was a secret project. He just shrugged and grabbed a slice before I could even frost it.
That first bite was something else. The pumpkin kept it moist, the banana added this deep, natural sweetness, and the walnuts—oh, the walnuts. I had toasted them just enough to make them smell like butter and warmth. It wasn’t perfect, mind you. The top cracked a little more than I’d like, and I forgot to grease one corner of the pan, so the first slice came out a bit ragged. But the flavor? That was spot on. The next morning, my kids devoured it for breakfast, and my picky eater asked for a second slice. That never happens. Maybe you’ve been there—standing in your kitchen at an unreasonable hour, chasing a craving with whatever is in the pantry, and stumbling onto something that just works. This is that recipe. This is the one that made me stop second-guessing my late-night kitchen experiments and start trusting my gut. It’s kid-approved, budget-friendly, and honestly, it might just become your new favorite way to use up those spotty bananas and that half-can of pumpkin hiding in the back of your fridge.
Why You’ll Love This Recipe
Let me tell you why this pumpkin banana bread has earned a permanent spot in my weekly rotation. I’ve tested this recipe at least seven times—yes, seven—because I wanted to get it just right for my family. The first time, it was too dense. The second time, the walnuts sank to the bottom. But by the fourth try, I had it dialed in, and my neighbor (who is a pastry chef, by the way) gave it her stamp of approval. So trust me when I say this is the best version.
- Quick & Easy: This comes together in under 15 minutes of prep time. No stand mixer required, no complicated techniques. Just a bowl, a whisk, and a spatula. Perfect for those mornings when you realize you need a school snack or a breakfast option that isn’t cereal.
- Simple Ingredients: You likely have most of these in your kitchen right now. Canned pumpkin, overripe bananas, flour, sugar, eggs, oil, and walnuts. No fancy grocery trips, no specialty flours. It’s the kind of recipe you can make on a whim.
- Perfect for Fall Mornings and School Lunches: This bread is moist enough to be a treat but not so sweet that it feels like dessert. I pack it in lunchboxes, serve it for breakfast with a smear of butter, and even bring it to potlucks. It always disappears fast.
- Crowd-Pleaser: I’ve served this to kids who “don’t like pumpkin” and adults who “don’t like banana bread.” Somehow, the combination wins everyone over. The toasted walnuts add a crunch that makes it feel special, but you can leave them out if your kids are texture-sensitive.
- Unbelievably Delicious: The texture is what gets me every time. It’s tender and moist without being gummy, and the top gets this beautiful golden crust that cracks just slightly. The pumpkin and banana work together to create a flavor that’s deeper and more complex than either one alone.
What makes this recipe different from the rest? It’s the balance. So many pumpkin banana breads lean too heavy on the pumpkin and end up tasting like spiced cardboard. Others go overboard on banana and lose the fall vibe entirely. This one hits the sweet spot—literally. And the toasted walnuts? They’re non-negotiable in my book. Toasting them brings out their natural oils and makes them taste almost caramelized. It’s a small step that makes a huge difference.
This recipe isn’t just good—it’s the kind that makes you close your eyes after the first bite. It’s comfort food reimagined: healthier than a bakery muffin, faster than a complicated cake, but with the same soul-soothing satisfaction. Perfect for impressing guests without stress, or turning a simple Tuesday into something memorable.
What Ingredients You Will Need
This recipe uses simple, wholesome ingredients to deliver bold flavor and satisfying texture without the fuss. Most of these are pantry staples, which means you can whip this up even on a busy weeknight.
For the Bread
- 1 ½ cups (190g) all-purpose flour — I prefer unbleached flour for a slightly better texture, but regular all-purpose works just fine. (If you’re in a pinch, you can substitute up to half with whole wheat flour, but the bread will be denser.)
- 1 teaspoon baking soda — Make sure it’s fresh! Old baking soda won’t give your bread the lift it needs.
- ½ teaspoon baking powder — This helps with a lighter crumb.
- 1 teaspoon ground cinnamon — I use Saigon cinnamon when I can find it—it’s sweeter and more fragrant than regular cinnamon.
- ½ teaspoon ground nutmeg — Freshly grated is best, but pre-ground works in a pinch.
- ½ teaspoon salt — Don’t skip this! It balances the sweetness and enhances all the flavors.
- 1 cup (240g) pumpkin puree — Canned is totally fine. Just make sure it’s 100% pumpkin, not pumpkin pie filling. I like Libby’s brand for its consistent texture.
- 1 cup (about 2 large) mashed ripe bananas — The riper, the better. Those spotty, almost-black bananas are perfect here. They add natural sweetness and moisture.
- ½ cup (100g) granulated sugar — Regular white sugar works great. You can reduce this to ⅓ cup if your bananas are very sweet.
- ¼ cup (50g) packed brown sugar — Light or dark both work. Dark brown sugar adds a deeper molasses flavor that I love with the pumpkin.
- ⅓ cup (80ml) vegetable oil — Canola or avocado oil are my go-tos. Melted coconut oil works too, but the flavor will be slightly different.
- 2 large eggs — Room temperature eggs incorporate more evenly into the batter. If you forgot to take them out early, place them in a bowl of warm water for 5 minutes.
- 1 teaspoon vanilla extract — Pure vanilla extract is worth the splurge here. It rounds out the flavors beautifully.
For the Topping
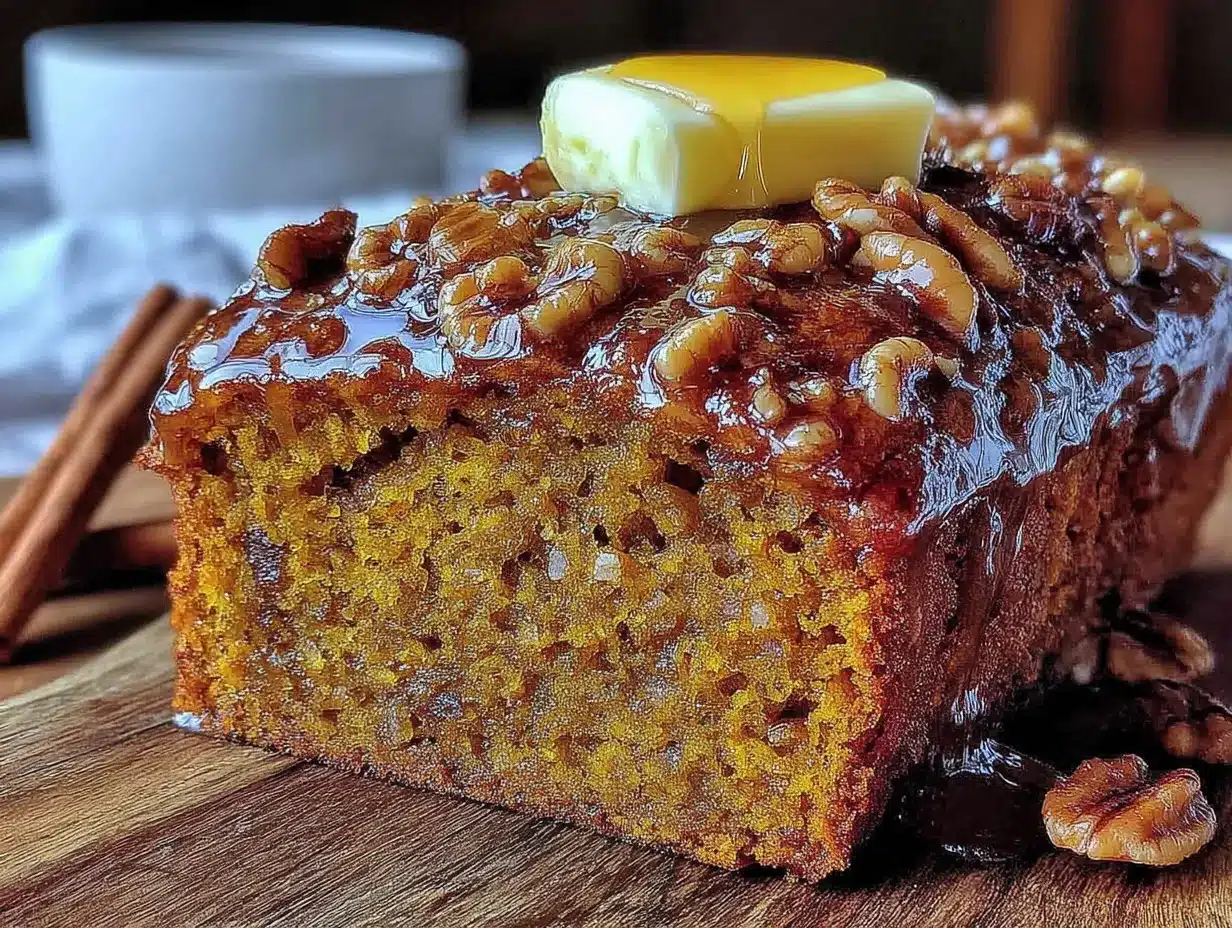
- ½ cup (60g) chopped walnuts — Toast them first! Spread them on a baking sheet at 350°F for 5-7 minutes, until fragrant. This step is crucial for bringing out their nutty flavor. (I’ve used pecans in a pinch, and they’re lovely too.)
- Optional: 1 tablespoon turbinado sugar — Sprinkling this on top before baking gives a lovely crunchy crust. My kids call it the “sparkle part.”
Equipment Needed
You don’t need a fancy kitchen to make this bread. Here’s what you’ll need:
- 9×5-inch loaf pan — A standard metal or glass loaf pan works best. If you use a dark non-stick pan, keep an eye on the baking time—it may cook faster.
- Large mixing bowl — Any big bowl will do. I use my grandmother’s old ceramic one, but a stainless steel one is fine.
- Medium mixing bowl — For whisking the dry ingredients.
- Whisk — A good whisk helps aerate the flour mixture and prevents lumps.
- Rubber spatula — For folding the batter. A wooden spoon works too, but a spatula gets the corners better.
- Parchment paper — Lining the pan makes cleanup a breeze and ensures the bread releases cleanly. If you don’t have it, just grease the pan well with butter or cooking spray.
- Cooling rack — Letting the bread cool completely on a rack prevents a soggy bottom. If you don’t have one, you can use the inverted lid of a clean roasting pan—I’ve done it before!
- Baking sheet — For toasting the walnuts. A small sheet pan or even a pie plate works.
Budget-friendly tip: You don’t need an expensive loaf pan. A basic metal one from the grocery store works perfectly. I’ve been using the same $8 pan for years, and it’s never let me down.
Preparation Method
Okay, let’s get to the fun part. Here’s how to make this kid-approved pumpkin banana bread step by step. I’ve included all the little details I wish someone had told me the first time I made it.
Step 1: Preheat and Prep
Preheat your oven to 350°F (175°C). Line your 9×5-inch loaf pan with parchment paper, leaving some overhang on the long sides—this creates “handles” for lifting the bread out later. If you don’t have parchment, grease the pan generously with butter or cooking spray. Set it aside.
Step 2: Toast the Walnuts
Spread the chopped walnuts on a baking sheet in a single layer. Toast them in the preheated oven for 5-7 minutes, until they smell nutty and look slightly darker. Watch them closely—they can burn fast! Let them cool while you prepare the batter. Trust me, this step is worth the extra 5 minutes.
Step 3: Mix the Dry Ingredients
In a medium bowl, whisk together the flour, baking soda, baking powder, cinnamon, nutmeg, and salt. Whisking aerates the flour and ensures the leavening agents are evenly distributed. Set this aside.
Step 4: Mash and Mix the Wet Ingredients
In a large bowl, mash the ripe bananas with a fork until they’re mostly smooth with a few small lumps left. (I like a little texture, but if your kids prefer a smoother bread, mash them thoroughly.) Add the pumpkin puree, granulated sugar, brown sugar, vegetable oil, eggs, and vanilla extract. Whisk everything together until it’s smooth and well combined. The mixture should look glossy and smell amazing already.
Step 5: Combine Wet and Dry
Pour the dry ingredients into the wet ingredients. Use a rubber spatula to fold them together gently. Here’s the key: stop mixing as soon as you no longer see streaks of flour. Overmixing will make the bread tough and dense. A few small lumps are totally fine—they’ll disappear during baking.
Step 6: Fold in the Walnuts
Reserve about 2 tablespoons of the toasted walnuts for the top. Gently fold the remaining walnuts into the batter with a few quick strokes. Don’t overdo it—just until they’re distributed.
Step 7: Fill the Pan and Add Topping
Pour the batter into the prepared loaf pan and spread it evenly with the spatula. Sprinkle the reserved walnuts on top, along with the turbinado sugar if you’re using it. Gently press the walnuts into the batter slightly so they stick.
Step 8: Bake
Bake for 50-60 minutes, or until a toothpick inserted into the center comes out clean or with just a few moist crumbs. If the top is browning too quickly (around the 40-minute mark), tent the pan loosely with aluminum foil. Every oven is different—mine runs hot, so I start checking at 50 minutes.
Step 9: Cool
Let the bread cool in the pan for 10 minutes. Then use the parchment handles to lift it out and transfer it to a cooling rack. Let it cool completely before slicing—at least 1 hour. I know it’s tempting to cut into it warm, but it will be too fragile and might crumble. Trust me, I learned this the hard way.
Cooking Tips & Techniques
I’ve made this pumpkin banana bread more times than I can count, and I’ve picked up a few tricks along the way. Here are my best tips for getting it right every time.
Don’t overmix the batter. This is the most common mistake I see in quick bread recipes. When you overmix, you develop the gluten in the flour, which makes the bread tough and dense. Mix just until the flour disappears—a few lumps are your friend. I once let my daughter “help” by stirring enthusiastically, and the bread came out like a brick. Lesson learned.
Use room temperature ingredients. Cold eggs and cold bananas can make the batter seize up and lead to uneven baking. Take your eggs out of the fridge 30 minutes before you start, and if your bananas are cold, let them sit on the counter for a bit. In a rush? You can warm the eggs in a bowl of lukewarm water for 5 minutes.
Toast your walnuts twice. Okay, not literally twice, but I like to toast them once before adding them to the batter and then again on top of the bread. The ones inside the bread get a little steamed during baking, so the extra toasting on top ensures you get that crunchy, nutty bite. My husband calls it the “crunch factor.”
Check for doneness with a thermometer. If you have an instant-read thermometer, the bread is done when the internal temperature reaches 200-205°F (93-96°C). This is more reliable than the toothpick test, especially if you’re new to baking quick breads.
Let it cool completely. I cannot stress this enough. Cutting into warm bread is like trying to build a sandcastle with wet sand—it’s going to fall apart. If you want clean slices, wait at least an hour. I usually make this bread in the evening so it’s ready for breakfast the next morning.
Variations & Adaptations
One of the best things about this recipe is how easy it is to customize. Here are some variations I’ve tried and loved.
Dietary Adaptations
- Gluten-Free: Substitute the all-purpose flour with a 1:1 gluten-free baking blend that contains xanthan gum. I’ve used King Arthur’s Measure for Measure blend with great results. The texture will be slightly more crumbly, but still delicious.
- Dairy-Free: This recipe is already dairy-free! Just make sure your chocolate chips (if adding) are dairy-free too.
- Lower Sugar: Reduce the granulated sugar to ⅓ cup and the brown sugar to 2 tablespoons. The bananas and pumpkin provide plenty of natural sweetness. I’ve done this for my toddler, and she didn’t notice a difference.
Flavor Twists
- Chocolate Chip Pumpkin Banana Bread: Fold in ½ cup of semi-sweet chocolate chips along with the walnuts. The chocolate pairs beautifully with the pumpkin and banana. My kids go crazy for this version.
- Spiced Pumpkin Banana Bread: Add ½ teaspoon of ground ginger and ¼ teaspoon of ground cloves to the flour mixture. This makes it taste almost like a pumpkin pie in bread form.
- Maple Glazed: Whisk together ½ cup powdered sugar, 2 tablespoons maple syrup, and 1 tablespoon milk. Drizzle over the cooled bread for a bakery-worthy finish.
Different Cooking Methods
- Muffins: Divide the batter among a greased 12-cup muffin tin. Bake at 350°F for 18-22 minutes. Perfect for lunchboxes!
- Mini Loaves: Use three 5×3-inch mini loaf pans. Bake for 30-35 minutes. Great for gift-giving.
My personal favorite variation? I once added a handful of dried cranberries along with the walnuts, and it was incredible. The tartness of the cranberries cut through the sweetness perfectly. It felt like a Thanksgiving leftover sandwich in bread form.
Serving & Storage Suggestions
This bread is incredibly versatile when it comes to serving. Here’s how I like to enjoy it.
Serving Suggestions
Serve it warm or at room temperature. For breakfast, I love it with a pat of salted butter and a cup of coffee. For an afternoon snack, a slice with a smear of cream cheese is divine. And for dessert? Toast a slice, add a scoop of vanilla ice cream, and drizzle with caramel sauce. It’s a crowd-pleaser every time.
This bread also pairs beautifully with a hot cup of chai tea or a glass of cold milk. My kids like it with apple slices on the side for a balanced snack.
Storage Instructions
Store the bread in an airtight container at room temperature for up to 3 days. The flavors actually deepen and meld together after a day or two, so don’t be surprised if it tastes even better on day two.
For longer storage, wrap the cooled bread tightly in plastic wrap, then in aluminum foil, and freeze for up to 3 months. To thaw, leave it on the counter overnight, or microwave individual slices for 20-30 seconds. I always keep a loaf in the freezer for unexpected guests or busy mornings.
Reheating Tips
The best way to reheat a slice is in the toaster or toaster oven. It crisps up the edges while keeping the inside soft and moist. If you’re reheating the whole loaf, wrap it in foil and warm it in a 300°F oven for 10-15 minutes.
One thing I’ve noticed: this bread actually gets more moist over time. The pumpkin and banana continue to release moisture, so by day three, it’s almost pudding-like in texture. If that’s not your thing, you can lightly toast each slice before serving.
Nutritional Information & Benefits
Here’s the approximate nutritional breakdown for one slice (based on 10 slices per loaf):
| Nutrient | Amount per Slice |
|---|---|
| Calories | 245 |
| Total Fat | 11g |
| Saturated Fat | 1.5g |
| Cholesterol | 37mg |
| Sodium | 245mg |
| Total Carbohydrates | 34g |
| Dietary Fiber | 3g |
| Sugars | 17g |
| Protein | 5g |
This bread offers some real nutritional perks. Pumpkin is packed with vitamin A (great for eye health) and fiber. Bananas provide potassium and natural sweetness, which allows us to use less refined sugar. Walnuts are a fantastic source of omega-3 fatty acids, which support brain health—perfect for growing kids!
Dietary considerations: This recipe is dairy-free and nut-free if you omit the walnuts. It contains gluten and eggs, so it’s not suitable for those with celiac disease or egg allergies without modifications. If you’re watching your sugar intake, the low-sugar variation works beautifully.
From my perspective, this bread strikes a nice balance between treat and nourishment. It’s not health food, but it’s certainly better for you than a store-bought muffin or a slice of cake. I feel good about serving it to my family, and that matters.
Conclusion
This kid-approved pumpkin banana bread with toasted walnuts is the kind of recipe that makes you feel like a kitchen genius, even when you’re just following the instructions. It’s forgiving, flexible, and always delivers. Whether you’re making it for a school bake sale, a cozy weekend breakfast, or just because you have spotty bananas and a craving, it won’t let you down.
I love this recipe because it reminds me that the best things in the kitchen often come from happy accidents. That late-night experiment turned into a family favorite, and I hope it becomes one in your home too. Don’t be afraid to make it your own—throw in some chocolate chips, swap the walnuts for pecans, or double the cinnamon. The beauty of this bread is that it welcomes your personal touch.
So go ahead, preheat that oven, mash those bananas, and get ready for your kitchen to smell like autumn. And when you take that first bite—the one where you close your eyes and just enjoy it—come back and tell me about it. I’d love to hear how it turned out for you. Happy baking!
Frequently Asked Questions
Can I use fresh pumpkin instead of canned?
Absolutely! If you have fresh pumpkin, roast it until tender, then puree it in a food processor. Just make sure to drain off any excess liquid—fresh pumpkin can be more watery than canned. You want a thick, spoonable puree for the best texture.
Why did my bread sink in the middle?
This usually happens for one of three reasons: the oven temperature was too low, the batter was overmixed, or you opened the oven door too early. Make sure your oven is properly preheated, mix gently, and resist the urge to peek until the 50-minute mark.
Can I make this without walnuts?
Of course! If you’re dealing with nut allergies or just not a fan, simply leave them out. The bread will still be delicious. You can substitute with chocolate chips, dried fruit, or sunflower seeds for a nut-free crunch.
How do I know when the bread is fully baked?
Insert a toothpick or skewer into the center of the bread. If it comes out clean or with just a few moist crumbs (not wet batter), it’s done. You can also use an instant-read thermometer—the internal temperature should be 200-205°F.
Can I double this recipe?
Yes! This recipe doubles beautifully. Just use a larger bowl and bake in two separate loaf pans. You can also bake it as a sheet cake in a 9×13-inch pan—just reduce the baking time to 30-35 minutes and keep an eye on it.
Pin This Recipe!
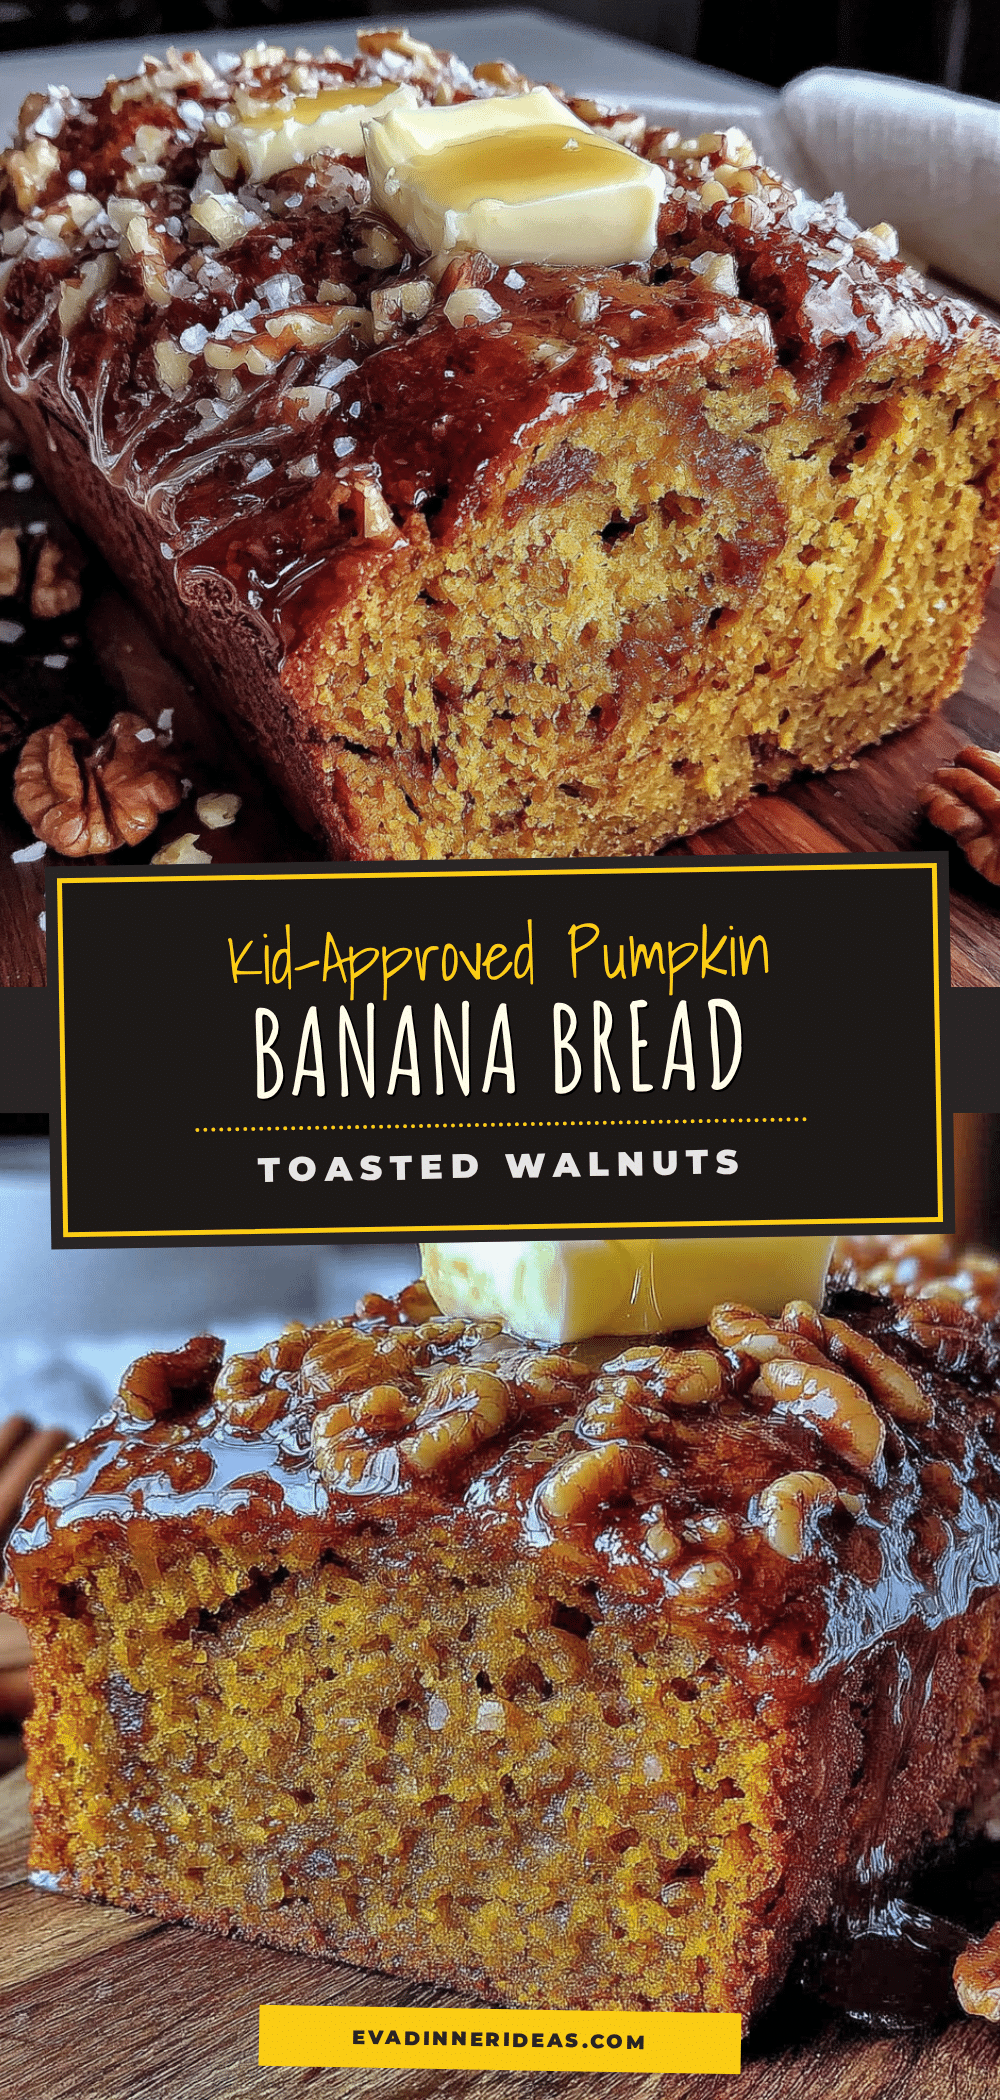
Easy Kid-Approved Pumpkin Banana Bread with Walnuts
This moist and flavorful pumpkin banana bread combines the best of fall flavors with the natural sweetness of ripe bananas, topped with crunchy toasted walnuts. It’s a quick and easy recipe that’s perfect for breakfast, school lunches, or a cozy snack.
- Prep Time: 15 minutes
- Cook Time: 55 minutes
- Total Time: 1 hour 10 minutes
- Yield: 10 servings 1x
- Category: Bread
- Cuisine: American
Ingredients
- 1 ½ cups (190g) all-purpose flour
- 1 teaspoon baking soda
- ½ teaspoon baking powder
- 1 teaspoon ground cinnamon
- ½ teaspoon ground nutmeg
- ½ teaspoon salt
- 1 cup (240g) pumpkin puree
- 1 cup (about 2 large) mashed ripe bananas
- ½ cup (100g) granulated sugar
- ¼ cup (50g) packed brown sugar
- ⅓ cup (80ml) vegetable oil
- 2 large eggs
- 1 teaspoon vanilla extract
- ½ cup (60g) chopped walnuts
- 1 tablespoon turbinado sugar (optional)
Instructions
- Preheat your oven to 350°F (175°C). Line a 9×5-inch loaf pan with parchment paper, leaving overhang on the long sides. Grease the pan if not using parchment.
- Spread the chopped walnuts on a baking sheet in a single layer. Toast in the preheated oven for 5-7 minutes until fragrant. Let cool.
- In a medium bowl, whisk together the flour, baking soda, baking powder, cinnamon, nutmeg, and salt.
- In a large bowl, mash the ripe bananas with a fork until mostly smooth with a few lumps. Add pumpkin puree, granulated sugar, brown sugar, vegetable oil, eggs, and vanilla extract. Whisk until smooth and well combined.
- Pour the dry ingredients into the wet ingredients. Use a rubber spatula to fold together gently until just combined. Do not overmix; a few lumps are fine.
- Reserve about 2 tablespoons of toasted walnuts for the top. Gently fold the remaining walnuts into the batter.
- Pour the batter into the prepared loaf pan and spread evenly. Sprinkle the reserved walnuts and turbinado sugar (if using) on top. Gently press the walnuts into the batter.
- Bake for 50-60 minutes, or until a toothpick inserted into the center comes out clean or with a few moist crumbs. If the top browns too quickly, tent with foil at the 40-minute mark.
- Let the bread cool in the pan for 10 minutes. Use the parchment handles to lift it out and transfer to a cooling rack. Cool completely before slicing (at least 1 hour).
Notes
Toast the walnuts for best flavor. Do not overmix the batter. Let the bread cool completely before slicing to prevent crumbling. For a lower sugar version, reduce granulated sugar to 1/3 cup and brown sugar to 2 tablespoons.
Nutrition
- Serving Size: 1 slice
- Calories: 245
- Sugar: 17
- Sodium: 245
- Fat: 11
- Saturated Fat: 1.5
- Carbohydrates: 34
- Fiber: 3
- Protein: 5
Keywords: pumpkin banana bread, kid-approved, easy, walnuts, fall recipe, breakfast bread, snack