Linda wasn’t trying to impress anyone. I’d stopped by her house on a random Tuesday afternoon to pick up a book she’d lent me, and the smell hit me before I even made it past the front door. It was savory and earthy, with this sweet, almost caramelized note underneath that made my stomach growl immediately. Linda just shrugged when I asked what she was cooking. “Oh, just that green bean thing,” she said, like it was nothing.
But it wasn’t nothing. It was her from-scratch green bean casserole, and honestly, I think about that afternoon more than I’d like to admit. She wasn’t hosting Thanksgiving. It wasn’t a special occasion at all. She was just making dinner for her family on a cold, rainy day, and she happened to be making the best version of a dish I thought I already knew inside and out. The canned-soup version? Sure, it has its place. But this was different. This was something else entirely.
I stood in her kitchen watching her stir a pot of fresh green beans, and she explained the whole process like it was the most obvious thing in the world. “You just cook the mushrooms down until they look wrong, then they get right,” she said. I nodded like I understood, but I was really just taking mental notes. She didn’t use a recipe. She didn’t measure anything. She just knew. And that’s the kind of cooking I’ve always wanted to be able to do.
Maybe you’ve been there too — standing in someone’s kitchen, watching them make something that seems impossibly good, and thinking, “I need to learn how to do that.” Well, this is that recipe. This is the one that made me throw out my canned soup forever. Let me tell you, it’s worth every extra minute.
Why You’ll Love This Recipe
Let’s be honest for a second. The classic green bean casserole that shows up at every holiday table is fine. It’s good, even. But “fine” isn’t what you want when you’re spending hours in the kitchen, right? You want something that makes people close their eyes when they take a bite. This from-scratch version does exactly that, and here’s why it’s going to become your new go-to:
- Quick & Easy: Despite being from scratch, this comes together in about 45 minutes. Most of that is hands-off oven time, too. Perfect for those busy holiday mornings when you’ve got a million other things to do.
- Simple Ingredients: No canned cream of mushroom soup here. You’ll use fresh mushrooms, heavy cream, and real onions. But here’s the thing — you probably already have most of these in your kitchen. No fancy grocery store runs required.
- Perfect for Holidays: This is the dish that disappears first at Thanksgiving, Christmas, Easter, or any family gathering. It’s comfort food at its finest, and it pairs beautifully with turkey, ham, or roast chicken.
- Crowd-Pleaser: I’ve served this to people who swore they hated green bean casserole. Every single one of them asked for seconds. Even the picky eaters in your family will be converted.
- Unbelievably Delicious: The homemade mushroom sauce is rich and velvety, the green beans stay crisp-tender, and the crispy onions on top? Let’s just say you’ll be fighting over the last bits in the pan.
What makes this recipe different is the technique. Most from-scratch versions still rely on a roux-based sauce that can turn gluey if you’re not careful. This one uses a method where you cook the mushrooms down until they release their liquid, then let that liquid reduce into pure umami goodness. It’s a trick I learned from watching Linda that day, and it makes all the difference. The sauce is creamy without being heavy, and it clings to every green bean just right.
This isn’t just another version of green bean casserole. It’s the version you’ll remember. The one that makes you close your eyes after the first bite and think, “Yeah, this is what it’s supposed to taste like.”
What Ingredients You Will Need
This recipe uses simple, wholesome ingredients to deliver that deep, savory flavor without any of the processed stuff. Most of these are pantry staples, which makes this dish perfect for those last-minute gatherings when you need something impressive but don’t want to stress about sourcing exotic ingredients.
For the Green Bean Casserole Base
- 1 ½ pounds fresh green beans, trimmed and cut into 2-inch pieces (look for bright, firm beans without brown spots — they’ll stay crisper)
- 2 tablespoons unsalted butter (I use Kerrygold for the richer flavor, but any good butter works)
- 8 ounces cremini mushrooms, thinly sliced (baby bellas have the best flavor here, but white mushrooms work too)
- 1 medium yellow onion, finely diced (about 1 cup)
- 3 cloves garlic, minced (fresh is non-negotiable here — skip the jarred stuff)
- 2 tablespoons all-purpose flour (or gluten-free flour blend if needed)
- 1 ½ cups heavy cream (you can substitute half-and-half for a lighter version, but it won’t be as rich)
- 1 cup low-sodium chicken or vegetable broth (I prefer Better Than Bouillon for the concentrated flavor)
- ½ teaspoon salt (plus more for the blanching water)
- ¼ teaspoon black pepper
- ¼ teaspoon nutmeg (trust me on this — it’s the secret ingredient that makes the sauce sing)
- Pinch of cayenne pepper (optional, but adds a nice warmth without being spicy)
For the Crispy Onion Topping
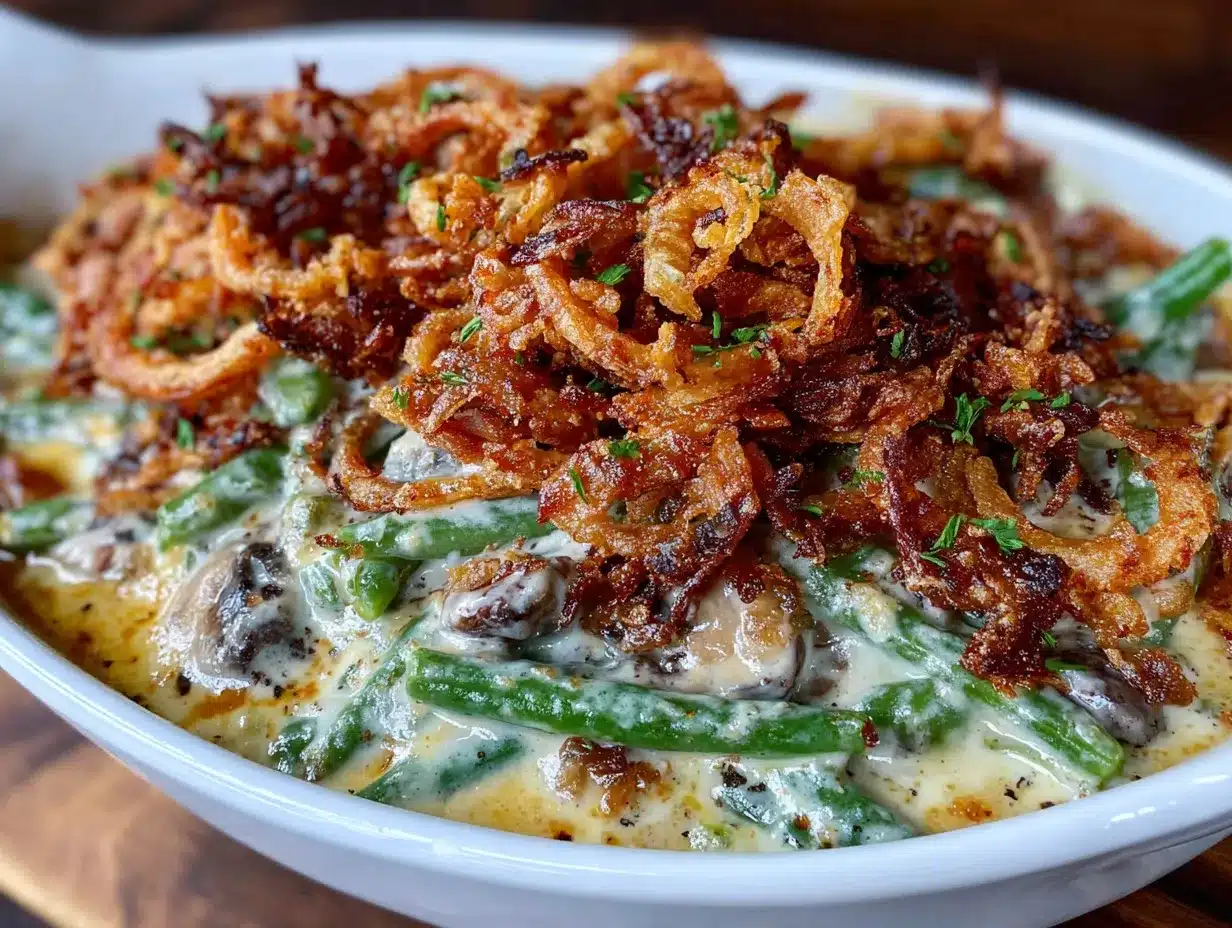
- 2 large yellow onions, thinly sliced into rings
- ½ cup all-purpose flour
- ½ cup panko breadcrumbs (they stay crunchier than regular breadcrumbs)
- 1 teaspoon salt
- ½ teaspoon black pepper
- ½ teaspoon garlic powder
- 1 cup buttermilk (or regular milk with 1 tablespoon lemon juice added, let sit 5 minutes)
- Vegetable or canola oil, for frying (about 2 cups, depending on your pot size)
Ingredient Tips: For the mushrooms, I’ve found that cremini (baby bella) mushrooms give the deepest, most savory flavor. White button mushrooms work in a pinch, but they won’t give you that same rich, almost meaty taste. If you can find them, mix in a few shiitake mushrooms for an extra layer of umami.
For the green beans, fresh is absolutely best here. Frozen green beans will work if you’re in a pinch, but they’ll be softer and won’t have that nice snap. If you’re using frozen, don’t blanch them first — just thaw and pat them dry before adding to the sauce.
The buttermilk for the onions is important because the acidity helps tenderize the onions and gives the coating something to cling to. If you don’t have buttermilk, the milk-and-lemon-juice trick works perfectly. I’ve used it dozens of times and can’t tell the difference.
Equipment Needed
You don’t need a fancy kitchen to make this recipe. Here’s what you’ll actually use:
- Large pot (for blanching the green beans — any 4-6 quart pot works)
- Large skillet or sauté pan (12-inch is ideal for the mushroom sauce)
- 9×13-inch baking dish (or any 2.5-3 quart casserole dish)
- Medium saucepan or small pot (for frying the onions)
- Slotted spoon (for removing the fried onions from the oil)
- Paper towels (for draining the onions)
- Cutting board and sharp knife
- Measuring cups and spoons
- Mixing bowls (one for the onion coating, one for the buttermilk)
If you don’t have a deep-fry thermometer, don’t worry. You can test the oil by dropping a piece of onion in — if it sizzles immediately and floats to the top, the oil is ready. I’ve been frying onions for years without a thermometer, and it works just fine.
For the baking dish, glass or ceramic works best because they heat evenly. Metal pans can sometimes cause the edges to brown too quickly. But honestly, use what you’ve got. I’ve made this in a metal pan before and it still came out great — just keep an eye on it during the last few minutes of baking.
Preparation Method
Step 1: Blanch the Green Beans
Bring a large pot of salted water to a rolling boil. Add the trimmed green beans and cook for exactly 3 minutes. You want them bright green and still crisp — not soft and mushy. While they’re cooking, prepare a large bowl of ice water. After 3 minutes, use a slotted spoon to transfer the beans to the ice water bath. This stops the cooking immediately and locks in that beautiful color. Let them sit for 2-3 minutes, then drain well and pat dry with a clean kitchen towel. Set aside.
Step 2: Make the Mushroom Sauce
In your large skillet, melt the butter over medium-high heat. Add the sliced mushrooms and cook without stirring for about 4 minutes. You want them to get some color. Then stir and continue cooking until they’ve released all their liquid and that liquid has mostly evaporated — about 6-8 minutes total. The mushrooms should look almost dry and have deep brown edges. This is where all the flavor lives.
Add the diced onion and cook for 3-4 minutes until softened and translucent. Add the minced garlic and cook for 30 seconds until fragrant. Sprinkle the flour over everything and stir constantly for 1-2 minutes. This cooks out the raw flour taste and starts the thickening process.
Step 3: Build the Cream Sauce
Slowly pour in the heavy cream while stirring constantly. Then add the chicken broth, salt, pepper, nutmeg, and cayenne if using. Bring the mixture to a gentle simmer, then reduce the heat to low. Let it cook for 5-7 minutes, stirring occasionally, until the sauce has thickened enough to coat the back of a spoon. It should be velvety and smooth — not too thick, not too thin.
Step 4: Combine and Transfer
Add the blanched green beans to the sauce and stir gently until everything is well coated. Taste and adjust seasoning if needed. Pour the entire mixture into your greased 9×13-inch baking dish and spread it into an even layer. At this point, you can cover and refrigerate for up to 24 hours if you’re making it ahead.
Step 5: Make the Crispy Onions
While the sauce is simmering, prepare the onions. In a shallow bowl, combine the flour, panko, salt, pepper, and garlic powder. In another bowl, pour the buttermilk. Dip the onion rings first in the buttermilk, letting the excess drip off, then dredge them in the flour mixture, pressing gently to coat. Place them on a baking sheet while you heat the oil.
In your medium saucepan, heat about 2 inches of oil to 350°F. Working in batches, fry the onion rings for 2-3 minutes until golden brown and crispy. Don’t overcrowd the pan — they’ll steam instead of fry. Use your slotted spoon to transfer them to a paper-towel-lined plate and sprinkle with a little salt while they’re still hot.
Step 6: Bake the Casserole
Preheat your oven to 375°F. If you made the casserole ahead and refrigerated it, let it sit on the counter for 20 minutes while the oven preheats. Bake the casserole uncovered for 20 minutes until bubbly and hot throughout. Then remove from the oven, top with the crispy onions, and bake for another 10-12 minutes until the onions are deep golden and the edges are bubbling. Let it rest for 5 minutes before serving — this lets the sauce set up a bit.
Cooking Tips & Techniques
I’ve made this recipe more times than I can count, and I’ve learned a few things the hard way. Here are the tips I wish someone had told me from the start:
Don’t skip the blanching step. I know it seems like an extra step, but it’s crucial. Blanching sets the color, softens the beans just enough so they finish cooking in the oven, and stops enzyme activity that would make them turn gray. I once skipped it thinking I’d save time, and ended up with sad, olive-green beans that were either crunchy or mushy — never quite right.
Let the mushrooms get ugly before they get pretty. When you first add mushrooms to the pan, they’ll look dry and start sticking. That’s normal. Keep cooking them. They’ll release liquid, that liquid will evaporate, and then they’ll start browning. That browning is where the flavor comes from. If you move them too early, you’ll miss out on that deep, savory taste.
Make the onions ahead of time. If you’re making this for a big holiday meal, fry the onions the day before. Store them in an airtight container at room temperature. They’ll stay crispy for at least 2 days. Then just add them to the casserole before the final bake. This saves you from having a pot of hot oil on the stove while you’re trying to get everything else ready.
Watch your oven temperature. Every oven runs a little different. If your casserole is browning too quickly on top but isn’t hot in the middle, cover it loosely with foil for the first 15 minutes of baking, then remove the foil for the last 5-10 minutes.
Don’t overmix the sauce. When you add the green beans, fold them gently. Stirring too aggressively can break down the beans and make the sauce grainy. You want each bean coated, not beaten into submission.
Variations & Adaptations
One of the best things about this recipe is how flexible it is. Here are some ways to make it your own:
Dietary Variations
Gluten-Free: Swap the all-purpose flour in the sauce for a 1:1 gluten-free flour blend. For the onions, use gluten-free breadcrumbs or almond flour mixed with cornstarch. The texture will be slightly different, but still delicious. I’ve made it this way for a friend with celiac disease, and she couldn’t tell the difference.
Dairy-Free: Use olive oil or vegan butter in place of regular butter. Replace the heavy cream with full-fat coconut cream (the kind in a can, not the refrigerated carton). Use unsweetened oat milk or almond milk for the buttermilk substitute. The sauce won’t be quite as rich, but it’s still creamy and satisfying.
Lower-Carb: Skip the flour in the sauce and use a tablespoon of cream cheese or a slurry of xanthan gum and water to thicken. For the topping, fry the onions without any coating — just slice them thin and fry until crispy. They won’t have the same crunch, but they’ll still be delicious.
Flavor Twists
Bacon Lover’s Version: Cook 4 slices of bacon until crispy, crumble them, and stir half into the sauce before baking. Sprinkle the rest over the top along with the crispy onions. The smoky flavor pairs beautifully with the mushrooms.
Cheesy Upgrade: Stir ½ cup of shredded Gruyère or sharp cheddar into the sauce just before adding the green beans. It adds a nutty, melty richness that takes this over the top. I tried this on a whim one Christmas, and now I can’t go back.
Herb-Infused: Add 1 teaspoon of fresh thyme leaves and 1 tablespoon of fresh chopped parsley to the sauce at the end. The herbs brighten up the dish and make it feel lighter, even though it’s still plenty indulgent.
Serving & Storage Suggestions
This green bean casserole is best served hot, straight from the oven. Let it rest for 5 minutes after baking so the sauce can settle — this makes serving much easier and prevents it from being too runny.
What to Serve With It: This dish is the ultimate sidekick to holiday mains. It pairs beautifully with roasted turkey, honey-glazed ham, or a classic roast chicken. For a complete meal, serve it alongside mashed potatoes, cranberry sauce, and some crusty bread to soak up any extra sauce. If you’re making it for a weeknight dinner, it’s fantastic with a simple roasted chicken or even a pork chop.
Storage: Leftovers keep well in an airtight container in the refrigerator for up to 4 days. The crispy onions will soften over time, but the flavor only gets better as the sauce melds with the beans. To reheat, place in a 350°F oven for 10-15 minutes until heated through. You can also microwave individual portions, but the texture won’t be as nice.
Freezing: You can freeze the assembled casserole (without the crispy onions) for up to 3 months. Wrap it tightly in plastic wrap and then foil. When you’re ready to bake, thaw it overnight in the refrigerator, then bake as directed, adding the onions during the last 10 minutes. The texture of the green beans will be slightly softer after freezing, but it’s still delicious.
Make-Ahead Tip: This is my favorite thing about this recipe — you can assemble the whole casserole the day before, cover it, and refrigerate. Just add 10 minutes to the baking time since you’re starting from cold. The flavors actually get better overnight as they meld together.
Nutritional Information & Benefits
Per serving (about 1 cup, based on 8 servings):
- Calories: 285
- Total Fat: 18g
- Saturated Fat: 10g
- Cholesterol: 55mg
- Sodium: 420mg
- Total Carbohydrates: 24g
- Dietary Fiber: 3g
- Sugars: 6g
- Protein: 6g
Health Benefits: Green beans are a good source of vitamin C, vitamin K, and fiber, which supports digestive health. Mushrooms provide B vitamins and selenium, an important antioxidant. While this dish is indulgent with the cream and butter, it’s still made from whole food ingredients — no processed soups or artificial flavors here. If you’re watching your sodium, use low-sodium broth and reduce the added salt. The nutmeg and garlic add enough flavor that you won’t miss it.
Dietary Considerations: This recipe contains dairy and gluten. For gluten-free and dairy-free adaptations, see the variations section above. It’s also vegetarian as written, making it a great option for mixed-diet holiday tables.
Conclusion
I still think about that Tuesday afternoon at Linda’s house. The way she shrugged off my compliments, the way she made something extraordinary look so ordinary. That’s the magic of this recipe — it doesn’t try to be fancy. It just is what it is: the best green bean casserole you’ll ever make.
This is the dish that’ll have your family asking, “Wait, what did you do differently this year?” It’s the one that’ll make you feel like a hero in the kitchen without spending all day there. And honestly? It’s the kind of recipe that becomes tradition. The kind your kids will remember when they’re grown, making it in their own kitchens on cold, rainy Tuesdays.
So go ahead and give it a try. Make it for Thanksgiving, make it for a random Tuesday, make it just because you want something warm and cozy. And when you do, I’d love to hear about it. Leave a comment below and tell me how it turned out — did you add bacon? Did you try the cheesy version? Did someone ask for seconds before they even finished their first helping? I can’t wait to hear your stories.
Now get in that kitchen and make something beautiful. You’ve got this.
Frequently Asked Questions
Can I use frozen green beans instead of fresh?
Yes, you can. Thaw them first and pat them dry very well to remove excess moisture. Skip the blanching step since frozen beans are already blanched. Keep in mind that frozen beans will be softer than fresh, so the texture will be different — still good, just not as crisp.
Why did my sauce turn out too thin?
This usually happens if the sauce didn’t simmer long enough to thicken, or if there was too much moisture from the green beans. Make sure you pat the blanched beans completely dry before adding them. Also, let the sauce simmer for the full 5-7 minutes — it should coat the back of a spoon before you add the beans.
Can I make this without frying the onions?
Absolutely. If you want to save time, you can use store-bought crispy fried onions. But if you want a lighter option, try roasting thinly sliced onions tossed in oil and salt at 400°F for 15-20 minutes, stirring halfway through. They won’t be as crispy, but they’ll be caramelized and delicious.
How do I prevent the casserole from being watery?
The key is to remove as much moisture as possible at every step. Blanch the beans, then shock them in ice water and dry them thoroughly. Cook the mushrooms until all their liquid evaporates. And don’t skip the flour in the sauce — it’s what thickens everything up. If your sauce still seems thin after baking, let the casserole rest for 10 minutes before serving; it will thicken as it cools slightly.
Can I double this recipe for a crowd?
Yes! This recipe doubles beautifully. Use a larger baking dish (like a 9×15-inch or two 9×13-inch dishes) and increase the baking time by about 5-10 minutes since you’ll have more volume. Make sure your skillet is big enough to hold all the sauce — you might need to cook the mushrooms in batches to avoid steaming them.
Pin This Recipe!
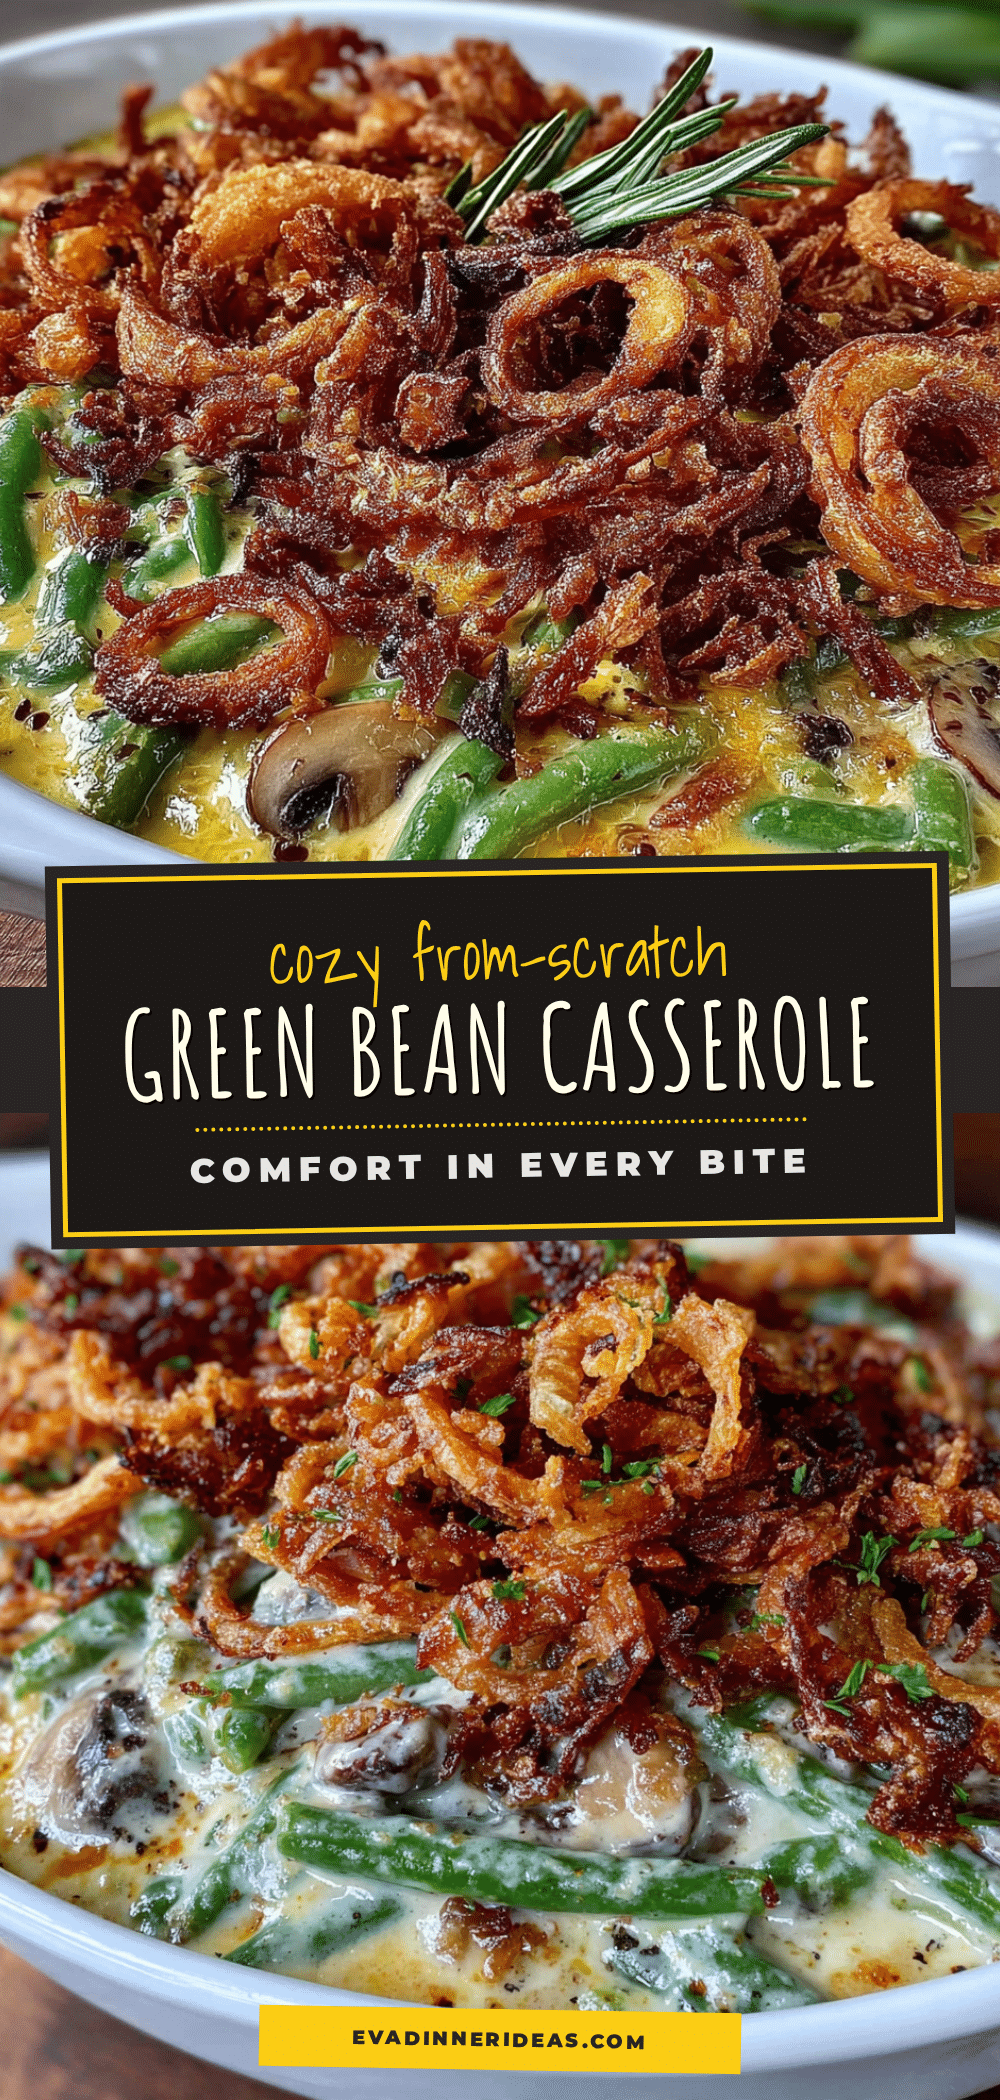
Easy From-Scratch Green Bean Casserole: Best Holiday Side

This from-scratch green bean casserole features a rich, velvety homemade mushroom sauce, crisp-tender green beans, and crispy fried onions. It’s the ultimate holiday side dish that will have everyone asking for seconds.
- Prep Time: 20 minutes
- Cook Time: 45 minutes
- Total Time: 1 hour 5 minutes
- Yield: 8 servings 1x
- Category: Side Dish
- Cuisine: American
Ingredients
- 1 ½ pounds fresh green beans, trimmed and cut into 2-inch pieces
- 2 tablespoons unsalted butter
- 8 ounces cremini mushrooms, thinly sliced
- 1 medium yellow onion, finely diced (about 1 cup)
- 3 cloves garlic, minced
- 2 tablespoons all-purpose flour
- 1 ½ cups heavy cream
- 1 cup low-sodium chicken or vegetable broth
- ½ teaspoon salt
- ¼ teaspoon black pepper
- ¼ teaspoon nutmeg
- Pinch of cayenne pepper (optional)
- 2 large yellow onions, thinly sliced into rings
- ½ cup all-purpose flour
- ½ cup panko breadcrumbs
- 1 teaspoon salt
- ½ teaspoon black pepper
- ½ teaspoon garlic powder
- 1 cup buttermilk
- Vegetable or canola oil, for frying
Instructions
- Bring a large pot of salted water to a rolling boil. Add the trimmed green beans and cook for exactly 3 minutes. While they’re cooking, prepare a large bowl of ice water. After 3 minutes, use a slotted spoon to transfer the beans to the ice water bath. Let them sit for 2-3 minutes, then drain well and pat dry with a clean kitchen towel. Set aside.
- In your large skillet, melt the butter over medium-high heat. Add the sliced mushrooms and cook without stirring for about 4 minutes. Then stir and continue cooking until they’ve released all their liquid and that liquid has mostly evaporated — about 6-8 minutes total. The mushrooms should look almost dry and have deep brown edges.
- Add the diced onion and cook for 3-4 minutes until softened and translucent. Add the minced garlic and cook for 30 seconds until fragrant. Sprinkle the flour over everything and stir constantly for 1-2 minutes.
- Slowly pour in the heavy cream while stirring constantly. Then add the chicken broth, salt, pepper, nutmeg, and cayenne if using. Bring the mixture to a gentle simmer, then reduce the heat to low. Let it cook for 5-7 minutes, stirring occasionally, until the sauce has thickened enough to coat the back of a spoon.
- Add the blanched green beans to the sauce and stir gently until everything is well coated. Taste and adjust seasoning if needed. Pour the entire mixture into your greased 9×13-inch baking dish and spread it into an even layer.
- While the sauce is simmering, prepare the onions. In a shallow bowl, combine the flour, panko, salt, pepper, and garlic powder. In another bowl, pour the buttermilk. Dip the onion rings first in the buttermilk, letting the excess drip off, then dredge them in the flour mixture, pressing gently to coat. Place them on a baking sheet while you heat the oil.
- In your medium saucepan, heat about 2 inches of oil to 350°F. Working in batches, fry the onion rings for 2-3 minutes until golden brown and crispy. Use your slotted spoon to transfer them to a paper-towel-lined plate and sprinkle with a little salt while they’re still hot.
- Preheat your oven to 375°F. If you made the casserole ahead and refrigerated it, let it sit on the counter for 20 minutes while the oven preheats. Bake the casserole uncovered for 20 minutes until bubbly and hot throughout. Then remove from the oven, top with the crispy onions, and bake for another 10-12 minutes until the onions are deep golden and the edges are bubbling. Let it rest for 5 minutes before serving.
Notes
Don’t skip the blanching step; it sets the color and ensures the beans are crisp-tender. Let the mushrooms get ugly before they get pretty—cook them until they release their liquid and it evaporates for maximum flavor. Make the onions ahead of time and store in an airtight container at room temperature for up to 2 days. If the casserole browns too quickly, cover loosely with foil for the first 15 minutes of baking.
Nutrition
- Serving Size: 1 cup
- Calories: 285
- Sugar: 6
- Sodium: 420
- Fat: 18
- Saturated Fat: 10
- Carbohydrates: 24
- Fiber: 3
- Protein: 6
Keywords: green bean casserole, from scratch, holiday side dish, Thanksgiving, Christmas, mushroom sauce, crispy onions


