I was standing in line at the tax office last April—stressed, slightly under-caffeinated, and mentally composing a grocery list for a dinner I didn’t want to cook—when the woman ahead of me turned around and started talking about pumpkin bread. Not in a seasonal, let’s-get-cozy way. More like a pragmatic, this-is-how-I-survive-baking-with-three-kids-and-a-full-time-job way. She was an accountant, naturally, and she described her brown butter pumpkin bread with the kind of precise enthusiasm most people reserve for their fantasy football lineup. I wasn’t expecting baking advice from a stranger holding a stack of W-2s, but there I was, in the fluorescent glow of a government building, scribbling notes on the back of an envelope. “The secret,” she said, “is browning the butter. It changes everything.”
I went home that afternoon, dug a can of pumpkin out of the pantry, and made her version. Honestly? It was good. But I couldn’t leave well enough alone. Over the next few weeks, I tweaked and tested until the bread was exactly what I wanted—tender, deeply spiced, with that nutty brown butter flavor running through every bite. And then I added a maple glaze, because, well, why wouldn’t you? The result is this recipe: Easy Brown Butter Pumpkin Bread with Maple Glaze. It’s the kind of bread that makes you close your eyes on the first bite, and the kind of recipe you’ll make on repeat all fall long.
Maybe you’ve been there—standing in an unlikely place, getting cooking advice from someone you’d never expect. That’s the thing about good recipes. They show up when you least expect them. And sometimes, they come from an accountant in the tax office line.
Why You’ll Love This Recipe
This isn’t just another pumpkin bread recipe. It’s the one I’ve tested more times than I can count, tweaking the ratio of butter to pumpkin, the amount of spice, and the perfect glaze consistency. Here’s why it works so well for busy weeknights and lazy weekends alike:
- Quick & Easy: From start to finish, you’re looking at about an hour. Most of that is hands-off baking time, so you can get dinner started or finally fold that laundry you’ve been avoiding.
- Simple Ingredients: You probably already have pumpkin purée, flour, sugar, and eggs in your kitchen. The brown butter is the only “extra” step, and I promise it’s worth the five minutes it takes.
- Perfect for Fall Baking: Whether it’s a cozy weekend morning, a Thanksgiving brunch, or just a Tuesday that needs a little warmth, this bread delivers.
- Crowd-Pleaser: I’ve brought this to potlucks, book club, and even a casual dinner party. It disappears fast. Kids love it, adults love it—everyone loves it.
- Unbelievably Delicious: The brown butter adds a rich, nutty depth that plain butter can’t touch. Paired with warm pumpkin spices and a sweet maple glaze, it’s pure comfort.
What makes this recipe different from the rest? It’s the brown butter. That one simple step transforms the flavor from ordinary to extraordinary. Plus, the maple glaze isn’t overly sweet—it’s just enough to complement the bread without overpowering it. I’ve tested this with both salted and unsalted butter, with different pumpkin brands, and even with a gluten-free flour blend. This version is the one I keep coming back to.
What Ingredients You Will Need
This recipe uses simple, wholesome ingredients to deliver bold flavor and satisfying texture without the fuss. Most of these are pantry staples, which makes this bread an easy last-minute baking project.
- Unsalted butter (1/2 cup, or 1 stick) — You’ll brown this on the stovetop. I prefer using unsalted so I can control the salt level. If you only have salted, just reduce the added salt in the recipe by a pinch.
- Pumpkin purée (1 cup) — Not pumpkin pie filling! Make sure you grab 100% pumpkin purée. I usually go with Libby’s, but any brand works. If you’re feeling ambitious, you can roast and purée your own sugar pumpkin.
- Granulated sugar (1 cup) — Adds sweetness and helps keep the bread moist.
- Light brown sugar (1/2 cup, packed) — Adds a deeper, molasses-like sweetness that pairs beautifully with the pumpkin and spices.
- Large eggs (2, room temperature) — Room temperature eggs incorporate more easily into the batter, giving you a smoother texture.
- Vanilla extract (1 teaspoon) — Pure vanilla is best, but imitation works in a pinch.
- All-purpose flour (1 3/4 cups) — Spoon and level your flour for the most accurate measurement. Scooping directly from the bag can pack in too much flour and make the bread dry.
- Baking soda (1 teaspoon) — Helps the bread rise and gives it a tender crumb.
- Salt (1/2 teaspoon) — Balances the sweetness and enhances the flavors.
- Pumpkin pie spice (2 teaspoons) — You can use store-bought or make your own with a mix of cinnamon, nutmeg, ginger, and cloves. I like using a homemade blend because I can adjust the ratios to my taste.
- Cinnamon (1/2 teaspoon) — For an extra layer of warm spice.
For the Maple Glaze:
- Powdered sugar (1 cup, sifted) — Sifting prevents lumps in the glaze.
- Pure maple syrup (2 tablespoons) — Use the real stuff, not pancake syrup. The flavor is noticeably better.
- Milk or heavy cream (1-2 tablespoons) — Adjust the amount to reach your desired consistency. Heavy cream makes a richer, thicker glaze.
- Vanilla extract (1/4 teaspoon) — Optional, but I like the extra depth it adds.
Equipment Needed
You don’t need a fancy kitchen to make this bread. Here’s what you’ll need:
- 9×5-inch loaf pan — This is the standard size for a loaf of bread. If you only have an 8×4-inch pan, your bread will be taller and可能需要 bake a few minutes longer.
- Mixing bowls — One large bowl for the wet ingredients and one medium bowl for the dry ingredients.
- Whisk — For combining the dry ingredients and smoothing out the batter.
- Rubber spatula — For folding the batter together without overmixing.
- Small saucepan — For browning the butter. A light-colored pan helps you see the color change more easily.
- Parchment paper — Lining the loaf pan makes it easy to lift the bread out after baking. I’ve forgotten to do this before, and let me tell you, it’s not fun trying to pry a stuck loaf out of the pan.
- Cooling rack — Allows air to circulate around the bread so it cools evenly.
- Measuring cups and spoons — For accurate ingredient measurements.
If you don’t have a cooling rack, you can use the inverted loaf pan or even a clean dish towel. It’s not ideal, but it works in a pinch.
Preparation Method
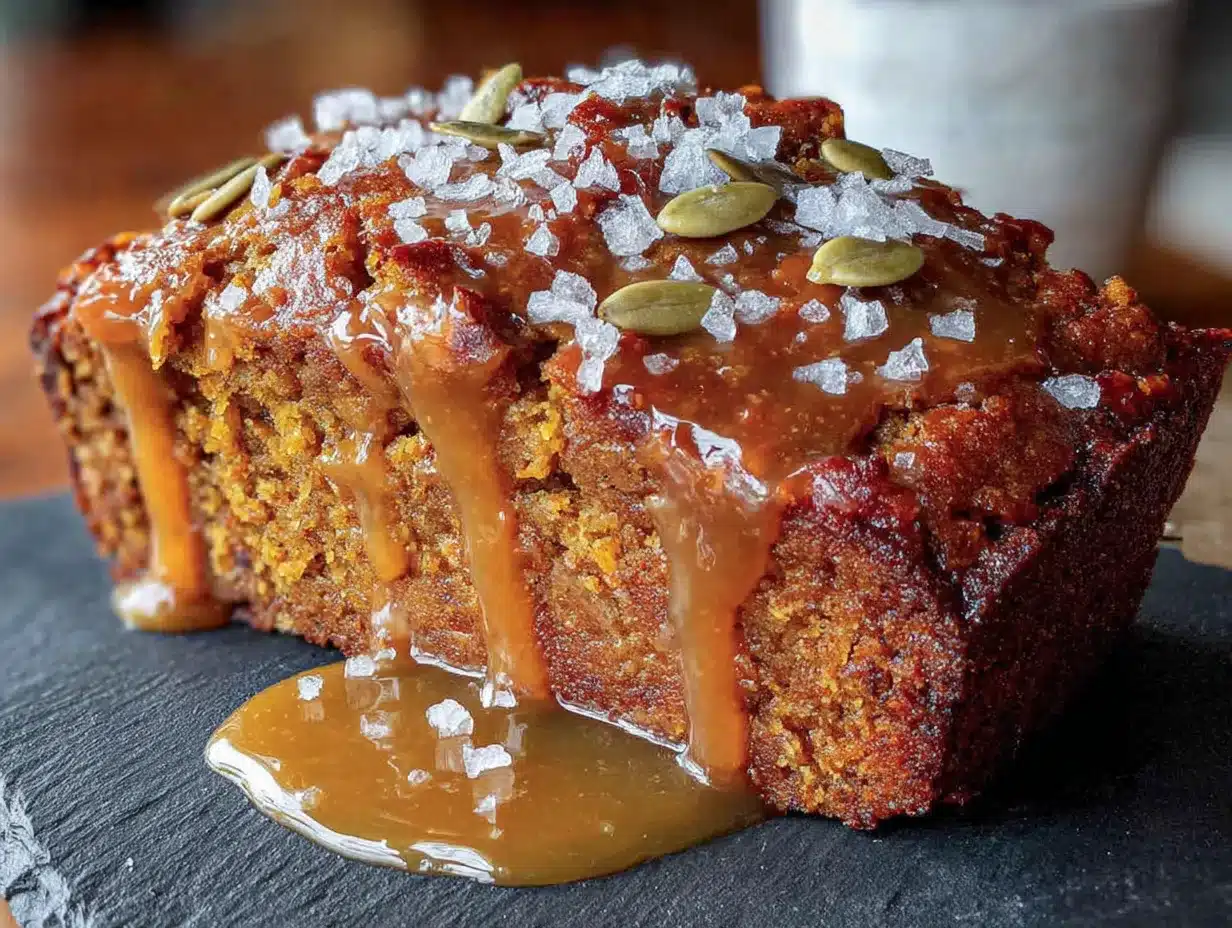
Let’s get baking. This recipe comes together quickly, so I like to have all my ingredients measured and ready before I start.
- Preheat your oven to 350°F (175°C). Position the rack in the center of the oven. Line a 9×5-inch loaf pan with parchment paper, leaving some overhang on the long sides so you can lift the bread out easily. Lightly grease the parchment with non-stick spray or butter.
- Brown the butter. Place the 1/2 cup of unsalted butter in a small saucepan over medium heat. Let it melt completely, then continue cooking, swirling the pan occasionally. The butter will foam up, then subside, and you’ll start to see brown specks forming at the bottom. This takes about 5-7 minutes. The moment it smells nutty and turns a golden-amber color, remove it from the heat immediately. Pour it into a heatproof bowl to stop the cooking process. Let it cool for about 10 minutes. I’ve burned butter before by walking away—don’t do that. Stay close and watch it carefully.
- Mix the wet ingredients. In a large bowl, whisk together the cooled brown butter, 1 cup granulated sugar, and 1/2 cup packed light brown sugar until well combined. It will look a bit grainy, and that’s okay. Add the 2 room-temperature eggs and 1 teaspoon vanilla extract, and whisk until smooth. Then, add the 1 cup pumpkin purée and whisk until everything is fully incorporated and glossy.
- Combine the dry ingredients. In a separate medium bowl, whisk together 1 3/4 cups all-purpose flour, 1 teaspoon baking soda, 1/2 teaspoon salt, 2 teaspoons pumpkin pie spice, and 1/2 teaspoon cinnamon. Make sure there are no lumps of baking soda or spice.
- Fold the dry ingredients into the wet. Add the dry ingredients to the bowl with the wet ingredients. Use a rubber spatula to gently fold everything together. Stir just until you no longer see streaks of flour. A few small lumps are fine—overmixing will make the bread tough. The batter will be thick and slightly sticky.
- Pour the batter into the prepared pan. Use the spatula to spread it evenly into the corners. Give the pan a gentle tap on the counter to release any air bubbles.
- Bake for 50-60 minutes. Place the pan in the preheated oven and bake until a toothpick inserted into the center comes out clean or with just a few moist crumbs. If the top is browning too quickly after 40 minutes, tent the pan loosely with aluminum foil. My oven runs a little hot, so I start checking at the 50-minute mark.
- Cool the bread in the pan. Place the pan on a cooling rack and let the bread cool for 15 minutes. Then, use the parchment paper to lift the bread out of the pan and transfer it directly to the cooling rack. Let it cool completely before adding the glaze. If you glaze it while it’s still warm, the glaze will melt into the bread and disappear. It’ll still taste good, but you won’t get that beautiful white drizzle.
- Make the maple glaze. While the bread is cooling, whisk together 1 cup sifted powdered sugar, 2 tablespoons pure maple syrup, and 1 tablespoon of milk or heavy cream in a small bowl. Add more milk, 1 teaspoon at a time, if you want a thinner glaze. I like it thick enough to hold its shape on the bread but still pourable. Stir in 1/4 teaspoon vanilla extract if you’re using it.
- Glaze and serve. Once the bread is completely cool, drizzle the glaze over the top. Let it set for about 10 minutes before slicing. The glaze will harden slightly, creating a lovely sweet crust.
Cooking Tips & Techniques
I’ve made this bread enough times to know where things can go wrong. Here are the tips I wish someone had given me the first time.
Don’t skip browning the butter. I know it’s an extra step, but it’s the heart of this recipe. The nutty, toasty flavor it adds is irreplaceable. Just watch it closely—butter goes from perfectly browned to burnt in about 30 seconds. I once got distracted by a phone call and ended up with black butter. It smelled terrible and I had to start over. Lesson learned.
Use room temperature ingredients. Cold eggs can seize up the brown butter and make the batter lumpy. If you forgot to take your eggs out of the fridge, place them in a bowl of warm water for 5 minutes. It’s a simple trick that makes a big difference in the texture.
Measure your flour correctly. This is the most common mistake in baking. Instead of scooping your measuring cup into the flour bag, use a spoon to fluff the flour, then spoon it into the cup and level it off with a knife. Too much flour will give you a dry, dense bread.
Let the bread cool completely. I know it’s tempting to slice into it while it’s still warm, but the texture sets as it cools. If you cut it too soon, it will be gummy and fall apart. The glaze also needs a cool surface to set properly.
Check for doneness with a toothpick. Insert a toothpick into the center of the bread. If it comes out clean or with a few moist crumbs, it’s done. If it has wet batter on it, give it another 5 minutes and check again. Every oven is different, so trust the toothpick over the timer.
Variations & Adaptations
This recipe is forgiving, so feel free to make it your own. Here are a few variations I’ve tried and loved.
Gluten-Free Version: Substitute the all-purpose flour with a 1:1 gluten-free baking flour blend. I’ve used Bob’s Red Mill and King Arthur Measure for Measure with great results. The texture is slightly more tender, but the flavor is spot on. No other adjustments needed.
Dairy-Free Version: Use a high-quality vegan butter for browning. I like Miyoko’s or Earth Balance. For the glaze, swap the milk for unsweetened almond or oat milk. The flavor will be slightly different, but still delicious.
Add Mix-Ins: Fold in 1/2 cup of chopped pecans or walnuts after adding the dry ingredients. Toasted nuts add a wonderful crunch. You can also add 1/2 cup of chocolate chips for a sweeter, more indulgent loaf. I’ve done both, and honestly, I can’t pick a favorite.
Spice It Up: If you like a stronger spice profile, add an extra 1/2 teaspoon of ginger or a pinch of ground cloves. I sometimes add a pinch of black pepper to enhance the warmth of the spices—it sounds weird, but it works.
Make It Muffins: This batter makes about 12 standard muffins. Bake at 350°F for 18-22 minutes, or until a toothpick comes out clean. The glaze is perfect drizzled over the top of each muffin.
Serving & Storage Suggestions
This bread is best served at room temperature or slightly warm. The glaze sets into a lovely, crackly crust that contrasts beautifully with the soft, tender crumb.
For serving: Slice the bread into thick pieces, about 1-inch thick. It’s wonderful on its own, but if you want to go the extra mile, toast a slice and spread it with a little salted butter. The warmth brings out the brown butter and spice flavors even more. It pairs beautifully with a hot cup of coffee or a chai latte.
For storage: Store the bread in an airtight container at room temperature for up to 3 days. If you’ve already glazed it, place a piece of parchment paper between the slices to prevent sticking. The bread actually gets better on the second day as the flavors meld together.
For freezing: This bread freezes beautifully. Wrap the unglazed loaf tightly in plastic wrap, then a layer of aluminum foil, and freeze for up to 3 months. When you’re ready to enjoy it, thaw it overnight in the refrigerator, then bring it to room temperature before glazing. You can also freeze individual slices for quick breakfasts or snacks. Just pop a slice in the microwave for 15-20 seconds to warm it up.
Nutritional Information & Benefits
While this is definitely a treat, it does have some redeeming qualities. Pumpkin is packed with vitamin A and fiber, which is good for your eyes and digestion. The brown butter adds a small amount of healthy fats, and the eggs provide protein. Of course, there’s sugar and flour in here too, so it’s best enjoyed in moderation as part of a balanced diet.
Estimated nutritional information per slice (based on 10 slices):
| Nutrient | Amount |
|---|---|
| Calories | 320 |
| Total Fat | 12g |
| Saturated Fat | 7g |
| Cholesterol | 65mg |
| Sodium | 220mg |
| Total Carbohydrates | 50g |
| Dietary Fiber | 2g |
| Sugars | 34g |
| Protein | 4g |
Dietary considerations: This recipe contains gluten, dairy, and eggs. For a gluten-free or dairy-free version, see the variations section above. It is nut-free as written, but be sure to check your pumpkin pie spice blend if you have a nut allergy.
Conclusion
This Easy Brown Butter Pumpkin Bread with Maple Glaze is the kind of recipe that makes you feel like a hero in the kitchen without spending hours there. It’s simple enough for a beginner baker but impressive enough to bring to a holiday gathering. The brown butter adds a depth of flavor that feels special, and the maple glaze is the perfect finishing touch.
I love this recipe because it reminds me that the best dishes often come from the most unexpected places. An accountant in a tax office line taught me that. And now, I’m passing it on to you. I hope you make this bread, share it with people you love, and maybe even scribble your own notes on a scrap of paper to pass along someday.
If you try this recipe, I’d love to hear how it turns out. Leave a comment below or tag me in your photos—I’m always excited to see your baking adventures. Happy baking!
Frequently Asked Questions
Can I use pumpkin pie filling instead of pumpkin purée?
No, I wouldn’t recommend it. Pumpkin pie filling is already sweetened and spiced, which will throw off the sugar and spice ratios in this recipe. Stick with 100% pumpkin purée for the best results.
Why did my brown butter burn?
Brown butter can go from perfect to burnt very quickly. The key is to watch it closely once the foam subsides and you start seeing brown specks. Remove it from the heat immediately when it turns a golden-amber color and smells nutty. Using a light-colored pan helps you see the color change more easily.
Can I make this bread ahead of time?
Absolutely. The bread actually tastes better the next day as the flavors have time to meld. Bake it a day ahead, let it cool completely, and store it in an airtight container. Glaze it just before serving for the prettiest presentation.
How do I know when the bread is done baking?
Insert a toothpick or a thin knife into the center of the bread. If it comes out clean or with just a few moist crumbs, it’s done. If it has wet batter on it, bake for another 5 minutes and check again. The top should also be golden brown and spring back lightly when touched.
Can I double this recipe?
Yes, this recipe doubles beautifully. Use two 9×5-inch loaf pans and bake them side by side. You may need to rotate the pans halfway through baking for even browning. The baking time should remain about the same, but start checking at 50 minutes.
Pin This Recipe!
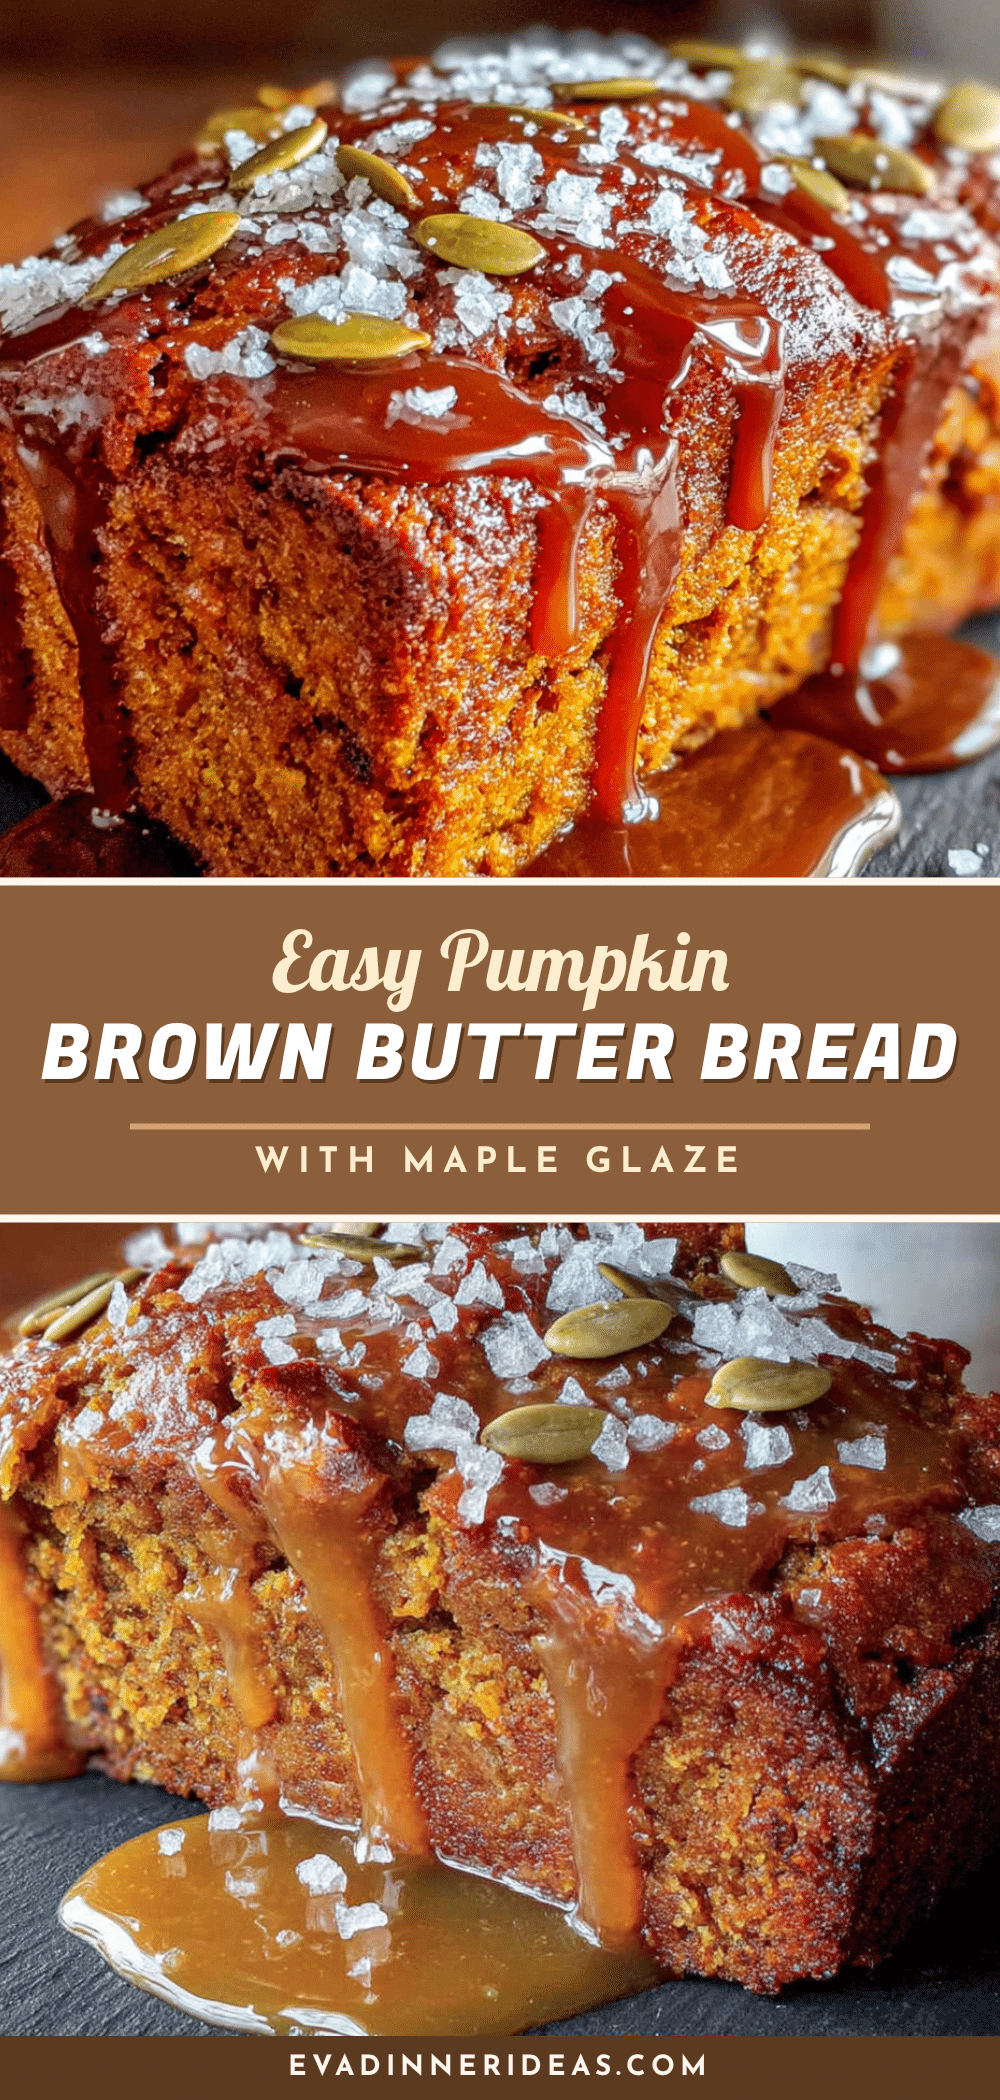
Easy Brown Butter Pumpkin Bread with Maple Glaze
Tender, deeply spiced pumpkin bread with nutty brown butter flavor and a sweet maple glaze. This easy recipe is perfect for fall baking and is sure to become a seasonal favorite.
- Prep Time: 15 minutes
- Cook Time: 55 minutes
- Total Time: 1 hour 10 minutes
- Yield: 10 servings 1x
- Category: Dessert
- Cuisine: American
Ingredients
- 1/2 cup (1 stick) unsalted butter
- 1 cup pumpkin purée (not pumpkin pie filling)
- 1 cup granulated sugar
- 1/2 cup packed light brown sugar
- 2 large eggs, room temperature
- 1 teaspoon vanilla extract
- 1 3/4 cups all-purpose flour
- 1 teaspoon baking soda
- 1/2 teaspoon salt
- 2 teaspoons pumpkin pie spice
- 1/2 teaspoon cinnamon
- 1 cup powdered sugar, sifted
- 2 tablespoons pure maple syrup
- 1–2 tablespoons milk or heavy cream
- 1/4 teaspoon vanilla extract (optional)
Instructions
- Preheat your oven to 350°F (175°C). Position the rack in the center of the oven. Line a 9×5-inch loaf pan with parchment paper, leaving some overhang on the long sides. Lightly grease the parchment with non-stick spray or butter.
- Brown the butter: Place the 1/2 cup of unsalted butter in a small saucepan over medium heat. Let it melt completely, then continue cooking, swirling the pan occasionally. The butter will foam up, then subside, and you’ll start to see brown specks forming at the bottom. This takes about 5-7 minutes. When it smells nutty and turns a golden-amber color, remove it from the heat immediately. Pour it into a heatproof bowl to stop the cooking process. Let it cool for about 10 minutes.
- Mix the wet ingredients: In a large bowl, whisk together the cooled brown butter, 1 cup granulated sugar, and 1/2 cup packed light brown sugar until well combined. Add the 2 room-temperature eggs and 1 teaspoon vanilla extract, and whisk until smooth. Then, add the 1 cup pumpkin purée and whisk until everything is fully incorporated and glossy.
- Combine the dry ingredients: In a separate medium bowl, whisk together 1 3/4 cups all-purpose flour, 1 teaspoon baking soda, 1/2 teaspoon salt, 2 teaspoons pumpkin pie spice, and 1/2 teaspoon cinnamon.
- Fold the dry ingredients into the wet: Add the dry ingredients to the bowl with the wet ingredients. Use a rubber spatula to gently fold everything together. Stir just until you no longer see streaks of flour. A few small lumps are fine.
- Pour the batter into the prepared pan. Use the spatula to spread it evenly into the corners. Give the pan a gentle tap on the counter to release any air bubbles.
- Bake for 50-60 minutes, or until a toothpick inserted into the center comes out clean or with just a few moist crumbs. If the top is browning too quickly after 40 minutes, tent the pan loosely with aluminum foil.
- Cool the bread in the pan on a cooling rack for 15 minutes. Then, use the parchment paper to lift the bread out of the pan and transfer it directly to the cooling rack. Let it cool completely before adding the glaze.
- Make the maple glaze: While the bread is cooling, whisk together 1 cup sifted powdered sugar, 2 tablespoons pure maple syrup, and 1 tablespoon of milk or heavy cream in a small bowl. Add more milk, 1 teaspoon at a time, if you want a thinner glaze. Stir in 1/4 teaspoon vanilla extract if using.
- Once the bread is completely cool, drizzle the glaze over the top. Let it set for about 10 minutes before slicing.
Notes
Don’t skip browning the butter—it’s the key to the flavor. Watch it closely as it can burn quickly. Use room temperature ingredients for best texture. Measure flour correctly by spooning and leveling. Let the bread cool completely before glazing to prevent the glaze from melting. The bread tastes even better the next day.
Nutrition
- Serving Size: 1 slice
- Calories: 320
- Sugar: 34
- Sodium: 220
- Fat: 12
- Saturated Fat: 7
- Carbohydrates: 50
- Fiber: 2
- Protein: 4
Keywords: pumpkin bread, brown butter, maple glaze, fall baking, easy pumpkin bread, pumpkin spice