I wasn’t expecting ice cream advice from my accountant. But there I was, stuck in his office during tax season, staring at a stack of receipts while he described—with surprising passion—how to make salted caramel ice cream with just three ingredients. Honestly, I thought he was pulling my leg. An accountant, giving me a dessert recipe? But let me tell you, the man was serious. He even drew a little diagram on a sticky note.
The whole thing started because I mentioned I was looking for easy summer desserts. I mean, who isn’t? You know that feeling when it’s hot, you’re tired, and you want something cold and sweet without turning your kitchen into a disaster zone? That was me. And there he was, Mr. Number-Cruncher himself, telling me about the magic of sweetened condensed milk and heavy cream. He said his wife made it every July, and it disappeared faster than his tax refund calculations.
I’ll admit, I was skeptical. No ice cream maker? No eggs? No endless stirring? It sounded too good to be true. But I tried it that weekend, and honestly, I’ve never looked back. The texture is unbelievably creamy, the caramel flavor is rich without being heavy, and that salt—just a sprinkle on top—makes everything sing. This recipe stayed with me because it proved that the best things really can be the simplest. And sometimes, the most unexpected people hold the keys to your next favorite kitchen trick.
Why You’ll Love This Recipe
This isn’t just another ice cream recipe. It’s the kind that makes you wonder why you ever bothered with complicated methods in the first place. I’ve tested it more times than I can count, and it never fails to impress.
- Quick & Easy: You only need about 10 minutes of active prep time. The hardest part is waiting for it to freeze! Perfect for those hot afternoons when a craving hits out of nowhere.
- Simple Ingredients: Three ingredients. That’s it. No fancy grocery store trips, no obscure extracts, no ice cream maker required. You probably have everything in your kitchen right now.
- Perfect for Summer Gatherings: Whether it’s a backyard barbecue, a family movie night, or just a Tuesday that feels too long, this ice cream fits the bill. It feels special without any stress.
- Crowd-Pleaser: Kids love the sweetness, adults appreciate the salted caramel twist. I’ve brought this to parties and watched it disappear in minutes.
- Unbelievably Delicious: The texture is smooth and luscious, like premium store-bought gelato. And the flavor—rich caramel with that perfect salty finish—is next-level comfort food.
What makes this recipe different? It’s the technique. By whipping the cream to stiff peaks and folding it gently into the caramelized condensed milk, you create an airy, creamy texture without any special equipment. It’s not just another version of no-churn ice cream—it’s the best version I’ve ever made. This is the kind of dessert that makes you close your eyes after the first bite. Trust me on this one.
What Ingredients You Will Need
This recipe uses three simple, wholesome ingredients to deliver bold flavor and satisfying texture without the fuss. Each one plays a crucial role, so choose wisely.
- 2 cups (480 ml) heavy cream: Also called whipping cream, this is the backbone of your ice cream. It needs to be cold—straight from the fridge—to whip up properly. I prefer a brand like Horizon Organic or Organic Valley for their consistent fat content, which gives the creamiest results. Avoid ultra-pasteurized cream if you can; it whips less reliably.
- 1 can (14 oz or 397 g) sweetened condensed milk: This is your sweetener and your texture secret weapon. Don’t confuse it with evaporated milk—they are not the same! The condensed milk adds sweetness and prevents ice crystals from forming, giving you that smooth, scoopable texture. I’ve used Eagle Brand and Carnation, and both work beautifully.
- 1/2 teaspoon (3 g) flaky sea salt: This is where the magic happens. The salt cuts through the sweetness and creates that addictive salted caramel flavor. I love Maldon sea salt flakes for their delicate crunch and clean taste. Regular table salt will work in a pinch, but use half the amount—it’s much stronger and can make the ice cream taste metallic.
For the caramel swirl (optional but highly recommended):
- Additional 1/4 cup (60 ml) sweetened condensed milk: You’ll caramelize this separately for a deeper flavor. Or you can use store-bought caramel sauce if you’re in a hurry—just make sure it’s thick, not runny.
Substitution guidance: Need a dairy-free version? Use full-fat coconut cream (chilled) instead of heavy cream, and look for a dairy-free sweetened condensed coconut milk. The texture will be slightly different—a bit more coconutty—but still delicious. For a lower-sugar option, you can use a sugar-free sweetened condensed milk alternative, though the texture may be less creamy.
Equipment Needed
You don’t need much for this recipe, and that’s the beauty of it. Here’s what you’ll want to have on hand:
- Large mixing bowl: A glass or stainless steel bowl works best. Make sure it’s completely clean and dry—any trace of grease will prevent your cream from whipping properly.
- Electric hand mixer or stand mixer: You can whip cream by hand with a whisk, but honestly, your arm will thank you for using a mixer. I’ve done it both ways, and the mixer saves about 10 minutes of elbow grease.
- Rubber spatula: For folding the cream into the condensed milk gently. A metal spoon can deflate the air you’ve worked so hard to whip in.
- Loaf pan or freezer-safe container: A standard 9×5-inch loaf pan is perfect. I’ve also used a metal cake pan and even a plastic takeout container in a pinch—whatever holds about 4 cups of volume.
- Parchment paper or plastic wrap: To cover the surface of the ice cream and prevent freezer burn. Parchment paper is my favorite because it doesn’t stick.
- Small saucepan (optional): If you’re making the caramel swirl from scratch, you’ll need this to heat the condensed milk.
My budget-friendly tip: Don’t rush out to buy a fancy ice cream container. A simple loaf pan covered tightly with foil works perfectly. I’ve been using the same one for years, and it’s never let me down.
Preparation Method
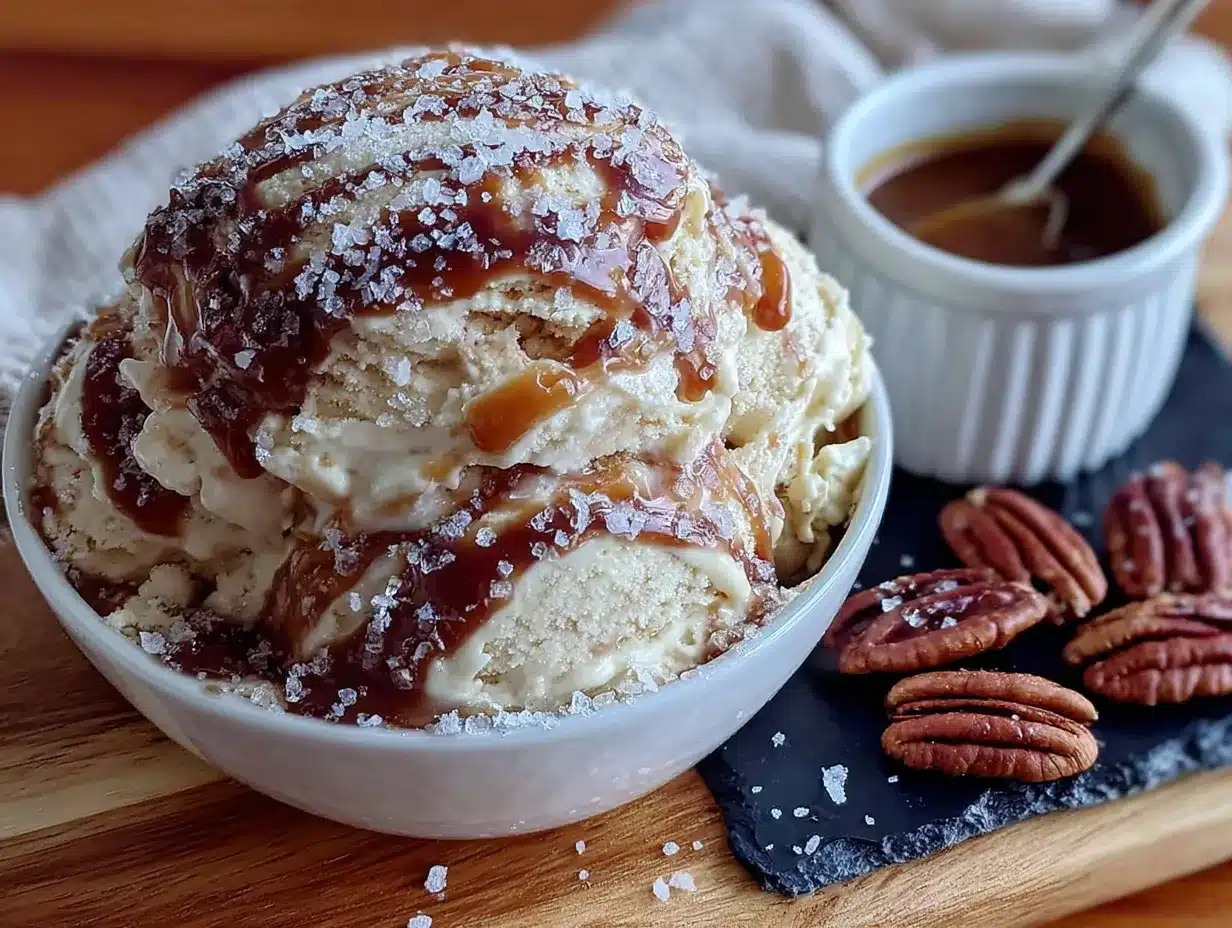
Follow these steps carefully, and you’ll have the creamiest no-churn ice cream you’ve ever tasted. Take your time with the whipping—it’s the most important part.
- Chill your bowl and beaters: Pop your mixing bowl and the beaters from your hand mixer into the freezer for about 15 minutes. Cold equipment helps the cream whip faster and hold its shape better. I learned this trick after a few frustrating attempts where my cream refused to stiffen on a hot summer day.
- Whip the cream: Pour the cold heavy cream into your chilled bowl. Using an electric mixer on medium-high speed, whip the cream until stiff peaks form. This should take about 3 to 5 minutes. You’ll know it’s ready when the cream holds its shape firmly when you lift the beaters—it should stand up straight, not droop. Be careful not to overwhip, or you’ll end up with butter! If you see the cream start to look grainy, stop immediately.
- Prepare the caramel base: In a separate bowl, pour the entire can of sweetened condensed milk. If you want a deeper caramel flavor (and trust me, you do), transfer half of the condensed milk to a small saucepan and heat it over medium-low heat for about 5 to 7 minutes, stirring constantly. It will thicken and turn a lovely golden amber color. Let it cool for a few minutes before mixing. This step is optional but transforms the flavor from sweet milk to actual caramel.
- Fold it together: Take about a third of the whipped cream and gently fold it into the condensed milk (or caramelized condensed milk) using your rubber spatula. Don’t stir—use a cutting motion through the center, then scrape along the bottom and fold over the top. This keeps the air in the cream. Once it’s mostly combined, add the remaining whipped cream and fold until just incorporated. A few streaks are okay; overmixing will deflate your ice cream.
- Add the salt: Sprinkle the flaky sea salt over the mixture and fold it in gently. Taste the mixture at this point—it should be sweet with a pleasant salty kick. If it’s not salty enough for your liking, add another pinch. I like to reserve a little salt for sprinkling on top before freezing.
- Layer in the pan: Pour half of the mixture into your loaf pan. If you’re adding a caramel swirl, drizzle about 2 tablespoons of extra caramel sauce over this layer. Add the remaining ice cream mixture, then swirl in more caramel if desired. Use a knife or skewer to create gentle swirls—don’t overdo it, or you’ll lose the distinct ribbons of caramel.
- Cover and freeze: Press a piece of parchment paper directly onto the surface of the ice cream (this prevents ice crystals from forming). Cover the pan tightly with plastic wrap or foil. Freeze for at least 6 hours, but overnight is best. The longer it freezes, the firmer and creamier it becomes.
- Serve it right: When you’re ready to eat, let the ice cream sit at room temperature for about 5 to 10 minutes to soften slightly. This makes scooping much easier. Sprinkle a little extra flaky salt on top just before serving for that final pop of flavor.
Cooking Tips & Techniques
I’ve made this recipe more times than I can count, and I’ve learned a few things the hard way. Here are my best tips to guarantee success every time.
Don’t skip the chill: I once tried to whip cream that had been sitting on the counter for an hour. It took forever to thicken, and the final texture was more like a soft mousse than ice cream. Cold cream is non-negotiable. If your kitchen is warm, consider placing your mixing bowl over a larger bowl filled with ice water while you whip.
The salt timing matters: Adding the salt at the end, just before freezing, gives you those little bursts of salty flavor throughout the ice cream. If you add it too early, it dissolves completely and you lose that delightful contrast. I learned this when I accidentally mixed the salt into the condensed milk first—the result was sweet ice cream with no salty punch.
Watch your folding technique: This is where most people go wrong. If you stir the whipped cream into the condensed milk like you’re making cake batter, you’ll deflate all that air you worked so hard to create. Use a gentle folding motion—think of it as hugging the cream into the mixture. Stop when you can’t see any more white streaks, even if that means leaving a few tiny lumps.
Patience with freezing: I know it’s tempting to check on it after a few hours, but trust the process. Six hours is the minimum; 12 hours gives you a scoopable, creamy texture that rivals any store-bought brand. If you’re in a hurry, pour the mixture into a shallow metal pan—it freezes faster because of the increased surface area.
One failure I’ll never forget: I once forgot to cover the surface with parchment paper before freezing. The next day, the top was covered in crunchy ice crystals. It was still edible, but the texture was ruined. Always, always press that paper directly onto the surface. It makes all the difference.
Variations & Adaptations
Once you master the basic recipe, the possibilities are endless. Here are some of my favorite twists.
Chocolate Salted Caramel: Melt 1/4 cup (60 g) of dark chocolate chips and fold them into the mixture along with the caramel. The chocolate adds a rich, bittersweet note that pairs beautifully with the salt. I made this for a friend’s birthday, and she said it was the best ice cream she’d ever had.
Vegan Coconut Version: Replace the heavy cream with two cans of full-fat coconut cream (chilled overnight). Use a dairy-free sweetened condensed coconut milk. The coconut flavor is subtle but adds a tropical twist. Just be sure to whip the coconut cream until it’s light and fluffy—it won’t get as stiff as dairy cream, but it will still work beautifully.
Spiced Caramel: Add 1/2 teaspoon of cinnamon and a pinch of nutmeg to the condensed milk before folding. This version is incredible during fall and winter. I served it alongside apple pie last Thanksgiving, and it was the first thing to disappear from the dessert table.
Nutty Crunch: Fold in 1/2 cup (60 g) of toasted pecans or walnuts after whipping. The crunch adds texture and makes every bite interesting. Just make sure the nuts are completely cool before adding them, or they’ll melt the cream.
Low-Sugar Option: Use a sugar-free sweetened condensed milk alternative and add a sugar-free caramel syrup. The texture will be slightly less creamy, but the flavor is still fantastic. I’ve tried this for a friend with diabetes, and she was thrilled to have a dessert she could actually enjoy.
Serving & Storage Suggestions
This ice cream is best served slightly softened, about 5 to 10 minutes after taking it out of the freezer. Scoop it into bowls or cones, and don’t forget that final sprinkle of flaky salt—it really makes the flavor pop.
Perfect pairings: Serve alongside a warm brownie or a slice of apple pie for an unforgettable dessert. A drizzle of extra caramel sauce and a dollop of whipped cream takes it over the top. For a simple treat, just enjoy it on its own—it’s that good.
Storage instructions: Keep the ice cream in an airtight container in the freezer for up to 2 weeks. After that, it may start to develop ice crystals. To prevent this, always press a piece of parchment paper directly onto the surface before sealing the container. If you’re storing it for longer, consider wrapping the entire container in a layer of plastic wrap for extra protection.
Reheating tip: If the ice cream becomes too hard after a few days, let it sit at room temperature for 10 to 15 minutes before scooping. You can also microwave the container on low power for 10 to 15 seconds—just be careful not to melt it completely.
Flavor development: Honestly, this ice cream tastes even better after a day or two in the freezer. The flavors meld together, and the salt distributes more evenly. I’ve found that day-old ice cream has a smoother, more cohesive taste than freshly frozen batches.
Nutritional Information & Benefits
Here’s a rough estimate per serving (based on 8 servings):
- Calories: 350-400
- Fat: 22-25 g
- Carbohydrates: 35-40 g
- Protein: 4-5 g
- Sugar: 30-35 g
- Sodium: 200-250 mg (varies with salt amount)
While this isn’t a health food, it does have some redeeming qualities. Heavy cream contains fat-soluble vitamins like A and D, and the calcium from the dairy is good for bone health. The salt, in moderation, helps with electrolyte balance.
Dietary considerations: This recipe is gluten-free and contains no eggs. It is not dairy-free or vegan in its standard form, but the variations above offer alternatives. Always check your ingredient labels if you have specific allergies.
My personal take: I believe in balance. This ice cream is a treat, meant to be enjoyed in moderation. It’s made with real ingredients—no artificial flavors or preservatives—and that counts for something. A scoop after a long day is a small pleasure that makes life a little sweeter.
Conclusion
This easy no-churn salted caramel ice cream has become a staple in my kitchen for good reason. It’s proof that you don’t need fancy equipment or complicated techniques to create something truly special. Three ingredients, a little patience, and you’ve got a dessert that rivals anything from the store.
I love this recipe because it reminds me that the best things often come from the most unexpected places. Who knew my accountant would change my summer dessert game forever? Now I’m passing that wisdom on to you.
I’d love to hear how yours turns out! Did you add any fun variations? Did your family love it as much as mine does? Drop a comment below and share your experience. And if you know someone who thinks homemade ice cream is too hard, send them this recipe—they’ll be amazed at how simple it really is.
Go ahead, give it a try. Your taste buds will thank you.
Frequently Asked Questions
Can I use half-and-half or milk instead of heavy cream?
No, you really need heavy cream for this recipe. Half-and-half and milk don’t have enough fat content to whip into stiff peaks, which is essential for the creamy texture. If you try to substitute, you’ll end up with a thin, icy mixture instead of rich ice cream.
How long does this ice cream need to freeze?
At least 6 hours, but overnight is best. The longer it freezes, the firmer and creamier it becomes. If you freeze it for less than 6 hours, it will be more like soft-serve—still delicious, but not scoopable.
Can I use regular table salt instead of flaky sea salt?
Yes, but use half the amount. Table salt is much denser and saltier than flaky sea salt. Start with 1/4 teaspoon, taste the mixture, and add more if needed. I prefer flaky sea salt for its texture and milder flavor, but table salt works in a pinch.
My ice cream turned out icy. What went wrong?
This usually happens for one of two reasons: either the cream wasn’t whipped to stiff peaks, or the surface wasn’t covered properly before freezing. Make sure your cream is very cold and whip until it holds firm peaks. Always press parchment paper directly onto the surface of the ice cream before freezing to prevent ice crystals.
Can I add mix-ins like chocolate chips or cookie pieces?
Absolutely! Fold them in gently after the cream and condensed milk are combined. Just make sure your mix-ins are small and not too heavy, or they’ll sink to the bottom. I love adding crushed shortbread cookies or mini chocolate chips for extra texture.
Pin This Recipe!
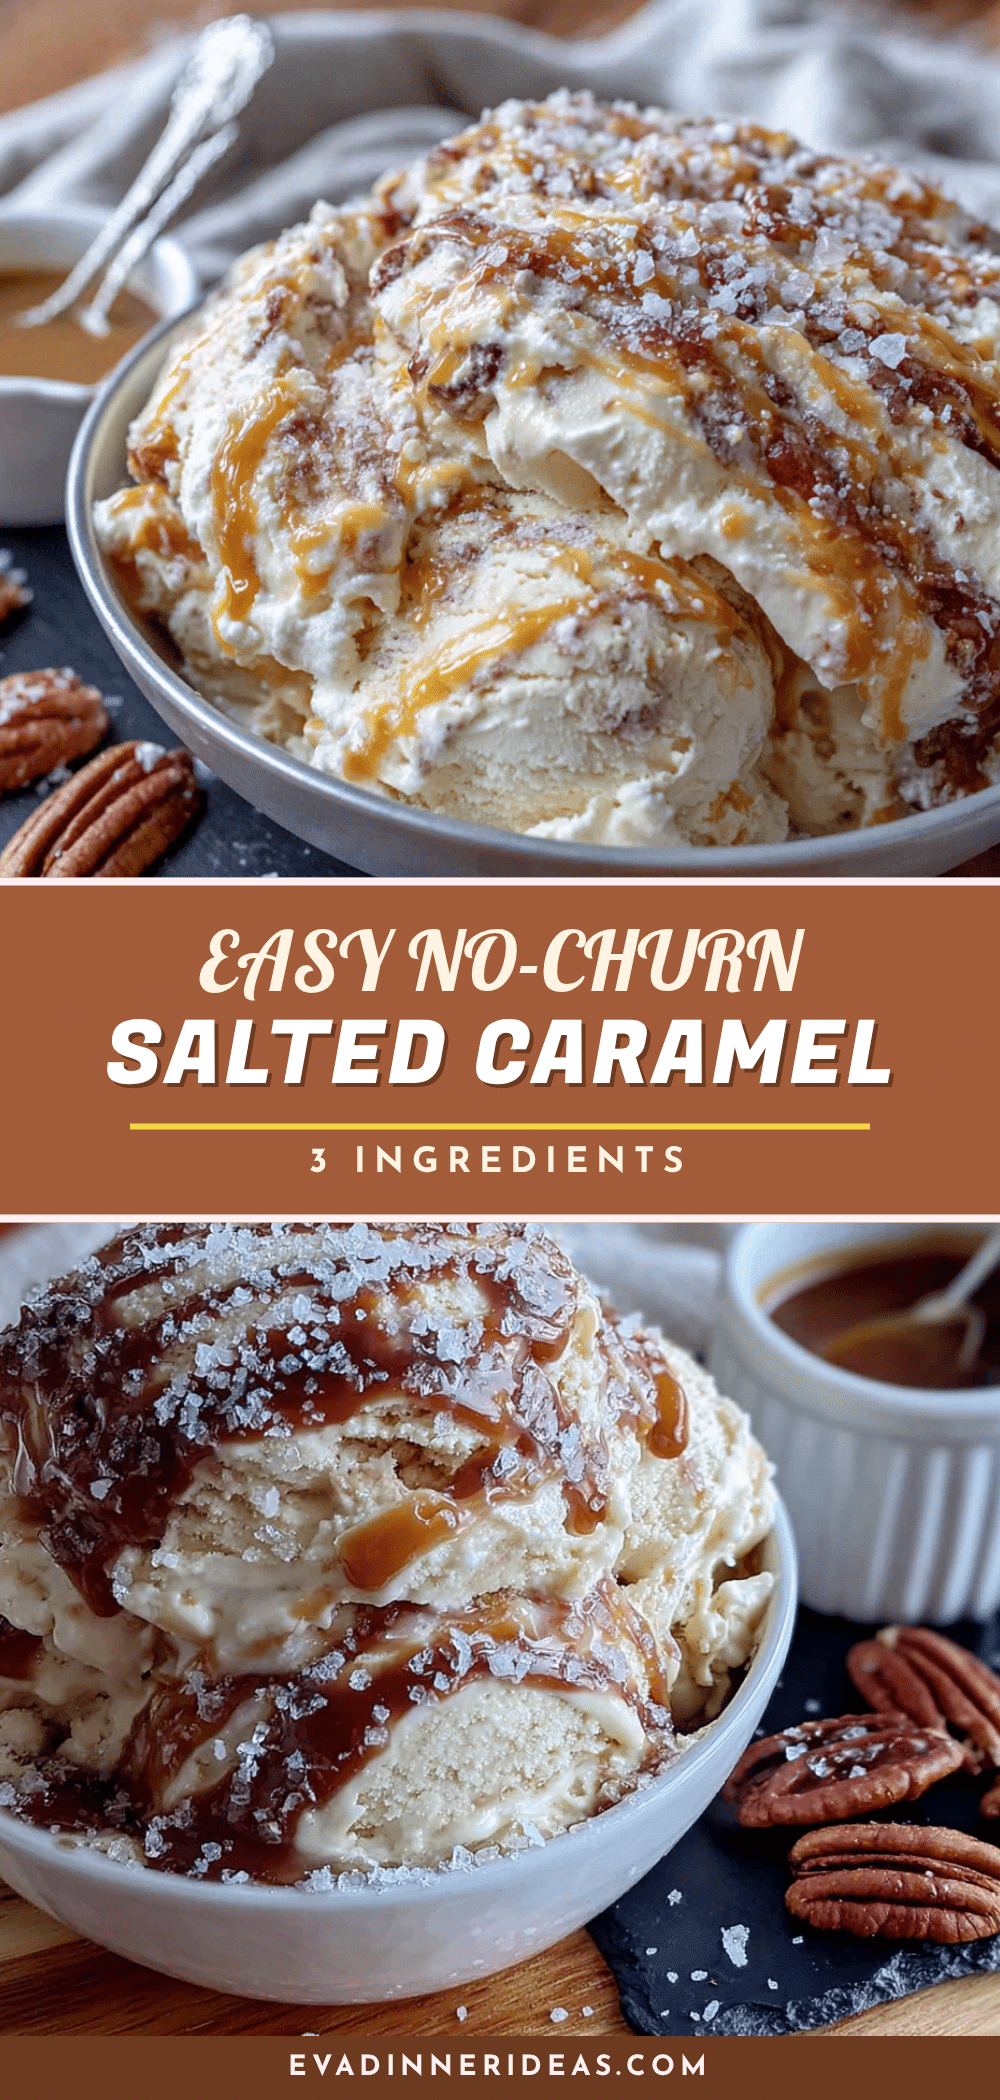
Easy 3-Ingredient No-Churn Salted Caramel Ice Cream
This incredibly creamy no-churn salted caramel ice cream requires just three ingredients and no ice cream maker. It’s a simple, foolproof dessert that delivers rich caramel flavor with a perfect salty finish.
- Prep Time: 10 minutes
- Cook Time: 5-7 minutes (optional caramelizing)
- Total Time: 6 hours 15 minutes (including freezing)
- Yield: 8 servings 1x
- Category: Dessert
- Cuisine: American
Ingredients
- 2 cups (480 ml) heavy cream
- 1 can (14 oz or 397 g) sweetened condensed milk
- 1/2 teaspoon (3 g) flaky sea salt
- Additional 1/4 cup (60 ml) sweetened condensed milk (optional, for caramel swirl)
Instructions
- Chill your mixing bowl and beaters in the freezer for about 15 minutes.
- Pour the cold heavy cream into the chilled bowl. Using an electric mixer on medium-high speed, whip the cream until stiff peaks form, about 3 to 5 minutes.
- In a separate bowl, pour the entire can of sweetened condensed milk. For deeper caramel flavor, transfer half to a small saucepan and heat over medium-low heat for 5 to 7 minutes, stirring constantly, until thickened and golden amber. Let cool.
- Take about a third of the whipped cream and gently fold it into the condensed milk (or caramelized condensed milk) using a rubber spatula. Add the remaining whipped cream and fold until just incorporated.
- Sprinkle the flaky sea salt over the mixture and fold in gently. Reserve a little salt for sprinkling on top before freezing.
- Pour half of the mixture into a loaf pan. If adding a caramel swirl, drizzle about 2 tablespoons of extra caramel sauce over this layer. Add the remaining ice cream mixture, then swirl in more caramel if desired.
- Press a piece of parchment paper directly onto the surface of the ice cream. Cover the pan tightly with plastic wrap or foil. Freeze for at least 6 hours, but overnight is best.
- When ready to serve, let the ice cream sit at room temperature for 5 to 10 minutes to soften slightly. Sprinkle extra flaky salt on top just before serving.
Notes
For best results, use cold heavy cream and chill your equipment. Do not overwhip the cream. Adding salt at the end preserves the salty bursts. Always cover the surface with parchment paper to prevent ice crystals. The ice cream tastes even better after a day or two in the freezer.
Nutrition
- Serving Size: 1/8 of recipe
- Calories: 350400
- Sugar: 3035
- Sodium: 200250
- Fat: 2225
- Saturated Fat: 1416
- Carbohydrates: 3540
- Protein: 45
Keywords: no-churn ice cream, salted caramel, 3-ingredient, easy dessert, summer dessert, homemade ice cream, no ice cream maker