I was scraping my windshield last Tuesday morning—a grim, gray Tuesday in early January—when a single snowflake landed on my glove and melted into a dark spot. And just like that, I was seven years old again, standing on a step stool in my neighbor Mrs. Kowalski’s yellow kitchen, watching her pour something thick and white from a can into a bowl of fresh snow. She called it “winter magic,” and I believed her completely. She’s been gone fifteen years now, and I haven’t thought about that afternoon in at least a decade. But there I was, freezing in my driveway, suddenly desperate for a taste of that strange, sweet, snowy concoction.
The thing is, I never got her recipe. She was the kind of cook who worked by feel—a pinch of this, a splash of that, nothing written down. So for years, I just let the memory sit there, fuzzy and untouchable. Then last winter, during a snow day that kept the kids home from school, I decided to try to crack the code. I stood in my pantry staring at a can of sweetened condensed milk—that was the thick white stuff, I was sure of it—and grabbed vanilla extract almost by instinct. The first batch was too soupy. The second was icy and bland. The third? Let me tell you, the third batch made me close my eyes and stand still for a full ten seconds. I had found it.
This cozy snow ice cream with vanilla and sweetened condensed milk is my best attempt at bottling that memory. It is creamy, rich, and surprisingly simple—you probably have everything you need right now. Mrs. Kowalski would probably laugh at how seriously I took this project. But honestly? Some recipes aren’t about perfection. They are about catching a moment before it disappears completely. Maybe you have a snow day memory like that too. This is your chance to make it real again.
Why You’ll Love This Recipe
Let me be straight with you—I tested this recipe six times before I got it right. The first batch was a watery disaster. The second tasted like sweet ice cubes. But by batch number three, I had figured out the secret, and I have been making it every winter since. Here is why this version works:
- Quick & Easy: From pantry to bowl in under five minutes. No cooking, no churning, no fancy equipment. If you have snow and a spoon, you are halfway there.
- Simple Ingredients: You need exactly four things—snow, sweetened condensed milk, vanilla extract, and a pinch of salt. That is it. No grocery store run required.
- Perfect for Snow Days: When the kids are bouncing off the walls and the roads are too slick to drive, this is the kind of magic that turns a stuck-inside day into a memory.
- Crowd-Pleaser: I have served this to adults who rolled their eyes at the idea and then asked for seconds. It is nostalgic without being childish.
- Unbelievably Delicious: The sweetened condensed milk gives it a thick, almost fudgy texture that regular ice cream just cannot match. It is rich, creamy, and somehow lighter than air.
What makes this recipe different from all the other snow ice cream recipes out there? Most of them use regular milk and sugar, which gives you a thin, icy result. Using sweetened condensed milk changes everything—it adds body, sweetness, and a velvety texture that feels like real ice cream. Plus, the vanilla rounds out the flavor so it does not just taste like frozen sugar. This is not a desperate “we have no dessert” recipe. This is a legitimately good frozen treat that happens to be made from snow.
What Ingredients You Will Need
This recipe uses simple, everyday ingredients to create something genuinely special. The beauty of it is that you probably have most of these in your kitchen right now, waiting for the first real snowfall.
- 8 cups fresh, clean snow (packed lightly, not compressed)
- 1 can (14 ounces) sweetened condensed milk (I prefer Eagle Brand for its consistent thickness, but any brand works fine)
- 2 teaspoons pure vanilla extract (use the real stuff here—imitation vanilla has a chemical aftertaste that stands out in a simple recipe like this)
- Pinch of fine sea salt (this is not optional—it balances the sweetness and makes the flavors pop)
About the Snow: This is the most important part, and I cannot stress it enough. You need fresh, clean snow. Not the stuff that has been sitting on the ground for three days. Not the snow next to the road. Not the snow your dog just walked through. Wait for a fresh snowfall, then collect the top layer from an clean area—your backyard, a clean deck, or a spot away from trees and roads. I use a large stainless steel bowl and scoop only the fluffy, white top layer. If the snow has any yellow tint or looks gray, toss it and start over.
About the Sweetened Condensed Milk: Do not confuse this with evaporated milk. They look similar, but they are completely different products. Sweetened condensed milk is thick, sticky, and intensely sweet. Evaporated milk is thin and unsweetened. If you use evaporated milk, your snow ice cream will be watery and bland. Trust me on this—I made that mistake once, and it was not pretty.
Substitution Guidance: If you want to cut back on sugar, you can use a low-fat sweetened condensed milk, though the texture will be slightly less creamy. For a dairy-free version, look for coconut-based sweetened condensed milk—it works beautifully and adds a subtle tropical note that pairs surprisingly well with vanilla. You can also experiment with different extracts: almond extract gives it a marzipan-like flavor, and maple extract turns it into something that tastes like a winter morning.
Equipment Needed
One of the best things about this recipe is how little equipment it requires. You do not need an ice cream maker, a stand mixer, or anything fancy.
- Large mixing bowl (stainless steel works best because it stays cold, but glass or plastic is fine)
- Measuring cups and spoons
- Spatula or large spoon (a rubber spatula is ideal for folding)
- Serving bowls or cones
- Freezer-safe container (if you plan to store leftovers—a loaf pan works perfectly)
I have made this recipe with a wooden spoon and a cereal bowl when I could not find my regular tools. It is forgiving. The only thing I would not recommend is using a metal whisk—the snow tends to clump around the wires, and you end up with uneven mixing. A simple spatula is your best friend here.
If you are making a double batch, work in smaller portions. Mixing too much snow at once makes it harder to incorporate the milk evenly, and you will end up with pockets of sweetness. I learned this the hard way when I tried to make a massive batch for a party and ended up with half the bowls tasting like pure condensed milk.
Preparation Method
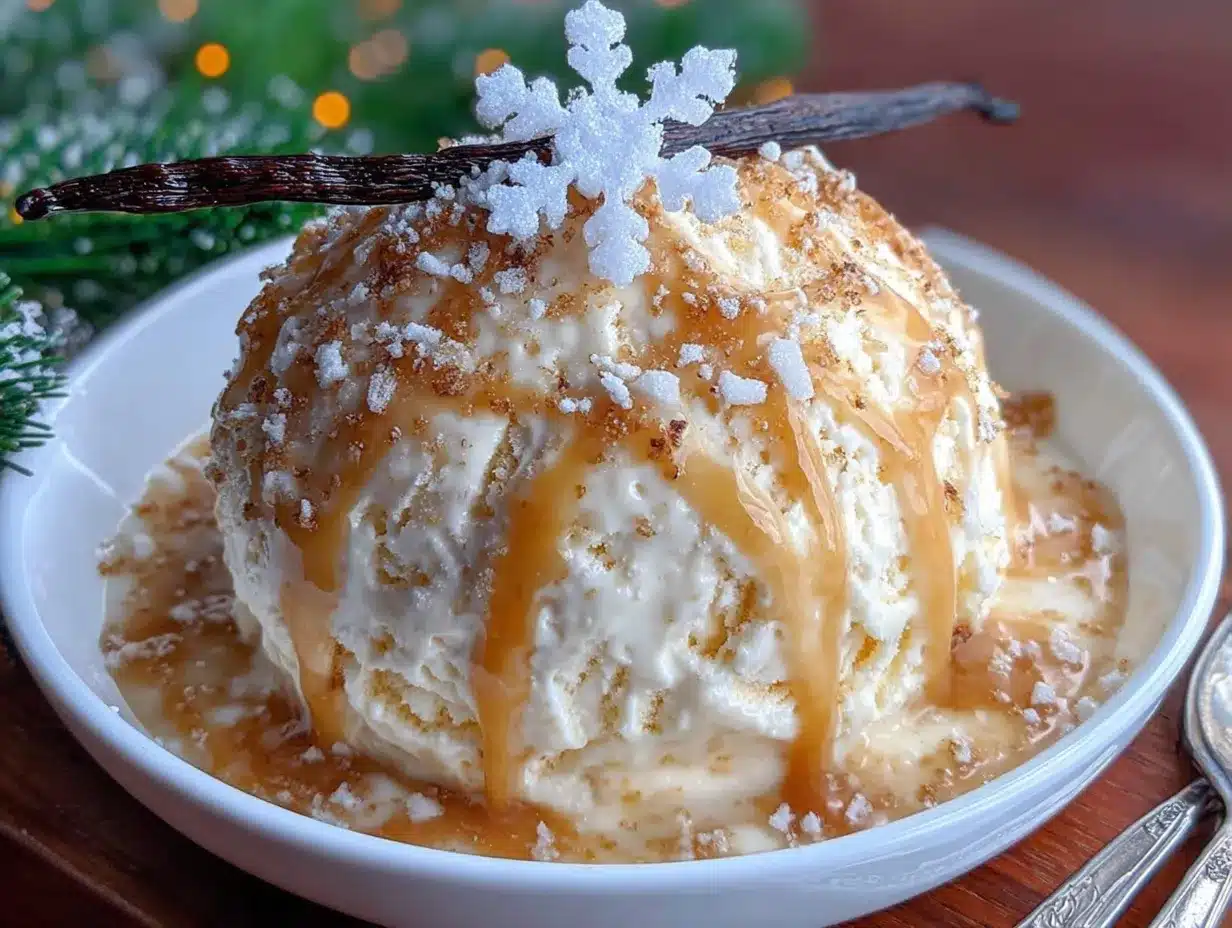
This recipe comes together in minutes, but the timing matters. Here is exactly how to do it.
- Wait for the right snow. This is step zero. Do not rush out during a light flurry. Wait for a good, steady snowfall that accumulates at least two inches. The fluffier and drier the snow, the better your ice cream will be. Wet, heavy snow makes for dense, icy ice cream.
- Chill your bowl. About 10 minutes before you head outside, put your mixing bowl in the freezer. A cold bowl keeps the snow from melting too quickly when you bring it inside. If you forget this step, do not worry—it still works, you just need to work a little faster.
- Collect the snow. Take your chilled bowl outside and gently scoop up the top layer of fresh snow. Do not pack it down—just let it fall loosely into the bowl. You want about 8 cups, which sounds like a lot but compresses significantly when you mix in the milk. I usually fill my bowl to the brim and call it good.
- Mix the base. In a separate small bowl or measuring cup, stir together the sweetened condensed milk, vanilla extract, and salt. Mix until the salt is dissolved and everything is combined. This takes about 30 seconds. Do not skip the salt—it really does make a difference.
- Combine quickly. Pour the milk mixture over the snow in a slow, steady stream. Using your spatula, gently fold the mixture into the snow. Do not stir vigorously—you want to incorporate the milk without melting the snow. Think of it like folding whipped cream into a batter. Gentle, sweeping motions work best.
- Check the texture. The finished mixture should look like soft-serve ice cream—thick, creamy, and scoopable. If it looks soupy, you either used too much milk or the snow was too wet. If it looks dry and crumbly, add another tablespoon of milk and fold gently.
- Serve immediately. This is the key. Snow ice cream is best eaten within minutes of making it. Scoop it into bowls or cones and enjoy right away. The texture changes as it sits—it gets denser and icier, losing that light, fluffy quality.
- Optional freezing. If you have leftovers (unlikely, but possible), transfer them to a freezer-safe container and press a piece of plastic wrap directly against the surface. Freeze for up to 24 hours. When you take it out, let it sit at room temperature for 5-10 minutes before scooping. It will be firmer than fresh snow ice cream, but still delicious.
Cooking Tips & Techniques
After making this recipe more times than I care to count, I have picked up a few tricks that make the difference between good snow ice cream and great snow ice cream.
Work fast. Snow starts melting the second it hits a warm kitchen. Have everything measured and ready before you bring the snow inside. I line up my sweetened condensed milk, vanilla, and salt on the counter before I even put on my boots. Every second counts.
Temperature matters. If your kitchen is warm (above 72°F), the snow will melt faster than you can mix it. On those days, I mix the snow and milk in the garage or on the back porch. It feels a little silly, but it works. Alternatively, you can chill your mixing bowl and spatula in the freezer for 15 minutes before starting.
Do not overmix. This was my biggest mistake early on. I would keep stirring, trying to get the mixture perfectly smooth, and by the time I stopped, I had a bowl of sweet milk soup. Fold just until the milk is incorporated. A few streaks of white are fine—they will disappear as you eat.
Texture troubleshooting. If your snow ice cream turns out too icy, the snow was probably too old or too wet. Next time, wait for a drier snowfall or collect snow from a higher layer. If it turns out too soupy, you used too much milk. Start with 3/4 cup of the milk mixture and add more if needed.
Make it a party. Set up a snow ice cream bar for the kids. Put out bowls of sprinkles, chocolate chips, crushed cookies, and fresh berries. Everyone can customize their own bowl. Just be prepared for a mess—and for everyone to ask when the next snow day is.
Variations & Adaptations
Once you have the basic recipe down, the possibilities are endless. Here are a few of my favorite variations.
Chocolate Snow Ice Cream: Add 2 tablespoons of unsweetened cocoa powder to the milk mixture before pouring it over the snow. Whisk until smooth, then fold into the snow. The cocoa powder thickens the mixture slightly, so you might need an extra half cup of snow. This version tastes like a frozen chocolate pudding—absolutely dangerous.
Mint Chocolate Chip: Replace the vanilla extract with 1 teaspoon of peppermint extract and fold in 1/4 cup of mini chocolate chips after mixing. The mint makes it taste like a winter wonderland, and the chocolate chips add a nice crunch. I made this for a holiday party, and it disappeared in ten minutes.
Vegan Version: Use coconut-based sweetened condensed milk and a high-quality vanilla extract. The coconut flavor is subtle but adds a nice warmth. You can also add a tablespoon of coconut cream for extra richness. This version is slightly less fluffy than the original but still incredibly satisfying.
Fruit Swirl: After mixing the base, drizzle in 1/4 cup of fruit puree—raspberry, strawberry, or blueberry all work well—and give it two or three gentle stirs. Do not fully incorporate it. You want ribbons of fruit running through the white snow. It looks beautiful and tastes like a fancy ice cream shop creation.
Spiced Version: Add 1/2 teaspoon of cinnamon and a pinch of nutmeg to the milk mixture. This turns the ice cream into something that tastes like a chai latte. I make this version on Christmas Eve every year, and it has become a family tradition.
Serving & Storage Suggestions
Snow ice cream is best served immediately, but here is how to make the most of it.
Serving Temperature: Serve straight from the mixing bowl, while it is still soft and fluffy. It should have the consistency of soft-serve ice cream. If it starts melting around the edges, eat faster—that is part of the fun.
Presentation: I like to serve it in small glass bowls or vintage-style ice cream dishes. A sprinkle of colorful jimmies on top makes it look festive, and a fresh mint leaf adds a nice pop of green against the white. For a grown-up version, drizzle a little caramel sauce on top and add a pinch of flaky sea salt.
What to Serve With It: This ice cream pairs beautifully with warm desserts. I love serving it next to a slice of apple pie or a warm chocolate chip cookie. The hot-cold contrast is incredible. It is also delicious on its own—honestly, it does not need much.
Storage: If you have leftovers, transfer them to a freezer-safe container. Press a piece of plastic wrap directly onto the surface to prevent ice crystals from forming. It will keep for up to 24 hours, but the texture changes—it becomes denser and more like traditional ice cream. Do not try to store it longer than that; after 48 hours, it starts to develop off flavors and a grainy texture.
Reheating: You do not really reheat snow ice cream, but if it has been in the freezer and turned rock hard, let it sit on the counter for 10-15 minutes before scooping. You can also microwave it for 5-10 seconds to soften it, but be careful—it melts fast.
Nutritional Information & Benefits
Let’s be honest—this is a treat, not a health food. But here is what you are getting in a typical 1/2 cup serving.
- Calories: Approximately 180-200
- Fat: 4-5 grams
- Carbohydrates: 32-35 grams
- Protein: 4-5 grams
- Sugar: 28-30 grams
- Calcium: 15% of the daily value
The sweetened condensed milk provides a decent amount of calcium, which is good for bone health. The vanilla extract contains small amounts of antioxidants, though honestly, you would need to eat a lot of ice cream to get any real benefit. The snow itself is just frozen water—zero calories, zero nutrients, but a whole lot of nostalgia.
Dietary Considerations: This recipe is vegetarian and can be made gluten-free easily (just check your vanilla extract). It is not vegan in its standard form, but the coconut-based substitution works well. It is high in sugar, so if you are watching your intake, use the low-fat sweetened condensed milk or cut back on the amount.
My personal take? This is a snow day tradition, not an everyday snack. I do not worry too much about the nutritional profile when the kids are home from school and we are making memories in the kitchen. Everything in moderation, right?
Conclusion
This cozy snow ice cream with vanilla and sweetened condensed milk is more than just a recipe—it is a way to turn a gray winter day into something special. It is the kind of simple, joyful cooking that reminds me why I love being in the kitchen. No complicated techniques, no fancy ingredients, just pure, snowy magic.
I hope you try this recipe on the next snow day. And I hope it makes you feel exactly the way I felt standing in Mrs. Kowalski’s kitchen all those years ago—like winter is not something to endure, but something to celebrate. Customize it however you like. Add your own toppings. Make a mess. Laugh when it melts too fast. That is the whole point.
If you make this, I would love to hear about it. Drop a comment below and tell me how it turned out, or share your own snow ice cream memory. And if you are looking for more cozy winter recipes, check out my homemade hot chocolate mix or these soft gingerbread cookies—they pair perfectly with a bowl of snow ice cream. Until the next snowfall, stay warm and keep making memories.
Frequently Asked Questions
Can I use any type of snow?
Only fresh, clean snow from a recent snowfall. Avoid snow that has been on the ground for more than a few hours, snow near roads or trees, and any snow that looks discolored. The cleaner the snow, the better your ice cream will taste.
What if I don’t have sweetened condensed milk?
You can substitute with 1 cup of whole milk mixed with 1/2 cup of granulated sugar and 1 tablespoon of cornstarch. Heat it gently until the sugar dissolves and the mixture thickens slightly, then let it cool before using. It won’t be as creamy, but it will work in a pinch.
Can I make this without snow?
Technically, yes. You can use shaved ice from a snow cone machine or crushed ice from your blender. But the texture will be different—icier and less fluffy. Fresh snow has a unique structure that gives this recipe its signature lightness.
How long does snow ice cream last?
It is best eaten immediately. If you have leftovers, freeze them for up to 24 hours. After that, the texture becomes icy and the flavor starts to fade. This is really a make-and-eat-immediately kind of recipe.
Is it safe to eat snow?
Fresh, clean snow from a safe area is generally safe to eat in small amounts. Avoid snow that has been plowed, snow near industrial areas, and snow that has been on the ground for more than a day. When in doubt, collect snow from a high, clean surface like a deck railing or a clean picnic table.
Pin This Recipe!
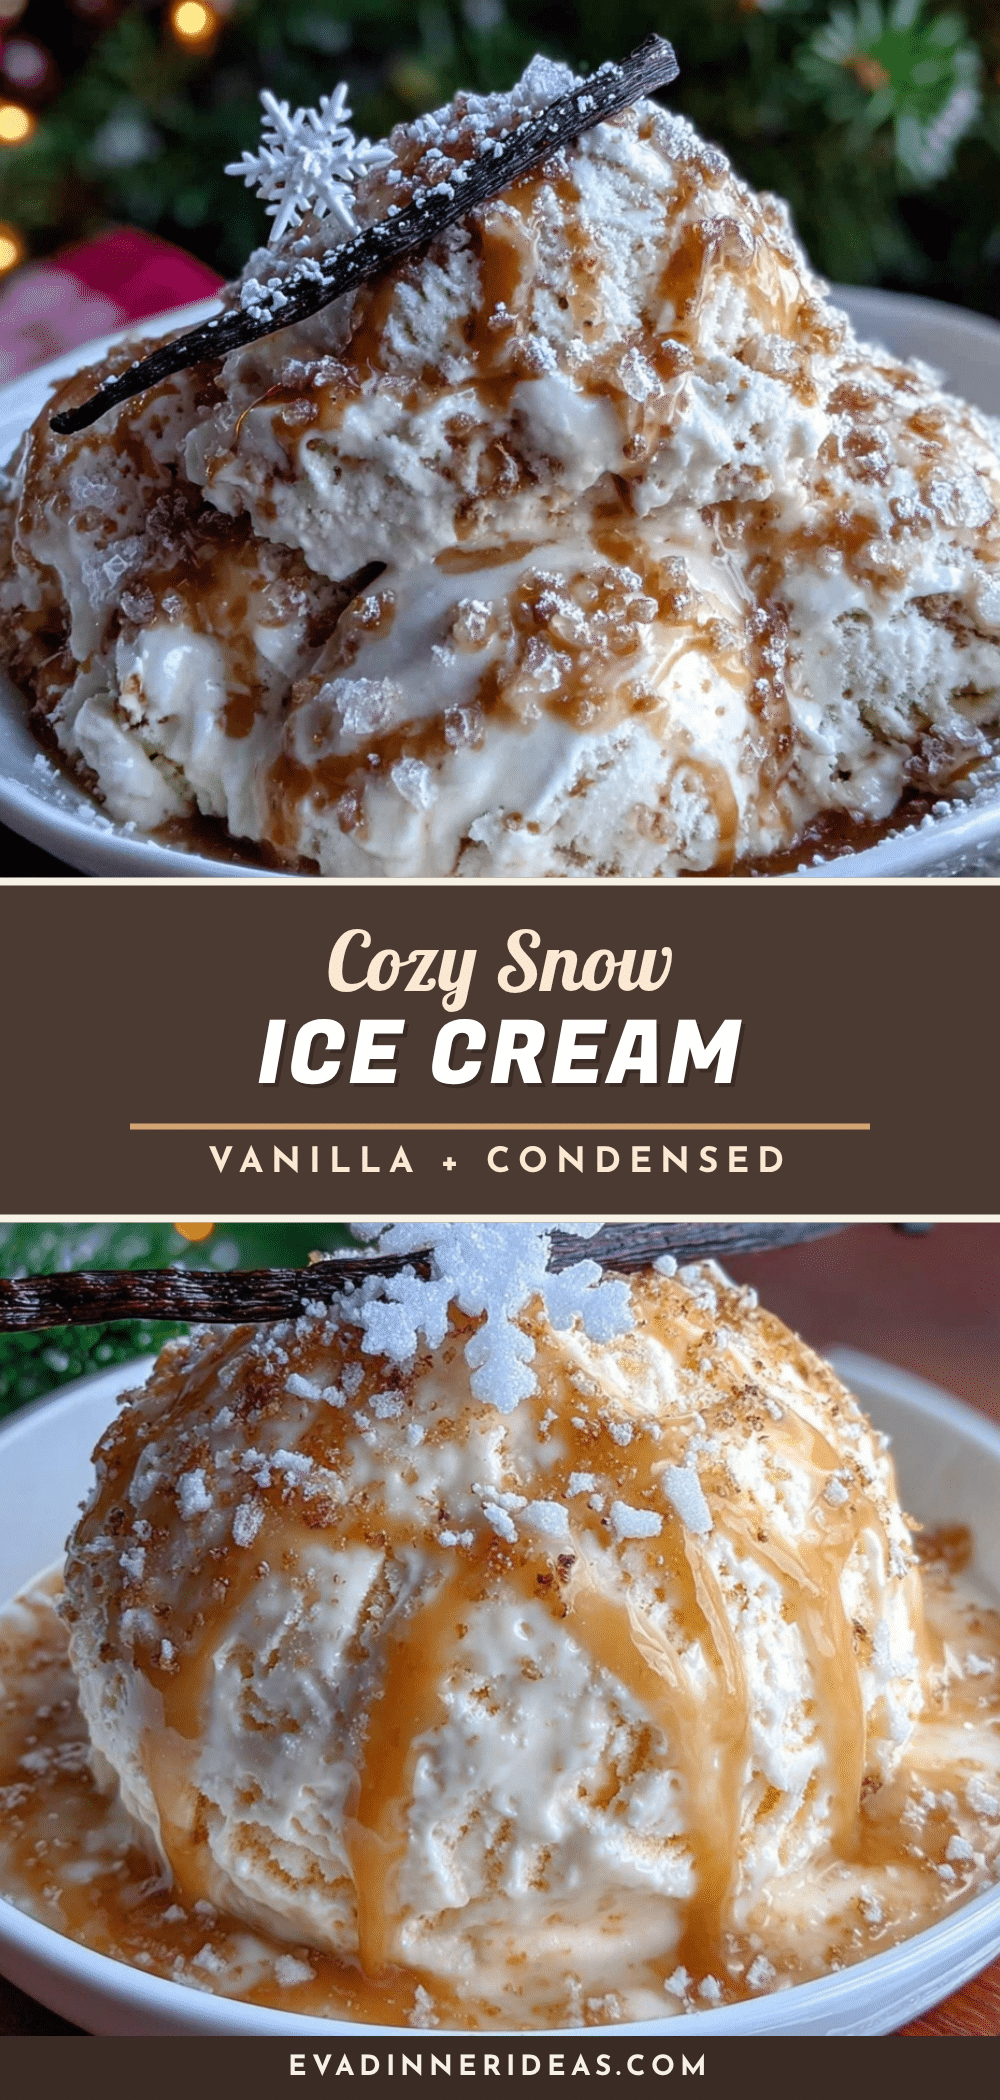
Cozy Snow Ice Cream with Vanilla & Condensed Milk

A nostalgic, creamy snow ice cream made with fresh snow, sweetened condensed milk, and vanilla extract. This quick and easy recipe turns a snow day into a magical winter memory.
- Prep Time: 5 minutes
- Cook Time: 0 minutes
- Total Time: 5 minutes
- Yield: 4 servings 1x
- Category: Dessert
- Cuisine: American
Ingredients
- 8 cups fresh, clean snow (packed lightly)
- 1 can (14 ounces) sweetened condensed milk
- 2 teaspoons pure vanilla extract
- Pinch of fine sea salt
Instructions
- Wait for a good, steady snowfall that accumulates at least 2 inches. The fluffier and drier the snow, the better.
- Chill your mixing bowl in the freezer for about 10 minutes before heading outside.
- Take the chilled bowl outside and gently scoop up the top layer of fresh snow. Do not pack it down. Fill the bowl to the brim (about 8 cups).
- In a separate small bowl or measuring cup, stir together the sweetened condensed milk, vanilla extract, and salt until the salt is dissolved and everything is combined (about 30 seconds).
- Pour the milk mixture over the snow in a slow, steady stream. Using a spatula, gently fold the mixture into the snow with gentle, sweeping motions. Do not stir vigorously.
- Check the texture: it should look like soft-serve ice cream—thick, creamy, and scoopable. If too soupy, you used too much milk or the snow was too wet. If too dry, add another tablespoon of milk and fold gently.
- Serve immediately in bowls or cones. Snow ice cream is best eaten within minutes of making it.
- For leftovers, transfer to a freezer-safe container, press plastic wrap directly onto the surface, and freeze for up to 24 hours. Let sit at room temperature for 5-10 minutes before scooping.
Notes
Use only fresh, clean snow from a recent snowfall. Avoid snow near roads, trees, or discolored snow. Work quickly as snow melts fast in a warm kitchen. Do not overmix—fold just until incorporated. For best results, chill the bowl and spatula in the freezer before starting. The sweetened condensed milk is key; do not substitute with evaporated milk.
Nutrition
- Serving Size: 1/2 cup
- Calories: 190
- Sugar: 29
- Sodium: 85
- Fat: 4.5
- Saturated Fat: 3
- Carbohydrates: 33
- Protein: 4.5
Keywords: snow ice cream, vanilla ice cream, sweetened condensed milk, snow day recipe, winter dessert, easy ice cream, no churn ice cream


