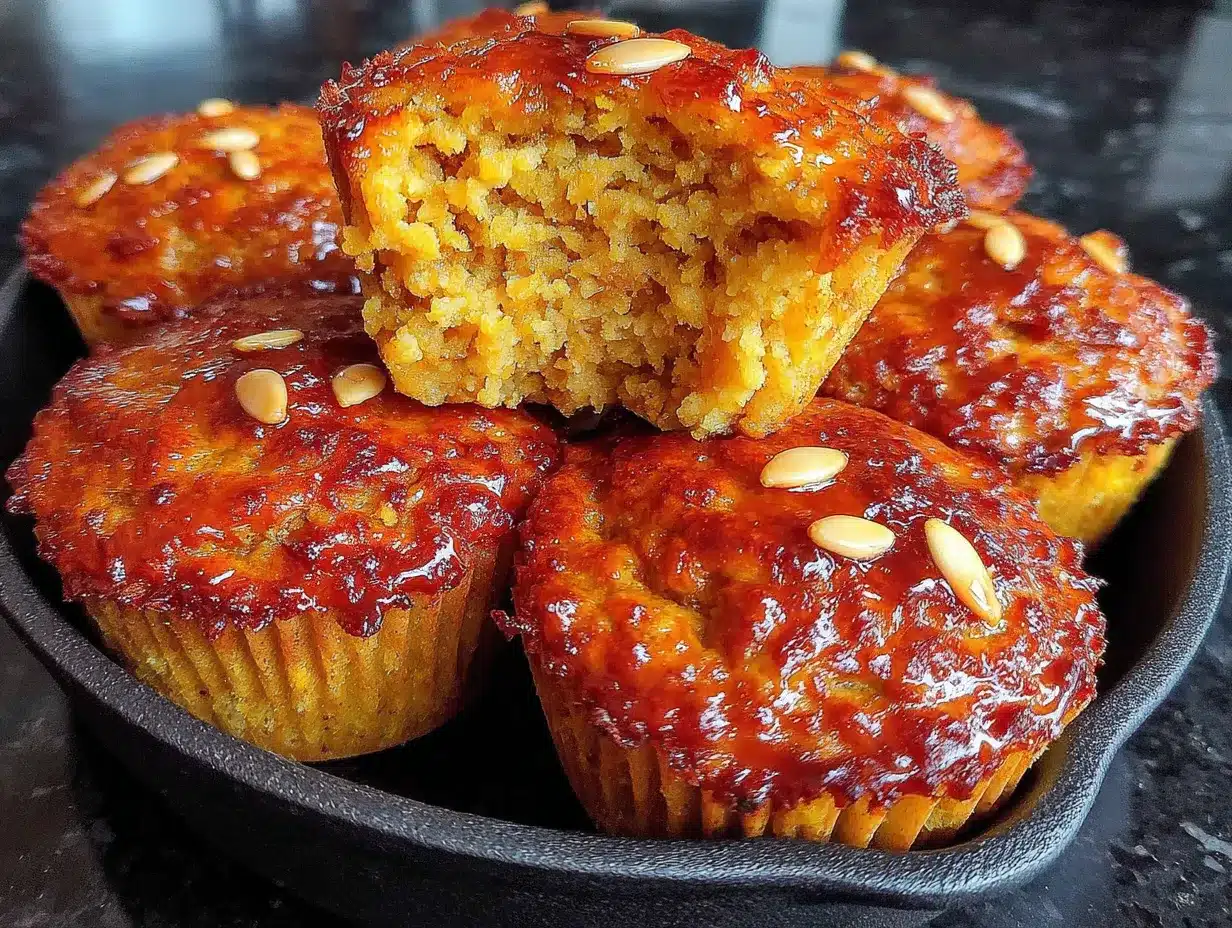
My neighbor Patty wasn’t trying to impress anyone. I’d stopped by to return her garden shears—the ones she’d lent me three weeks ago that I kept forgetting to give back—and the smell hit me before I even got to her front door. Warm cinnamon, nutmeg, something deeply roasted and sweet. It was mid-October, leaves crunching under my feet, and that scent was basically fall in a single breath.
Patty opened the door holding a muffin tin, wearing an old sweater with a hole in the elbow. “Oh, those,” she said when I asked what was baking. “Just threw some stuff together. Oats, pumpkin, you know.” She said it like it was nothing. Like she hadn’t just created the coziest thing I’d ever smelled coming out of a regular kitchen on a random Thursday afternoon.
I stood there holding her shears, not even pretending I wasn’t staring at that muffin tin. She laughed and handed me one, still warm. And honestly? That first bite stopped me mid-sentence. It was tender, not too sweet, with that perfect oat chew and a crumb topping that somehow stayed crisp. I asked for the recipe, and she shrugged. “I don’t really measure. Just go with your gut.”
So I went home and spent the next two weeks trying to recreate what she’d done without measuring. I burned a batch. I made one that was too dry. Another one collapsed in the middle. But eventually—after texting her a photo of my final attempt and getting a “yeah, that’s pretty close”—I landed on something I’m proud to call my own. These cozy pumpkin oat muffins are what happened when I stopped trying to copy her and started understanding what made them work.
Maybe you’ve been there too. Standing in someone else’s kitchen, eating something simple that feels absolutely magical, wondering how they make it look so easy. Well, now you don’t have to guess. These muffins are perfect for fall meal prep, they freeze beautifully, and they make your whole house smell like the best kind of autumn afternoon.
Why You’ll Love This Recipe
Let me tell you why these pumpkin oat muffins have earned a permanent spot in my weekly rotation. I’ve tested this recipe at least eight times—yes, eight—and I can say with confidence that this version is the one you’ll actually want to make again and again.
- Quick & Easy: From start to finish, you’re looking at about 30 minutes. Mix the dry, mix the wet, combine, bake. No stand mixer required, no complicated techniques. Perfect for a Sunday afternoon when you’re meal prepping for the week ahead.
- Simple Ingredients: You probably have most of this in your pantry right now. Canned pumpkin, rolled oats, flour, eggs, butter, sugar, and spices. No trips to specialty stores, no hunting for obscure ingredients that cost a fortune.
- Perfect for Fall Meal Prep: These muffins actually get better after a day or two in the fridge. The oats absorb moisture and the flavors meld together. Make a batch on Sunday, grab one on your way out the door all week long.
- Crowd-Pleaser: I brought these to a neighborhood potluck and three people asked for the recipe. Kids love them, adults love them, and they’re not so sweet that you feel guilty eating one for breakfast.
- Unbelievably Delicious: The texture is what gets me every time. That tender, almost creamy crumb from the pumpkin, the chewiness from the oats, and that buttery streusel topping that adds just enough crunch. It’s comfort food in muffin form.
What makes this recipe different from the dozens of other pumpkin muffin recipes out there? It’s the ratio. Most recipes use too much flour and not enough oats, making them dry and cake-like. I spent three batches figuring out the perfect balance where the oats provide structure without turning the muffin into a hockey puck. The pumpkin keeps everything incredibly moist, and the combination of brown sugar and warm spices gives you that deep, caramelized flavor that tastes like you spent way more effort than you actually did.
This is the kind of recipe that makes you close your eyes after the first bite. It’s fall baking simplified—healthier than a coffee shop muffin, faster than a complicated pastry, and somehow more satisfying than both.
What Ingredients You Will Need
This recipe uses simple, wholesome ingredients to deliver that cozy fall flavor without any fuss. Most of these are pantry staples, especially if you do any kind of fall baking. Here’s what you’ll need and why each one matters.
For the Muffins
- 1 ½ cups all-purpose flour (195g) – Spoon and level it, don’t scoop directly from the bag. Too much flour makes dense muffins.
- 1 cup rolled oats (90g) – Not quick oats. Rolled oats give you that chewy texture that makes these muffins special. I prefer Bob’s Red Mill old-fashioned oats for consistent results.
- ¾ cup brown sugar (150g), packed – Light or dark both work. Dark brown sugar gives a deeper molasses flavor that pairs beautifully with pumpkin.
- 1 teaspoon baking soda
- ½ teaspoon baking powder
- 2 teaspoons pumpkin pie spice – Or make your own: 1 teaspoon cinnamon, ½ teaspoon ginger, ¼ teaspoon nutmeg, ¼ teaspoon cloves.
- ½ teaspoon salt – Don’t skip this. Salt balances the sweetness and brings out the pumpkin flavor.
- 1 cup canned pumpkin puree (245g) – Not pumpkin pie filling. Look for 100% pure pumpkin. Libby’s is my go-to brand.
- ½ cup vegetable oil (120ml) – Or melted coconut oil. Oil keeps these muffins moist longer than butter would.
- 2 large eggs, room temperature – Cold eggs can seize up the batter. Leave them on the counter for 20 minutes before starting.
- ¼ cup milk (60ml) – Any kind works. I use whole milk, but oat milk or almond milk are fine too.
- 1 teaspoon vanilla extract
For the Streusel Topping
- ¼ cup rolled oats (22g)
- ¼ cup all-purpose flour (30g)
- ¼ cup brown sugar (50g), packed
- ½ teaspoon cinnamon
- 3 tablespoons cold butter (42g), cut into small cubes
A few ingredient notes before we get started. First, the pumpkin puree—make sure you’re buying the plain stuff, not the pre-sweetened pie filling. They look similar in the can, but the pie filling has added sugar and spices that will throw off your ratios. Second, the oats. I really recommend rolled oats over quick oats here. Quick oats break down too much during baking and you lose that lovely chewy texture. If all you have are quick oats, your muffins will still taste good, but they’ll be softer and less interesting texturally.
For the brown sugar, I usually go with dark brown sugar in the fall because that extra molasses flavor just feels right when the weather turns cold. But light brown sugar works perfectly too if that’s what you have. And if you’re feeling ambitious, you can toast the oats for the streusel topping in a dry pan for about 3 minutes before mixing them in. It adds a nutty depth that takes these muffins to another level.
Equipment Needed
Nothing fancy here. That’s the beauty of this recipe—you probably already own everything you need.
- 12-cup muffin tin – Standard size. If you only have a 6-cup tin, just bake in two batches.
- Paper liners – I like the unbleached brown ones for fall vibes, but any liners work. You can also grease the pan directly if you prefer.
- Two mixing bowls – One large, one medium. I use glass bowls because they’re easy to clean and don’t hold onto odors.
- Whisk – For mixing dry ingredients and for the streusel.
- Rubber spatula – For folding the wet and dry ingredients together without overmixing.
- Cookie scoop or ice cream scoop – Not essential, but it makes filling the muffin cups so much cleaner. I use a #20 scoop (about 3 tablespoons).
- Cooling rack – Lets air circulate around the muffins so they don’t get soggy on the bottom.
- Pastry cutter or fork – For cutting butter into the streusel. Two forks work fine if you don’t have a pastry cutter.
One piece of advice from someone who learned the hard way: invest in a good muffin tin. Cheap ones can warp in the oven and cause uneven baking. I’ve had good luck with the Wilton non-stick tins—they’re affordable and hold up well. And if you’re like me and you hate washing muffin tins, the paper liners are your best friend.
Preparation Method
Alright, let’s make these muffins. Set your oven to 375°F (190°C) and line your muffin tin with paper liners. This recipe makes exactly 12 muffins, no more, no less.
- Start with the streusel topping. In a small bowl, combine ¼ cup rolled oats, ¼ cup flour, ¼ cup packed brown sugar, and ½ teaspoon cinnamon. Add the cold butter cubes. Use a pastry cutter or two forks to cut the butter into the dry mixture until it looks like coarse crumbs with pea-sized butter pieces. Some bigger chunks are fine—they’ll get extra crunchy in the oven. Pop this in the fridge while you make the batter. Cold streusel bakes up crispier.
- Mix the dry ingredients. In a large bowl, whisk together 1 ½ cups flour, 1 cup rolled oats, ¾ cup brown sugar, 1 teaspoon baking soda, ½ teaspoon baking powder, 2 teaspoons pumpkin pie spice, and ½ teaspoon salt. Make sure there are no lumps of brown sugar. Break them up with your fingers if needed.
- Mix the wet ingredients. In a separate medium bowl, whisk together 1 cup pumpkin puree, ½ cup oil, 2 eggs, ¼ cup milk, and 1 teaspoon vanilla. Whisk until smooth and fully combined. The mixture should look like a thick, glossy orange sauce.
- Combine wet and dry. Pour the wet ingredients into the dry ingredients. Use a rubber spatula to fold everything together gently. Here’s the important part: stop mixing as soon as you don’t see any more dry flour. A few streaks of flour are okay. Overmixing develops gluten and makes muffins tough. We want tender muffins, not bread. The batter will be thick and slightly lumpy—that’s perfect.
- Fill the muffin cups. Use your cookie scoop or a spoon to divide the batter evenly among the 12 liners. Each cup should be about ¾ full. If you’re using a scoop, aim for 3 generous tablespoons per muffin.
- Add the streusel. Take the streusel out of the fridge. Sprinkle it generously over each muffin, pressing it down lightly so it sticks. Use all of it—don’t hold back. The streusel is the best part.
- Bake. Place the muffin tin in the preheated oven on the middle rack. Bake for 18 to 22 minutes. At 18 minutes, start checking. Insert a toothpick into the center of a muffin—if it comes out clean or with just a few moist crumbs, they’re done. If the toothpick has wet batter on it, give them 2 more minutes and check again.
- Cool. Let the muffins sit in the tin for 5 minutes. This helps them set so they don’t fall apart when you take them out. Then transfer them to a cooling rack. Don’t skip this step—if you leave them in the hot tin, the bottoms can get soggy from trapped steam.
A few things to watch for. First, if your oven runs hot, check the muffins at 16 minutes. I’ve burned a batch before because I trusted the timer instead of my eyes. Second, the streusel might look a little dark when they come out—that’s normal. The brown sugar caramelizes and creates that crunchy, buttery top. Third, if you’re like me and you can’t resist eating one immediately, let it cool for at least 10 minutes. The texture is better when it’s not scalding hot, and you won’t burn the roof of your mouth. Trust me on this one.
Cooking Tips & Techniques
After making these pumpkin oat muffins more times than I care to count, I’ve picked up a few tricks that make a real difference. Let me share them so you don’t have to learn the hard way.
Room temperature ingredients matter. I know, I know—everyone says this and it feels like a hassle. But here’s why: cold eggs and cold milk can cause the oil to seize up slightly, creating a lumpy batter that doesn’t bake evenly. Just leave your eggs and milk on the counter for 20 minutes while you get everything else ready. That’s it. You don’t need a science degree to make better muffins.
Don’t overmix the batter. This is the number one mistake I see in pumpkin muffin recipes. People want to keep stirring until it’s perfectly smooth, but that activates the gluten and gives you dense, rubbery muffins. Mix until just combined. A few lumps are your friend. I actually count my stirs—about 12 to 15 folds with the spatula, and I stop.
Toast your oats for extra flavor. If you have an extra 5 minutes, spread the oats for the streusel on a baking sheet and toast them at 350°F for about 5 minutes until they smell nutty. Let them cool completely before mixing the streusel. This adds a layer of flavor that makes people ask, “What did you do differently?”
Use a cookie scoop for even muffins. I used to use two spoons and guess at the portions. Half the muffins would be tiny and the other half would be enormous, and they’d bake at different rates. A cookie scoop gives you perfectly even muffins every time. It’s a $10 tool that solves a real problem.
Let the batter rest for 5 minutes. This is a trick I picked up from a bakery cookbook. After you mix the batter, let it sit for 5 minutes before scooping it into the liners. The oats absorb some of the liquid, which gives the muffins a better texture and helps them domed up more evenly in the oven.
One mistake I made early on: I used a dark non-stick muffin tin and didn’t adjust my baking time. Dark pans absorb more heat, so your muffins can brown too quickly on the bottom while the centers are still underdone. If you’re using a dark pan, reduce the oven temperature by 25°F and check for doneness a few minutes earlier.
Variations & Adaptations
This recipe is wonderfully flexible. Here are some ways to make it your own, depending on what you have in your pantry or what you’re craving.
Gluten-Free Version: Swap the all-purpose flour for a 1-to-1 gluten-free baking flour blend. I’ve tested this with King Arthur’s Measure for Measure blend and it works perfectly. The oats are naturally gluten-free, but if you’re sensitive, make sure to buy certified gluten-free oats. Everything else stays the same.
Dairy-Free Version: Use melted coconut oil or avocado oil instead of vegetable oil (it’s already dairy-free, but just to be clear). For the streusel, substitute the butter with cold coconut oil or a vegan butter stick. Use oat milk or almond milk in the batter. The texture is slightly less tender but still delicious.
Add Mix-Ins: Fold in ½ cup of chocolate chips, chopped pecans, or dried cranberries right before you fill the muffin cups. Chocolate chips and pumpkin is a surprisingly good combo—the bitterness of dark chocolate balances the sweetness. For a more decadent version, use white chocolate chips and add a teaspoon of orange zest.
Lower Sugar Option: Reduce the brown sugar to ½ cup. The pumpkin adds natural sweetness, and the streusel still gives you that sugary top. You won’t miss the extra sugar, I promise. I’ve made this version for friends who are watching their sugar intake and nobody complained.
Pumpkin Chocolate Chip Muffins: My personal favorite variation. Add ½ cup of semi-sweet chocolate chips to the batter. The warm pumpkin and melted chocolate together is honestly one of the best flavor combinations I’ve ever stumbled into. I discovered this by accident when I was out of pecans and had chocolate chips staring at me from the pantry.
Savory-ish Twist: Reduce the sugar to ¼ cup, omit the pumpkin pie spice, and add ½ teaspoon black pepper, ¼ teaspoon cayenne, and ½ cup shredded cheddar cheese. Sounds weird, but pumpkin and cheddar are a classic pairing. These make great savory breakfast muffins.
Serving & Storage Suggestions
These pumpkin oat muffins are incredibly versatile when it comes to serving. Here’s how to enjoy them at their best.
Serving Temperature: Warm is ideal. Pop a muffin in the microwave for 15 seconds if it’s been sitting in the fridge. The streusel gets a little crunchy again, the inside softens up, and the pumpkin flavor really shines. At room temperature, they’re still fantastic—perfect for packing in lunchboxes or grabbing on your way out the door.
What to Serve With: A pat of salted butter melting into a warm muffin is simple perfection. For breakfast, pair one with a hot cup of coffee or chai tea. For an afternoon snack, a glass of cold milk is all you need. If you’re feeling fancy, warm up some apple butter or maple butter and spread it on a split muffin. It’s ridiculous in the best way.
Storage Instructions: Keep muffins in an airtight container at room temperature for up to 3 days. After that, move them to the fridge for up to a week. The fridge will dry them out slightly, but reheating in the microwave brings back the moisture. For longer storage, freeze them. Place cooled muffins in a single layer in a freezer-safe bag or container. They’ll keep for up to 3 months. Thaw overnight in the fridge or microwave directly from frozen for about 30 seconds.
Reheating Tips: Microwave for 15 to 20 seconds for a single muffin. For a whole batch, wrap them in foil and warm in a 300°F oven for about 10 minutes. This method keeps the streusel crunchy. If you’re in a hurry, slice the muffin in half and toast it cut-side down in a buttered skillet. The caramelized edges are incredible.
How Flavors Develop: Honestly, these muffins taste even better on day two. The oats continue to absorb moisture from the pumpkin, and the spices meld together overnight. If you can resist eating them all on day one, you’re in for a treat on day two. I always make a double batch specifically so I have some for later in the week.
Nutritional Information & Benefits
Here’s an approximate nutritional breakdown per muffin (based on 12 muffins, using the standard recipe):
| Nutrient | Amount |
|---|---|
| Calories | 285 |
| Total Fat | 12g |
| Saturated Fat | 3g |
| Cholesterol | 35mg |
| Sodium | 310mg |
| Total Carbohydrates | 40g |
| Dietary Fiber | 3g |
| Sugars | 20g |
| Protein | 5g |
These numbers will vary depending on your specific ingredients and any substitutions you make. The gluten-free version will be slightly lower in fiber, and the reduced-sugar version will cut about 5g of sugar per muffin.
Health Highlights: Pumpkin is packed with vitamin A (over 200% of your daily needs per cup), which supports eye health and immune function. It’s also rich in fiber and antioxidants. Oats provide beta-glucan, a type of soluble fiber that helps lower cholesterol and keeps you feeling full longer. Together, they make a muffin that actually has some nutritional merit—not just empty calories.
Dietary Considerations: This recipe can easily be made gluten-free and dairy-free (see variations above). It contains eggs, wheat (flour), and dairy (butter in streusel). It’s nut-free as written, which makes it a good option for school lunchboxes. The sugar content is moderate for a baked good, but if you’re watching your sugar intake, the reduced-sugar variation works beautifully.
From my perspective, these muffins hit a sweet spot—they feel indulgent and cozy, but they’re made with real, recognizable ingredients. I feel good about eating one for breakfast or packing one in my kid’s lunch. They’re not health food, but they’re not junk either. They’re just good, honest baking.
Conclusion
These cozy pumpkin oat muffins are everything I love about fall baking. They’re simple enough for a Tuesday morning, special enough for a holiday brunch, and forgiving enough for a beginner baker. The oats give them a hearty texture that sets them apart from ordinary pumpkin muffins, and that streusel topping? It’s the kind of detail that makes people think you spent way more effort than you actually did.
I’ve made these muffins for my family, for neighbors, for potlucks, and for no reason at all except that I wanted my kitchen to smell like autumn. Every time, they disappear faster than I expect. There’s something about the combination of warm spices, tender crumb, and buttery crunch that just hits differently when the leaves start turning.
What I love most about this recipe is how adaptable it is. You can dress it up with mix-ins, adjust it for dietary needs, or keep it exactly as written and be completely happy. It’s the kind of recipe that becomes a tradition—the one you pull out every September when the first cool breeze hits, the one your family starts asking for before the pumpkins even appear at the grocery store.
I’d love to hear how these turn out for you. Did you add chocolate chips? Try the gluten-free version? Discover a variation I haven’t thought of? Drop a comment below and let me know. And if you snap a photo of your muffins, tag me—I genuinely love seeing these in real kitchens. Happy fall baking, friends. Make your kitchen smell amazing.
Frequently Asked Questions
Can I use fresh pumpkin instead of canned?
Yes, but you’ll need to cook and puree it first. Roast a small sugar pumpkin at 400°F for about 45 minutes until tender, then scoop out the flesh and blend until smooth. Drain any excess liquid through a cheesecloth or fine mesh strainer—fresh pumpkin can be more watery than canned. You want it to be about the same consistency as canned puree.
Why did my muffins turn out dry?
This usually happens from overmixing the batter or overbaking. Mix just until the flour disappears, and start checking for doneness at 18 minutes. Every oven runs differently, so trust the toothpick test over the timer. Also make sure you’re measuring your flour correctly—scooping directly from the bag packs in too much flour.
Can I make these muffins vegan?
You can try. Substitute the eggs with flax eggs (1 tablespoon ground flaxseed mixed with 3 tablespoons water per egg, let sit for 5 minutes). Use plant-based milk and coconut oil or vegan butter. The texture will be a bit denser and less tender, but they’ll still taste great. I’ve tested this once and it worked, though I recommend the original version for the best texture.
How do I get taller, domed muffin tops?
Two tricks. First, let the batter rest for 5 minutes before filling the liners—this lets the oats absorb liquid and helps the muffins rise. Second, bake at 400°F for the first 5 minutes, then reduce to 375°F for the remaining time. The initial blast of heat creates steam that pushes the batter up quickly, giving you those bakery-style domes.
Can I make these into pumpkin oat bread instead?
Absolutely. Pour the batter into a greased 9×5 inch loaf pan and bake at 350°F for 50 to 60 minutes. The streusel topping works great on top of the loaf too. Check for doneness with a toothpick inserted into the center. The baking time is longer because of the thicker batter, so be patient. Let the loaf cool in the pan for 15 minutes before transferring to a rack.
Pin This Recipe!
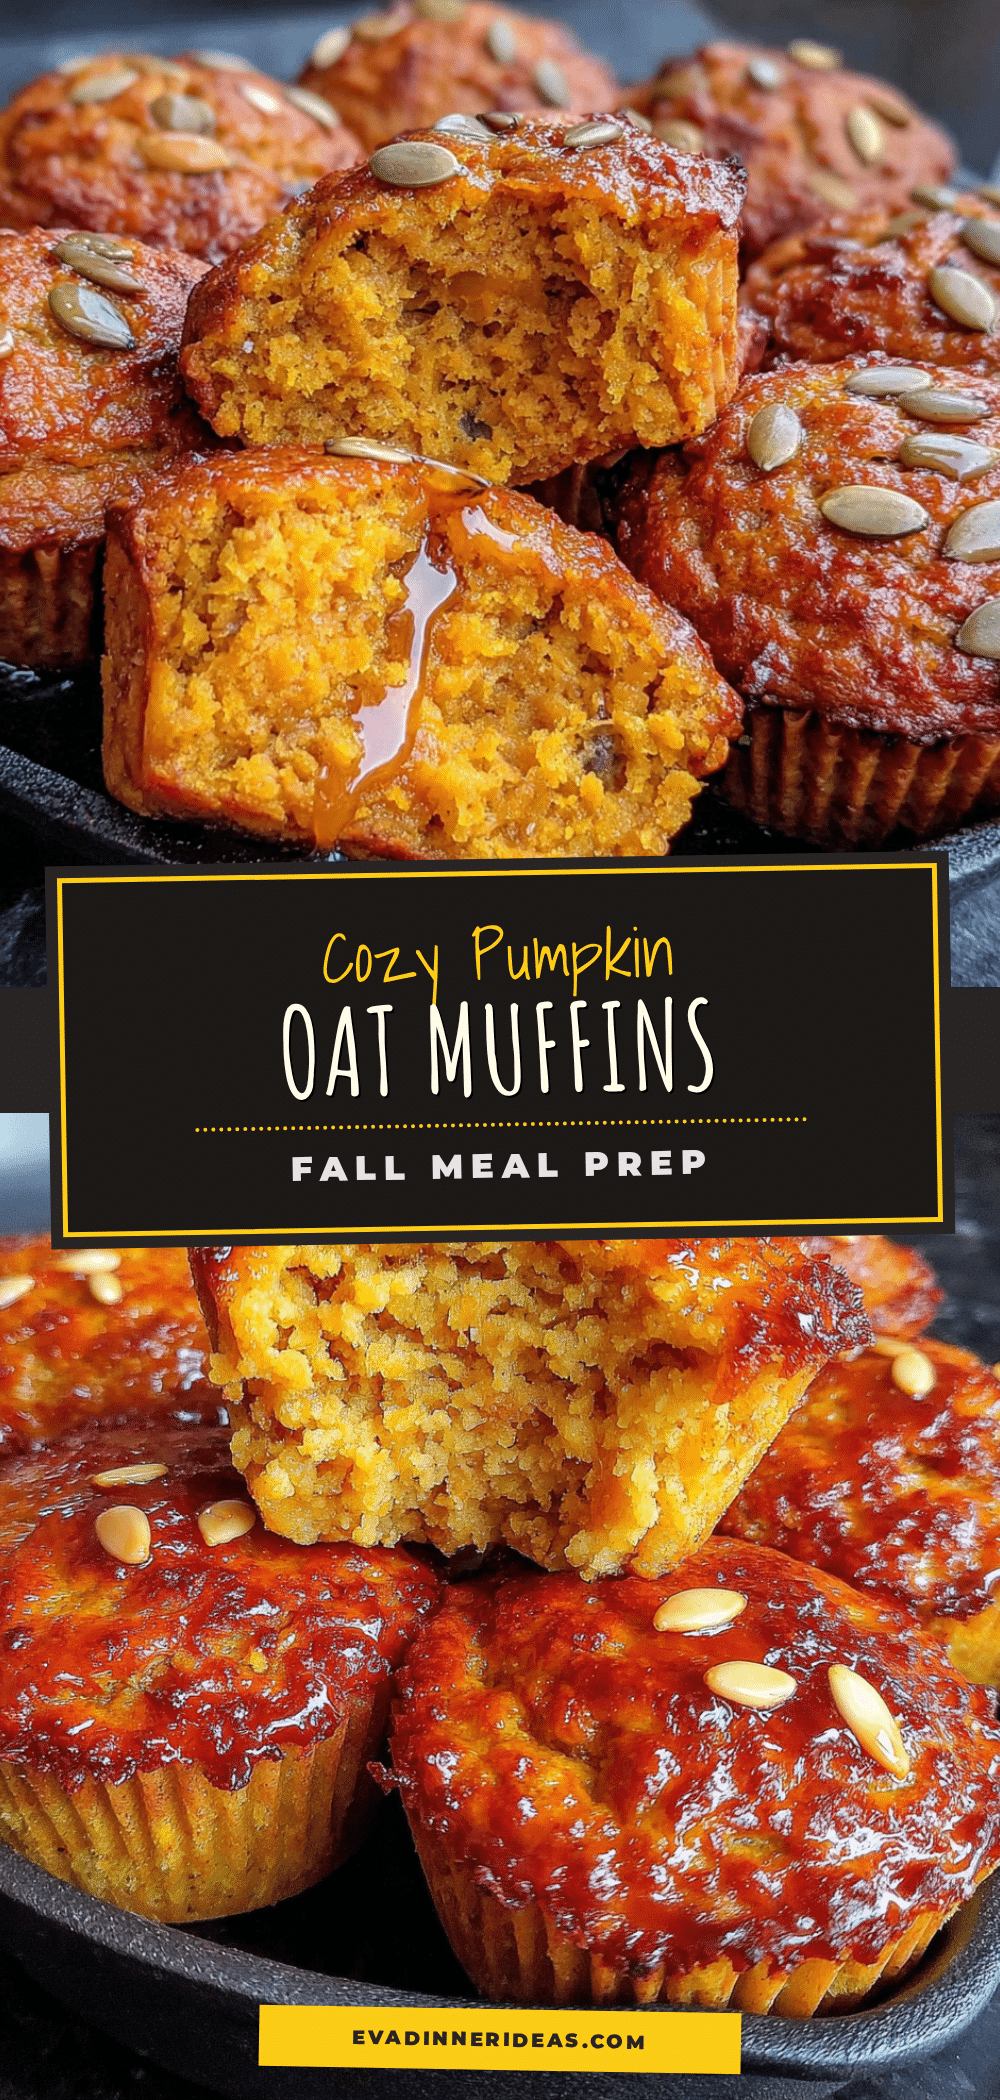
Cozy Pumpkin Oat Muffins: Easy Fall Meal Prep Recipe

These cozy pumpkin oat muffins are tender, not too sweet, with a perfect oat chew and a buttery streusel topping. Made with simple ingredients, they’re perfect for fall meal prep, freeze beautifully, and make your whole house smell like autumn.
- Prep Time: 15 minutes
- Cook Time: 20 minutes
- Total Time: 35 minutes
- Yield: 12 muffins 1x
- Category: Breakfast
- Cuisine: American
Ingredients
- 1 ½ cups all-purpose flour (195g)
- 1 cup rolled oats (90g)
- ¾ cup brown sugar (150g), packed
- 1 teaspoon baking soda
- ½ teaspoon baking powder
- 2 teaspoons pumpkin pie spice
- ½ teaspoon salt
- 1 cup canned pumpkin puree (245g)
- ½ cup vegetable oil (120ml)
- 2 large eggs, room temperature
- ¼ cup milk (60ml)
- 1 teaspoon vanilla extract
- ¼ cup rolled oats (22g) (for streusel)
- ¼ cup all-purpose flour (30g) (for streusel)
- ¼ cup brown sugar (50g), packed (for streusel)
- ½ teaspoon cinnamon (for streusel)
- 3 tablespoons cold butter (42g), cut into small cubes (for streusel)
Instructions
- Preheat oven to 375°F (190°C). Line a 12-cup muffin tin with paper liners.
- Make the streusel topping: In a small bowl, combine ¼ cup rolled oats, ¼ cup flour, ¼ cup packed brown sugar, and ½ teaspoon cinnamon. Add cold butter cubes. Use a pastry cutter or two forks to cut the butter into the dry mixture until it looks like coarse crumbs with pea-sized butter pieces. Refrigerate while making the batter.
- Mix dry ingredients: In a large bowl, whisk together 1 ½ cups flour, 1 cup rolled oats, ¾ cup brown sugar, 1 teaspoon baking soda, ½ teaspoon baking powder, 2 teaspoons pumpkin pie spice, and ½ teaspoon salt. Break up any brown sugar lumps.
- Mix wet ingredients: In a separate medium bowl, whisk together 1 cup pumpkin puree, ½ cup oil, 2 eggs, ¼ cup milk, and 1 teaspoon vanilla until smooth.
- Combine wet and dry: Pour wet ingredients into dry ingredients. Fold gently with a rubber spatula until just combined (a few streaks of flour are okay). Do not overmix.
- Fill muffin cups: Divide batter evenly among the 12 liners, filling each about ¾ full (about 3 tablespoons per muffin).
- Add streusel: Sprinkle streusel generously over each muffin, pressing down lightly.
- Bake: Place muffin tin on the middle rack. Bake for 18 to 22 minutes, until a toothpick inserted into the center comes out clean or with a few moist crumbs.
- Cool: Let muffins sit in the tin for 5 minutes, then transfer to a cooling rack. Cool completely before storing.
Notes
For best texture, let batter rest for 5 minutes before filling liners. Muffins taste even better on day two. To freeze, place cooled muffins in a single layer in a freezer-safe bag for up to 3 months. Reheat in microwave for 15-20 seconds.
Nutrition
- Serving Size: 1 muffin
- Calories: 285
- Sugar: 20
- Sodium: 310
- Fat: 12
- Saturated Fat: 3
- Carbohydrates: 40
- Fiber: 3
- Protein: 5
Keywords: pumpkin muffins, oat muffins, fall muffins, meal prep muffins, pumpkin oat muffins, easy muffin recipe