I was standing in the middle of a grocery store aisle last Tuesday — the one with the soy sauce and rice vinegar — when this smell hit me. It wasn’t even coming from the store. Somebody walked by with takeout, and that salty-sweet, slightly funky aroma cut through everything else. And suddenly I was nine years old at my neighbor Mrs. Park’s kitchen table, watching her peel a jammy egg over a bowl of rice.
Mrs. Park was from Seoul, and she made these eggs every single week. She’d drop them into a little Tupperware container filled with dark liquid — soy sauce, garlic, a little sugar, some sesame — and let them sit in the fridge until the whites turned the color of stained wood. I’d sit there on my knees on her vinyl kitchen chair, and she’d hand me one on a spoon, still cool from the fridge. The yolk would be this soft, almost spreadable thing, and the white would taste like the best part of every savory dish you’ve ever had. She moved away when I was twelve. I never got her recipe.
So for years, I’ve been chasing that exact bite. I’ve tried versions that were too salty, too sweet, too garlicky. I’ve left eggs in brine for three days and ended up with rubbery little salt bombs. I’ve used fancy tamari and expensive fish sauce and once, honestly, I just gave up and bought a bowl of ramen from a shop downtown. But that’s not the same. You know that feeling when you’re trying to recreate something and you can almost taste it but not quite? That’s been me with these eggs.
This version — this 8-hour cure — is the closest I’ve gotten. It’s not her recipe, but it’s mine now. And I think she’d approve.
Why You’ll Love This Recipe
Let me tell you why these soy sauce eggs are about to become a staple in your kitchen. I’ve tested this recipe about seven times to get the timing right, and here’s what I’ve learned.
- Only 10 Minutes of Active Work : You’re literally just boiling eggs and mixing a brine. The fridge does the rest. Perfect for when you’re prepping for a party and your brain is already full of other things.
- Pantry Ingredients : Soy sauce, mirin, rice vinegar, sugar, garlic — you probably have all of this right now. No special trip needed.
- Perfect for Hosting : These are the kind of thing you pull out when guests are hovering around the kitchen. Slice one in half over a bowl of noodles or just put a bowl of them on the table and watch people lose their minds.
- Always a Crowd-Pleaser : I brought these to a potluck once and someone asked for the recipe before they even sat down. Kids love them. Adults love them. Even people who “don’t like eggs” have been converted.
- That Texture, Though : The white gets this silky, almost cured texture while the yolk stays jammy and rich. It’s not like any regular boiled egg you’ve ever had.
What makes this version different from the dozens of recipes out there? It’s the 8-hour window. Most recipes tell you to marinate for at least 4 hours or up to 24. I’ve found that 8 hours is the sweet spot — enough time for the soy to penetrate deep into the white without turning it into a salty sponge. The yolk stays perfectly jammy, the white has that beautiful amber color, and the flavor is balanced. Not too salty. Not too sweet. Just right.
This is the kind of recipe that makes you close your eyes after the first bite. It’s comfort food that feels a little special, a little luxurious, without any actual effort. Perfect for impressing guests without stress, or turning a simple bowl of rice into something you’ll crave for days.
What Ingredients You Will Need
This recipe uses simple, everyday ingredients to create something genuinely special. No fancy shopping list here — just good, honest staples that work together beautifully.
For the Eggs
- 6 large eggs , at room temperature (cold eggs crack more easily and cook unevenly — trust me on this one)
For the Soy Marinade
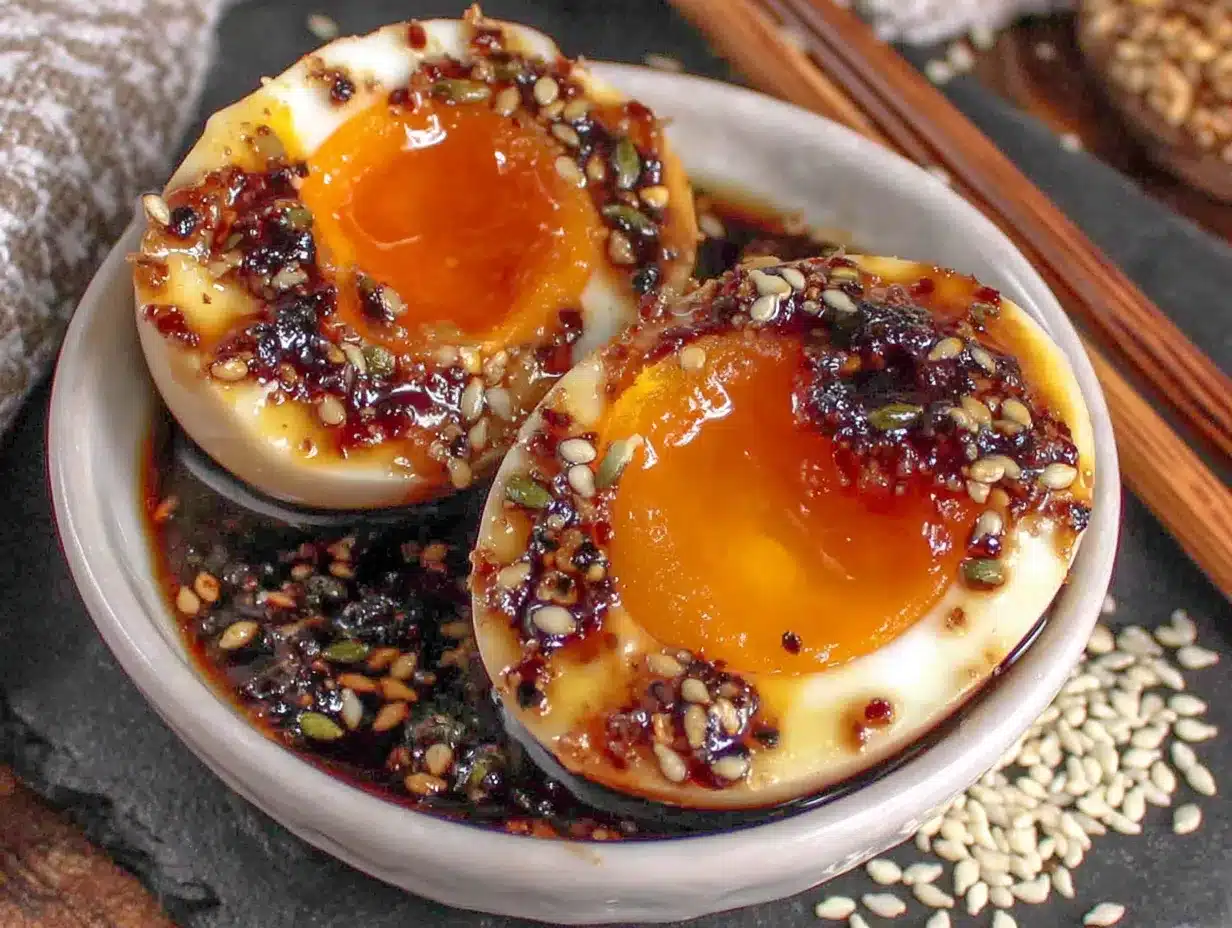
- 1/2 cup soy sauce (I prefer Kikkoman for its balanced flavor, but any all-purpose soy sauce works — just avoid the low-sodium kind here, you need the full flavor)
- 1/4 cup mirin (this adds sweetness and a little shine; if you don’t have it, mix 2 tablespoons honey with 2 tablespoons water and a splash of rice vinegar)
- 1/4 cup water (to mellow the saltiness)
- 1 tablespoon rice vinegar (adds a gentle acidity that cuts through the richness)
- 1 tablespoon sugar (just regular white sugar — it balances the salt)
- 3 cloves garlic , smashed (not minced — smashed releases flavor without making the brine cloudy)
- 1 teaspoon sesame oil (for that nutty, toasty finish)
- 1/2 teaspoon red pepper flakes (optional, but I love the tiny kick — use gochugaru if you have it)
A quick note on eggs: farm-fresh eggs are great, but older eggs actually peel more easily. If your eggs are super fresh, you might struggle with peeling. I’ve had good luck with eggs that have been in the fridge for about a week. And if you can find pasture-raised eggs, the yolks will be that gorgeous deep orange color that makes everything look more impressive on a platter.
For the soy sauce, I’ve tried this with tamari (gluten-free) and it works beautifully — just add an extra tablespoon of water since tamari can be a little stronger. Don’t use liquid aminos or coconut aminos here; they’re too sweet and not salty enough for the cure to work properly.
Equipment Needed
You don’t need much for this recipe, which is part of why I love it. Here’s what you’ll need:
- A medium saucepan — big enough to hold 6 eggs in a single layer without crowding
- A bowl of ice water — for shocking the eggs after boiling (this stops the cooking and makes peeling easier)
- A small bowl or measuring cup — for mixing the marinade
- A container with a lid — something just big enough to hold the eggs and marinade together. I use a 4-cup glass Pyrex container. A wide-mouth mason jar works too. Just make sure the eggs are fully submerged.
- A slotted spoon — for gently lowering eggs into the water and fishing them out
If you don’t have a container with a lid, you can use a bowl covered with plastic wrap. Just press the wrap directly onto the surface of the marinade to keep the eggs submerged. I’ve done this in a pinch and it works fine.
One tip: don’t use a metal container for marinating. The soy sauce can react with certain metals and leave a weird taste. Glass or ceramic is best.
Preparation Method
This is where the magic happens. Follow these steps carefully, and you’ll have perfect soy sauce eggs every time.
-
Bring your eggs to room temperature. Take them out of the fridge about 20 minutes before you start. Cold eggs hit hot water and crack. I learned this the hard way when I ended up with egg white floating in my pot like a sad little ghost.
-
Fill your saucepan with enough water to cover the eggs by about an inch. Bring it to a rolling boil over high heat. Don’t add salt — it’s not necessary here and can actually make the whites tougher.
-
Gently lower the eggs into the boiling water. Use a slotted spoon and lower them in slowly — one at a time. Dropping them in from height will crack them. I speak from experience. Set a timer for exactly 6 minutes and 30 seconds for jammy yolks. If you want slightly firmer yolks, go for 7 minutes.
-
While the eggs boil, prepare your ice bath. Fill a medium bowl with cold water and add a handful of ice cubes. You want it really cold.
-
When the timer goes off, immediately transfer the eggs to the ice bath. Use your slotted spoon. Let them sit for at least 5 minutes. This stops the cooking process and makes peeling infinitely easier. The eggs should feel cool to the touch before you try to peel them.
-
While the eggs cool, make the marinade. In your container, combine the soy sauce, mirin, water, rice vinegar, sugar, smashed garlic, sesame oil, and red pepper flakes if using. Whisk until the sugar dissolves. It should smell savory, sweet, and a little bit like a hug.
-
Peel the eggs under running water. Gently tap each egg on the counter to crack the shell all over, then peel under a thin stream of cool water. The water helps get under the membrane and makes the shell slip off more easily. Be gentle — these eggs are delicate. I’ve definitely mangled a few in my time.
-
Place the peeled eggs in the container with the marinade. They should be fully submerged. If they’re not, you can add a little more water or soy sauce, or you can gently press a piece of paper towel onto the surface to keep them wet. Put the lid on.
-
Refrigerate for exactly 8 hours. Set a timer. I know it’s tempting to leave them longer, but 8 hours is the sweet spot. At 12 hours, they start getting noticeably saltier. At 24 hours, the texture changes — the whites get firmer and almost cured, which some people like, but for that soft, jammy experience, stick to 8.
-
After 8 hours, remove the eggs from the marinade. You can store them in a clean container in the fridge for up to 5 days. Don’t leave them in the marinade the whole time or they’ll get too salty. Trust me — I left a batch for 3 days once and they were basically soy sauce bombs.
The eggs should look beautiful — a deep, even amber color on the whites, with a slight sheen from the sesame oil. When you cut into one, the yolk should be soft and jammy, not runny and not solid. It should almost spread like butter.
Cooking Tips & Techniques
Here’s everything I’ve learned from making these eggs more times than I care to count.
Perfect boiling is everything. The difference between a jammy yolk and a hard yolk is about 30 seconds. I use a timer every single time. If you’re nervous, boil an extra egg as a test. You can always eat the test egg while you wait for the others to cool.
Don’t skip the ice bath. I know it seems like an extra step, but it’s non-negotiable. Without it, the eggs keep cooking from residual heat, and you’ll end up with yolks that are too firm. Plus, cold eggs peel much more easily. The shock of the cold water also helps separate the egg white from the membrane. It’s science, and it works.
Peeling under water is a game-changer. I used to peel eggs dry and spend 10 minutes picking little shell fragments out of the whites. Running water helps flush away the bits and makes the whole process faster. Start at the wider end of the egg — there’s usually an air pocket there that gives you a good starting point.
Save the marinade. After you remove the eggs, you can strain the marinade and use it as a dipping sauce for dumplings, a dressing for cold noodles, or a seasoning for stir-fried vegetables. It keeps in the fridge for about a week. I’ve even used it to marinate chicken thighs — incredible.
One mistake I made early on: I used a container that was too big for the eggs, so they floated to the top and only half of each egg was submerged. I ended up with two-tone eggs — beautifully marinated on one side, pale on the other. Use a container that fits the eggs snugly. If you have to, add a small plate or a glass weight on top to keep them submerged.
Variations & Adaptations
This recipe is incredibly flexible. Here are some ways to make it your own.
Spicy Soy Sauce Eggs: Add a whole Thai bird’s eye chili (sliced in half) or a teaspoon of gochujang to the marinade. The heat builds subtly over the 8 hours and gives the eggs a lovely warmth without being overwhelming. I did this for a party once and they disappeared first.
Sweet Soy Sauce Eggs: Increase the sugar to 2 tablespoons and add a star anise pod to the marinade. This gives the eggs a slightly more complex, almost Chinese-braising flavor. Great served over congee or plain rice.
Garlic-Lover’s Version: Use 5 cloves of smashed garlic instead of 3. Let the garlic sit in the marinade for about 30 minutes before adding the eggs. The flavor will be noticeably more pungent, in the best way. Just be aware — you’ll taste garlic for the rest of the day. Worth it.
Dietary Adaptations: Use tamari or coconut aminos for a gluten-free version. For a lower-sodium option, use low-sodium soy sauce and reduce the marinating time to 6 hours. The eggs won’t be as deeply colored, but they’ll still be delicious.
Different Cooking Methods: If you have an instant pot, you can steam the eggs on a trivet with 1 cup of water for 5 minutes at high pressure, then quick release. The texture is slightly different — a little more tender — but it works beautifully. Just remember the ice bath.
Serving & Storage Suggestions
These eggs are incredibly versatile. Here’s how I like to use them.
Over Ramen: This is the classic. Slice the egg in half lengthwise and place it on top of a steaming bowl of ramen. The yolk mixes with the broth and creates this incredible, silky richness. It’s the kind of thing that makes a simple bowl of noodles feel like a restaurant meal.
On Rice: A bowl of warm white rice, a halved soy sauce egg, some sesame seeds, and a drizzle of the leftover marinade. That’s it. That’s dinner. I eat this at least once a week.
As a Snack: Honestly, I just eat them straight out of the fridge. They’re that good. Slice one in half, sprinkle a little flaky salt on top, and you’ve got a perfect protein-packed snack.
For a Party: Arrange halved eggs on a platter with some pickled vegetables, sliced cucumbers, and a little dish of the marinade for dipping. They look gorgeous and everyone will ask what they are.
Storage: Keep the peeled eggs in a clean, airtight container in the fridge for up to 5 days. Don’t leave them in the marinade after the 8 hours are up, or they’ll get too salty. If you want to prep them for a party, you can make them up to 3 days in advance — they actually get better after a day or two as the flavor settles.
Freezing: I don’t recommend freezing these. The texture of the white changes too much — it gets watery and grainy. These are best enjoyed fresh.
Nutritional Information & Benefits
Per serving (1 egg):
- Calories: ~75
- Protein: 6g
- Fat: 5g
- Carbohydrates: 2g
- Sodium: 450mg (varies based on soy sauce)
Eggs are a fantastic source of high-quality protein, choline (great for brain health), and vitamin D. The soy sauce adds a good amount of sodium, so if you’re watching your salt intake, you might want to enjoy these in moderation or use a low-sodium soy sauce.
The garlic in the marinade offers anti-inflammatory benefits, and the sesame oil provides healthy fats. This is a nutrient-dense snack that actually keeps you full. I’ve found that having one of these eggs with a bowl of rice and some vegetables makes for a perfectly balanced meal.
These eggs are naturally gluten-free if you use tamari, and they’re keto-friendly as long as you watch the sugar in the marinade. For a lower-carb option, you can skip the sugar or use a sugar substitute like monk fruit.
Conclusion
These soy sauce marinated eggs are the kind of recipe that feels like a secret weapon. They’re simple enough to make on a Tuesday night, but impressive enough to serve at a dinner party. The 8-hour cure gives you that perfect balance of flavor and texture — salty, sweet, savory, with that gorgeous jammy yolk that makes everything better.
I’ve made these eggs for potlucks, for solo dinners, for lazy Sunday afternoons when I want something that feels special without any actual effort. They’ve never let me down. And every time I bite into one, I think of Mrs. Park’s kitchen and that little Tupperware container in her fridge. I think she’d be proud of this version.
Now it’s your turn. Make these eggs. Serve them to your friends. Watch their faces when they take that first bite. And then come back and tell me about it — I’d love to hear how they turned out, what you served them with, and whether you made any fun variations. Drop a comment below, share a photo, or tag me in your creations. Happy cooking!
Frequently Asked Questions
Can I use brown eggs instead of white eggs?
Absolutely. The color of the shell doesn’t affect the taste or texture at all. Brown eggs might have slightly thicker shells, but the cooking time remains the same. Just make sure they’re at room temperature before boiling.
What if I don’t have mirin?
No problem. Mix 2 tablespoons of honey with 2 tablespoons of water and a splash of rice vinegar. It won’t be exactly the same, but it’ll give you that sweetness and acidity that mirin provides. You can also use sake with a little sugar.
Can I reuse the marinade?
Yes, but only once. Strain out the garlic and any solids, then bring the marinade to a boil before using it again. The second batch won’t be as strong, so you might want to add a little fresh soy sauce and sugar. I wouldn’t recommend using it more than twice.
How do I know when the eggs are done marinating?
After 8 hours, the whites should be a deep, even amber color. If you cut one open, the yolk should be soft and jammy — not runny, not hard. The flavor should be savory and slightly sweet, with the soy sauce penetrating about halfway through the white. If it’s too salty, reduce the time next batch.
Can I make these eggs ahead for a party?
Yes! They’re perfect for prepping in advance. Make them up to 3 days ahead and store them in a clean container in the fridge. Just take them out of the fridge about 15 minutes before serving to take the chill off. They look beautiful on a platter with some pickled vegetables and sesame seeds.
Pin This Recipe!
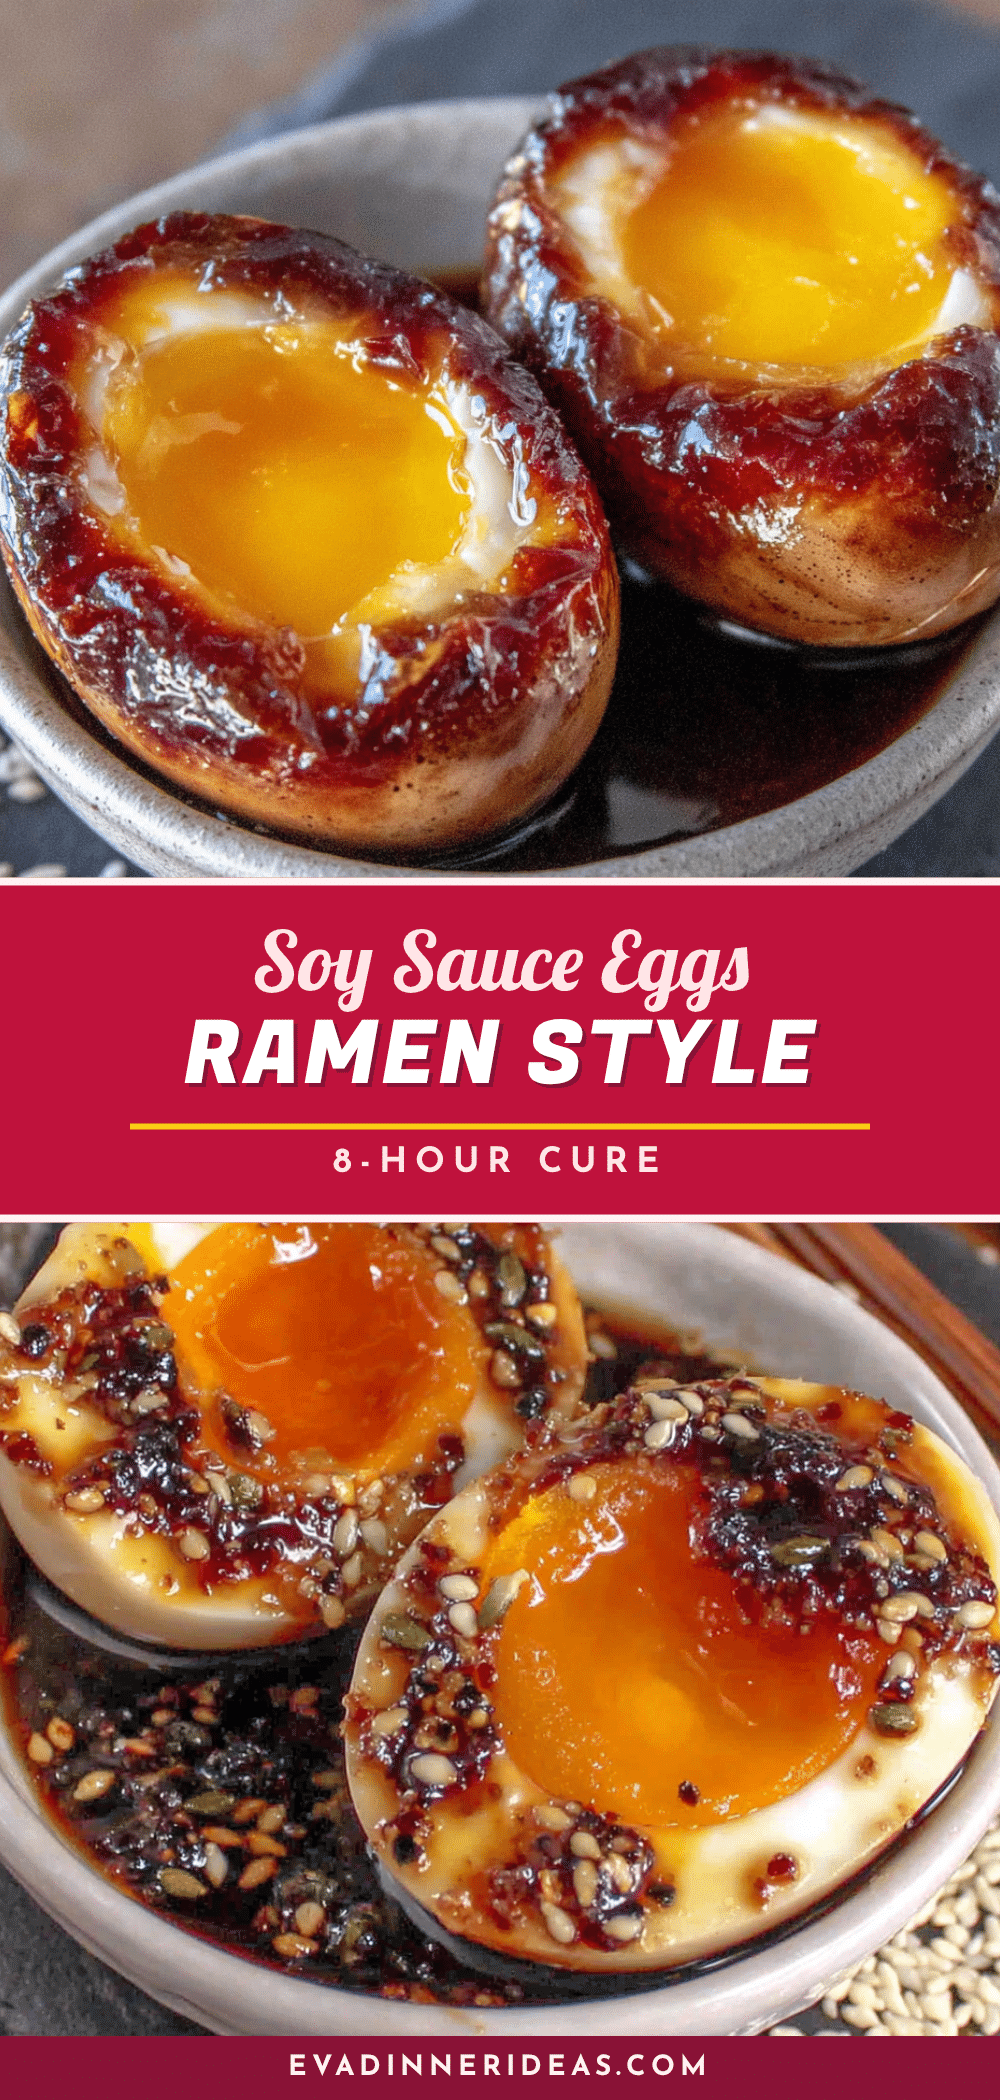
Best Soy Sauce Eggs with an 8-Hour Cure

These soy sauce marinated eggs are the perfect balance of salty, sweet, and savory with a jammy yolk. With only 10 minutes of active work, they’re a crowd-pleasing snack or topping for ramen and rice.
- Prep Time: 10 minutes
- Cook Time: 7 minutes
- Total Time: 8 hours 17 minutes (includes 8 hours marinating)
- Yield: 6 servings 1x
- Category: Appetizer
- Cuisine: Korean
Ingredients
- 6 large eggs, at room temperature
- 1/2 cup soy sauce (preferably Kikkoman or all-purpose, not low-sodium)
- 1/4 cup mirin
- 1/4 cup water
- 1 tablespoon rice vinegar
- 1 tablespoon white sugar
- 3 cloves garlic, smashed
- 1 teaspoon sesame oil
- 1/2 teaspoon red pepper flakes (optional, or use gochugaru)
Instructions
- Bring eggs to room temperature by taking them out of the fridge about 20 minutes before starting.
- Fill a medium saucepan with enough water to cover the eggs by about an inch. Bring to a rolling boil over high heat. Do not add salt.
- Gently lower the eggs into the boiling water using a slotted spoon, one at a time. Set a timer for exactly 6 minutes and 30 seconds for jammy yolks (7 minutes for firmer yolks).
- While eggs boil, prepare an ice bath: fill a medium bowl with cold water and a handful of ice cubes.
- When the timer goes off, immediately transfer the eggs to the ice bath using the slotted spoon. Let them sit for at least 5 minutes until cool to the touch.
- While eggs cool, make the marinade: in a container with a lid (glass or ceramic, about 4-cup capacity), combine soy sauce, mirin, water, rice vinegar, sugar, smashed garlic, sesame oil, and red pepper flakes (if using). Whisk until sugar dissolves.
- Peel the eggs under running water: gently tap each egg on the counter to crack the shell all over, then peel under a thin stream of cool water. Start at the wider end where there’s an air pocket.
- Place the peeled eggs in the container with the marinade, ensuring they are fully submerged. If needed, add a little more water or soy sauce, or press a piece of paper towel onto the surface to keep them wet. Put the lid on.
- Refrigerate for exactly 8 hours. Set a timer. Do not exceed 8 hours for the best texture and flavor.
- After 8 hours, remove the eggs from the marinade. Store in a clean, airtight container in the refrigerator for up to 5 days.
Notes
For best results, use eggs that have been in the fridge for about a week (older eggs peel more easily). Do not skip the ice bath—it stops cooking and makes peeling easier. Save the strained marinade for up to a week as a dipping sauce or dressing. For a gluten-free version, use tamari and add an extra tablespoon of water. For a lower-sodium option, use low-sodium soy sauce and reduce marinating time to 6 hours.
Nutrition
- Serving Size: 1 egg
- Calories: 75
- Sugar: 1
- Sodium: 450
- Fat: 5
- Saturated Fat: 1.5
- Carbohydrates: 2
- Protein: 6
Keywords: soy sauce eggs, marinated eggs, jammy eggs, Korean eggs, ramen eggs, easy appetizer, party snack


