Mrs. Gable from two doors down watched me struggling with a bag of chicken thighs on my back porch last fall. She didn’t say anything at first, just stood there with her garden shears in one hand and a knowing little smile. Then she walked over and said, “You’re overcomplicating it, honey. Chicken wants to be crispy, you just have to let it.” She reached into my bag, pulled out a thigh, and patted it dry with a paper towel from her apron pocket. That was it. No fancy marinade, no complicated brine. Just dry chicken and a woman who had been cooking for fifty years.
I mean, honestly, that moment changed how I think about weeknight dinners. Mrs. Gable didn’t give me a recipe card or tell me measurements. She just showed me the motion—the way her hands moved, the confidence in her pinch of salt. I went inside and tried to replicate what I had seen, and let me tell you, the first batch was edible but not magical. The second batch was better. By the third, I had figured out the secret: garlic powder, parmesan, and a hot air fryer that makes the skin shatter like glass.
These Cozy Crispy Air Fryer Garlic Parmesan Chicken Thighs are the result of that back-porch lesson and about a dozen practice runs. They are the kind of dinner that makes you close your eyes after the first bite, the kind that fills your kitchen with a smell that says everything is going to be okay. Maybe you have had one of those days where you just need something warm and golden and good. This is that. And it comes together in under thirty minutes, which feels almost unfair for something this delicious. You know that feeling when a recipe just works? This one works.
Why You’ll Love This Recipe
I have tested this recipe more times than I care to admit, and each time I learn something new. The first time I made it for my family, my husband asked if we could have it every week. My kids, who usually pick at their plates, actually asked for seconds. That is when I knew I had stumbled onto something special. This isn’t just another chicken recipe—it is the one you will reach for when you need a guaranteed win.
- Quick & Easy: From start to finish, these chicken thighs are ready in about 25 minutes. That is faster than takeout delivery and way more satisfying.
- Simple Ingredients: You probably have everything in your kitchen right now. Garlic powder, parmesan cheese, salt, pepper, and chicken. That is it. No trips to a specialty store required.
- Perfect for Cozy Nights: Whether it is a cold Tuesday in January or a rainy Sunday afternoon, these thighs bring that warm, comforting feeling we all crave.
- Crowd-Pleaser: I have served these to picky eaters, health-conscious friends, and serious food lovers. Every single person has asked for the recipe.
- Unbelievably Delicious: The skin gets impossibly crispy in the air fryer, while the meat stays juicy and tender. The garlic parmesan coating is savory, nutty, and just salty enough to make you want another bite.
What makes this recipe different from all the other air fryer chicken recipes out there? It is the technique. Most recipes tell you to toss everything in a bowl and dump it in the basket. I tried that, and the coating fell off, the skin got soggy, and I ended up frustrated. This method uses a simple dry rub and a quick spray of oil to create a crust that actually sticks. The parmesan melts into the skin, creating a crispy, cheesy shell that locks in moisture. It is comfort food reimagined—healthier, faster, but with the same soul-soothing satisfaction. Perfect for impressing guests without stress, or turning a simple meal into something memorable.
What Ingredients You Will Need
This recipe uses simple, wholesome ingredients to deliver bold flavor and satisfying texture without the fuss. Most of these are pantry staples, which makes this dish perfect for those nights when you need dinner on the table fast.
- Chicken Thighs (bone-in, skin-on): 4 to 6 thighs, about 1.5 to 2 pounds total. The skin is essential for that crispy texture, and the bone keeps the meat juicy. I prefer buying thighs from a local butcher when I can, but grocery store packs work great too. Look for thighs with the skin still attached and not torn.
- Garlic Powder: 2 teaspoons. Not garlic salt, not fresh garlic. Garlic powder gives you that even, mellow garlic flavor without burning in the air fryer. I have tried fresh garlic, and it just turns bitter at high heat. Stick with powder for this one.
- Parmesan Cheese (finely grated): 1/2 cup. The kind in the green can works perfectly here, believe it or not. Freshly grated parmesan is lovely, but it doesn’t stick as well and can burn faster. The powdery texture of pre-grated parmesan creates a better crust. Look for the refrigerated kind for best flavor.
- Salt: 1 teaspoon. I use kosher salt because it distributes evenly and doesn’t over-salt. If you are using table salt, cut it back to 3/4 teaspoon.
- Black Pepper: 1/2 teaspoon, freshly ground if you have it. It adds a subtle warmth that complements the garlic.
- Paprika (optional but recommended): 1 teaspoon. This is not in the original Mrs. Gable version, but I added it after a few tries. It gives the chicken a beautiful golden color and a tiny bit of smoky sweetness.
- Olive Oil Spray: You need a light misting to help the coating crisp up. I use a Misto sprayer filled with good olive oil, but any cooking spray works. Just avoid the ones with added flavors.
That is the whole list. Six ingredients, plus the chicken. It feels almost too simple, but that is the beauty of this recipe. The air fryer does most of the work, and the ingredients just do their job. If you want to get fancy, you can add a pinch of cayenne for heat or some dried herbs like thyme or oregano. But honestly, the plain version is so good that I rarely change it.
Equipment Needed
You do not need much for this recipe, which is part of why I love it. Here is what you will need:
- Air Fryer: Any size works, but a basket-style air fryer with at least 5 quarts is ideal. I use a Cosori 5.8-quart model, and it fits 4 to 6 thighs comfortably. If you have a smaller one, just cook in batches. Do not overcrowd the basket, or the chicken will steam instead of crisp.
- Paper Towels: For drying the chicken. This step is non-negotiable. Wet skin will never get crispy.
- Mixing Bowl: A medium bowl for combining the dry ingredients. Nothing fancy needed.
- Tongs: For turning the chicken halfway through cooking. Metal tongs with silicone tips work great and won’t scratch your air fryer basket.
- Instant-Read Thermometer (optional but recommended): Chicken thighs are done at 165°F, but I pull mine at 170°F for better texture. A thermometer takes the guesswork out.
If you do not have an air fryer, you can make these in a convection oven at 400°F on a wire rack set inside a baking sheet. The cooking time will be longer, about 30 to 35 minutes, and the skin won’t be quite as shatteringly crispy, but it will still be delicious. I have also made them in a regular oven, and they come out great—just not as fast.
Preparation Method
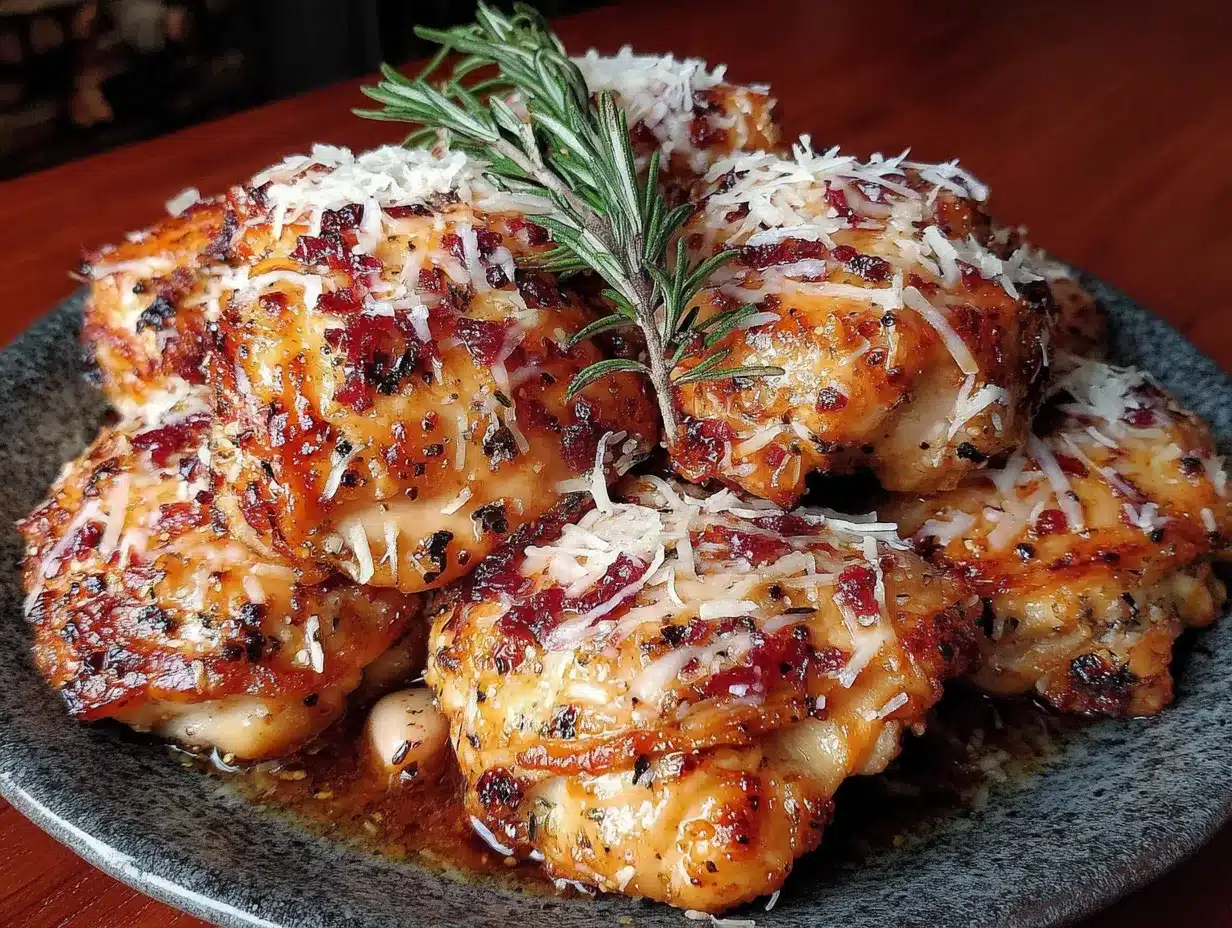
- Pat the chicken dry. This is the most important step. Take your chicken thighs out of the package and lay them on a plate lined with paper towels. Pat the tops dry, flip them over, and pat the bottoms dry. Use more paper towels if needed. Let them sit for 5 minutes at room temperature to air-dry a bit. I once skipped this step when I was in a hurry, and the coating slid right off in the air fryer. Learn from my mistake.
- Mix the dry rub. In a small bowl, combine the garlic powder, grated parmesan, salt, pepper, and paprika if using. Stir with a fork until everything is evenly distributed. The parmesan will clump a little, which is fine. Just break up any big chunks with your fingers.
- Season the chicken. Sprinkle the dry rub generously over both sides of each thigh. Use your hands to press it into the skin gently. Do not rub it in—just pat it down so it sticks. You want a nice even coating. Place the seasoned thighs on a clean plate or cutting board.
- Preheat the air fryer. Set your air fryer to 380°F and let it preheat for 3 minutes. I know some recipes skip this step, but preheating ensures the chicken starts cooking immediately, which helps the skin crisp up.
- Arrange the chicken in the basket. Place the thighs skin-side down in a single layer. Leave a little space between each piece for air to circulate. If they are touching, they will not get crispy where they touch. I usually fit 4 thighs comfortably in my basket. Spray the tops lightly with olive oil.
- Cook for 12 minutes. Set the timer and let the air fryer do its thing. Do not open the basket during this time. You want the heat to stay consistent.
- Flip and spray. After 12 minutes, carefully flip each thigh using tongs. The skin side should be golden and crispy. Spray the newly exposed side lightly with oil. Cook for another 10 to 12 minutes, depending on the size of your thighs.
- Check the temperature. Insert an instant-read thermometer into the thickest part of a thigh, avoiding the bone. You are looking for 165°F at minimum, but 170°F is ideal for thighs. The meat should be juicy, not dry.
- Rest before serving. Let the chicken rest on a clean plate or cutting board for 5 minutes. This allows the juices to redistribute. I know it is hard to wait, but it makes a difference.
Cooking Tips & Techniques
I have made this recipe at least twenty times, and I have learned a few things along the way. Here are the tips that make the biggest difference:
Dry the chicken thoroughly. I cannot say this enough. Wet skin is the enemy of crispiness. Use multiple paper towels and pat until the skin feels tacky, not slippery. Some people even leave the chicken uncovered in the fridge for an hour to dry out the skin further. I do this when I have time, but it is not required.
Do not overcrowd the basket. If you try to cook all 6 thighs at once in a small air fryer, they will steam each other. Cook in batches if needed. The extra 12 minutes is worth it for perfect results.
Spray, do not brush. A light mist of oil from a spray bottle gives you an even coating without adding too much fat. Brushing can move the seasoning around and create bare spots.
Let the parmesan do its job. Pre-grated parmesan is actually better here because it melts into a thin, crispy layer. Freshly grated parmesan has a higher moisture content and can become chewy instead of crispy. Trust the green can on this one.
Flip carefully. The coating is delicate when it is hot. Use a wide spatula or tongs with a gentle touch. If the skin sticks to the basket, it means it needs another minute or two. Do not force it.
Watch the last few minutes. Air fryers vary in temperature. Your chicken might be done at 20 minutes total, or it might need 25. Check at 20 minutes and add time in 2-minute increments if needed. Burnt parmesan is bitter, so keep an eye on it.
Variations & Adaptations
This recipe is flexible, and I have tried several variations over the months. Here are my favorites:
Spicy Version: Add 1/2 teaspoon of cayenne pepper and 1 teaspoon of smoked paprika to the dry rub. The heat pairs beautifully with the nutty parmesan. I made this for a game day party, and it disappeared in minutes.
Lemon Herb Version: Add 1 teaspoon of dried thyme and 1 teaspoon of dried oregano to the rub. After cooking, squeeze fresh lemon juice over the hot chicken. The brightness cuts through the richness perfectly. This is my go-to for spring dinners.
Gluten-Free Option: This recipe is naturally gluten-free as written. Just make sure your parmesan does not have any anti-caking agents that contain wheat. Most brands are fine, but check the label if you are sensitive.
Dairy-Free Adaptation: Substitute the parmesan with nutritional yeast (about 1/4 cup) and add an extra 1/4 teaspoon of salt. The texture will be slightly different, but the umami flavor is still there. I have made this for a friend with dairy allergies, and she loved it.
Boneless Thighs: If you only have boneless, skinless thighs, reduce the cooking time to 10 minutes per side. The skinless version won’t be as crispy, but it will still be flavorful. I usually add an extra sprinkle of parmesan on top after cooking.
Serving & Storage Suggestions
These chicken thighs are best served hot and fresh, right out of the air fryer. I like to arrange them on a platter with a sprinkle of fresh parsley or chives on top for color. A squeeze of lemon juice brightens everything up.
For sides, I keep it simple. A crisp green salad with a lemony vinaigrette cuts through the richness. Roasted vegetables like asparagus or broccoli work beautifully. Mashed potatoes are always a hit, especially on cold nights. And honestly, a hunk of crusty bread to soak up any juices is never a bad idea.
If you have leftovers (which is rare in my house), store them in an airtight container in the refrigerator for up to 3 days. The skin will soften, but the flavor will still be great. To reheat, place them back in the air fryer at 350°F for 4 to 5 minutes. This brings back some of the crispiness. The microwave works in a pinch, but the skin will be chewy.
I do not recommend freezing these after cooking, as the texture of the parmesan coating changes. However, you can freeze the seasoned raw thighs in a single layer on a baking sheet, then transfer to a freezer bag. Cook from frozen, adding 5 to 7 minutes to the total time.
Nutritional Information & Benefits
Here is the approximate nutritional breakdown for one serving (1 thigh, based on 4 servings):
- Calories: 320
- Protein: 28g
- Fat: 22g
- Carbohydrates: 2g
- Fiber: 0g
- Sugar: 0g
Chicken thighs are higher in fat than breasts, but that fat is what keeps them juicy and flavorful. They are also rich in B vitamins, particularly niacin and B6, which support energy metabolism. The parmesan adds calcium and protein, while garlic powder has been studied for its potential immune-supporting properties.
This recipe is low-carb and keto-friendly, making it a great option for those watching their carbohydrate intake. It is also gluten-free as written. If you are watching sodium, you can reduce the salt to 1/2 teaspoon without sacrificing too much flavor.
I personally love that this recipe feels indulgent without being heavy. It satisfies that craving for something crispy and savory, but it is made with real, whole ingredients. That balance is hard to find, and it is why I keep coming back to this dish.
Conclusion
These Cozy Crispy Air Fryer Garlic Parmesan Chicken Thighs have become a staple in my kitchen, and I have a feeling they will become one in yours too. They are the kind of recipe that makes you look forward to dinner, the kind that turns a regular weeknight into something a little special. The crispy skin, the juicy meat, the savory garlic parmesan flavor—it all comes together in under half an hour with almost no cleanup.
I love this recipe because it reminds me of that afternoon with Mrs. Gable, of the simple wisdom that good food does not have to be complicated. It just has to be made with care. And honestly, there is something deeply satisfying about pulling perfectly crispy chicken out of an air fryer and knowing you made it yourself.
Give this recipe a try, and let me know how it turns out. Did you add your own twist? Did your family ask for seconds? I would love to hear about it in the comments. And if you share a photo on Pinterest, tag me so I can see your beautiful crispy chicken. Happy cooking, friends!
Frequently Asked Questions
Can I use chicken breasts instead of thighs?
Yes, but the cooking time will be different. Boneless, skinless chicken breasts will cook faster, about 10 to 12 minutes per side at 375°F. The texture will not be as juicy as thighs, so keep an eye on the internal temperature to avoid drying them out.
Do I need to flip the chicken halfway through?
Yes, flipping ensures even cooking and crispiness on both sides. The skin side gets most of the direct heat, so flipping gives the other side a chance to crisp up too. Just be gentle when flipping to keep the coating intact.
Can I make this recipe without an air fryer?
Absolutely. Bake the chicken on a wire rack set inside a baking sheet at 400°F for 30 to 35 minutes. The skin will not be as shatteringly crispy, but it will still be delicious. For extra crispiness, broil for the last 2 minutes.
Why is my coating falling off?
This usually happens for two reasons: the chicken was not dried properly, or the air fryer basket was overcrowded. Make sure to pat the chicken very dry with paper towels and leave space between each piece in the basket. A light spray of oil also helps the coating adhere.
Can I meal prep these chicken thighs?
Yes! Cook the chicken as directed, let it cool completely, and store in an airtight container in the refrigerator for up to 3 days. Reheat in the air fryer at 350°F for 4 to 5 minutes to restore some crispiness. The texture will not be as good as fresh, but the flavor will still be wonderful.
Pin This Recipe!
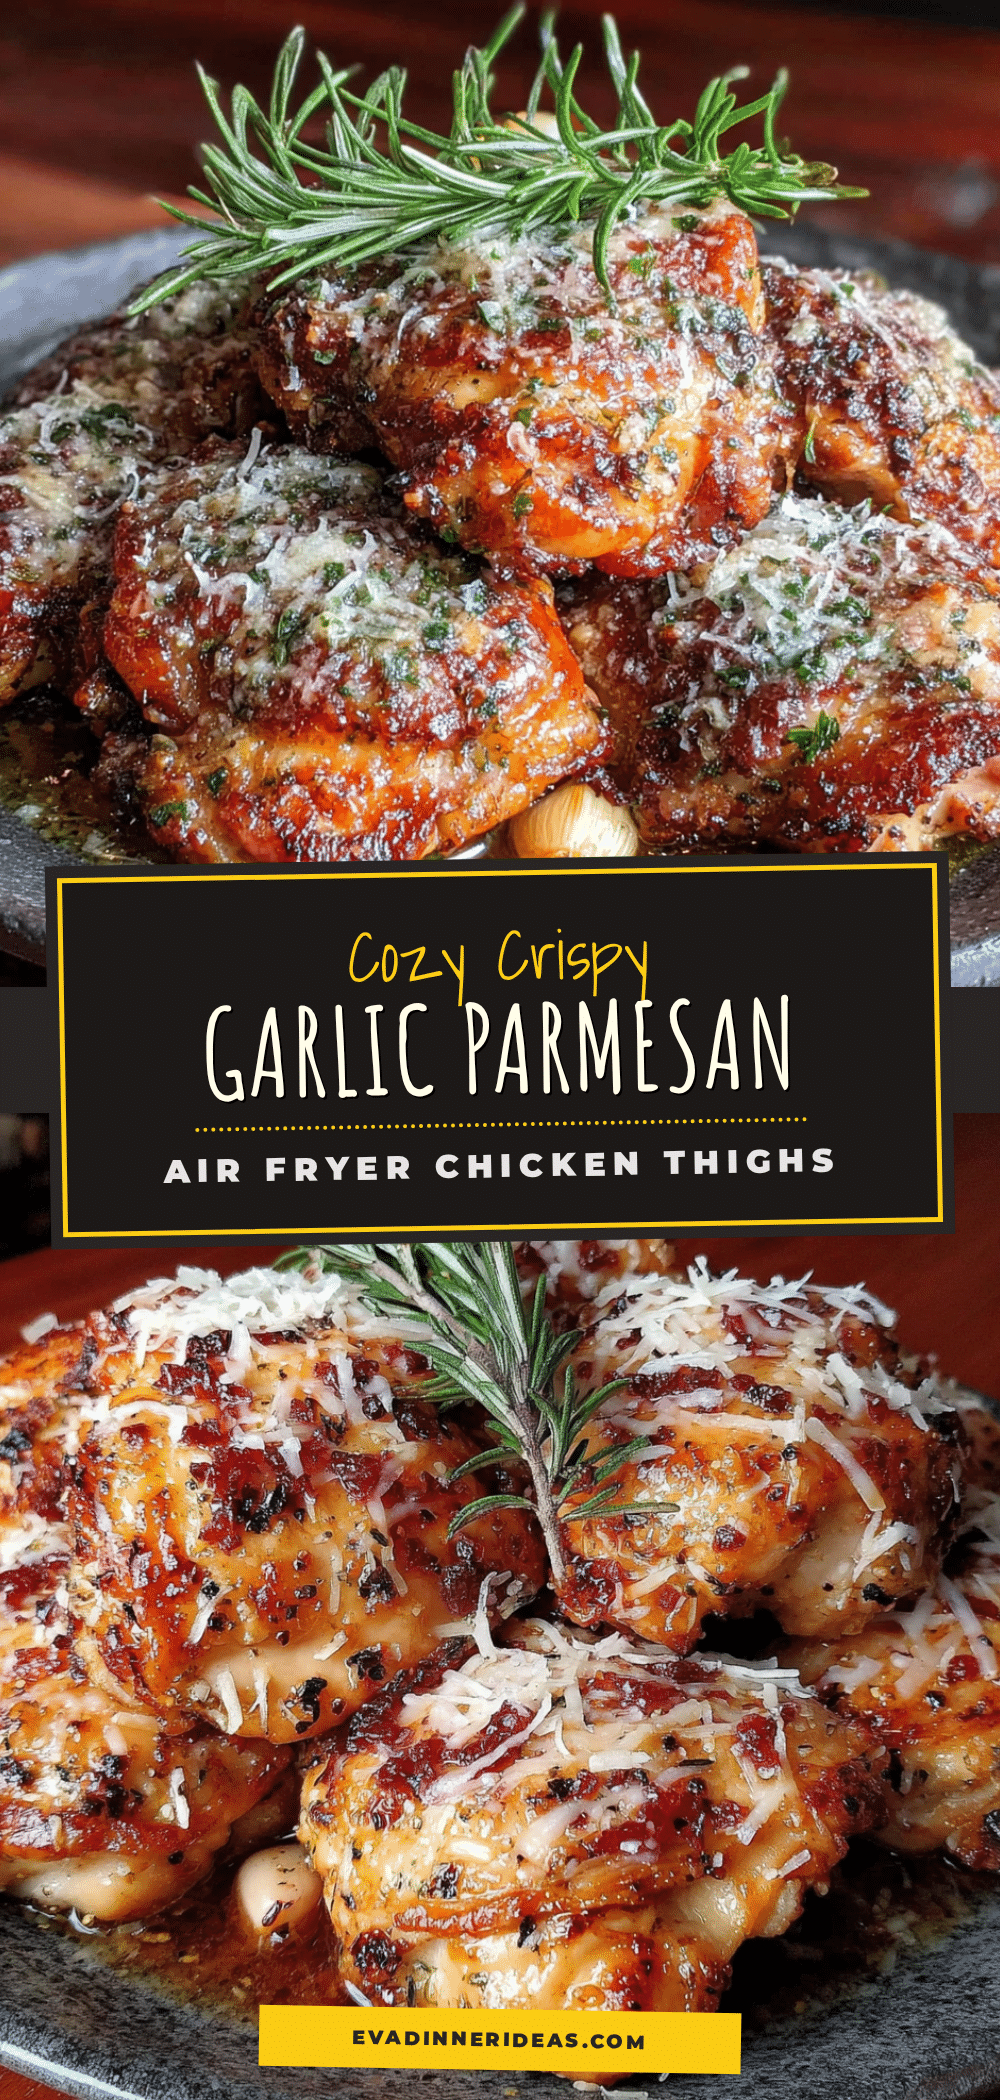
Cozy Crispy Air Fryer Garlic Parmesan Chicken Thighs

These air fryer chicken thighs are impossibly crispy on the outside, juicy on the inside, and coated in a savory garlic parmesan crust. Ready in under 30 minutes, they are the perfect weeknight dinner that feels special.
- Prep Time: 10 minutes
- Cook Time: 22 to 24 minutes
- Total Time: 32 to 34 minutes
- Yield: 4 servings 1x
- Category: Main Course
- Cuisine: American
Ingredients
- 4 to 6 bone-in, skin-on chicken thighs (about 1.5 to 2 pounds total)
- 2 teaspoons garlic powder
- 1/2 cup finely grated Parmesan cheese (pre-grated, like the kind in the green can)
- 1 teaspoon kosher salt (or 3/4 teaspoon table salt)
- 1/2 teaspoon black pepper, freshly ground
- 1 teaspoon paprika (optional, for color and smoky sweetness)
- Olive oil spray (for misting)
Instructions
- Pat the chicken thighs dry with paper towels. Let them sit at room temperature for 5 minutes to air-dry.
- In a small bowl, mix garlic powder, grated Parmesan, salt, pepper, and paprika (if using). Stir until combined.
- Sprinkle the dry rub generously over both sides of each thigh. Gently press the coating into the skin so it sticks.
- Preheat the air fryer to 380°F for 3 minutes.
- Place the thighs skin-side down in a single layer in the air fryer basket, leaving space between each piece. Lightly spray the tops with olive oil.
- Cook for 12 minutes without opening the basket.
- Carefully flip each thigh using tongs. Spray the newly exposed side lightly with oil. Cook for another 10 to 12 minutes, until the internal temperature reaches 165°F to 170°F.
- Let the chicken rest on a clean plate or cutting board for 5 minutes before serving.
Notes
For best results, dry the chicken thoroughly and do not overcrowd the basket. Pre-grated Parmesan works better than fresh for a crispy crust. If using a smaller air fryer, cook in batches. Leftovers can be reheated in the air fryer at 350°F for 4-5 minutes.
Nutrition
- Serving Size: 1 chicken thigh
- Calories: 320
- Sodium: 680
- Fat: 22
- Saturated Fat: 6
- Carbohydrates: 2
- Protein: 28
Keywords: air fryer chicken thighs, garlic parmesan chicken, crispy chicken thighs, easy weeknight dinner, keto chicken recipe, gluten-free chicken


