I was standing in line at the DMV—of all places—when the woman ahead of me, clutching a folder of paperwork and looking thoroughly defeated, started talking about aioli. Not complaining about the wait, not sighing about the forms. She turned to me and said, “You know, the only thing that gets me through days like this is knowing I can make a proper garlic aioli in five minutes when I get home.” She was an accountant. A quiet, unassuming accountant with sensible shoes and a tired expression. And there I was, a self-proclaimed food enthusiast, listening to her describe exactly how to make this creamy, dreamy sauce without a single egg. I honestly almost missed my number being called because I was so caught up in her method. Let me tell you, I scribbled her instructions on the back of an old receipt, smudged and barely legible. That was two years ago, and I haven’t bought a store-bought aioli since. This recipe is that good—and it came from the last person on earth I expected to give me cooking advice.
Maybe you’ve been there, standing in the condiment aisle, staring at jars of overpriced aioli with ingredient lists longer than a novel. Or maybe you’ve tried making it the traditional way, with egg yolks and a slow drizzle of oil, only to have it break into a sad, greasy mess. I’ve been there too. That’s why this no-egg version is such a game-changer. It’s stable, foolproof, and comes together in the time it takes to toast some bread. Honestly, it’s become my secret weapon for everything from dipping fries to slathering on sandwiches. The first time I made it, I accidentally used smoked paprika instead of regular—and it was a happy accident I now do on purpose. So, if you’re ready for a condiment that feels fancy but takes zero effort, you’re in the right place.
Why You’ll Love This Recipe
This isn’t just any aioli—it’s the one you’ll actually make on a Tuesday night without a second thought. I’ve tested this recipe more times than I can count, tweaking the garlic-to-oil ratio and playing with different acids. It’s been family-approved, friend-demanded, and even survived a picnic in the park on a hot day without separating. Here’s why it stands out:
- Quick & Easy: Five minutes from start to finish. No double-boilers, no thermometers, no stress.
- Simple Ingredients: You probably have everything in your pantry and fridge right now. No fancy trips to specialty stores.
- Perfect for Everything: Use it as a dip for crispy fries, a spread for burgers, a dressing for grain bowls, or a sauce for grilled veggies.
- Crowd-Pleaser: I’ve brought this to potlucks and watched people hover around the bowl. It disappears fast.
- Unbelievably Delicious: The texture is silky and lush, and the garlic flavor is punchy but not overwhelming. It’s comfort in a bowl.
What makes this recipe different from the rest is the technique. By using a milk base instead of eggs, you get a stable emulsion that won’t break, even if you’re a little heavy-handed with the oil. Plus, the garlic is steeped in lemon juice first, which mellows its bite and makes it taste more complex. This isn’t just another version of aioli—it’s the best version. It’s the kind that makes you close your eyes after the first bite, because it tastes like something you’d get at a fancy restaurant, but you made it in your own kitchen with your own two hands. Perfect for impressing guests without breaking a sweat.
What Ingredients You Will Need
This recipe relies on a handful of everyday ingredients that work together to create something extraordinary. The magic is in the method, not the grocery list. Here’s what you’ll need:
- Milk (½ cup / 120 ml): Whole milk works best for creaminess, but 2% will do in a pinch. The milk proteins help create a stable emulsion. (Use unsweetened almond or oat milk for a dairy-free version.)
- Lemon Juice (2 tablespoons / 30 ml): Freshly squeezed is non-negotiable here. The acid helps mellow the raw garlic and aids in the emulsion process. Don’t use bottled stuff—it makes a difference.
- Garlic (4-5 cloves, finely minced or grated): This is the star. Use fresh garlic, not pre-minced from a jar. I recommend grating it on a microplane for the smoothest texture. If you’re garlic-shy, start with 3 cloves.
- Salt (½ teaspoon / 3 g): Fine sea salt or kosher salt. It seasons the aioli and helps balance the acidity.
- Neutral Oil (1 cup / 240 ml): This is key. Use a neutral oil like avocado, grapeseed, or light olive oil. Extra virgin olive oil will make it bitter. I personally love using avocado oil for its smooth, buttery flavor.
- Optional: Dijon Mustard (1 teaspoon / 5 ml): Not traditional, but it adds a subtle tang and helps stabilize the emulsion even further. I add it every time.
Ingredient Selection Tips: For the best texture, use room-temperature milk and lemon juice. Cold ingredients can cause the emulsion to seize up. Also, choose a garlic head that feels firm and heavy—avoid any with soft spots or green sprouts in the center, which can taste bitter. If you’re sensitive to raw garlic, soak the minced garlic in the lemon juice for 5 minutes before starting. This step really tames the bite while keeping all the flavor.
Equipment Needed
The beauty of this recipe is that you don’t need a fancy kitchen setup. Here’s what you’ll need:
- Medium Bowl: A glass or ceramic bowl works best. Avoid plastic, as it can retain odors and oils from previous uses.
- Whisk: A standard balloon whisk is perfect. If you have an immersion blender, you can use that for an even faster, foolproof emulsion.
- Measuring Cups and Spoons: Accuracy matters, especially with the oil-to-liquid ratio.
- Microplane or Garlic Press: For finely mincing the garlic. A knife works too, but a microplane gives you a paste that blends seamlessly.
- Liquid Measuring Cup: For the oil. A spout makes pouring in a thin stream much easier.
Personal Experience: I’ve made this with a cheap whisk from the dollar store and it worked fine, but a good-quality whisk with sturdy wires makes the job noticeably easier. If you’re using an immersion blender, use a tall, narrow jar or the cup that came with the blender—it helps create that vortex effect that emulsifies everything in seconds. Budget-friendly tip: a glass mason jar works perfectly as both the blending container and the storage container.
Preparation Method
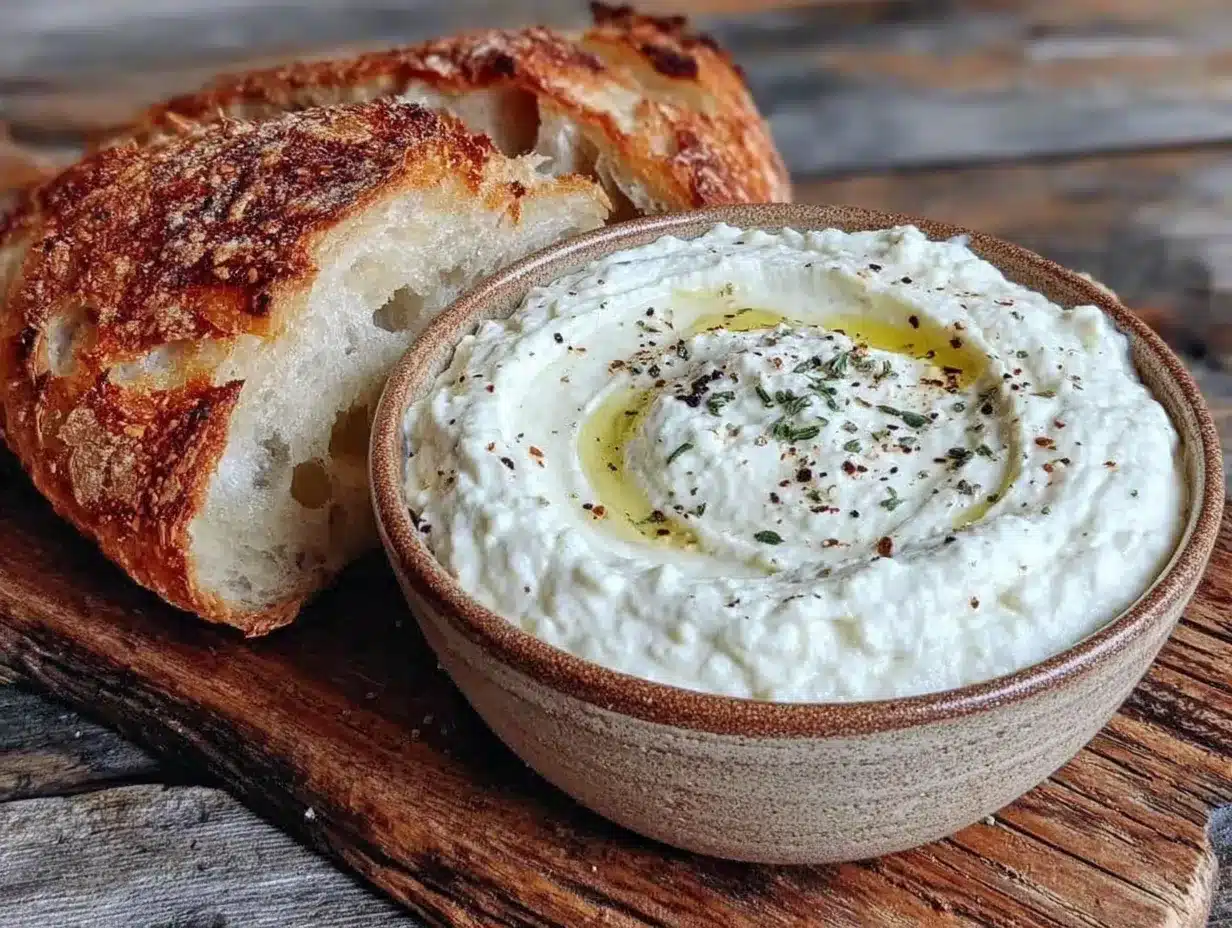
This comes together fast, so have all your ingredients measured and ready before you start. Here’s the step-by-step:
- Prepare the Garlic: In your medium bowl, combine the minced garlic, lemon juice, and salt. Let it sit for 5 minutes. This step mellows the garlic’s sharpness and infuses the lemon juice with flavor. You’ll notice the mixture starts to smell more aromatic and less harsh.
- Add the Milk and Mustard: Pour in the milk and add the Dijon mustard (if using). Whisk gently to combine. The mixture will look thin and slightly cloudy—that’s perfectly fine.
- Start Adding Oil: This is the crucial part. While whisking constantly, start adding the oil in a very thin, steady stream. I’m talking about a slow, pencil-thin drizzle. Don’t rush it. If you pour too fast, the emulsion won’t form and you’ll end up with a thin, oily mess.
- Watch for Emulsion: After about 2-3 tablespoons of oil, you’ll notice the mixture starting to thicken and lighten in color. This is the emulsion forming. Keep whisking and adding oil in that thin stream. Your arm might get a little tired, but you’re almost there.
- Finish Adding Oil: Continue until all the oil is incorporated. The aioli should be thick, creamy, and pale ivory in color. If it looks too thin, you can add a tiny bit more oil, but be careful not to overdo it.
- Taste and Adjust: Give it a taste. Add more salt if needed, or an extra squeeze of lemon juice for brightness. If you want it thinner (for a dressing), whisk in a teaspoon of warm water.
- Use Immediately or Store: Transfer to a jar or airtight container. The aioli will thicken slightly as it rests. Use right away or refrigerate for later.
Troubleshooting Tip: If your aioli breaks (looks thin and separated), don’t panic. Start with a clean bowl and add 1 tablespoon of milk. Whisk in the broken aioli drop by drop, as if you were making a new emulsion. It should come back together. I’ve had to do this exactly once, and it worked like a charm.
Cooking Tips & Techniques
Making aioli is more about technique than ingredients. Here are some lessons I’ve learned the hard way:
- Room Temperature Matters: Cold milk and cold oil are the enemies of a good emulsion. Let your milk sit out for 10 minutes before starting. The oil can be at room temperature too—just don’t use it straight from the fridge.
- The Steady Stream: I cannot stress this enough—pour the oil slowly. I once got distracted by a phone call and dumped in half the oil at once. The result was a thin, greasy liquid that looked nothing like aioli. Start over or use the rescue method above.
- Whisking Rhythm: Find a steady, consistent whisking motion. You don’t need to go crazy fast—just keep it moving. Think of it as a gentle, rhythmic stirring rather than a frantic beating.
- Flavor Infusion: For an even deeper garlic flavor, you can gently warm the garlic in the lemon juice over low heat for 30 seconds before adding the milk. This cooks the garlic slightly, making it sweeter and milder. Let it cool before proceeding.
- Make-Ahead Strategy: This aioli actually gets better after an hour or two in the fridge. The flavors meld and mellow. Make it a few hours before you need it for the best results.
My Biggest Failure: I once tried to double the recipe and used a bowl that was too small. The whisking was awkward, the oil splashed everywhere, and the emulsion broke twice. Now I always use a bowl that’s larger than I think I need—it gives you room to whisk without spilling.
Variations & Adaptations
This base recipe is incredibly versatile. Here are some of my favorite twists:
- Roasted Garlic Aioli: Replace the raw garlic with 2 tablespoons of roasted garlic paste. The result is sweet, mellow, and utterly addictive. Roast a whole head of garlic at 400°F for 40 minutes, squeeze out the cloves, and mash them into a paste.
- Spicy Chipotle Aioli: Add 1-2 teaspoons of adobo sauce from a can of chipotle peppers, plus one finely minced chipotle pepper. This version is amazing on tacos, burrito bowls, or as a dip for sweet potato fries.
- Herb & Lemon Aioli: Stir in 2 tablespoons of finely chopped fresh herbs—chives, parsley, dill, or a mix. Add an extra teaspoon of lemon zest for brightness. Perfect for drizzling over grilled fish or roasted vegetables.
- Dairy-Free Version: Use unsweetened oat milk or canned coconut milk (the full-fat kind, shaken well). The coconut milk version will have a slight coconut flavor, which pairs beautifully with spicy dishes.
- Vegan Version: Follow the dairy-free option and skip the Dijon mustard (or use a vegan brand). The emulsion works exactly the same way.
Personal Variation: I love adding a pinch of smoked paprika and a tiny squeeze of honey to the basic recipe. It gives the aioli a subtle sweetness and a smoky depth that’s incredible on a BLT sandwich. I call it my “secret sauce” and it’s always a hit.
Serving & Storage Suggestions
This aioli is best served chilled or at room temperature. Here’s how to make the most of it:
- Serving Temperature: Straight from the fridge, it’s thick and spreadable. Let it sit at room temperature for 10 minutes if you want a softer, more dippable consistency.
- Presentation: Transfer to a small bowl, drizzle with a little olive oil, and sprinkle with flaky sea salt and a pinch of paprika. It looks gorgeous on a charcuterie board or next to a pile of crispy fries.
- Pairings: This aioli is incredible with roasted potatoes, grilled vegetables, seafood (especially shrimp or crab cakes), as a spread for sandwiches and wraps, or as a dip for crudités. It also makes a fantastic dressing for potato salad or coleslaw—just thin it with a little water or extra lemon juice.
- Storage: Keep in an airtight container in the refrigerator for up to 5 days. The garlic flavor will intensify over time, so if you’re sensitive to raw garlic, use it within the first 2 days.
- Freezing: I don’t recommend freezing this aioli. The emulsion can break upon thawing, and the texture becomes grainy. Make a fresh batch when you need it—it only takes 5 minutes!
Flavor Development: The aioli will taste freshest on day one, but the flavors deepen and become more complex by day two. I actually prefer it after it’s had a few hours to rest. The garlic becomes less sharp and the whole thing tastes more integrated.
Nutritional Information & Benefits
Here’s the estimated nutritional breakdown for one serving (about 2 tablespoons):
- Calories: 120
- Fat: 13g
- Carbohydrates: 1g
- Protein: 0.5g
- Sodium: 150mg
Health Benefits: Garlic is a powerhouse ingredient—it’s known for its immune-boosting properties, anti-inflammatory effects, and potential cardiovascular benefits. Using milk instead of eggs makes this aioli lighter and more accessible for those with egg allergies. Avocado oil is rich in heart-healthy monounsaturated fats and vitamin E. While this is still a condiment made primarily of oil, it’s a far better choice than many store-bought versions that contain stabilizers, preservatives, and artificial flavors.
Dietary Considerations: This recipe is naturally gluten-free, nut-free, and egg-free. For a dairy-free version, use oat milk or coconut milk. For a vegan version, use dairy-free milk and check your Dijon mustard label. Always check your ingredients if you have specific allergies.
Personal Wellness Perspective: I love that this aioli lets me control exactly what goes into my food. No hidden sugars, no weird additives—just real, whole ingredients that I can feel good about. It’s a small way to bring a little more mindfulness to everyday meals.
Conclusion
This creamy garlic aioli has become a staple in my kitchen, and I have a feeling it will become one in yours too. It’s proof that the best recipes often come from the most unexpected places—like a DMV line, a scribbled note on a receipt, and an accountant who just wanted to make it through her day. This recipe is worth trying because it’s simple, versatile, and genuinely delicious. It turns ordinary meals into something special without any fuss.
I encourage you to make this your own. Add a pinch of cayenne if you like heat, swap in roasted garlic for sweetness, or stir in fresh herbs for a garden-fresh twist. The base is solid, but the possibilities are endless. I love this recipe because it reminds me that good food doesn’t have to be complicated—it just has to be made with intention.
Now I’d love to hear from you! Have you tried making aioli before? What’s your favorite way to use it? Drop a comment below and share your creations. And if you tweak the recipe, tell me about it—I’m always looking for new ideas. Until next time, happy cooking!
Frequently Asked Questions
Can I use olive oil instead of a neutral oil?
You can, but I recommend using a light or mild olive oil. Extra virgin olive oil has a strong, peppery flavor that can overpower the garlic and make the aioli taste bitter. A blend of half neutral oil and half light olive oil works beautifully if you want a hint of olive flavor.
Why did my aioli turn out thin and runny?
This usually happens when the oil is added too quickly. The emulsion needs time to form, so a slow, steady stream is essential. If it’s already thin, try the rescue method: start with a tablespoon of milk in a clean bowl and whisk in the broken aioli drop by drop. It should thicken up nicely.
How long does homemade aioli last in the fridge?
Stored in an airtight container, this aioli will keep for up to 5 days in the refrigerator. The garlic flavor will intensify over time, so use it within the first 2-3 days if you prefer a milder taste. Always give it a sniff before using—if it smells off, it’s time to make a fresh batch.
Can I make this aioli with a food processor or blender?
Absolutely! A food processor or immersion blender makes the process even faster and more foolproof. If using a food processor, combine the milk, lemon juice, garlic, salt, and mustard in the bowl, then slowly drizzle in the oil with the motor running. With an immersion blender, use a tall jar and start at the bottom, slowly lifting the blender as the emulsion forms.
Is this aioli safe for pregnant women and young children?
Yes! Because this recipe uses milk instead of raw eggs, it eliminates the risk of salmonella that comes with traditional aioli. It’s a much safer option for pregnant women, young children, the elderly, and anyone with a compromised immune system. Just use fresh, high-quality ingredients and store it properly.
Pin This Recipe!
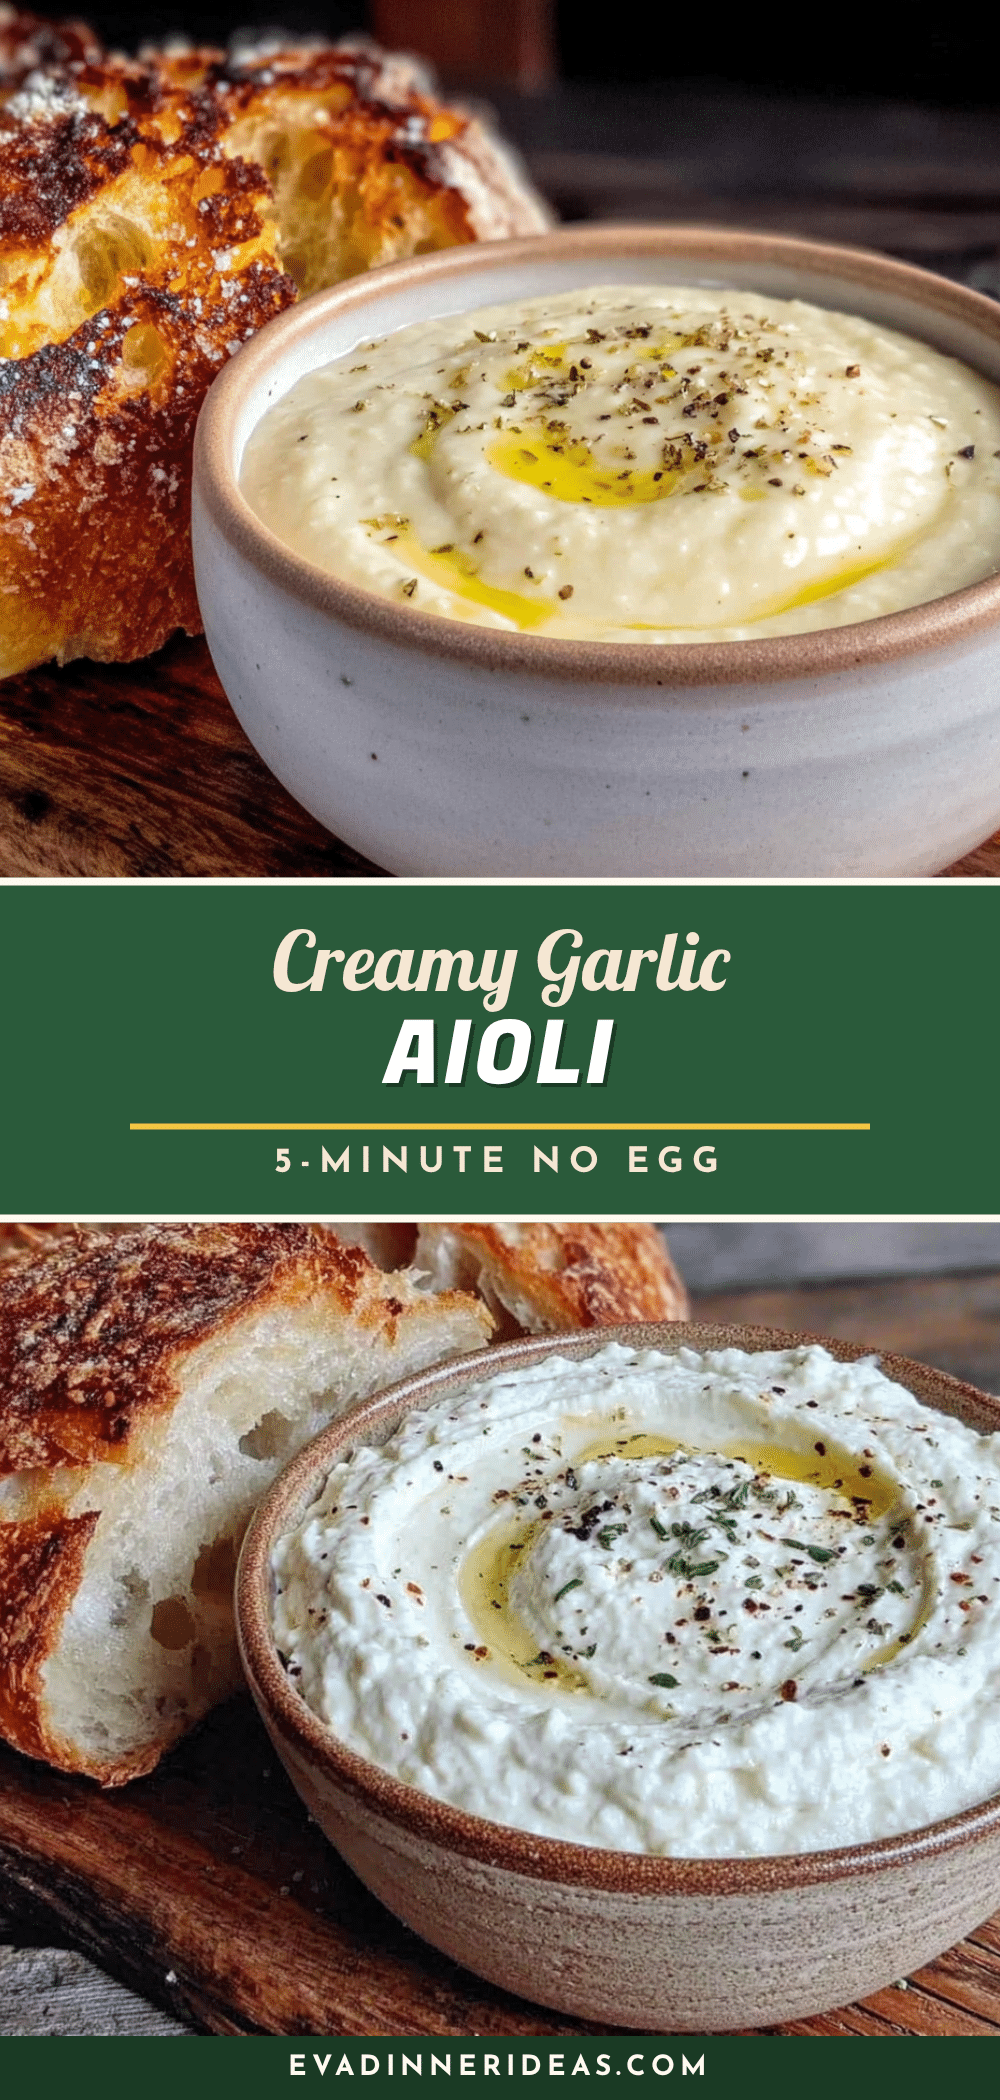
5-Minute Creamy Garlic Aioli: Easy No-Egg Recipe
This creamy, dreamy garlic aioli comes together in just five minutes without any eggs. It’s stable, foolproof, and perfect for dipping fries, spreading on sandwiches, or dressing grain bowls.
- Prep Time: 5 minutes
- Cook Time: 0 minutes
- Total Time: 5 minutes
- Yield: 8 servings 1x
- Category: Condiment
- Cuisine: Mediterranean
Ingredients
- ½ cup (120 ml) whole milk (or 2% milk; use unsweetened almond or oat milk for dairy-free)
- 2 tablespoons (30 ml) freshly squeezed lemon juice
- 4–5 cloves garlic, finely minced or grated
- ½ teaspoon (3 g) fine sea salt or kosher salt
- 1 cup (240 ml) neutral oil (avocado, grapeseed, or light olive oil)
- 1 teaspoon (5 ml) Dijon mustard (optional)
Instructions
- In a medium bowl, combine the minced garlic, lemon juice, and salt. Let sit for 5 minutes to mellow the garlic.
- Add the milk and Dijon mustard (if using). Whisk gently to combine.
- While whisking constantly, add the oil in a very thin, steady stream. Continue until all oil is incorporated and the mixture is thick and creamy.
- Taste and adjust seasoning with more salt or lemon juice if desired. For a thinner consistency, whisk in a teaspoon of warm water.
- Use immediately or transfer to an airtight container and refrigerate for up to 5 days.
Notes
For best results, use room-temperature milk and lemon juice. If the aioli breaks, start with 1 tablespoon of milk in a clean bowl and whisk in the broken aioli drop by drop. The aioli thickens as it rests and flavors meld after an hour in the fridge.
Nutrition
- Serving Size: 2 tablespoons
- Calories: 120
- Sugar: 0.5
- Sodium: 150
- Fat: 13
- Saturated Fat: 1.5
- Carbohydrates: 1
- Protein: 0.5
Keywords: garlic aioli, no-egg aioli, easy aioli, 5-minute aioli, homemade aioli, creamy garlic sauce, dairy-free aioli, vegan aioli


