I wasn’t expecting cooking advice from my accountant, but there I was, stuck in his office chair waiting for him to finish my tax return, listening to him describe exactly how to make the perfect potsticker. He was this quiet guy named Steve who wore the same gray cardigan every time I saw him and spoke mostly in numbers. But that afternoon, as he shuffled papers and typed, he started talking about his grandmother’s potsticker recipe like he was describing a painting. The way his voice changed—suddenly warm, suddenly animated—caught me off guard. He told me about the smell of ginger hitting hot oil, the precise way she pleated the edges, and the trick to getting that golden, lacy crust on the bottom. Honestly, I almost forgot I was there to talk about deductions.
Steve didn’t give me a written recipe. He just talked, and I scribbled notes on the back of a tax form. “Equal parts pork and chives,” he said, “and don’t you dare skip the sesame oil.” I remember him laughing when I asked about the water-to-flour ratio for the dough. “You’ll figure it out after the first batch,” he said. And he was right. My first attempt was a mess—some potstickers burst open, others stuck to the pan, and a few were so doughy they felt like little pillows of regret. But that second batch? That’s when it clicked. The crimped edges held, the bottoms turned a perfect shade of amber, and the filling was juicy without being soggy. I brought a plate to Steve the next week, and he just nodded and said, “Told you.”
You know that feeling when you bite into something and it’s exactly right? That’s what these crispy homemade pork and chive potstickers deliver. The contrast between the tender, steamed top and the crackling, browned bottom is pure magic. And the filling—savory pork, fragrant chives, a whisper of ginger and garlic—it’s simple but so, so satisfying. I’ve made these for dinner parties, lazy Sunday afternoons, and even a New Year’s Eve gathering where they disappeared before the champagne was poured. Maybe you’ve been there, standing over a hot skillet, wondering if the fuss is worth it. Let me tell you, it is. These potstickers have become my signature, and they started with a tax appointment and a man in a gray cardigan. You just never know where a great recipe will find you.
Why You’ll Love This Recipe
I’ve tested this recipe more times than I care to count, tweaking the filling ratios, experimenting with folding techniques, and even burning a batch or two (RIP, pan). What I’m sharing with you is the version that works every single time. These aren’t just good potstickers—they’re the kind that make people ask for the recipe before they’ve finished chewing.
- Quick & Easy : Once you get the hang of folding, these come together in about 45 minutes. Perfect for a weeknight cooking project or a weekend gathering.
- Simple Ingredients : Ground pork, fresh chives, soy sauce, ginger, garlic, and basic pantry staples. No trips to a specialty store required.
- Perfect for Entertaining : Make a big batch, fry them up in batches, and watch them vanish. They’re great for game day, dinner parties, or just a cozy night in.
- Crowd-Pleaser : Kids love the crispy texture, adults appreciate the flavor, and everyone fights over the ones with extra browning on the bottom.
- Unbelievably Delicious : That first bite—the crunch, the steam, the savory filling—it’s pure comfort food bliss.
What makes this recipe different from the rest? It’s the technique. I use a combination of pan-frying and steaming that creates that iconic crispy bottom while keeping the wrapper tender and chewy. The filling is seasoned just right—not too salty, not too bland—and the chives add a fresh, oniony brightness that cuts through the richness of the pork. I’ve tried versions with cabbage, mushrooms, and even shrimp, but this pork and chive combination is the one I keep coming back to. It’s balanced, it’s forgiving, and it’s absolutely delicious.
This recipe isn’t just good—it’s the kind that makes you close your eyes after the first bite. It’s comfort food reimagined: homemade, hands-on, and full of flavor. Perfect for impressing guests without stress, or turning a simple dinner into something memorable.
What Ingredients You Will Need
This recipe uses simple, wholesome ingredients to deliver bold flavor and satisfying texture without the fuss. Most of these are pantry staples, but fresh chives and ginger make all the difference here.
For the Dough
- 2 cups all-purpose flour (plus more for dusting)
- 3/4 cup warm water (about 110°F)
- 1/2 teaspoon salt
For the Filling
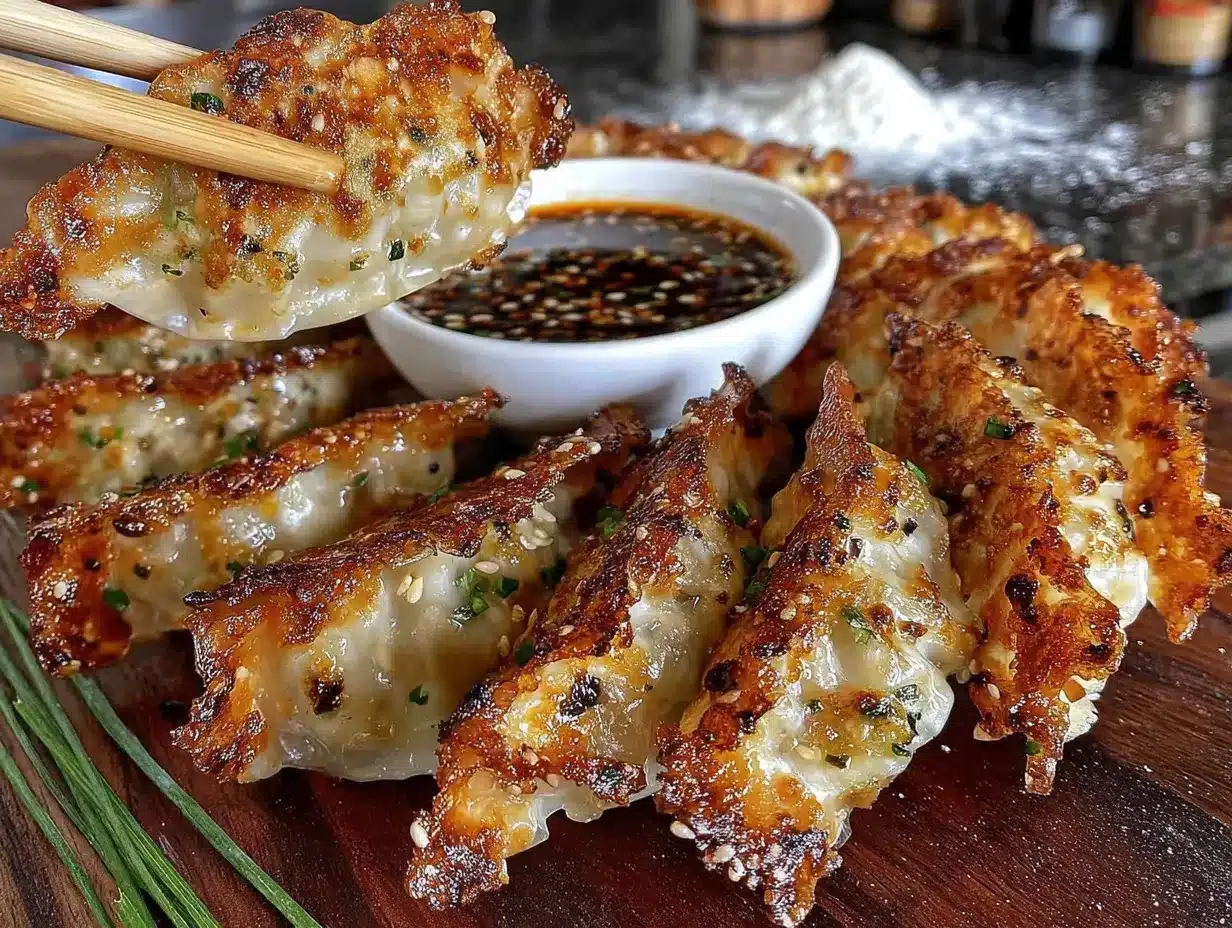
- 1 pound ground pork (I prefer 80/20 for juiciness)
- 1 1/2 cups fresh chives, finely chopped (about 1 bunch)
- 2 tablespoons soy sauce (use low-sodium if you prefer)
- 1 tablespoon sesame oil (toasted, for that nutty flavor)
- 1 tablespoon fresh ginger, grated
- 3 cloves garlic, minced
- 1 tablespoon rice wine (or dry sherry, or skip it)
- 1/2 teaspoon white pepper (black pepper works too)
- 1/4 teaspoon sugar (just a pinch to balance flavors)
For Cooking
- 2 tablespoons vegetable oil (or any neutral oil with a high smoke point)
- 1/3 cup water (for steaming)
For the Dipping Sauce
- 3 tablespoons soy sauce
- 1 tablespoon rice vinegar
- 1 teaspoon sesame oil
- 1 teaspoon chili oil (optional, but recommended)
- 1 teaspoon sugar
- 1 clove garlic, minced (optional)
A few notes on ingredients: Fresh chives are non-negotiable here. Dried chives just won’t give you that same fresh, mild onion flavor. Look for chives that are bright green and firm, not wilted. For the pork, I recommend getting ground pork from a trusted butcher or a brand like Coleman Natural—it’s consistently good quality. If you can’t find rice wine, a splash of dry sherry works fine, or you can simply leave it out. The white pepper adds a subtle warmth that black pepper doesn’t quite replicate, but use what you have.
For the dipping sauce, feel free to adjust the ratios to your taste. I like mine with a bit of heat, so I add extra chili oil. My friend Sarah prefers hers tangier and adds more rice vinegar. Play around with it!
Equipment Needed
You don’t need much to make these potstickers, which is part of the beauty. Here’s what you’ll need:
- Large mixing bowl (for the dough and the filling)
- Rolling pin (a standard one works, or use a wine bottle in a pinch—I’ve done it)
- Non-stick skillet or well-seasoned cast iron pan with a lid (12-inch is ideal)
- Sharp knife and cutting board
- Small bowl (for the dipping sauce)
- Spatula (thin metal or silicone works best)
- Pastry brush (optional, for brushing off excess flour)
If you don’t have a rolling pin, a clean wine bottle or even a smooth glass jar will do the job. I once used a can of beans in a pinch—it worked, but it was awkward. A non-stick skillet makes life easier, but a well-seasoned cast iron pan gives you an even better crust. Just make sure you have a tight-fitting lid for the steaming step. And honestly, you can even use a large frying pan with a lid from another pot—I’m not judging.
Preparation Method
Let’s get cooking. This process is broken down into three parts: making the dough, preparing the filling, and assembling and cooking the potstickers.
Step 1: Make the Dough
- In a large mixing bowl, combine 2 cups all-purpose flour and 1/2 teaspoon salt. Stir to combine.
- Make a well in the center and pour in 3/4 cup warm water (about 110°F—it should feel like warm bath water).
- Using a fork or your hands, mix until a shaggy dough forms. It will look rough and not very pretty—that’s normal.
- Turn the dough out onto a lightly floured surface and knead for about 8 minutes, until it becomes smooth and elastic. If it’s too sticky, add a little more flour, a tablespoon at a time. If it’s too dry, add a teaspoon of water.
- Shape the dough into a ball, wrap it in plastic wrap, and let it rest at room temperature for 30 minutes. This rest is crucial—it relaxes the gluten and makes the dough easier to roll out.
Pro tip: While the dough rests, you can make the filling. Multitasking for the win!
Step 2: Prepare the Filling
- In a large bowl, combine 1 pound ground pork, 1 1/2 cups finely chopped fresh chives, 2 tablespoons soy sauce, 1 tablespoon sesame oil, 1 tablespoon grated fresh ginger, 3 minced garlic cloves, 1 tablespoon rice wine, 1/2 teaspoon white pepper, and 1/4 teaspoon sugar.
- Using a fork or your hands, mix everything together until well combined. Don’t overmix, or the filling can become tough. Just mix until you don’t see any streaks of soy sauce.
- Cover the bowl and refrigerate while you roll out the dough. This helps the flavors meld together.
Step 3: Assemble the Potstickers
- After the dough has rested, divide it into 3 equal pieces. Roll each piece into a log about 12 inches long.
- Cut each log into 12 equal pieces (you should have about 36 pieces total). Keep the pieces you’re not working with covered with a damp towel so they don’t dry out.
- Lightly flour your work surface. Take one piece of dough and flatten it into a small disc with your palm.
- Using a rolling pin, roll the disc into a circle about 3 1/2 inches in diameter. The edges should be slightly thinner than the center—this helps the potstickers seal properly and creates that nice chewy bite.
- Place about 1 tablespoon of filling in the center of the wrapper. Don’t overfill, or they’ll burst open during cooking.
- To seal: Fold the wrapper in half to form a half-moon shape. Pinch the center to seal. Then, starting from the center, make small pleats along the edge, pressing firmly to seal. You should have about 4-5 pleats on one side. Place the finished potsticker on a floured baking sheet and cover with a damp towel.
- Repeat with the remaining dough and filling. This takes a little practice, but you’ll get the hang of it after the first few.
Step 4: Cook the Potstickers
- Heat 2 tablespoons vegetable oil in a large non-stick skillet over medium-high heat. The oil should shimmer but not smoke.
- Carefully place the potstickers in the pan, flat side down, in a single layer. Don’t overcrowd—work in batches if needed. I usually fit about 12-15 in a 12-inch pan.
- Cook without moving for 2-3 minutes, until the bottoms are golden brown and crispy. Peek underneath to check—they should be a deep amber color.
- Carefully pour 1/3 cup water into the pan (it will sizzle and steam—stand back!). Immediately cover with a lid and reduce the heat to medium-low.
- Steam for 5-6 minutes, until the water has evaporated and the wrappers are translucent and cooked through.
- Remove the lid and increase the heat to medium-high. Cook for another 1-2 minutes to re-crisp the bottoms. They should be beautifully browned and crunchy.
- Using a spatula, carefully transfer the potstickers to a plate, crispy side up. Serve immediately with the dipping sauce.
Sensory cue: When you pour the water in, listen for that dramatic sizzle. During steaming, you’ll see the potstickers puff up slightly and the wrappers become translucent. The smell of ginger and sesame will fill your kitchen—it’s intoxicating.
Cooking Tips & Techniques
I’ve made hundreds of these potstickers, and I’ve learned a thing or two along the way. Here are my best tips for success:
Don’t skip the dough rest. I know it’s tempting to rush, but that 30-minute rest is non-negotiable. Without it, the dough will be tough and hard to roll out. Trust me, I’ve tried skipping it, and the result was a disaster—the wrappers tore, and the potstickers looked like sad little dumpling casualties.
Keep your work surface and wrappers covered. Dough dries out fast, especially if your kitchen is warm. Keep the dough you’re not using wrapped in plastic or under a damp towel. Same goes for the assembled potstickers—cover them to prevent the edges from drying out, which makes sealing difficult.
Use the right amount of water for steaming. Too little water, and the potstickers won’t cook through. Too much, and they’ll be soggy. 1/3 cup is the sweet spot. If you’re cooking a larger batch, you might need a bit more, but don’t go overboard.
Don’t overcrowd the pan. Give each potsticker a little breathing room. If they’re too close together, they’ll stick to each other and steam unevenly. Cook in batches if needed—it’s worth the extra few minutes.
Use a thin spatula. A thin metal spatula slides under the potstickers more easily than a thick silicone one, helping you lift them without damaging the crispy bottom. I learned this the hard way after scraping off the precious crust on several batches.
Make extra and freeze them. These freeze beautifully. Place the assembled, uncooked potstickers on a baking sheet in a single layer and freeze until solid (about 2 hours). Then transfer them to a freezer bag. To cook from frozen, add an extra minute to the frying step and an extra 2 minutes to the steaming step. No thawing needed!
Variations & Adaptations
One of the best things about this recipe is how adaptable it is. Here are a few variations I’ve tried and loved:
Vegetarian Version: Swap the ground pork for finely chopped mushrooms (shiitake or cremini work great), crumbled firm tofu, or a mix of both. Add an extra tablespoon of soy sauce and a splash of mushroom broth for depth. My vegetarian friend Rachel raves about this version—she says it’s even better than the original.
Spicy Pork and Chive: Add 1-2 tablespoons of sambal oelek or gochujang to the filling for a spicy kick. You can also add a teaspoon of chili flakes. This is my personal favorite when I’m craving something with heat.
Shrimp and Chive: Replace half the pork with finely chopped raw shrimp. The shrimp adds a sweetness and a slightly different texture. Just be careful not to overmix, or the shrimp can become rubbery.
Gluten-Free Option: Use gluten-free all-purpose flour blend for the dough. The texture will be slightly different—a bit more delicate—but it still works. You can also buy gluten-free potsticker wrappers from the store to save time.
Baked Potstickers: For a lighter version, arrange the assembled potstickers on a parchment-lined baking sheet, brush with oil, and bake at 400°F for 15-20 minutes, flipping halfway through. They won’t be as crispy as the pan-fried version, but they’re still delicious.
Serving & Storage Suggestions
These potstickers are best served hot, fresh from the pan, with the dipping sauce on the side. I like to garnish them with a sprinkle of sesame seeds and extra chopped chives for color. Serve them as an appetizer, a main course (about 6-8 per person), or part of a larger Asian-inspired feast.
They pair beautifully with a simple cucumber salad, steamed edamame, or a bowl of miso soup. For drinks, try a crisp lager, a dry riesling, or a cold sake. The slight sweetness of the sake complements the savory filling perfectly.
Storage: Store leftover cooked potstickers in an airtight container in the refrigerator for up to 3 days. To reheat, pan-fry them in a little oil over medium heat until heated through and crispy again. The microwave works in a pinch, but the bottoms will be soft, not crispy.
Freezing: As mentioned, uncooked potstickers freeze beautifully. Cooked potstickers can also be frozen, but they won’t be as crispy when reheated. If freezing cooked potstickers, let them cool completely, then freeze in a single layer on a baking sheet before transferring to a freezer bag. Reheat in a hot skillet with a splash of water and a lid to steam them back to life.
The flavors actually develop a bit overnight, so leftover potstickers are still delicious the next day. I’ve been known to eat them cold straight from the fridge—don’t judge.
Nutritional Information & Benefits
Here’s an approximate nutritional breakdown per serving (6 potstickers, without dipping sauce):
- Calories: 380
- Protein: 22g
- Fat: 18g
- Carbohydrates: 34g
- Fiber: 2g
- Sugar: 2g
- Sodium: 680mg
These potstickers offer a good balance of protein, carbs, and fat. The pork provides high-quality protein and essential B vitamins, while the chives add a dose of vitamins A, C, and K. Ginger and garlic are known for their anti-inflammatory properties. The sesame oil adds healthy fats and a rich flavor.
If you’re watching your sodium intake, use low-sodium soy sauce and reduce the amount in the filling. You can also bake instead of pan-fry to reduce the fat content. For a lower-carb option, serve the filling in lettuce wraps instead of using the dough wrappers—it’s a fun twist!
Conclusion
These crispy homemade pork and chive potstickers are more than just a recipe—they’re a little project that pays off in the most delicious way. From the therapeutic process of folding each one to the satisfying sizzle as they hit the pan, every step is rewarding. And that first bite, with the crunch giving way to the savory, juicy filling? Pure magic.
I hope you give these a try, and I hope you make them your own. Add a little extra ginger, throw in some chili flakes, or experiment with different fillings. That’s the beauty of cooking—you can always tweak and adjust until it’s exactly what you want. And when you nail it, share it. Bring a plate to a neighbor, take them to a potluck, or just enjoy them with the people you love.
I’d love to hear how yours turn out! Leave a comment below and let me know if you tried any variations, or tag me in your photos on social media. Happy cooking, and remember—sometimes the best recipes come from the most unexpected places.
Frequently Asked Questions
Can I use store-bought potsticker wrappers instead of making my own?
Absolutely! Store-bought wrappers save a lot of time. Look for round gyoza or potsticker wrappers in the refrigerated section of your grocery store. Just follow the package directions for cooking times, as they may cook slightly faster than homemade wrappers.
Why did my potstickers stick to the pan?
This usually happens if your pan isn’t hot enough when you add the potstickers, or if you didn’t use enough oil. Make sure the oil is shimmering before adding the potstickers, and use a good non-stick or well-seasoned cast iron pan. Also, let them cook undisturbed for the full 2-3 minutes before checking—they’ll release naturally when they’re ready.
Can I make these ahead of time for a party?
Yes! You can assemble the potstickers up to 24 hours in advance and keep them covered in the refrigerator. Or freeze them uncooked for up to 3 months. When you’re ready to serve, just cook them straight from the fridge or freezer, adding a couple of extra minutes to the cooking time.
My potstickers burst open during cooking. What went wrong?
This usually means you overfilled them or didn’t seal the edges properly. Use about 1 tablespoon of filling per wrapper, and make sure the edges are firmly pressed together. Also, make sure the edges of the wrapper aren’t too dry—if they are, you can brush them with a little water to help them stick.
Can I use a different protein instead of pork?
Definitely! Ground chicken, turkey, or beef all work well. You can also use a combination of pork and shrimp, or go fully vegetarian with mushrooms and tofu. Just adjust the seasoning to your taste—chicken and turkey are leaner, so you may want to add a little extra sesame oil for moisture.
Pin This Recipe!
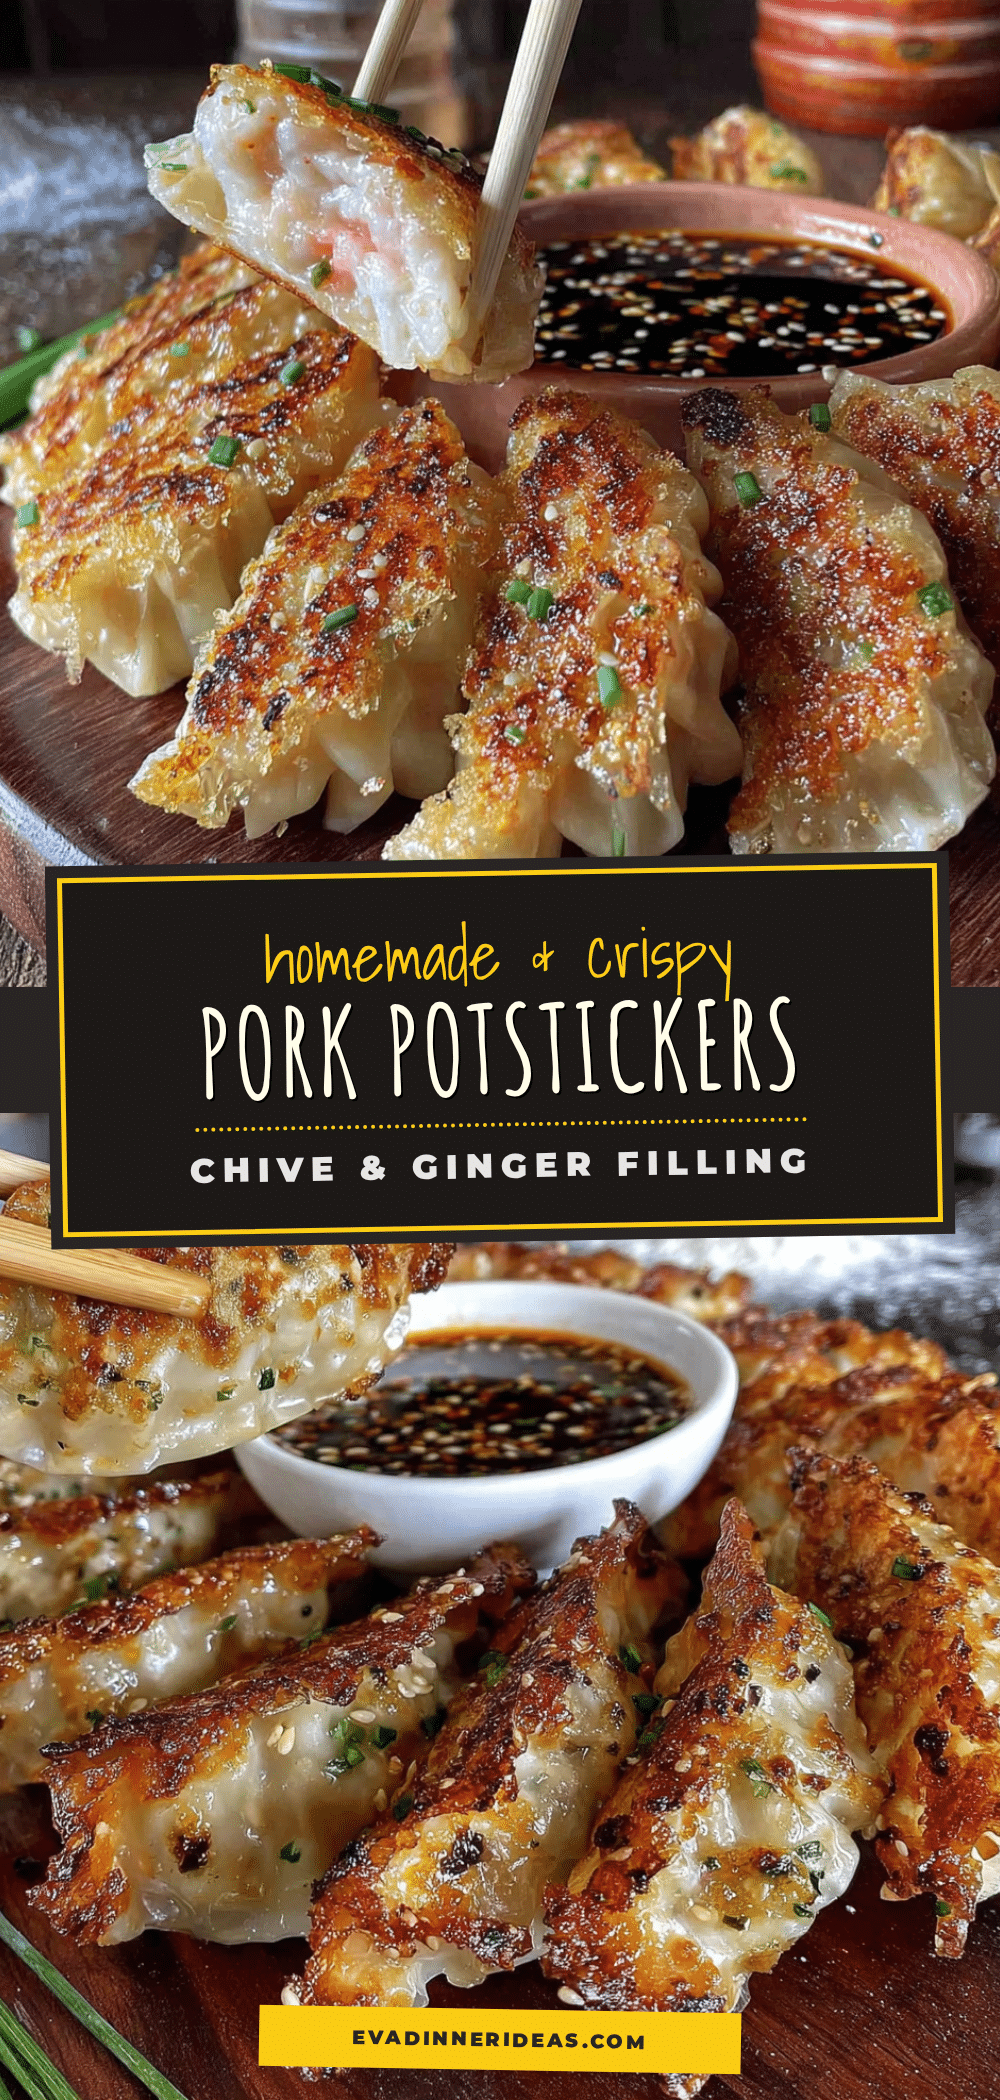
Best Crispy Homemade Pork and Chive Potstickers

These crispy homemade pork and chive potstickers feature a tender, steamed top and a crackling, browned bottom. The savory filling of pork, fresh chives, ginger, and garlic is simple yet satisfying, making them perfect for weeknight dinners or entertaining.
- Prep Time: 30 minutes
- Cook Time: 15 minutes
- Total Time: 45 minutes
- Yield: 6 servings 1x
- Category: Appetizer
- Cuisine: Chinese
Ingredients
- 2 cups all-purpose flour (plus more for dusting)
- 3/4 cup warm water (about 110°F)
- 1/2 teaspoon salt
- 1 pound ground pork (80/20 recommended)
- 1 1/2 cups fresh chives, finely chopped
- 2 tablespoons soy sauce
- 1 tablespoon sesame oil (toasted)
- 1 tablespoon fresh ginger, grated
- 3 cloves garlic, minced
- 1 tablespoon rice wine (or dry sherry)
- 1/2 teaspoon white pepper
- 1/4 teaspoon sugar
- 2 tablespoons vegetable oil (for cooking)
- 1/3 cup water (for steaming)
- 3 tablespoons soy sauce (for dipping sauce)
- 1 tablespoon rice vinegar (for dipping sauce)
- 1 teaspoon sesame oil (for dipping sauce)
- 1 teaspoon chili oil (optional, for dipping sauce)
- 1 teaspoon sugar (for dipping sauce)
- 1 clove garlic, minced (optional, for dipping sauce)
Instructions
- Make the dough: In a large bowl, combine 2 cups flour and 1/2 teaspoon salt. Make a well and pour in 3/4 cup warm water. Mix until a shaggy dough forms. Turn out onto a floured surface and knead for 8 minutes until smooth and elastic. Shape into a ball, wrap in plastic, and rest for 30 minutes.
- Prepare the filling: In a large bowl, combine 1 pound ground pork, 1 1/2 cups chopped chives, 2 tablespoons soy sauce, 1 tablespoon sesame oil, 1 tablespoon grated ginger, 3 minced garlic cloves, 1 tablespoon rice wine, 1/2 teaspoon white pepper, and 1/4 teaspoon sugar. Mix until combined. Cover and refrigerate.
- Assemble the potstickers: Divide rested dough into 3 pieces. Roll each into a 12-inch log, then cut into 12 pieces (36 total). Keep covered. Flatten one piece into a disc, roll into a 3 1/2-inch circle (edges thinner than center). Place 1 tablespoon filling in center. Fold into half-moon, pleat edges to seal. Place on floured baking sheet, cover with damp towel. Repeat.
- Cook the potstickers: Heat 2 tablespoons vegetable oil in a large non-stick skillet over medium-high heat. Place potstickers flat side down in a single layer (12-15 per batch). Cook undisturbed 2-3 minutes until bottoms are golden brown. Carefully pour 1/3 cup water into pan (it will sizzle), cover immediately, reduce heat to medium-low. Steam 5-6 minutes until water evaporates and wrappers are translucent. Remove lid, increase heat to medium-high, cook 1-2 minutes to re-crisp bottoms. Transfer …
- Make dipping sauce: In a small bowl, combine 3 tablespoons soy sauce, 1 tablespoon rice vinegar, 1 teaspoon sesame oil, 1 teaspoon chili oil (optional), 1 teaspoon sugar, and 1 minced garlic clove (optional). Stir until sugar dissolves.
Notes
Don’t skip the dough rest—it’s crucial for easy rolling. Keep assembled potstickers covered with a damp towel to prevent drying. For freezing, place uncooked potstickers on a baking sheet in a single layer, freeze until solid, then transfer to a freezer bag. Cook from frozen, adding extra time. Use a thin spatula to lift potstickers without damaging the crispy bottom.
Nutrition
- Serving Size: 6 potstickers
- Calories: 380
- Sugar: 2
- Sodium: 680
- Fat: 18
- Saturated Fat: 5
- Carbohydrates: 34
- Fiber: 2
- Protein: 22
Keywords: potstickers, pork and chive, dumplings, crispy, homemade, appetizer, Chinese


