My neighbor, a retired schoolteacher named Irene, asked me last fall why I couldn’t just layer the cocoa mix in a jar instead of mixing it all in a bowl first. I was trying to teach her how to make these gift jars for her grandchildren, and I had this whole system. Mix the dry ingredients, measure them out, funnel them into the jar. That’s how you do it. I started to explain why that wouldn’t work — then stopped. I realized I had no good reason. I had just always done it that way.
So we tried it her way. Spoonful by spoonful, right into the jar. And honestly? It worked perfectly. The layers looked beautiful, and the recipient just shakes it up before using it anyway. I felt a little silly for not thinking of it sooner. Irene just smiled and said sometimes the simplest way is the best way. She was right, of course.
This homemade hot cocoa mix in a jar has become my go-to gift for pretty much everything. Teacher gifts, hostess presents, Christmas exchanges, even a little something for the mail carrier. It costs pennies to make compared to store-bought mixes, and it tastes a hundred times better. No weird aftertaste, no mystery ingredients. Just real chocolate, creamy powder, and a little bit of magic.
The best part? You probably have most of the ingredients in your pantry right now. I mean, you might need to grab a bag of good cocoa powder, but that’s it. And when you give someone a jar of this, they know you put thought into it. It’s not just something you grabbed off a shelf. It’s a little piece of your kitchen, tied up with a ribbon.
Maybe you’ve been there — staring at the gift aisle, knowing you need something for a dozen people but your budget says no. This is your answer. Trust me on this one. I learned it from Irene.
Why You’ll Love This Recipe
I have made over fifty jars of this mix in the past two years, and I can tell you with confidence — this is the one. It’s not just another hot cocoa mix. It’s the version I landed on after testing different ratios, different cocoa powders, and different sweeteners. My kids approved every single batch, which is saying something because they are brutally honest critics.
- Quick & Easy : You can put together a batch of five jars in under fifteen minutes. Seriously. Once you have your ingredients laid out, it’s just scoop, layer, and screw on the lid. Perfect for those last-minute gift emergencies.
- Simple Ingredients : No fancy grocery trips needed. You likely already have sugar, salt, and vanilla powder in your kitchen. The only special item is good cocoa powder, and even that is easy to find.
- Perfect for Gifting : Great for Christmas, birthdays, teacher appreciation week, or just because. It fits any occasion and any budget.
- Crowd-Pleaser : Always gets rave reviews from kids and adults alike. I have yet to meet someone who doesn’t love a warm mug of homemade cocoa.
- Unbelievably Delicious : The texture and flavor combo is next-level comfort food. It’s rich without being heavy, sweet without being cloying, and smooth as silk.
What makes this recipe different from the rest is the vanilla powder. Most recipes skip it, but it rounds out the chocolate flavor in a way that extract just can’t. And the powdered milk gives it that creamy body that makes you think you used real milk. It’s a little trick I picked up from a baker friend, and it makes all the difference.
This recipe isnt just good — it is the kind that makes you close your eyes after the first sip. It’s comfort in a mug, ready in two minutes. Perfect for impressing guests without stress, or turning a quiet evening into something memorable.
What Ingredients You Will Need
This recipe uses simple, wholesome ingredients to deliver bold flavor and satisfying texture without the fuss. Most of these are pantry staples, and the ones that aren’t are worth the small investment.
- Sugar (granulated white sugar) — This is the base of the sweetness. It dissolves easily and helps the mix stay free-flowing. (adds sweetness and texture)
- Unsweetened Cocoa Powder — I recommend Ghirardelli or Hershey’s Special Dark for the richest flavor. Do not use Dutch-process here unless you know your milk is acidic enough to react with it. Natural cocoa powder gives that classic hot cocoa taste. (adds deep chocolate flavor)
- Powdered Milk — This is the secret to creamy cocoa without using fresh milk. Look for instant dry milk powder, which dissolves more easily. (adds creaminess and body)
- Powdered Sugar — Also called confectioners’ sugar. It helps the mix dissolve smoothly and adds a touch of extra sweetness. (adds smooth texture and sweetness)
- Vanilla Powder — This is the game-changer. It is more expensive than extract, but it keeps the mix shelf-stable and gives a beautiful vanilla flavor that lingers. If you can’t find it, you can use vanilla sugar or leave it out, but I really recommend tracking it down. (adds aromatic vanilla notes)
- Salt — Just a pinch. It sounds weird, but salt makes chocolate taste more chocolatey. Use fine sea salt or table salt. (enhances chocolate flavor)
- Optional Add-Ins for Gifting — Mini marshmallows, crushed peppermint, chocolate shavings, or a cinnamon stick. These go on top of the jar for decoration and extra flavor.
For the jar itself, you will need a quart-sized mason jar with a tight-fitting lid. I like the wide-mouth ones because they are easier to fill. You can find them at any grocery store or online in bulk packs.
If you are making this for someone with dietary restrictions, you can swap the powdered milk for a dairy-free powdered creamer. It won’t taste exactly the same, but it still works. And if you need a sugar-free version, use a granulated monk fruit sweetener in place of both sugars. Just know that the texture might be slightly different.
Equipment Needed
You don’t need much for this recipe, which is part of its charm. Here is what you will need:
- Quart-Sized Mason Jars — Wide-mouth jars are easiest to fill. You can also use any glass jar with a tight seal, as long as it holds about 4 cups.
- Funnel — A wide-mouth funnel makes layering so much easier. I have a metal one that I use for everything, but a plastic one works fine too.
- Measuring Cups and Spoons — You will need a 1/2 cup measure, a 1/4 cup measure, and measuring spoons for the smaller amounts.
- Small Bowl — For mixing the salt and vanilla powder together before adding. This ensures even distribution.
- Ribbon or Twine — For decorating the jars. This is optional but makes them look so much more gift-worthy.
- Gift Tags — You can print or write the instructions on a tag and tie it to the jar.
If you don’t have a funnel, you can make one by rolling a piece of parchment paper into a cone shape. It works in a pinch, though it is a bit messier. I have done it more times than I care to admit.
For the jars, I buy them in bulk at the hardware store or online. They are usually cheaper that way. And I reuse jars from pasta sauce or pickles for my own stash at home. Just make sure they are thoroughly washed and dried.
Preparation Method
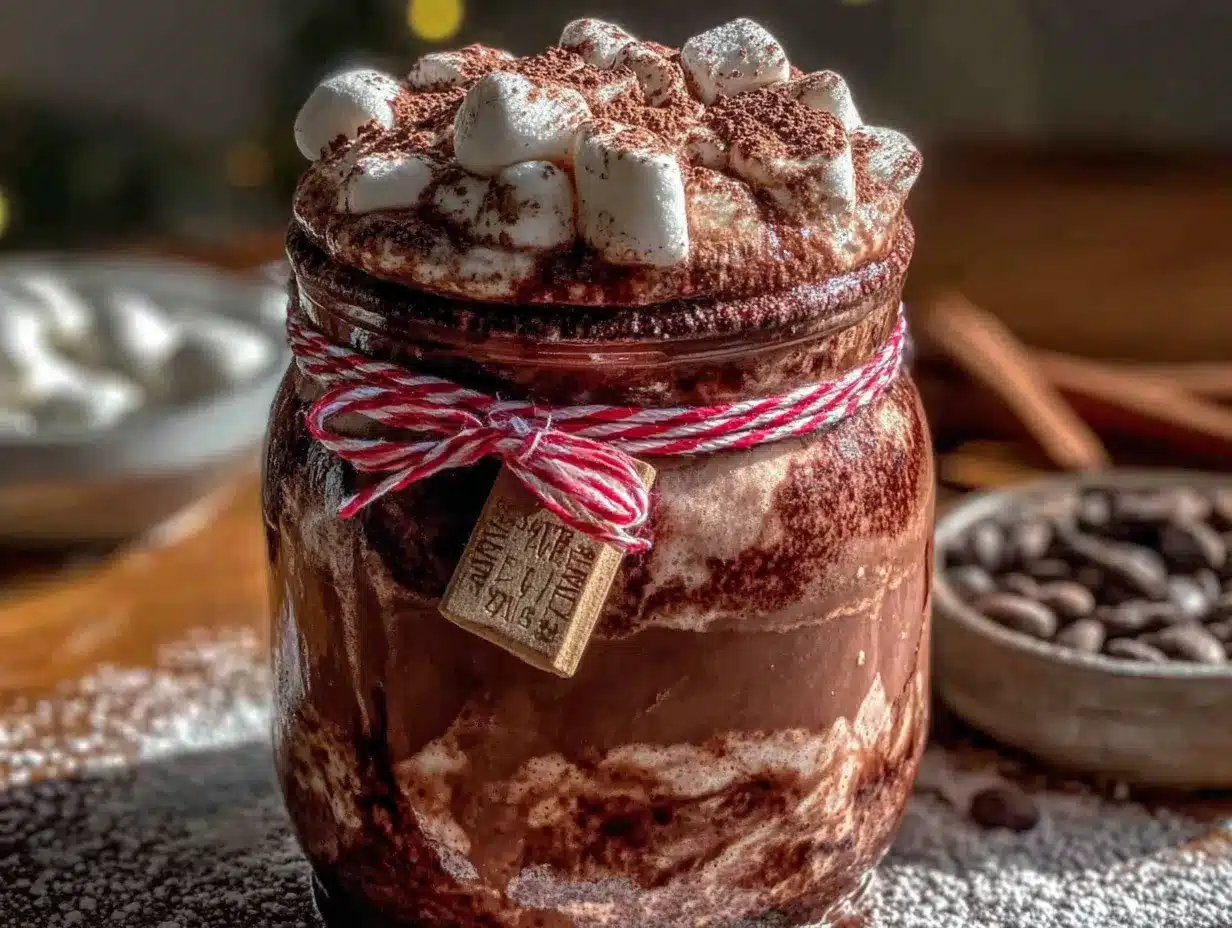
Making this homemade hot cocoa mix in a jar is almost too easy. But I will walk you through it step by step, because the layering is what makes it look so pretty.
- Prepare your workspace. Clear off your counter and gather all your ingredients and equipment. Make sure your jars are clean and completely dry. Any moisture will make the sugar clump, and nobody wants clumpy cocoa mix.
- Mix the dry flavorings. In a small bowl, combine 1/2 teaspoon of vanilla powder and 1/4 teaspoon of fine sea salt. Stir them together with a fork until evenly distributed. This step ensures the salt and vanilla are well blended before you add them to the jar.
- Start layering. Place your funnel in the jar. Add 1/2 cup of unsweetened cocoa powder. Tap the jar gently on the counter to level it out. This creates a nice, even layer.
- Add the sugar layer. Pour 1 cup of granulated sugar into the jar on top of the cocoa powder. Again, tap gently to level it. Don’t shake the jar too hard, or the layers will mix.
- Add the powdered milk. Measure out 1 cup of powdered milk and pour it into the jar. Tap gently to level. At this point, your jar should be about halfway full.
- Add the powdered sugar. Pour 1/2 cup of powdered sugar into the jar. This layer will be lighter and fluffier, so be gentle. Tap lightly to level.
- Add the vanilla-salt mixture. Sprinkle the vanilla powder and salt mixture evenly over the top of the powdered sugar layer. You don’t need to level this one.
- Seal the jar. Screw the lid on tightly. If you are giving it as a gift, you can stop here. If you are keeping it for yourself, give the jar a good shake to mix everything together before using.
- Decorate the jar. For gifts, tie a ribbon around the neck of the jar. Attach a gift tag with the following instructions: “Add 1/3 cup of mix to a mug. Pour in 1 cup of hot milk. Stir well and enjoy!”
- Add optional toppings. If you want to make it extra special, you can tape a small bag of mini marshmallows to the side of the jar, or tuck a peppermint stick into the ribbon.
One thing I learned the hard way — do not pack the layers down too hard. I did that with my first batch, and the mix was so compacted that it took forever to dissolve. Just a gentle tap is enough.
If you are making multiple jars, set up an assembly line. Measure out all your ingredients into separate bowls first, then layer each jar one at a time. It goes much faster that way.
Cooking Tips & Techniques
Over the years, I have made plenty of mistakes with this recipe. Let me save you the trouble.
Use good cocoa powder. This is not the place to skimp. Cheap cocoa powder can taste flat and chalky. Spend a little extra on a brand you trust. I swear by Ghirardelli, but any natural unsweetened cocoa powder from a reputable brand will work.
Don’t skip the salt. I know it sounds weird, but salt is not just for savory food. It brightens the chocolate flavor and balances the sweetness. Without it, the cocoa tastes one-dimensional.
Measure carefully. This recipe is forgiving, but the ratio of sugar to cocoa to milk powder matters. Too much sugar and it will be cloying. Too much cocoa and it will be bitter. Stick to the measurements the first time, then adjust to your taste later.
Label your jars. If you are giving these as gifts, make sure the instructions are clear. I once forgot to include the ratio of mix to milk, and my aunt ended up with a mug of chocolate paste. She was kind about it, but I learned my lesson.
Keep it dry. Moisture is the enemy of this mix. Store the jars in a cool, dry place. Do not refrigerate them. And if you are adding marshmallows to the jar, put them in a separate bag. They will absorb moisture from the mix and turn into sad, chewy blobs.
Shake before using. Even if you layered it perfectly, the ingredients settle during storage. Give the jar a good shake before you scoop out the mix. This ensures every mug is perfectly balanced.
Variations & Adaptations
One of the best things about this homemade hot cocoa mix in a jar is how easy it is to customize. Here are some of my favorite variations.
Spicy Mexican Hot Cocoa: Add 1/2 teaspoon of ground cinnamon and a pinch of cayenne pepper to the vanilla-salt mixture. It gives the cocoa a warm, spicy kick that is perfect for cold winter nights. I made this version for my sister-in-law, and she now requests it every year.
Peppermint Hot Cocoa: Crush a few peppermint candies and layer them on top of the powdered sugar. Or add 1/4 teaspoon of peppermint extract to the vanilla-salt mixture. Just be careful — peppermint is strong, and a little goes a long way.
Dairy-Free Version: Replace the powdered milk with a dairy-free powdered creamer. Coconut creamer works especially well and adds a subtle tropical note. Use a dairy-free chocolate powder if you need to avoid all dairy.
Dark Chocolate Lover’s Mix: Use dark cocoa powder instead of natural cocoa powder. Reduce the granulated sugar to 3/4 cup and add an extra 1/4 cup of powdered sugar. The result is a deep, intense cocoa that adults will love.
Kid-Friendly Fun: Add a layer of colorful sprinkles between the powdered sugar and the vanilla-salt mixture. Kids love the surprise of sprinkles in their cocoa. Just make sure the sprinkles are the tiny, nonpareil kind that dissolve easily.
I have tried all of these variations, and my personal favorite is the spicy Mexican version. It feels so much more grown-up than regular hot cocoa, and it pairs beautifully with a butter cookie or a slice of pound cake.
Serving & Storage Suggestions
When you are ready to enjoy a mug of this homemade hot cocoa mix, here is how to do it right.
Serving Instructions: Scoop 1/3 cup of the mix into a mug. Heat 1 cup of milk (dairy or non-dairy) until steaming hot, either on the stovetop or in the microwave. Pour the hot milk over the mix and stir until fully dissolved. Top with mini marshmallows or a dollop of whipped cream if you are feeling fancy.
Temperature Matters: Do not use boiling milk. It can scorch the milk powder and give the cocoa a slightly burnt taste. Heat the milk until it is steaming and small bubbles form around the edges, but not until it is rolling.
Storage Instructions: Store the sealed jars in a cool, dry place like a pantry or cupboard. They will keep for up to six months. Do not refrigerate or freeze them, as moisture can cause the mix to clump.
How Flavors Develop: The cocoa mix actually tastes better after a week or two. The vanilla and salt have time to meld with the other ingredients, creating a more rounded flavor. So do not worry if you make the jars ahead of time — they will only get better.
Reheating Tips: If your cocoa gets cold, you can reheat it in the microwave for 30 seconds. Just stir it well afterward. The mix can sometimes settle at the bottom, so a quick stir is all it needs.
Pairing Suggestions: This cocoa is wonderful on its own, but it also pairs beautifully with shortbread cookies, biscotti, or a slice of banana bread. For a cozy movie night, serve it with a bowl of popcorn and a handful of chocolate chips.
Nutritional Information & Benefits
While this homemade hot cocoa mix is certainly a treat, it does offer some nutritional benefits worth noting.
Estimated Nutritional Values (per serving with 1 cup of whole milk):
| Nutrient | Amount |
|---|---|
| Calories | 280 |
| Total Fat | 10g |
| Saturated Fat | 6g |
| Carbohydrates | 42g |
| Sugar | 38g |
| Protein | 10g |
| Calcium | 300mg |
| Iron | 2mg |
Health Benefits: Cocoa powder is rich in antioxidants called flavonoids, which can help reduce inflammation and support heart health. The milk provides calcium and vitamin D for strong bones. And the simple act of making and enjoying a warm mug of cocoa can be a wonderful stress reliever.
Dietary Considerations: This recipe is vegetarian. For a vegan version, use dairy-free powdered creamer and a plant-based milk. For a gluten-free version, this recipe is naturally gluten-free as long as your cocoa powder is certified gluten-free.
Potential Allergens: This recipe contains milk. It may contain traces of soy or nuts depending on the brands you use. Always check labels if you are serving someone with allergies.
My Personal Wellness Perspective: I believe in balance. This cocoa is not an everyday drink for me, but it is a wonderful occasional treat. It brings joy, warmth, and connection — and that has its own kind of nutritional value.
Conclusion
This homemade hot cocoa mix in a jar is more than just a recipe. It is a little hug in a jar, a way to show someone you care without spending a fortune. It is the gift that says, “I made this for you, with my own two hands, in my own kitchen.” And honestly, that means more than anything you can buy at the store.
I hope you will try making these jars for your family, your friends, your neighbors, or just for yourself. Customize them however you like — add your favorite spices, your favorite toppings, your favorite ribbon. Make them your own. That is the beauty of a simple recipe like this one.
I would love to hear how your jars turn out. Did you try a variation? Did you give them as gifts? Did anyone cry happy tears? (It has happened to me, and I am not ashamed to admit it.) Leave a comment below and let me know. Share a photo of your beautiful jars on Pinterest and tag me. Let’s spread a little warmth, one jar at a time.
Now go make some cocoa. You deserve it.
Frequently Asked Questions
Can I use Dutch-process cocoa powder instead of natural cocoa powder?
You can, but the flavor will be milder and less intense. Dutch-process cocoa is treated with alkali to reduce acidity, which gives it a smoother, more mellow taste. If you use it, you may want to add a pinch more salt to balance the flavor.
How long does the homemade hot cocoa mix last in the jar?
Stored in a cool, dry place, the mix will stay fresh for up to six months. After that, the cocoa powder can start to lose its flavor. I always date my jars so I know when I made them.
Can I use this mix with water instead of milk?
You can, but it will not be as creamy. The powdered milk in the mix helps, but using water will result in a thinner, less rich cocoa. If you only have water, try adding a pat of butter or a splash of cream to make up for the lost richness.
Why did my cocoa mix clump together?
Clumping is usually caused by moisture. Make sure your jars are completely dry before you fill them. Also, store the jars away from heat sources like the stove or dishwasher. If your mix does clump, you can break it up with a fork or sift it before using.
Can I make a single serving of this mix without the jar?
Absolutely! For one serving, mix together 2 tablespoons of cocoa powder, 3 tablespoons of granulated sugar, 3 tablespoons of powdered milk, 2 tablespoons of powdered sugar, and a tiny pinch of salt and vanilla powder. Store it in a small bag or container until you are ready to use it.
Pin This Recipe!
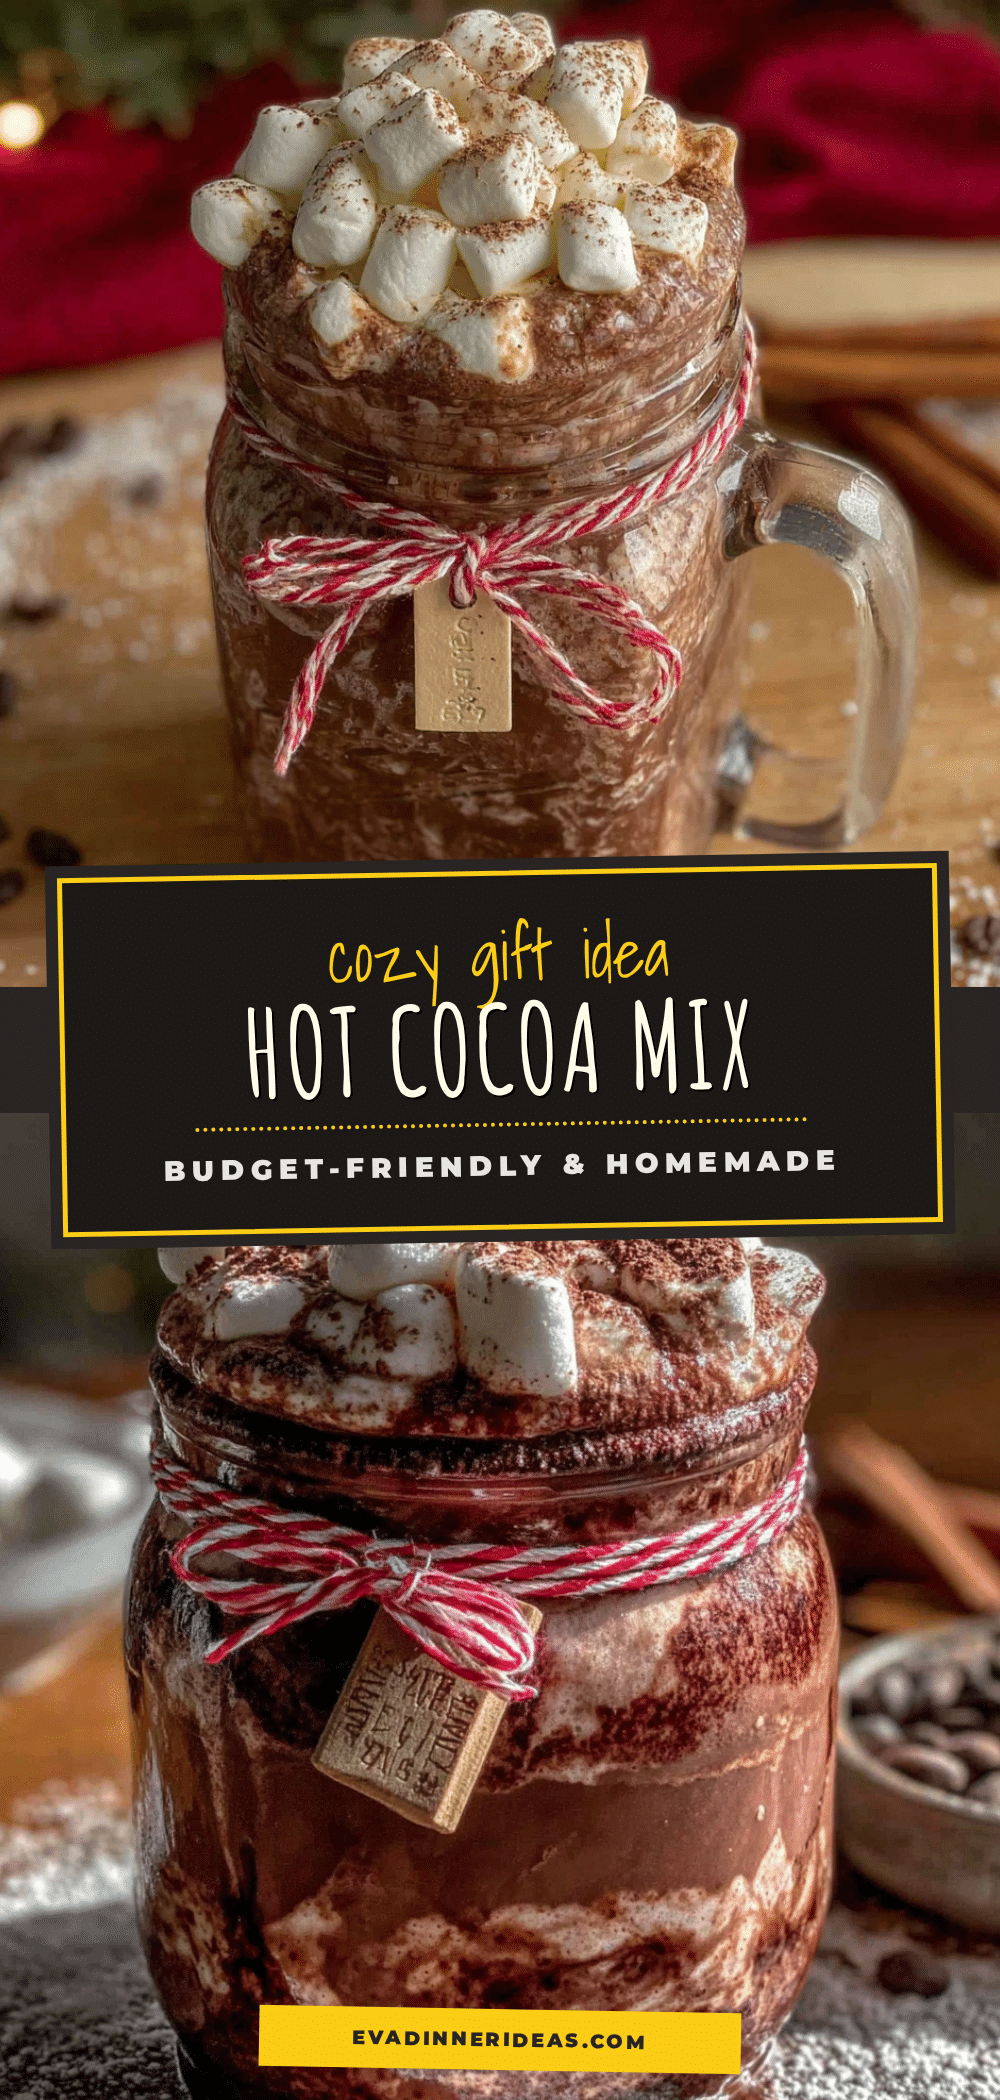
Homemade Hot Cocoa Mix in a Jar: Best Easy Gift Idea
This homemade hot cocoa mix in a jar is the perfect easy gift idea for any occasion. Layer simple ingredients in a mason jar for a beautiful, delicious, and budget-friendly present that tastes a hundred times better than store-bought.
- Prep Time: 15 minutes
- Cook Time: 0 minutes
- Total Time: 15 minutes
- Yield: 1 jar (about 8 servings) 1x
- Category: Beverage
- Cuisine: American
Ingredients
- 1 cup granulated white sugar
- 1/2 cup unsweetened cocoa powder (natural, not Dutch-process)
- 1 cup powdered milk (instant dry milk powder)
- 1/2 cup powdered sugar (confectioners’ sugar)
- 1/2 teaspoon vanilla powder
- 1/4 teaspoon fine sea salt
- Optional for gifting: mini marshmallows, crushed peppermint, chocolate shavings, or a cinnamon stick
Instructions
- Prepare your workspace: Clear off your counter and gather all ingredients and equipment. Make sure your jars are clean and completely dry.
- Mix the dry flavorings: In a small bowl, combine 1/2 teaspoon of vanilla powder and 1/4 teaspoon of fine sea salt. Stir together with a fork until evenly distributed.
- Start layering: Place a funnel in the jar. Add 1/2 cup of unsweetened cocoa powder. Tap the jar gently on the counter to level it out.
- Add the sugar layer: Pour 1 cup of granulated sugar into the jar on top of the cocoa powder. Tap gently to level.
- Add the powdered milk: Measure out 1 cup of powdered milk and pour it into the jar. Tap gently to level.
- Add the powdered sugar: Pour 1/2 cup of powdered sugar into the jar. Tap lightly to level.
- Add the vanilla-salt mixture: Sprinkle the vanilla powder and salt mixture evenly over the top of the powdered sugar layer.
- Seal the jar: Screw the lid on tightly. If giving as a gift, stop here. If keeping for yourself, shake the jar to mix everything together before using.
- Decorate the jar: For gifts, tie a ribbon around the neck of the jar. Attach a gift tag with instructions: ‘Add 1/3 cup of mix to a mug. Pour in 1 cup of hot milk. Stir well and enjoy!’
- Add optional toppings: Tape a small bag of mini marshmallows to the side of the jar or tuck a peppermint stick into the ribbon.
Notes
Use good quality natural cocoa powder for the best flavor. Do not pack the layers down too hard. Store jars in a cool, dry place for up to six months. The mix tastes even better after a week or two as flavors meld. For dairy-free version, use dairy-free powdered creamer. For sugar-free version, use granulated monk fruit sweetener.
Nutrition
- Serving Size: 1/3 cup mix prepared
- Calories: 280
- Sugar: 38
- Sodium: 200
- Fat: 10
- Saturated Fat: 6
- Carbohydrates: 42
- Fiber: 2
- Protein: 10
Keywords: hot cocoa mix, homemade hot cocoa, gift in a jar, DIY gift, Christmas gift, teacher gift, hot chocolate mix, easy gift idea


