I was standing in the baking aisle of my local grocery store last Tuesday, staring at a box of red velvet cake mix like it held all the answers to a question I hadn’t quite figured out how to ask. The color was so absurdly, beautifully red it almost didn’t look real—and suddenly I was eight years old at my Aunt Lou’s kitchen table, watching her pour that same shocking crimson batter into a pan while telling me the secret was “a little bit of magic and a whole lot of butter.” She passed away five years ago, and I still haven’t found a red velvet anything that tastes quite like hers. But honestly, I’ve been chasing that specific feeling ever since—the way the kitchen smelled like cocoa and vanilla, the way she let me lick the spatula, the way that first bite of brownie made me close my eyes without thinking. Maybe you’ve been there too, trying to recreate something that feels just out of reach.
These Lighter Red Velvet Brownies with Cream Cheese Frosting are my attempt to get as close as possible—not just to Aunt Lou’s version, but to that whole moment. I wanted the deep chocolate flavor, the tangy cream cheese swirl on top, and that signature red color that makes you feel like you’re eating something special. But I also wanted to make them lighter, because let’s face it, my grown-up body doesn’t bounce back from a full butter-and-sugar assault the way it used to. So I played around in my kitchen for three weekends straight, making a mess, forgetting to add the vanilla once, and accidentally overbaking a batch so badly it could’ve been used as a doorstop. This version is the one that finally made me stop and close my eyes again. It’s rich without being heavy, indulgent without the guilt, and honestly, it might be even better than the original.
I mean, I still miss Aunt Lou like crazy. But every time I make these brownies, I feel like she’s right there, telling me to stop overthinking and just enjoy the dang brownie. And you know what? She’s right.
Why You’ll Love This Recipe
Let me tell you why these brownies have earned a permanent spot in my baking rotation. I’ve tested this recipe more times than I care to admit, and each batch taught me something new about getting that perfect balance of fudgy texture, rich flavor, and lighter ingredients that don’t sacrifice taste.
- Quick & Easy: From start to finish, you’re looking at about 45 minutes, including baking time. Perfect for those moments when a chocolate craving hits and you need something satisfying fast.
- Simple Ingredients: No weird specialty flours or hard-to-find extracts here. You probably already have most of these in your pantry, which is exactly how I like to bake.
- Perfect for Everyday Indulgence: These aren’t just for birthdays or holidays. They’re for Tuesday nights when you want something sweet but don’t want to undo a week of eating well.
- Crowd-Pleaser: I brought a batch to my book club last month, and three people asked for the recipe before I even sat down. Kids love them, adults love them, and nobody guesses they’re lighter.
- Unbelievably Delicious: The texture is exactly what you want from a brownie—fudgy, slightly dense, with that crackly top that gives way to a soft center. And the cream cheese frosting? It’s the perfect tangy counterpoint to the sweet chocolate base.
What makes this recipe different from all the other red velvet brownies out there is the technique. Instead of loading up on butter and sugar, I swapped in Greek yogurt for moisture and used a combination of cocoa powder and a touch of espresso powder to deepen the chocolate flavor without adding extra fat. The result is a brownie that tastes indulgent but won’t leave you feeling sluggish afterward. It’s comfort food reimagined—healthier, faster, but with the same soul-soothing satisfaction that makes you want to close your eyes after the first bite.
What Ingredients You Will Need
This recipe uses simple, wholesome ingredients that come together to create something truly special. Here’s everything you’ll need, broken down by component so you can prep like a pro.
For the Brownies
- All-purpose flour, 1 cup (120g) — regular white flour works perfectly here; no need for anything fancy
- Unsweetened cocoa powder, 1/3 cup (30g) — I prefer Hershey’s Special Dark for a richer flavor, but any brand works
- Baking powder, 1/2 teaspoon — helps give the brownies a slight lift without making them cakey
- Salt, 1/4 teaspoon — balances the sweetness and brings out the chocolate flavor
- Granulated sugar, 3/4 cup (150g) — just enough for sweetness without going overboard
- Light brown sugar, 1/4 cup (50g), packed — adds moisture and a hint of molasses flavor
- Greek yogurt, 1/2 cup (120g), plain — this is my secret weapon for keeping these brownies moist and tender without extra butter or oil
- Unsalted butter, 3 tablespoons (42g), melted — just enough for richness without making them greasy
- Large egg, 1 — at room temperature for better incorporation
- Vanilla extract, 1 teaspoon — pure vanilla makes a difference here; skip the imitation stuff if you can
- Red gel food coloring, 1 tablespoon — gel coloring gives you that vibrant red without thinning the batter like liquid food coloring does
- White vinegar, 1 teaspoon — this reacts with the cocoa powder to enhance the red color and adds a tiny tang
- Espresso powder, 1/2 teaspoon (optional but recommended) — you won’t taste coffee, I promise; it just deepens the chocolate flavor
For the Cream Cheese Frosting
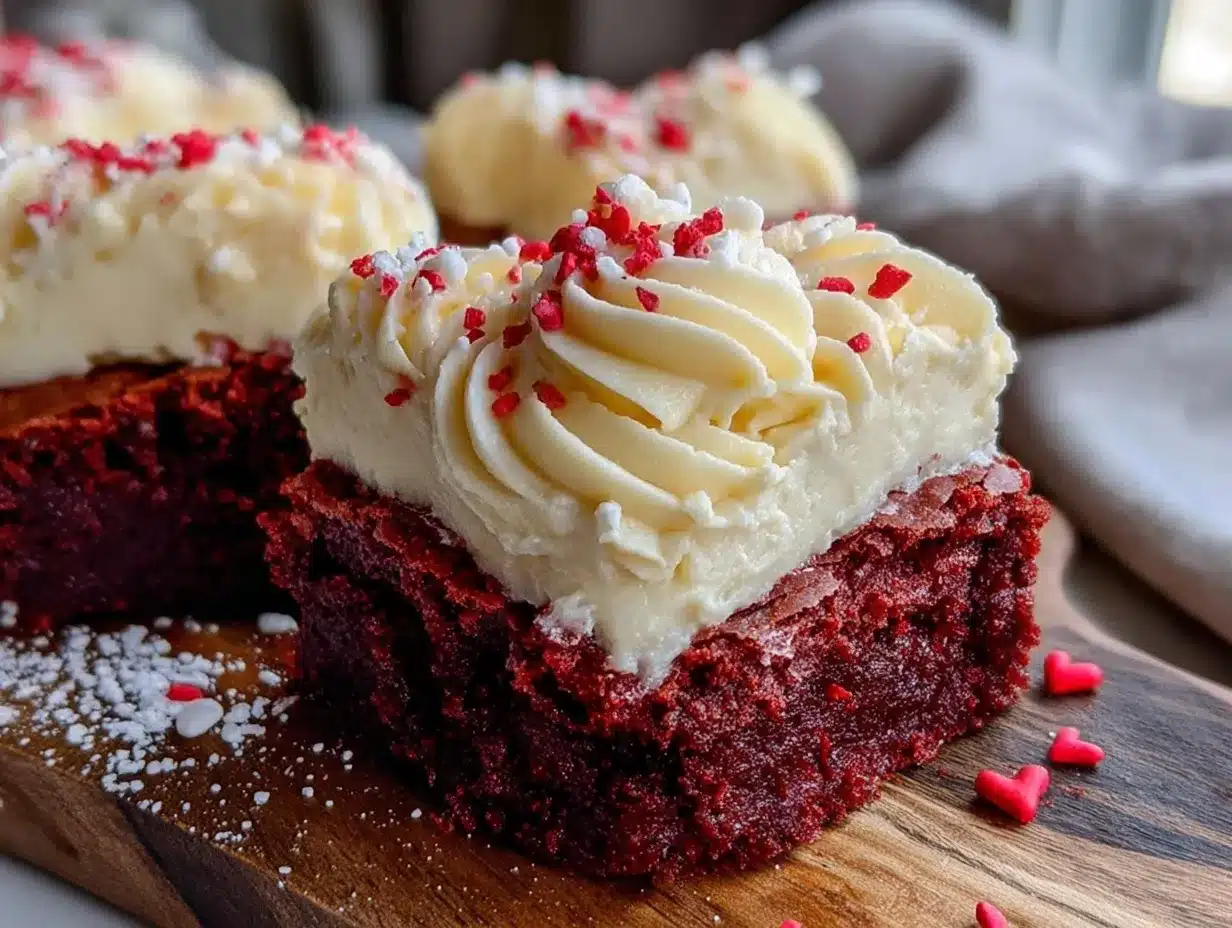
- Reduced-fat cream cheese, 4 ounces (113g), softened — using reduced-fat cuts calories without sacrificing creaminess
- Unsalted butter, 2 tablespoons (28g), softened — adds structure and richness to the frosting
- Powdered sugar, 1 cup (120g), sifted — sifting prevents lumps and gives you a silky smooth frosting
- Vanilla extract, 1/2 teaspoon — enhances the creamy flavor
- Milk, 1-2 teaspoons — only if needed to thin the frosting to spreading consistency
Equipment Needed
You don’t need a professional bakery setup to make these brownies, which is exactly how I like it. Here’s what you’ll need:
- 8×8 inch baking pan — this size gives you the perfect thickness for fudgy brownies. If you only have a 9×9, reduce the baking time by a few minutes
- Parchment paper — trust me on this one. Lining the pan with parchment paper with overhanging edges makes lifting the brownies out so much easier
- Mixing bowls — one medium bowl for dry ingredients, one large bowl for wet ingredients
- Whisk — for combining dry ingredients and smoothing out any lumps
- Rubber spatula — for folding the batter together gently without overmixing
- Electric hand mixer or stand mixer — for the frosting. You can whisk it by hand, but your arm will thank you for using a mixer
- Measuring cups and spoons — precise measurements matter in baking, so take the extra 30 seconds to measure carefully
- Cooling rack — letting the brownies cool completely before frosting is non-negotiable if you want clean slices
If you don’t have an electric mixer, a sturdy whisk and some elbow grease will work for the frosting—just make sure your cream cheese and butter are really soft first. I’ve also used a food processor in a pinch, and it worked surprisingly well.
Preparation Method
Alright, let’s get to the fun part. Follow these steps carefully, and you’ll end up with brownies that taste like they took way more effort than they actually did.
- Preheat your oven to 350°F (175°C). While it’s heating, line your 8×8 baking pan with parchment paper, leaving about 2 inches of overhang on two opposite sides. This creates little handles that make lifting the brownies out a breeze later.
- Whisk together the dry ingredients. In a medium bowl, combine the flour, cocoa powder, baking powder, salt, and espresso powder if you’re using it. Whisk until everything is evenly distributed—you don’t want a pocket of baking powder ruining your brownies.
- Mix the wet ingredients. In a large bowl, whisk together the granulated sugar, brown sugar, Greek yogurt, melted butter, egg, vanilla extract, and white vinegar. Whisk until the mixture is smooth and well combined, about 30 seconds. The yogurt might make it look a little lumpy at first, but keep whisking and it’ll come together.
- Add the food coloring. Stir in the red gel food coloring until the batter is an even, vibrant red. Don’t be shy here—the color should be pretty intense because it will fade slightly during baking.
- Fold in the dry ingredients. Add the flour mixture to the wet ingredients and fold gently with a rubber spatula until just combined. A few streaks of flour are okay—overmixing will make the brownies tough instead of fudgy. The batter will be thick and slightly sticky.
- Transfer to the pan. Scrape the batter into your prepared pan and spread it evenly with the spatula. It will be thick, so take your time getting it into the corners. Give the pan a couple of gentle taps on the counter to release any air bubbles.
- Bake for 20-25 minutes. Start checking at 20 minutes by inserting a toothpick into the center. You want it to come out with a few moist crumbs attached—not wet batter, but not completely clean either. Overbaked brownies are dry brownies, and nobody wants that. The edges should look set and the top should be slightly crackly.
- Cool completely. Let the brownies cool in the pan on a wire rack for about 10 minutes, then use the parchment paper handles to lift them out and transfer to the rack to cool completely. This is crucial—if you frost them while they’re still warm, the frosting will melt into a sad puddle.
- Make the frosting. While the brownies cool, beat the softened cream cheese and butter together with an electric mixer until smooth and creamy, about 2 minutes. Add the sifted powdered sugar and vanilla extract, then beat on low speed until combined, then increase to medium-high and beat for another 2 minutes until light and fluffy. If the frosting seems too thick, add milk 1 teaspoon at a time until it reaches spreading consistency.
- Frost and chill. Once the brownies are completely cool, spread the cream cheese frosting evenly over the top. Pop the pan in the fridge for about 30 minutes to let the frosting set before slicing. This gives you those clean, beautiful slices that look like they came from a bakery.
Cooking Tips & Techniques
After making these brownies about a dozen times, I’ve learned a few things the hard way. Here are my best tips to save you from making the same mistakes I did.
Don’t overmix the batter. I know I said this already, but it bears repeating. The first time I made these, I was so excited that I beat the batter like it owed me money. The brownies came out tough and almost rubbery. Fold just until the flour disappears, and you’ll get that perfect fudgy texture.
Use room temperature ingredients. Cold egg and cold yogurt can seize up the melted butter and make the batter lumpy. Take them out of the fridge about 30 minutes before you start baking. I forgot to do this once and ended up with tiny butter chunks in my batter—still edible, but not as smooth.
Gel food coloring is non-negotiable. Liquid food coloring will thin out your batter and give you a muddy, brownish-red color instead of that vibrant red velvet shade. I learned this the hard way when I tried to use what I had in the cabinet and ended up with brownies that looked more like maroon velvet. Not the look I was going for.
Let them cool completely. I cannot stress this enough. The first time I made these, I was impatient and frosted them after about 20 minutes. The frosting slid right off the top and pooled around the edges. It still tasted good, but it looked like a crime scene. Give them the full cooling time, and if you’re really in a hurry, pop them in the fridge for 15 minutes before frosting.
For clean slices, use a sharp knife and wipe it clean between cuts. Run the knife under hot water, dry it off, then make your cut. Wipe the blade clean with a paper towel before each subsequent slice. This gives you those beautiful, Instagram-worthy squares with clean edges.
Variations & Adaptations
One of the best things about this recipe is how flexible it is. Here are some ways to make it your own.
Gluten-free version: Substitute the all-purpose flour with a 1:1 gluten-free baking flour blend. I’ve tested this with Bob’s Red Mill 1:1 Baking Flour, and the texture was almost identical to the original. Just make sure your blend contains xanthan gum for structure.
Dairy-free adaptation: Use a dairy-free yogurt like coconut or almond milk yogurt, substitute the butter with coconut oil or vegan butter, and use a dairy-free cream cheese for the frosting. Kite Hill makes an excellent plant-based cream cheese that behaves almost exactly like the real thing.
Extra chocolatey version: Fold in 1/2 cup of dark chocolate chips or chunks right before transferring the batter to the pan. The little pockets of melted chocolate take these brownies to another level. I did this for a batch I brought to a Super Bowl party, and they disappeared in about 10 minutes.
Peppermint twist: Add 1/4 teaspoon of peppermint extract to the brownie batter and top the finished brownies with crushed candy canes or peppermint candies. This is fantastic around the holidays and gives the brownies a festive feel.
Nutty variation: Fold in 1/2 cup of chopped pecans or walnuts into the batter before baking. The crunch adds a lovely contrast to the fudgy texture. My neighbor Sarah tried this version and now refuses to make them any other way.
Serving & Storage Suggestions
These brownies are delicious at room temperature, but I actually prefer them slightly chilled. The frosting firms up nicely, and the brownie itself becomes even more fudgy. Here’s how to serve and store them for the best experience.
Serving temperature: Take the brownies out of the fridge about 10-15 minutes before serving if you want them slightly cool but not cold. For a truly indulgent treat, warm a brownie in the microwave for about 10 seconds and serve with a scoop of vanilla ice cream. The warm brownie and cold ice cream combination is honestly life-changing.
Storage: Store the brownies in an airtight container in the refrigerator for up to 5 days. The cream cheese frosting needs to stay refrigerated, so don’t leave them out at room temperature for more than 2 hours. I like to layer them with parchment paper between each row so the frosting doesn’t stick to the lid.
Freezing instructions: These brownies freeze beautifully. Place the unfrosted brownies in a single layer in a freezer-safe container, separating layers with parchment paper. They’ll keep for up to 3 months. When you’re ready to enjoy them, thaw in the refrigerator overnight, then make the frosting fresh. You can also freeze the frosted brownies, but the texture of the frosting might change slightly upon thawing.
Flavor development: Honestly, these brownies taste even better the next day. The flavors meld together, and the texture becomes even more fudgy. If you can resist eating them all on day one, you’re in for a treat on day two.
Nutritional Information & Benefits
I’m not a nutritionist, but I do care about what I put into my body. Here’s the breakdown for one brownie (assuming 16 servings):
| Nutrient | Amount per serving |
|---|---|
| Calories | 165 |
| Total Fat | 7g |
| Saturated Fat | 4g |
| Carbohydrates | 24g |
| Sugar | 17g |
| Protein | 3g |
| Fiber | 1g |
What makes these lighter? Using Greek yogurt instead of extra butter or oil cuts the fat significantly while adding protein and calcium. The reduced-fat cream cheese in the frosting also helps keep the calorie count reasonable without sacrificing that tangy, creamy texture we all love. And by using a mix of granulated and brown sugar instead of all granulated, we get more flavor with less total sugar.
Dietary considerations: These brownies are vegetarian and can be made gluten-free and dairy-free with the substitutions mentioned above. They contain wheat, dairy, and eggs, so they’re not suitable for vegan diets without significant modifications.
FAQs
Can I use regular food coloring instead of gel?
You can, but I don’t recommend it. Liquid food coloring will thin out your batter and give you a less vibrant color. You’d need a lot more liquid coloring to get the same red shade, which would throw off the texture of the brownies. Gel coloring is worth the extra dollar or two.
Why did my brownies turn out dry?
The most common culprit is overbaking. Remember, you want the toothpick to come out with a few moist crumbs attached, not completely clean. Every oven runs differently, so start checking at 20 minutes. Also, make sure you’re measuring your flour correctly—scooping directly from the bag can pack in too much flour, which dries out the batter. Spoon the flour into your measuring cup and level it off.
Can I make these brownies without the food coloring?
Absolutely. The food coloring is purely for aesthetics—it doesn’t affect the flavor at all. Without it, you’ll have chocolate brownies with a slightly deeper color from the cocoa powder. They’ll taste just as delicious, though they won’t have that classic red velvet look. I’ve made them without coloring for friends who prefer natural ingredients, and nobody complained.
How do I get clean, neat slices?
Chill the frosted brownies in the fridge for at least 30 minutes before slicing. Use a sharp knife and wipe it clean with a paper towel between each cut. For extra clean edges, run the knife under hot water and dry it off before making each cut. This takes a little extra time, but the results are worth it.
Can I double this recipe?
Yes! Double all the ingredients and bake in a 9×13 inch pan. You’ll need to increase the baking time to about 30-35 minutes, so start checking at 30 minutes. The frosting recipe will also need to be doubled. This is perfect for parties, potlucks, or when you want to share with neighbors.
Conclusion
These Lighter Red Velvet Brownies with Cream Cheese Frosting have become my go-to recipe for so many reasons. They give me that nostalgic feeling I’ve been chasing since Aunt Lou’s kitchen, but they also fit into my life now—a life where I want to enjoy dessert without feeling like I’ve derailed my whole week of eating well. They’re simple enough for a Tuesday night, special enough for a celebration, and honest to goodness, they might be the best brownies I’ve ever made.
I’d love to hear how yours turn out. Did you try any of the variations? Did you add chocolate chips or go the peppermint route? Drop a comment below and let me know—I read every single one, and I’m always looking for new ideas to try in my kitchen. And if you loved these brownies as much as I do, share the recipe with a friend who needs a little chocolate in their life. After all, that’s what cooking is really about, right? Sharing something good with the people you care about.
Happy baking, friends. Aunt Lou would be proud.
Pin This Recipe!
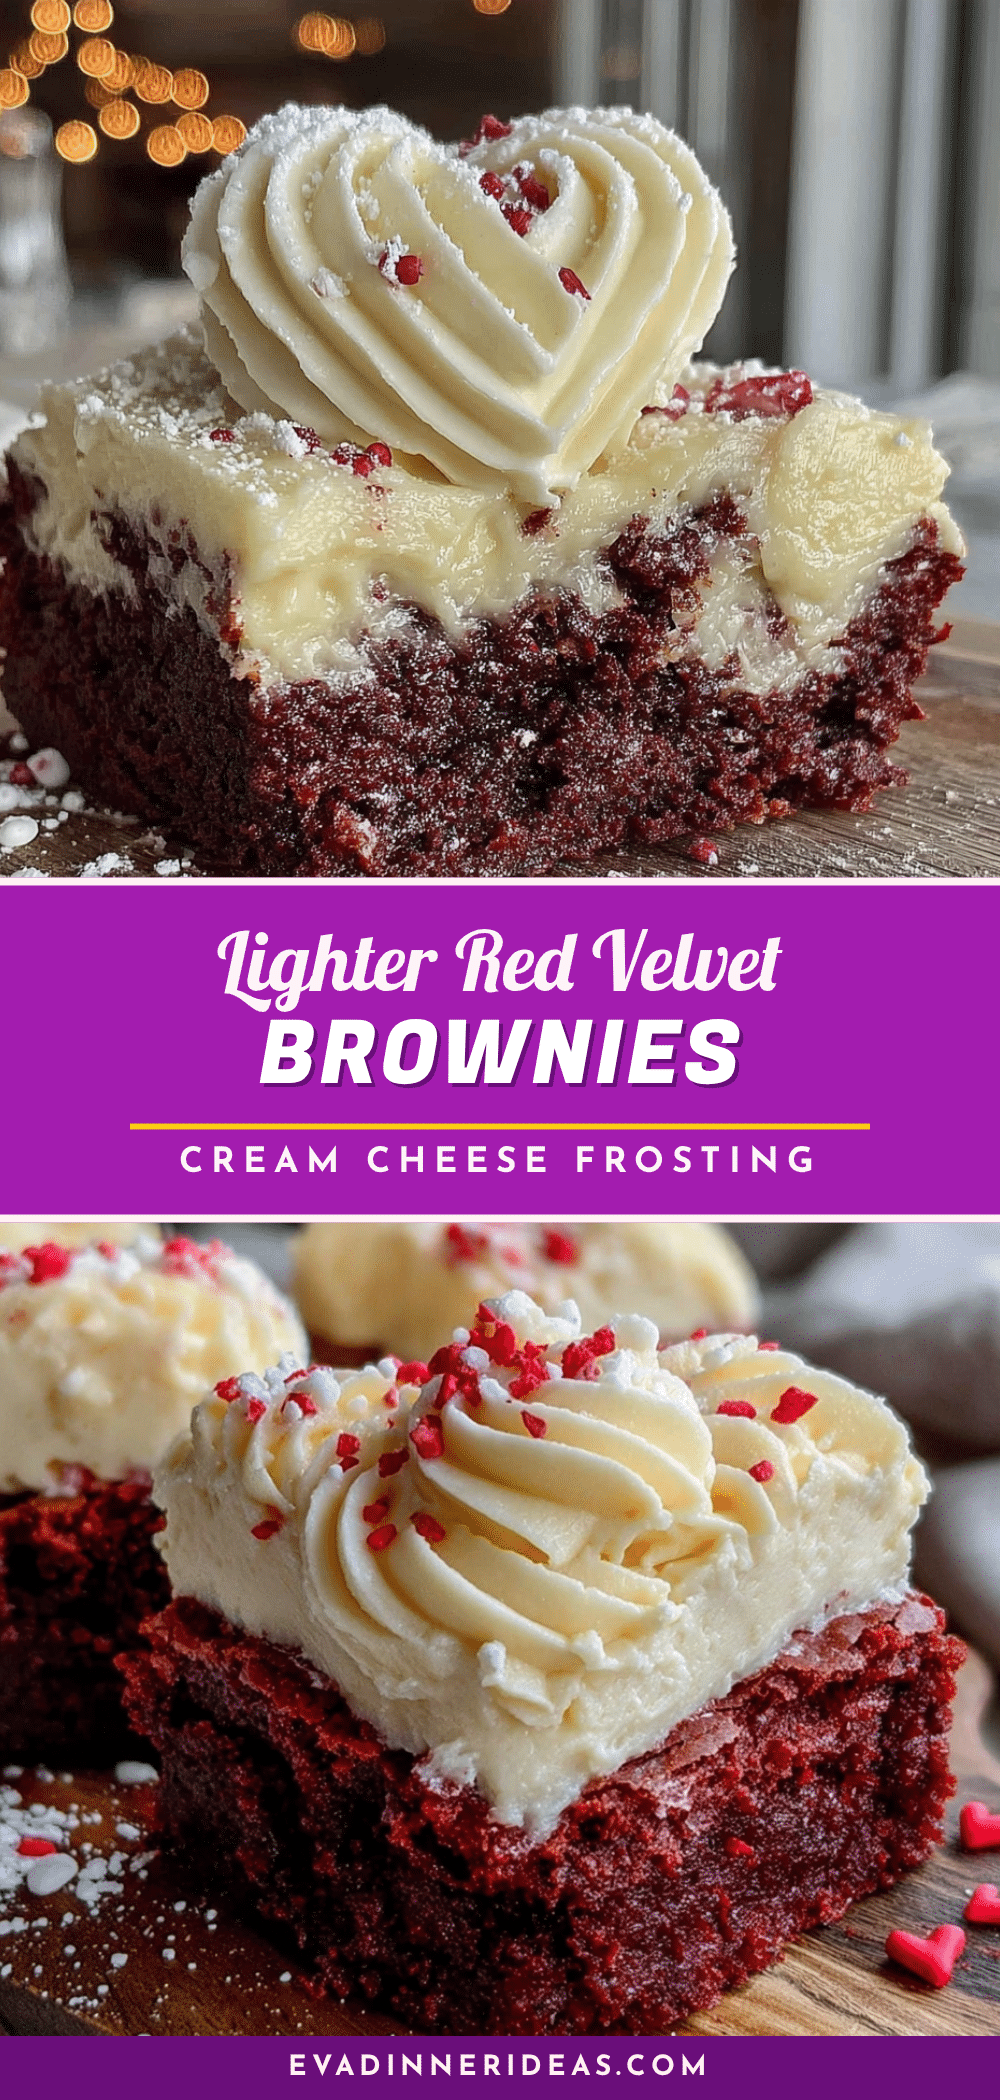
Lighter Red Velvet Brownies with Cream Cheese Frosting
These fudgy red velvet brownies are made lighter with Greek yogurt and less butter, topped with a tangy cream cheese frosting. They’re quick, easy, and perfect for everyday indulgence.
- Prep Time: 15 minutes
- Cook Time: 25 minutes
- Total Time: 45 minutes
- Yield: 16 servings 1x
- Category: Dessert
- Cuisine: American
Ingredients
- 1 cup (120g) all-purpose flour
- 1/3 cup (30g) unsweetened cocoa powder
- 1/2 teaspoon baking powder
- 1/4 teaspoon salt
- 3/4 cup (150g) granulated sugar
- 1/4 cup (50g) packed light brown sugar
- 1/2 cup (120g) plain Greek yogurt
- 3 tablespoons (42g) unsalted butter, melted
- 1 large egg, at room temperature
- 1 teaspoon vanilla extract
- 1 tablespoon red gel food coloring
- 1 teaspoon white vinegar
- 1/2 teaspoon espresso powder (optional)
- 4 ounces (113g) reduced-fat cream cheese, softened
- 2 tablespoons (28g) unsalted butter, softened
- 1 cup (120g) powdered sugar, sifted
- 1/2 teaspoon vanilla extract
- 1–2 teaspoons milk (if needed)
Instructions
- Preheat your oven to 350°F (175°C). Line an 8×8 inch baking pan with parchment paper, leaving about 2 inches of overhang on two opposite sides.
- In a medium bowl, whisk together the flour, cocoa powder, baking powder, salt, and espresso powder (if using).
- In a large bowl, whisk together the granulated sugar, brown sugar, Greek yogurt, melted butter, egg, vanilla extract, and white vinegar until smooth.
- Stir in the red gel food coloring until the batter is an even, vibrant red.
- Add the flour mixture to the wet ingredients and fold gently with a rubber spatula until just combined. Do not overmix.
- Scrape the batter into the prepared pan and spread evenly. Tap the pan gently on the counter to release air bubbles.
- Bake for 20-25 minutes, until a toothpick inserted in the center comes out with a few moist crumbs attached.
- Let the brownies cool in the pan on a wire rack for 10 minutes, then lift them out using the parchment paper handles and transfer to the rack to cool completely.
- While the brownies cool, beat the softened cream cheese and butter together with an electric mixer until smooth and creamy, about 2 minutes. Add the sifted powdered sugar and vanilla extract, then beat on low speed until combined, then increase to medium-high and beat for another 2 minutes until light and fluffy. If the frosting seems too thick, add milk 1 teaspoon at a time until it reaches spreading consistency.
- Once the brownies are completely cool, spread the cream cheese frosting evenly over the top. Refrigerate for about 30 minutes to let the frosting set before slicing.
Notes
For clean slices, chill the frosted brownies for at least 30 minutes before slicing. Use a sharp knife and wipe it clean between cuts. These brownies taste even better the next day. Store in an airtight container in the refrigerator for up to 5 days. Freeze unfrosted brownies for up to 3 months.
Nutrition
- Serving Size: 1 brownie
- Calories: 165
- Sugar: 17
- Fat: 7
- Saturated Fat: 4
- Carbohydrates: 24
- Fiber: 1
- Protein: 3
Keywords: red velvet brownies, lighter brownies, cream cheese frosting, fudgy brownies, easy dessert, healthier brownies


