It was 11:47 PM on a random Tuesday, and I had a very specific craving for something warm, sweet, and appley. The problem? I didn’t have enough apples for a full crisp, nor the energy for a big production, but I had two lonely Honeycrisps sitting in the fruit bowl and a sudden, slightly unhinged idea that maybe I didn’t need a whole baking dish. Maybe I just needed two small ramekins and a little bit of faith in the power of a late-night kitchen experiment. I mean, honestly, the best recipes happen when you stop following the rules, right?
So there I was, barefoot on the cold kitchen floor, measuring oats with a coffee spoon and hoping I didn’t wake up the neighbors with the clatter of a mixing bowl. I grabbed a handful of walnuts from the freezer—the ones I’d been hoarding for a “special occasion”—and decided tonight was that occasion. The butter was cold, the brown sugar was a little clumpy, and I accidentally spilled cinnamon on the counter. But you know that feeling when you just know something is going to work? That hit me as I sprinkled the topping over those sliced apples. It wasn’t a full-on apple crisp. It was better. It was ours.
This recipe stuck with me because it solved a problem I didn’t know I had: how to make a classic dessert feel special without the guilt of a whole pan staring at me from the fridge. Maybe you’ve been there, standing in front of the pantry at an ungodly hour, wanting something that tastes like effort but takes almost none. This lightened-up small batch apple crisp for two is that recipe. It’s the kind of thing you make when you want dessert to feel like a secret, not a commitment.
Why You’ll Love This Recipe
Let me tell you why this particular apple crisp has earned a permanent spot in my late-night rotation. I’ve tested it about six times now—each time tweaking the topping ratio or the apple thickness—and I can say with confidence that this is the version that hits every single note.
- Quick & Easy: This comes together in under 30 minutes, from start to warm-out-of-the-oven. Perfect for those moments when a craving strikes and you need immediate gratification.
- Simple Ingredients: You likely have everything in your pantry right now. Oats, flour, brown sugar, butter, cinnamon, and two apples. No fancy grocery trips needed.
- Perfect for Cozy Nights In: Whether it’s a quiet date night at home, a solo self-care evening, or a small dessert after a weeknight dinner, this portion is just right.
- Crowd-Pleaser: I’ve served this to friends who swore they were “too full” for dessert, and they finished every last crumb. It’s that irresistible.
- Unbelievably Delicious: The contrast between the tender, cinnamon-spiced apples and the crunchy, buttery oat topping is next-level comfort food. And because it’s lightened up, you get all the flavor without the heavy feeling afterward.
What makes this recipe different from the rest? It’s the technique of par-cooking the apples just slightly before baking, which ensures they’re perfectly tender without turning into mush. Plus, I swap half the butter for a touch of coconut oil, which adds a subtle richness without the saturated fat. This isn’t just another apple crisp—it’s your new go-to for when you want dessert to feel like a warm hug, not a sugar bomb.
This recipe is the kind that makes you close your eyes after the first bite. It’s comfort food reimagined—healthier, faster, but with the same soul-soothing satisfaction that makes you forget you were ever stressed in the first place.
What Ingredients You Will Need
This lightened-up small batch apple crisp for two uses simple, wholesome ingredients to deliver bold flavor and satisfying texture without the fuss. Everything is a pantry staple, so you can whip this up on a whim.
- Apples (2 medium): Honeycrisp or Granny Smith work best. Honeycrisp add natural sweetness, while Granny Smith provide a tart contrast. Peel, core, and slice them into ¼-inch thick pieces. (I prefer Honeycrisp for their balance of sweet and firm texture.)
- Old-Fashioned Rolled Oats (¼ cup): These give the topping its signature crunch. Avoid quick oats—they turn mushy. I recommend Bob’s Red Mill for consistent texture.
- All-Purpose Flour (2 tablespoons): Helps bind the topping and creates a crumbly texture. For a gluten-free option, use almond flour or a 1:1 gluten-free blend.
- Light Brown Sugar (2 tablespoons, packed): Adds deep, caramel-like sweetness. You can substitute coconut sugar for a lower-glycemic option.
- Unsalted Butter (1 tablespoon, cold and cubed): Provides richness and helps the topping crisp up. Keep it cold for the best crumbly texture.
- Coconut Oil (1 tablespoon, solid but softened): This is my secret swap. It adds moisture and a subtle tropical note while cutting down on butter. Use refined coconut oil if you want no coconut flavor.
- Ground Cinnamon (1 teaspoon): The star spice. It warms the apples and ties everything together. Fresh cinnamon makes a noticeable difference.
- Ground Nutmeg (¼ teaspoon): Adds a hint of warmth. Freshly grated is ideal, but pre-ground works fine.
- Salt (a pinch): Balances the sweetness and enhances the apple flavor. Don’t skip it.
- Lemon Juice (1 teaspoon): Prevents the apples from browning and brightens the overall flavor. Fresh is best.
- Vanilla Extract (½ teaspoon): Adds depth and rounds out the sweetness. Pure vanilla extract is worth the splurge here.
- Optional Toppings: A small handful of chopped walnuts or pecans for extra crunch, or a drizzle of caramel sauce for indulgence.
For the apples, look for firm ones without soft spots. If you’re using a sweeter variety like Fuji or Gala, reduce the brown sugar by half a tablespoon. And if you’re out of coconut oil, just use an extra tablespoon of butter—it’ll still be delicious, just a tad richer.
Equipment Needed
You don’t need much for this recipe, which is part of its charm. Here’s what you’ll want to have on hand:
- Two 6-ounce Ramekins or Small Baking Dishes: These are perfect for individual portions. If you don’t have ramekins, a small 5×5-inch baking dish works too—just adjust the baking time slightly.
- Mixing Bowls: One medium bowl for the apples and one small bowl for the topping. I use my favorite ceramic nesting bowls that I’ve had for years.
- Sharp Knife and Cutting Board: For slicing the apples evenly. A mandoline slicer works great here if you want uniform thickness.
- Measuring Spoons and Cups: Accuracy matters, especially for the topping. I’ve learned the hard way that eyeballing brown sugar leads to a soggy crisp.
- Pastry Cutter or Fork: For cutting the cold butter and coconut oil into the dry ingredients. A fork works in a pinch, but a pastry cutter gives you a better crumb texture.
- Baking Sheet: Place the ramekins on a small baking sheet to catch any drips. Trust me on this—apple juices bubble over sometimes.
If you don’t have ramekins, you can use oven-safe coffee mugs. Just make sure they’re heatproof. I’ve done this before in a pinch, and it works beautifully—just reduce the baking time by a few minutes since mugs are smaller.
Preparation Method
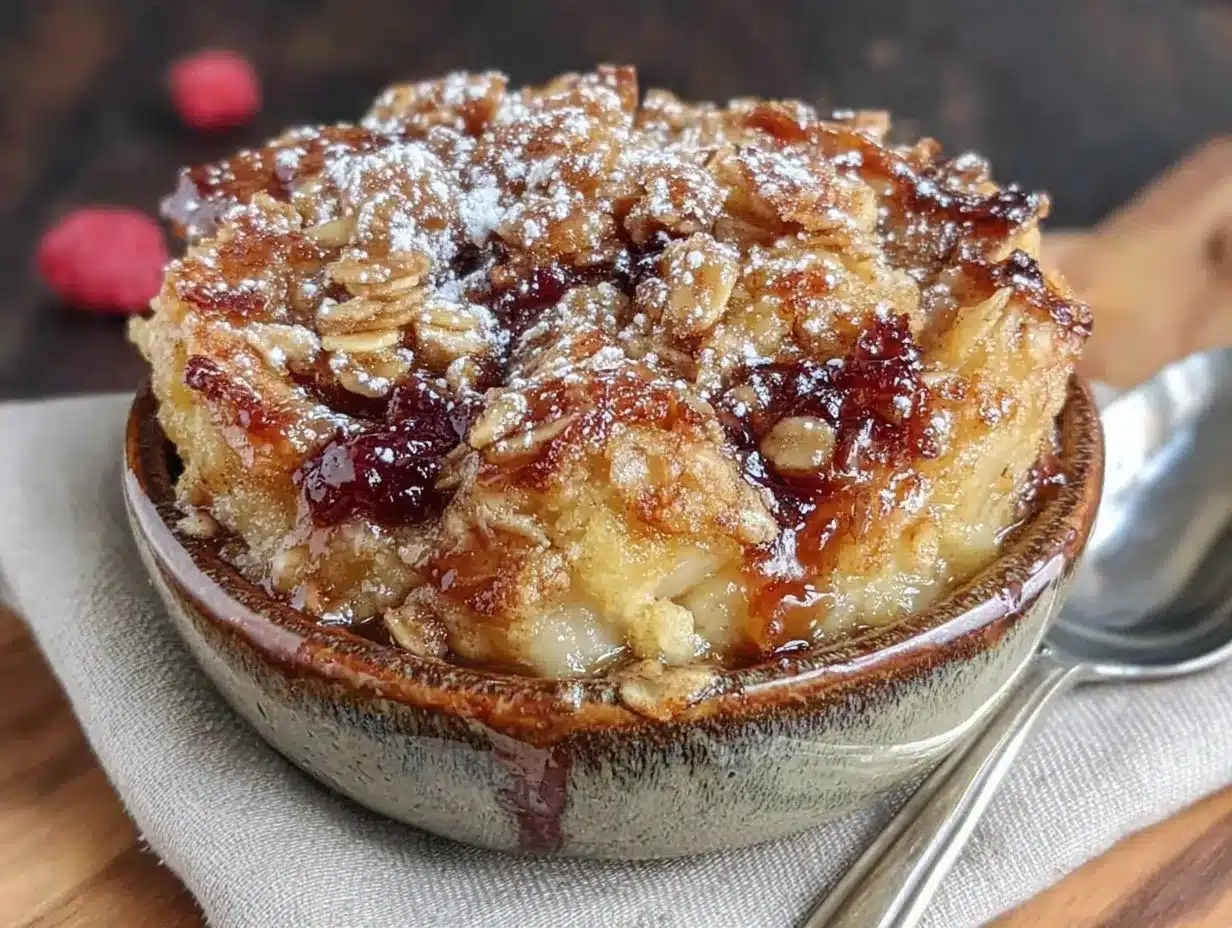
Alright, let’s get into the nitty-gritty. This lightened-up small batch apple crisp for two comes together faster than you’d think, but a few small details make all the difference.
- Preheat your oven to 375°F (190°C). Place a small baking sheet on the middle rack. This preheats the pan and will help the bottoms of the ramekins crisp up. While that’s happening, wash and dry your apples.
- Prepare the apples. Peel, core, and slice the apples into ¼-inch thick pieces. I like to cut them into half-moons—they cook evenly and look pretty. Toss the slices in a medium bowl with 1 teaspoon lemon juice, ½ teaspoon cinnamon, and ¼ teaspoon nutmeg. Let them sit for 5 minutes. This step softens the apples slightly and allows the spices to penetrate. You’ll notice the apples release a little juice—that’s good, it’ll create a light syrup.
- Make the topping. In a small bowl, combine ¼ cup rolled oats, 2 tablespoons all-purpose flour, 2 tablespoons packed light brown sugar, ½ teaspoon cinnamon, and a pinch of salt. Stir with a fork to evenly distribute the dry ingredients. Add 1 tablespoon cold, cubed unsalted butter and 1 tablespoon solid but softened coconut oil. Use a pastry cutter or two forks to cut the fats into the dry mixture until it resembles coarse crumbs with some pea-sized bits. Don’t overwork it—you want some larger clumps for texture. If the mixture feels too dry, add a teaspoon of cold water.
- Assemble the crisps. Divide the apple mixture evenly between the two ramekins. Press them down gently with the back of a spoon so they’re compact. Sprinkle the topping evenly over each ramekin, covering the apples completely. Don’t pack it down—leave it loose for maximum crunch. If you’re adding nuts, scatter a few on top now.
- Bake. Place the ramekins on the preheated baking sheet. Bake for 18-22 minutes, until the topping is golden brown and the apples are bubbling around the edges. The topping should feel firm to the touch. If your ramekins are deeper, add 2-3 minutes. You’ll know it’s done when the kitchen smells like a cozy autumn afternoon.
- Cool slightly before serving. Let the crisps rest on a wire rack for 5 minutes. This allows the filling to set up a bit—if you dig in immediately, it’ll be lava-hot and runny. The texture improves as it cools, trust me. I learned this the hard way after burning my tongue on the first batch.
- Optional finishing touches. Top with a small scoop of vanilla ice cream, a dollop of Greek yogurt, or a drizzle of maple syrup. The contrast of cold and warm is pure magic.
One more thing: if you notice the topping browning too quickly before the apples are tender, loosely tent the ramekins with foil for the last 5 minutes of baking. This happened to me once when I used a particularly dry batch of oats, and the foil saved the day.
Cooking Tips & Techniques
Over the course of testing this recipe, I’ve made a few mistakes so you don’t have to. Here are the tricks I’ve picked up along the way.
Don’t skip the lemon juice. I once thought, “Eh, it’s just two apples, what’s the worst that could happen?” The apples turned brown and the flavor was flat. Lemon juice isn’t just for color—it brightens the entire dish and balances the sweetness. A little goes a long way.
Keep your fats cold. This is the golden rule of any crisp or crumble. If the butter and coconut oil warm up before baking, you’ll end up with a dense, greasy topping instead of a light, crunchy one. I cube the butter and pop it back in the fridge while I prep the apples. Same with the coconut oil—I scoop it out and keep it chilled until the last minute.
Slice apples evenly. This is more important than you think. Uneven slices mean some pieces will be mushy while others are still crunchy. I aim for ¼-inch thickness, which is about the width of a pencil. If you’re in a hurry, a mandoline slicer is your best friend. Just watch your fingers—I have a scar on my thumb from rushing.
Toast the oats first for extra flavor. This is a pro tip I picked up from a pastry chef friend. Spread the oats on a baking sheet and toast them at 350°F for 5 minutes before mixing them into the topping. It adds a nutty, deeper flavor that takes this crisp from good to unforgettable. Just let them cool completely before using.
Let the apples macerate. That 5-minute rest after tossing the apples with lemon juice and spices isn’t just for show. It allows the apples to release some liquid, which creates a natural syrup as they bake. Without this step, the filling can be dry. I’ve tested it both ways, and the macerated version is always juicier and more flavorful.
Multitask wisely. While the apples are macerating, make the topping. While the crisps are baking, clean up your workspace. This recipe is small enough that you can have the kitchen spotless by the time dessert is ready. It’s oddly satisfying.
Variations & Adaptations
One of the best things about this lightened-up small batch apple crisp for two is how easily it adapts to different tastes and dietary needs. Here are some variations I’ve tried and loved.
Vegan Version: Replace the butter with an additional tablespoon of coconut oil or a plant-based butter stick. Use maple syrup instead of brown sugar for a refined-sugar-free option. It works beautifully—the topping stays crunchy and the apples get perfectly tender.
Gluten-Free Adaptation: Swap the all-purpose flour with almond flour or a gluten-free 1:1 baking blend. I’ve tested this with almond flour, and it adds a lovely nuttiness. Just note that the topping will be slightly more delicate, so handle it gently when sprinkling over the apples.
Seasonal Twists: In the fall, add a tablespoon of fresh cranberries to the apple mixture for a tart pop of color. In the summer, swap the apples for sliced peaches or nectarines—reduce the baking time by 2-3 minutes since stone fruits are softer. I made a peach version last July, and it was a revelation.
Spice It Up: Add ¼ teaspoon of ground ginger or cardamom to the apple mixture for a more complex flavor profile. I once added a pinch of cayenne pepper for a sweet-heat combo, and it was surprisingly addictive. Just go easy—you want warmth, not fire.
Nut-Free Option: Simply omit the walnuts or pecans from the topping. You can replace them with an extra tablespoon of oats or a tablespoon of sunflower seeds for crunch. I’ve done this for friends with nut allergies, and they never missed the nuts.
Single Serving: Halve all the ingredients and bake in one ramekin. The baking time stays about the same—just check for doneness at the 15-minute mark. Perfect for those nights when it’s just you and a craving.
Serving & Storage Suggestions
This apple crisp is best served warm, straight from the oven, when the topping is still crunchy and the apples are tender and bubbling. Let it cool for 5 minutes—I know it’s hard to wait, but it’s worth it. The filling sets up and won’t burn your mouth.
What to Serve With It: A small scoop of vanilla bean ice cream is the classic choice, and for good reason—the cold creaminess against the warm, spiced apples is perfection. For a lighter option, try a dollop of plain Greek yogurt or a drizzle of cold heavy cream. If you’re feeling fancy, a spoonful of whipped coconut cream adds a dairy-free touch. I’ve also enjoyed it with a side of hot coffee or a cup of chai tea for a cozy evening treat.
Storage Instructions: If you have leftovers (which is rare in my house), cover the ramekins tightly with plastic wrap or transfer the crisp to an airtight container. Store in the refrigerator for up to 3 days. The topping will lose some crunch, but the flavor deepens overnight—the spices meld together beautifully.
Reheating Tips: To revive the crispness, reheat in a 350°F oven for 8-10 minutes. The microwave works in a pinch (30 seconds), but the topping will be soft. If you’re reheating from frozen, let it thaw in the fridge overnight, then reheat in the oven. I’ve done this after making a double batch, and it’s almost as good as fresh.
Freezing Instructions: You can freeze the assembled but unbaked crisps. Wrap the ramekins tightly in plastic wrap, then foil, and freeze for up to 2 months. To bake from frozen, add 10-15 minutes to the baking time. This is a great make-ahead option for unexpected guests or busy weeks.
The flavors actually improve after a day in the fridge—the apples absorb more of the spiced syrup, and the topping softens into a chewy, granola-like texture. It’s different, but still delicious. I sometimes make a double batch just for this reason.
Nutritional Information & Benefits
This lightened-up small batch apple crisp for two is designed to satisfy your sweet tooth without derailing your wellness goals. Here’s the estimated nutritional breakdown per serving (one ramekin, without ice cream or additional toppings):
| Nutrient | Amount Per Serving |
|---|---|
| Calories | 245 |
| Total Fat | 10g |
| Saturated Fat | 5g |
| Carbohydrates | 38g |
| Fiber | 5g |
| Sugar | 22g |
| Protein | 3g |
Health Benefits: Apples are packed with fiber and vitamin C, which support digestion and immune health. Oats provide beta-glucan, a type of soluble fiber that helps maintain steady blood sugar levels and keeps you full longer. Cinnamon is known for its anti-inflammatory properties and can help regulate blood sugar. By using coconut oil in place of some butter, we’ve reduced the saturated fat content while adding medium-chain triglycerides (MCTs), which are metabolized differently and may support energy production.
Dietary Considerations: This recipe is naturally vegetarian. It can be made vegan (see variations), gluten-free (with almond flour), and nut-free (by omitting nuts). It’s also relatively low in added sugar compared to traditional apple crisp recipes, which often call for ½ cup or more of sugar. At 22 grams of sugar per serving, most of it comes naturally from the apples.
From a wellness perspective, I love that this dessert doesn’t leave me feeling sluggish afterward. It’s satisfying enough to feel like a treat, but light enough that I can enjoy it without guilt. That’s the sweet spot, if you ask me.
Conclusion
This lightened-up small batch apple crisp for two has become my go-to for those moments when I want something warm, comforting, and just a little bit special without the fuss of a full dessert. It’s proof that you don’t need a whole pan, a complicated technique, or a trip to the store to make something truly delicious. Two apples, a handful of pantry staples, and twenty minutes is all it takes.
I love that this recipe meets you where you are—whether you’re a seasoned baker or someone who rarely turns on the oven. It’s forgiving, adaptable, and always delivers. The first time I made it, I was skeptical that such simple ingredients could produce something so satisfying. Now, I make it on repeat, each time finding a new little tweak to love.
I encourage you to make this recipe your own. Use your favorite apple variety, add a pinch of your favorite spice, or top it with whatever you have on hand. And when you do, I’d love to hear about it. Leave a comment below, tag me in your photos, or share your own variation. This recipe is meant to be shared, tweaked, and celebrated. After all, the best desserts are the ones that feel like they were made just for you—and this one literally is.
Frequently Asked Questions
Can I use quick oats instead of rolled oats?
You can, but I don’t recommend it. Quick oats are more finely ground and will absorb moisture faster, resulting in a softer, less crunchy topping. Rolled oats give that satisfying texture that makes a crisp, well, crisp. If that’s all you have, reduce the baking time by 2-3 minutes to prevent the topping from becoming mushy.
What’s the best apple for this recipe?
I prefer Honeycrisp for their natural sweetness and firm texture that holds up well during baking. Granny Smith is a close second—their tartness balances the brown sugar beautifully. Avoid Red Delicious or McIntosh, as they break down too quickly and can become mushy. A mix of one sweet and one tart apple is also a great option.
Can I make this in advance?
Absolutely. You can assemble the crisps (without baking) up to 24 hours in advance. Cover and refrigerate, then bake straight from the fridge, adding 3-5 minutes to the baking time. You can also freeze the unbaked crisps for up to 2 months. Just wrap tightly and bake from frozen, adding 10-15 minutes.
How do I prevent the topping from burning?
If the topping is browning too quickly, loosely tent the ramekins with aluminum foil for the last 5 minutes of baking. This shields the topping while allowing the apples to continue cooking. Also, make sure your oven isn’t running hot—an oven thermometer is a cheap investment that saves many desserts.
Is this recipe really lightened up?
Yes! Compared to a traditional apple crisp, this version uses less butter and sugar overall. By swapping half the butter for coconut oil and using only 2 tablespoons of brown sugar for two servings, we’ve cut the calories and saturated fat by about 30% compared to standard recipes. The fiber from the oats and apples also helps you feel satisfied with a smaller portion. It’s still a dessert, but one that won’t weigh you down.
Pin This Recipe!
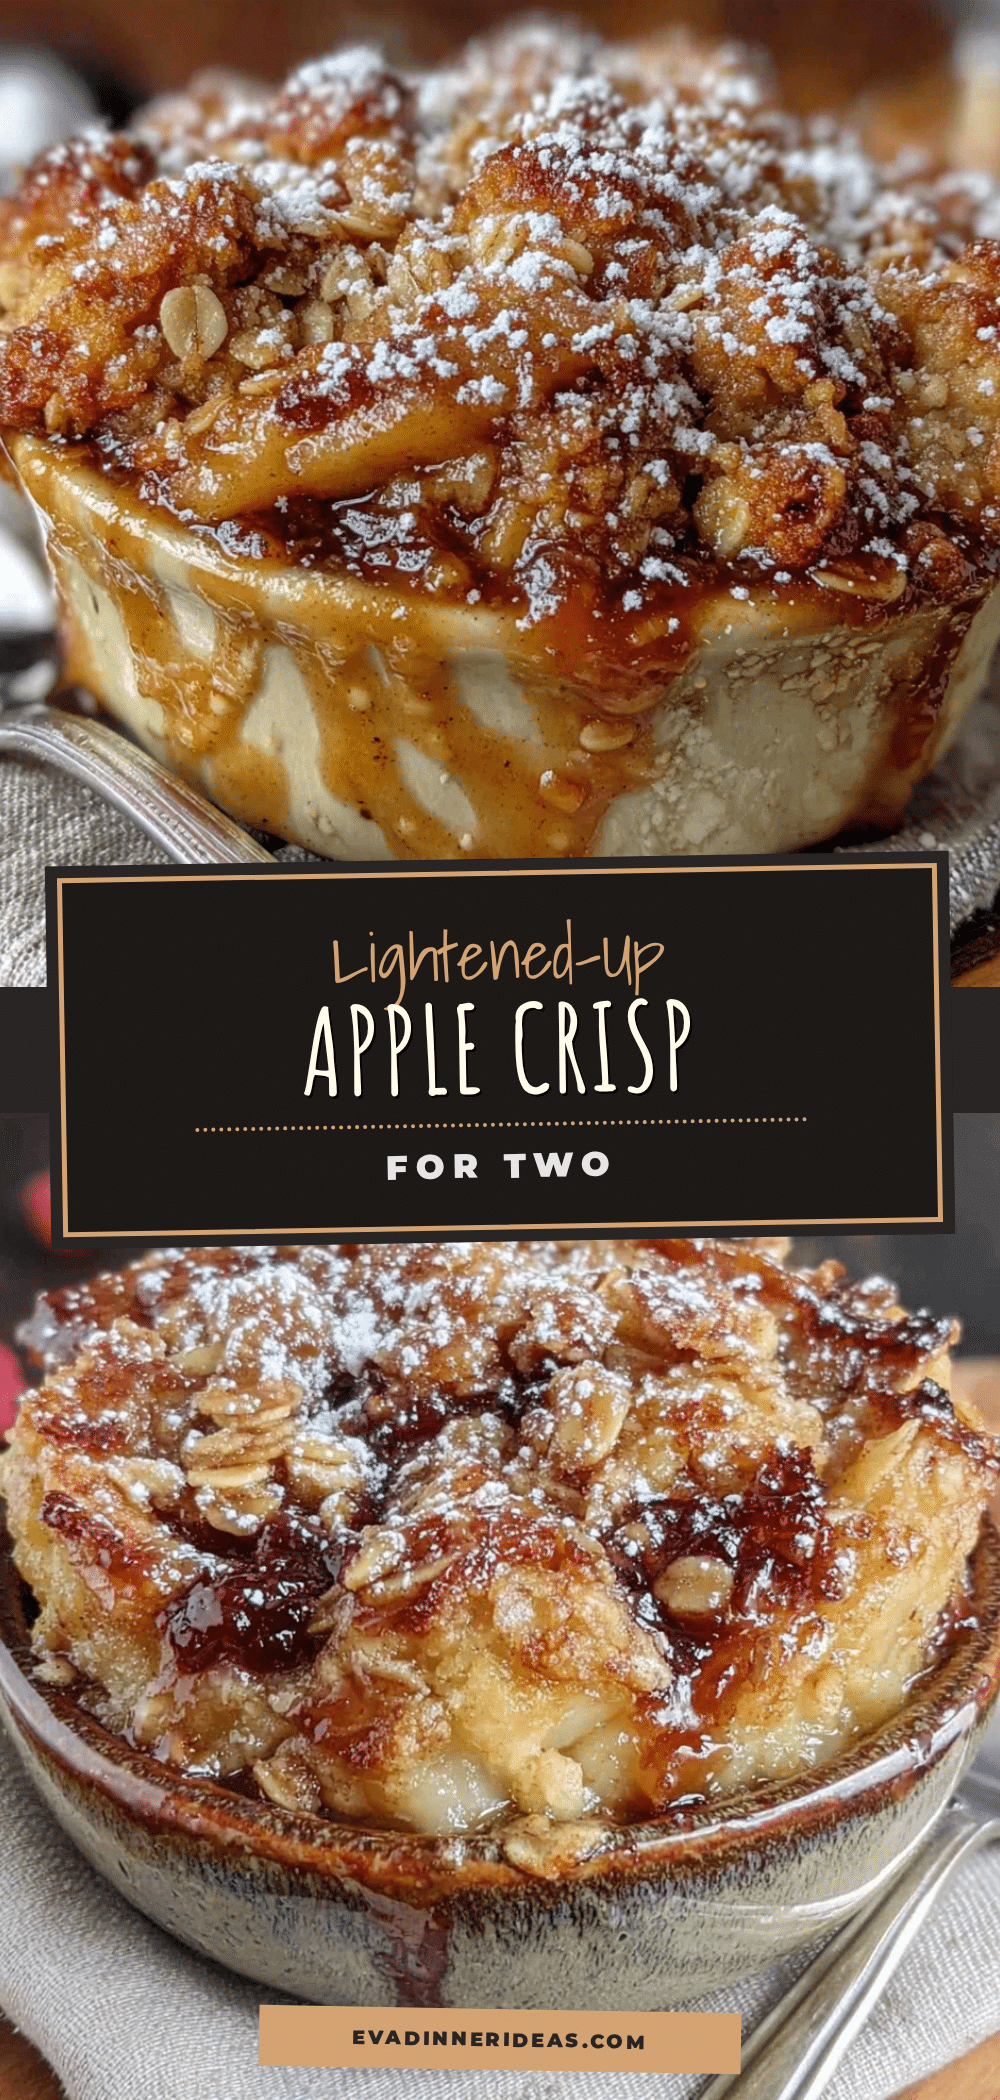
Lightened-Up Small-Batch Apple Crisp for Two

A quick and easy apple crisp for two, made with simple ingredients and a lightened-up twist. Perfect for late-night cravings or cozy nights in.
- Prep Time: 10 minutes
- Cook Time: 20 minutes
- Total Time: 30 minutes
- Yield: 2 servings 1x
- Category: Dessert
- Cuisine: American
Ingredients
- 2 medium apples (Honeycrisp or Granny Smith), peeled, cored, and sliced into ¼-inch thick pieces
- ¼ cup old-fashioned rolled oats
- 2 tablespoons all-purpose flour
- 2 tablespoons packed light brown sugar
- 1 tablespoon unsalted butter, cold and cubed
- 1 tablespoon coconut oil, solid but softened
- 1 teaspoon ground cinnamon
- ¼ teaspoon ground nutmeg
- a pinch of salt
- 1 teaspoon lemon juice
- ½ teaspoon vanilla extract
- Optional: a small handful of chopped walnuts or pecans for topping
Instructions
- Preheat your oven to 375°F (190°C). Place a small baking sheet on the middle rack to preheat.
- Prepare the apples: Peel, core, and slice the apples into ¼-inch thick pieces. Toss the slices in a medium bowl with 1 teaspoon lemon juice, ½ teaspoon cinnamon, and ¼ teaspoon nutmeg. Let them sit for 5 minutes.
- Make the topping: In a small bowl, combine ¼ cup rolled oats, 2 tablespoons all-purpose flour, 2 tablespoons packed light brown sugar, ½ teaspoon cinnamon, and a pinch of salt. Stir with a fork. Add 1 tablespoon cold, cubed unsalted butter and 1 tablespoon solid but softened coconut oil. Use a pastry cutter or two forks to cut the fats into the dry mixture until it resembles coarse crumbs with some pea-sized bits.
- Assemble the crisps: Divide the apple mixture evenly between two 6-ounce ramekins. Press them down gently with the back of a spoon. Sprinkle the topping evenly over each ramekin, covering the apples completely. If adding nuts, scatter a few on top now.
- Bake: Place the ramekins on the preheated baking sheet. Bake for 18-22 minutes, until the topping is golden brown and the apples are bubbling around the edges.
- Cool slightly before serving: Let the crisps rest on a wire rack for 5 minutes before serving.
- Optional: Top with a small scoop of vanilla ice cream, a dollop of Greek yogurt, or a drizzle of maple syrup.
Notes
For best results, keep the butter and coconut oil cold. Slice apples evenly for even cooking. If topping browns too quickly, tent with foil for the last 5 minutes. Let the apples macerate for 5 minutes to create a natural syrup.
Nutrition
- Serving Size: 1 ramekin
- Calories: 245
- Sugar: 22
- Sodium: 75
- Fat: 10
- Saturated Fat: 5
- Carbohydrates: 38
- Fiber: 5
- Protein: 3
Keywords: apple crisp, small batch, for two, lightened up, healthy dessert, quick dessert, apple dessert


