I was standing in my neighbor Maria’s kitchen last November, helping her prep for her annual holiday open house, when she pulled a baking sheet out of the oven that stopped me mid-sentence. The slices were glowing — like tiny stained-glass windows, all amber and ruby and gold, with the thinnest rim of caramelized sugar catching the light. She didn’t say a word. She just set the tray on the counter and went back to stirring something on the stove, and I stood there staring at these translucent little disks of citrus, thinking, what in the world did she just do?
I was thirty-four years old and had never seen an oven-dried orange slice in my life. Which is funny, because oranges were a big deal in my house growing up. My dad would buy them by the mesh bag from the grocery store on Saturday mornings, and my mom would slice one open for my lunchbox every single day — the smell of citrus rind on her fingers as she packed it, the way the segments separated cleanly under the plastic wrap. But she never dried them. She never turned them into something that looked like it belonged in a magazine spread or on a charcuterie board at a fancy party.
Maria handed me one, still warm from the tray. “Try it,” she said. And I did. And honestly? It was like eating a piece of sunshine. Chewy, not crunchy. Sweet, but with that little edge of tartness that reminds you it’s still a real orange, not candy. I ate three more before she told me to stop or I’d ruin my appetite for the actual party food. (She was right. I did anyway.)
That moment stuck with me. Not just because the slices were beautiful — though they were — but because they felt like a secret I’d been missing. A way to make something ordinary look extraordinary with almost no effort. And if you’ve ever stood in front of a dessert table or a cocktail bar at a gathering, wishing you’d brought something that looked like you tried really hard even though you didn’t, let me tell you: these are your new best friend.
Why You’ll Love This Recipe
Let me be real with you for a second. I’ve tested this recipe about seven times over the past year, tweaking temperatures and thickness and timing, because I wanted it to be foolproof. Not just “pretty good” foolproof. I mean, you-could-be-talking-to-your-guests-while-the-oven-does-all-the-work foolproof. And I finally got there.
Here’s what makes these oven-dried orange slices a total game-changer for your next gathering:
- Almost zero active work. You slice, you arrange, you wait. That’s it. The oven does the heavy lifting while you focus on literally anything else — setting the table, mixing drinks, hiding the mess in the guest bathroom.
- Simple ingredients, stunning results. Oranges. That’s the list. Okay, maybe a little sugar if you want, but honestly? You don’t even need it. No weird extracts, no special syrups, no trip to three different stores.
- Perfect for party prep. These can be made days — even weeks — ahead of time. Store them in an airtight container and pull them out when your guests arrive. They look like you spent hours on them. You didn’t. Let that sink in.
- Instant table upgrade. Drop a few slices on a cheese board, float one in a cocktail, stack them on a cake, or just scatter them around a platter of cookies. Suddenly everything looks intentional and elegant.
- Unbelievably delicious. The slow drying process concentrates the natural sugars and transforms the texture into something chewy and almost candied. It’s not dried fruit in that sad, leathery way. It’s better.
What makes this version different from other drying methods you might see online? Two things. First, the temperature. I settled on 200°F (93°C) after ruining a batch at 250°F that came out more like orange jerky. Second, I flip the slices exactly once, halfway through, and rotate the baking sheet. That one little step makes the difference between slices that dry evenly and slices that stick to the parchment like they’ve made a personal choice never to leave.
This recipe is the kind that makes you close your eyes after the first bite — not because it’s fancy, but because it tastes like the best version of something simple. And when you set a platter of these out at your next dinner party or holiday gathering, people will ask you where you bought them. Just smile and say you made them. It’s a good feeling.
What Ingredients You Will Need
This recipe uses exactly one main ingredient, plus one optional ingredient, to deliver big flavor and beautiful presentation. That’s part of the magic — you don’t need a long list to make something that looks this impressive.
- Fresh oranges (3-4 large oranges) — This is the star of the show. Look for oranges that feel heavy for their size (that means they’re juicy) and have smooth, blemish-free skin. I prefer navel oranges for their sweetness and seedless interior, but blood oranges create absolutely stunning deep red slices, and cara cara oranges give a beautiful pinkish hue. For a party, I sometimes mix two varieties on one tray for visual contrast. (Pro tip: organic oranges are worth the splurge here since you’re eating the peel.)
- Granulated sugar (optional, about 2 tablespoons) — A light sprinkle before baking adds a subtle sweetness and helps with caramelization on the edges. You don’t need much — just a pinch per slice. I use it about half the time, depending on how sweet the oranges are naturally. If the oranges are already super sweet from peak season, I skip it. If they’re a little tart, the sugar balances them beautifully.
- Parchment paper — Not technically an ingredient, but non-negotiable. The slices will stick to a bare baking sheet, and foil doesn’t work as well. Parchment paper ensures easy release and easy cleanup.
That’s it. Three things on your counter, and you’re ready to go. No obscure spices, no specialty oils, no ingredients you’ll use once and forget about until you find them in the back of your pantry two years later.
A quick note on selection: I’ve tested this with everything from expensive organic oranges to the bagged ones from the discount grocery store, and honestly? The cheaper ones work fine as long as they’re fresh. The key is freshness — oranges that have been sitting around for weeks will be drier and won’t slice as cleanly. If the peel gives easily when you press it with your thumb, they’re good to go.
Equipment Needed
You don’t need much for this recipe, which is part of why I love it. Here’s what you’ll want to have on hand:
- Sharp chef’s knife or mandoline slicer — A sharp knife is essential for thin, even slices. If you have a mandoline, this is the time to use it. It gives you consistent thickness every time, which means even drying. I use a Benriner mandoline for this — it’s under $40 and has lasted me years. Just watch your fingers. (I speak from experience. The bandages are not a good look.)
- Cutting board — Any sturdy board will do.
- Baking sheet (half-sheet pan) — A standard 13×18 inch rimmed baking sheet works perfectly. You’ll fit about 15-20 slices on one sheet depending on how you arrange them.
- Parchment paper — As mentioned above, this is crucial. Don’t skip it.
- Paper towels or clean kitchen towel — For patting the slices dry after slicing. This step matters more than you think.
- Wire cooling rack (optional) — If you want to speed up the drying process, you can place a wire rack on the baking sheet and arrange the slices on top. The airflow underneath helps them dry faster and more evenly. I only do this when I’m in a hurry.
- Airtight container — For storing the finished slices. A mason jar works great and looks pretty on the counter too.
If you don’t have a mandoline, don’t worry. A sharp knife and a steady hand will get you there. Just take your time with the slicing — consistency is more important than speed.
Preparation Method
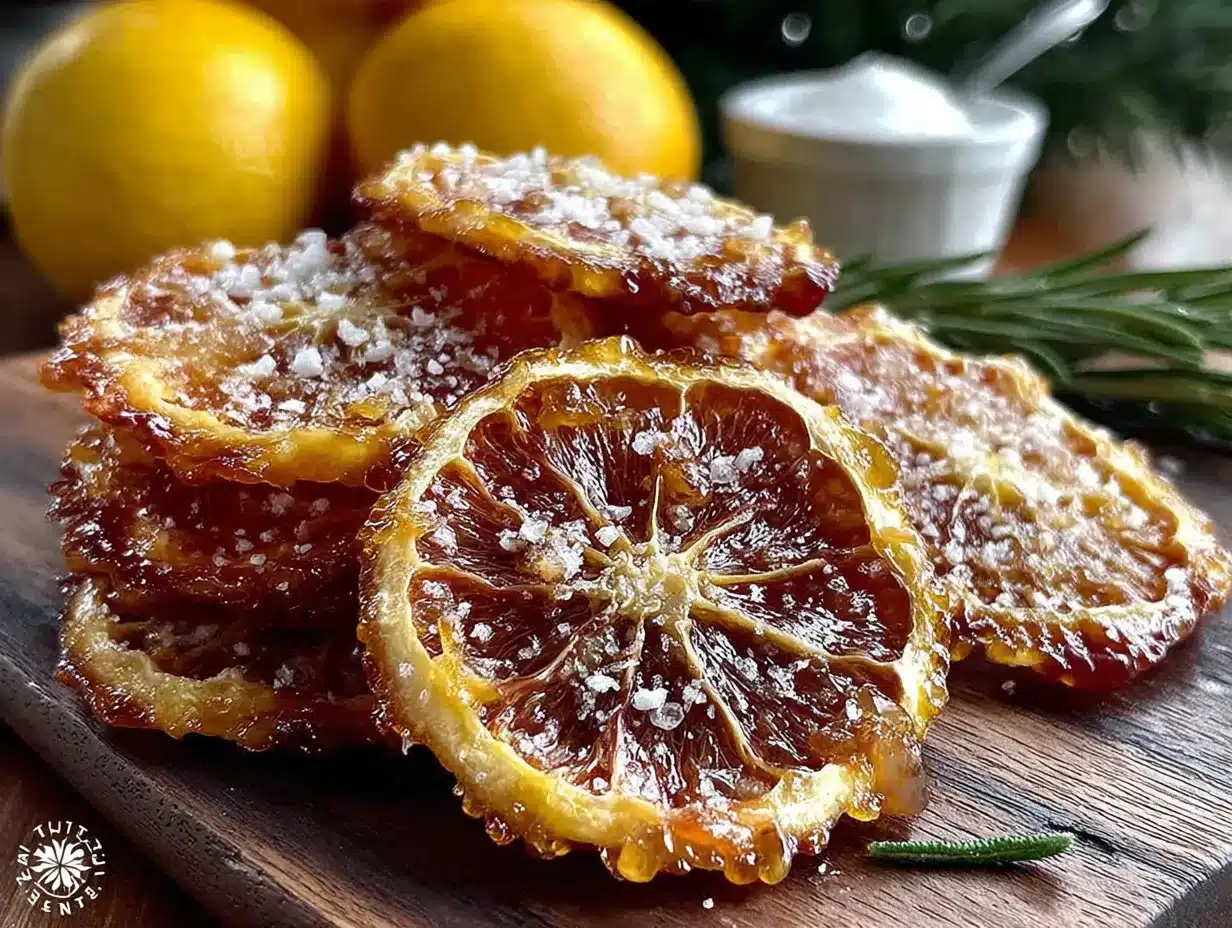
Alright, let’s get to the good part. Here’s how to make these stunning oven-dried orange slices from start to finish.
- Preheat your oven to 200°F (93°C). This is important — don’t be tempted to crank the heat to speed things up. Higher temperatures will cook the oranges instead of drying them, and you’ll end up with tough, leathery slices instead of chewy, translucent ones. I learned this the hard way when I tried 250°F and ended up with what I can only describe as orange fruit roll-ups.
- Wash and dry the oranges thoroughly. Since you’re eating the peel, give them a good scrub under warm water to remove any wax or residue. Pat them dry with a clean towel.
- Slice the oranges into even rounds, about 1/4 inch (6mm) thick. This is the most important step for even drying. Too thin, and they’ll become brittle and burn on the edges. Too thick, and they’ll take forever to dry or end up still wet in the center. I aim for about the thickness of a standard quarter. If you’re using a mandoline, set it to 6mm. If you’re using a knife, take your time and try to keep each slice consistent. You’ll get about 8-10 slices per orange, depending on the size.
- Blot the slices with paper towels. Lay the slices out on a layer of paper towels and gently press another layer on top to absorb excess juice. This step removes surface moisture, which helps the drying process and prevents the slices from sticking. Don’t squeeze — just gentle pressure. You’ll see the paper towels darken with juice. Flip the slices and repeat on the other side.
- Arrange the slices on a parchment-lined baking sheet. Place them in a single layer with a little space between each slice. Don’t overlap them, or they’ll stick together as they dry. If you’re using a wire rack, place it on the baking sheet first and arrange the slices on top.
- Optional: Sprinkle with sugar. If you’re using sugar, sprinkle a tiny pinch over each slice. I use about 1/8 teaspoon per slice — just enough to see a light dusting. You can skip this step entirely if you prefer.
- Bake for 2.5 to 3 hours. At the 90-minute mark, flip each slice using a small spatula or your fingers (they’ll be warm but not hot). Also rotate the baking sheet front to back for even drying. The slices are done when they feel dry to the touch but still slightly pliable — they should bend without cracking. The edges will look slightly darker and the flesh will be translucent. If they still feel tacky or wet in the center, give them another 20-30 minutes and check again.
- Let them cool completely on the baking sheet. They’ll continue to firm up as they cool. Don’t try to move them while they’re still warm — they’re more delicate at this stage and can tear easily. Once cool, they should feel like firm, chewy fruit leather.
A few things to watch for: If you see the edges starting to brown too quickly, your oven might run hot. Crack the door open slightly for the last hour to let some heat escape. If the slices are taking longer than 3.5 hours, your slices might be too thick, or your oven temperature might be off. An oven thermometer is a cheap investment that saves a lot of guesswork.
Cooking Tips & Techniques
After making these oven-dried orange slices more times than I care to count, I’ve picked up a few tricks that make the process smoother and the results more consistent.
Uniform thickness is everything. I cannot stress this enough. A mandoline is your best friend here, but if you’re using a knife, try this trick: rest the orange on the cutting board and use your non-dominant hand to guide the blade, keeping your fingers curled under. Count your slices as you go — “one, two, three” — to establish a rhythm. The more consistent your slices, the more evenly they’ll dry.
Don’t overcrowd the pan. I know it’s tempting to cram as many slices as possible onto one baking sheet to save time, but crowding traps steam and prevents proper drying. If you have a lot of oranges, use two baking sheets or bake in batches. Trust me on this — the first time I tried to squeeze 30 slices onto one sheet, they came out sticky and uneven.
Patting dry is not optional. That step where you blot the slices with paper towels? That’s the difference between slices that dry in 2.5 hours and slices that take 4 hours. The surface moisture has to evaporate before the interior moisture can start to escape, so removing it upfront saves significant time.
Check your oven temperature. Ovens lie. I’ve had ovens that run 25 degrees hotter than the dial says, and I’ve had ovens that run 15 degrees cooler. An inexpensive oven thermometer takes the guesswork out of the equation. For this recipe, accuracy matters more than you’d think.
One of my biggest failures: I once forgot about a batch and left them in for an extra hour while I ran to pick up my daughter from school. They came out like orange-colored cardboard — completely dry, brittle, and nearly impossible to cut. They still looked pretty on a cheese board, but nobody ate them. Set a timer, and maybe a backup timer, so you don’t repeat my mistake.
Here’s a multitasking tip: Start these in the morning while you’re doing other things around the house. The long, slow bake time means you can check on them between tasks — folding laundry, answering emails, prepping other dishes. They’re forgiving enough that a few minutes either way won’t ruin them, as long as you don’t forget them entirely.
Variations & Adaptations
One of the best things about this recipe is how easily it adapts to different occasions and tastes. Here are some variations I’ve tried and loved:
Citrus medley. Don’t stop at oranges. Lemons, limes, and grapefruits all dry beautifully using the same method. Lemon slices are slightly more tart and work wonderfully in tea or as a garnish for fish dishes. Lime slices are perfect for cocktails or Mexican-inspired platters. Grapefruit slices are a little trickier because they’re larger and more watery, so they take about 30 minutes longer. I like to mix all four on one tray for a rainbow effect at brunch gatherings.
Spiced sugar version. Before sprinkling the sugar, mix it with a pinch of cinnamon, a tiny bit of ground cloves, or a scrape of vanilla bean. The spices infuse the oranges as they dry and add a warm, holiday aroma that fills your kitchen. I did this for a Christmas party last year, and guests kept asking what smelled so good. I just pointed at the garnish plate and smiled.
Dipped in chocolate. Once the slices are completely cool, dip half of each slice in melted dark chocolate and let them set on parchment paper. The combination of chewy, tangy orange and rich chocolate is absolutely addictive. I made these for a friend’s birthday party and they disappeared before the cake did.
Savory application. Skip the sugar entirely and use these slices as a garnish for roasted meats or salads. The concentrated citrus flavor adds brightness without the mess of fresh juice. I’ve tucked them under the skin of a roast chicken before baking, and the result was incredible — the chicken absorbed the orange flavor without becoming soggy.
Dietary adaptations. This recipe is naturally gluten-free, dairy-free, vegan, and paleo-friendly. If you’re watching your sugar intake, simply omit the optional sugar sprinkle — the slices will still be sweet from the natural fruit sugars.
Serving & Storage Suggestions
These oven-dried orange slices are incredibly versatile, and how you serve them depends entirely on the occasion.
For parties and gatherings: Arrange them on a wooden board alongside cheese, crackers, nuts, and cured meats. The sweetness of the oranges pairs beautifully with sharp cheddar, tangy goat cheese, or creamy brie. Float a slice in a glass of prosecco, champagne, or even sparkling water for an instant upgrade. Stack them on top of a frosted cake or cupcake for a bakery-worthy finish. I once scattered them around a platter of chocolate truffles at a New Year’s Eve party, and people thought I’d hired a caterer.
Storage instructions: Once completely cool, store the slices in an airtight container at room temperature. They’ll keep for up to two weeks — though in my experience, they rarely last that long. If you live in a humid climate, add a silica gel packet to the container to absorb excess moisture. Do not refrigerate them, as the moisture from the fridge will make them sticky.
Freezer option: You can freeze these slices for up to three months. Layer them between sheets of parchment paper in a freezer-safe container. Thaw at room temperature for about 15 minutes before using. They’ll be slightly softer after freezing but will still look beautiful.
Reheating tip: If your slices have softened slightly after storage (this can happen in humid weather), pop them back into a 200°F oven for 10-15 minutes to crisp up again. Let them cool completely before storing again.
How flavors develop: Interestingly, the orange flavor actually intensifies after a day or two of storage. The natural oils in the peel continue to infuse the flesh, and the sweetness becomes more pronounced. So if you’re making these for a party, I actually recommend making them a day or two ahead. They’ll taste even better.
Nutritional Information & Benefits
While I wouldn’t call these a health food — they’re a garnish, after all — they do offer some surprising nutritional benefits. Each slice contains roughly 15-20 calories, depending on the size of the orange and whether you added sugar. They’re fat-free, cholesterol-free, and naturally low in sodium.
Oranges are packed with vitamin C, and the drying process actually concentrates this nutrient along with the flavor. A single slice contains about 10% of your daily vitamin C needs. They also provide a small amount of fiber from the peel, which is often discarded in fresh oranges but becomes tender and edible when dried.
The peel itself contains compounds called flavonoids, which have antioxidant properties. So when you eat the whole slice — peel and all — you’re getting more of the nutritional benefits than you would from just the juice or flesh.
Dietary considerations: These slices are naturally gluten-free, dairy-free, vegan, and paleo-friendly. If you skip the optional sugar, they’re also suitable for low-sugar diets. The only potential allergen concern is for anyone with citrus allergies, which are rare but worth noting.
From a personal perspective, I love that these slices let me enjoy the whole fruit in a way I wouldn’t normally. There’s something satisfying about eating the peel — it feels less wasteful, more intentional. And when I’m hosting a party, knowing that my garnish actually has some nutritional value makes me feel a little better about the cheese board and cocktails that are inevitably going to follow.
Conclusion
Look, I know oven-dried orange slices sound like one of those things you see on Pinterest and think, “That’s pretty, but I’ll never actually make that.” I thought the same thing before Maria handed me that first warm slice in her kitchen. But here’s the thing: this recipe is genuinely easy. It’s not fussy. It doesn’t require special skills or expensive tools. It just requires a little patience and a willingness to let the oven do its thing.
And the payoff? You get a garnish that makes everything around it look more intentional, more beautiful, more party-ready. Your cheese board goes from “I opened some packages” to “I curated a spread.” Your cocktails go from “here’s your drink” to “here’s an experience.” Your cake goes from “I baked this” to “I styled this.”
I’d love to hear how you use these in your own gatherings. Do you float them in cocktails? Stack them on desserts? Scatter them across a brunch table? Drop a comment below and let me know your favorite way to use them — and if you try a variation I haven’t mentioned, definitely share that too. The best recipes are the ones that evolve through other people’s creativity.
So go ahead. Grab some oranges, preheat that oven, and make something that looks like you spent hours on it — even though you didn’t. Your guests will never know your secret. And honestly? That’s half the fun.
Frequently Asked Questions
Can I use a dehydrator instead of an oven?
Yes, absolutely. Set your dehydrator to 135°F (57°C) and dry the slices for 6-8 hours, flipping them halfway through. The result will be very similar, though the slices might be slightly more evenly dried since dehydrators have better airflow.
Why are my orange slices still sticky after 3 hours?
Several possible reasons: your slices might be too thick, your oven might be running cooler than it says, or you might have skipped the step of patting them dry. Check your oven temperature with a thermometer and try slicing slightly thinner next time. You can also return them to the oven for another 20-30 minutes.
Can I use these in tea or hot drinks?
Absolutely. Drop a slice into hot tea, mulled wine, or even hot cider. The heat rehydrates the slice slightly and releases the citrus oils into the drink. They’re especially lovely in black tea or herbal chai.
How do I prevent the slices from sticking to the parchment paper?
Make sure you’re using parchment paper, not wax paper or foil. Also, patting the slices dry before baking helps reduce stickiness. If they do stick slightly, let them cool completely before trying to remove them — they’ll release more easily when cool.
Can I eat the peel?
Yes! The peel becomes tender and chewy during the drying process, and it’s perfectly edible. In fact, the peel contains much of the flavor and aroma. Just make sure you wash the oranges thoroughly before slicing, especially if they’re not organic.
Pin This Recipe!
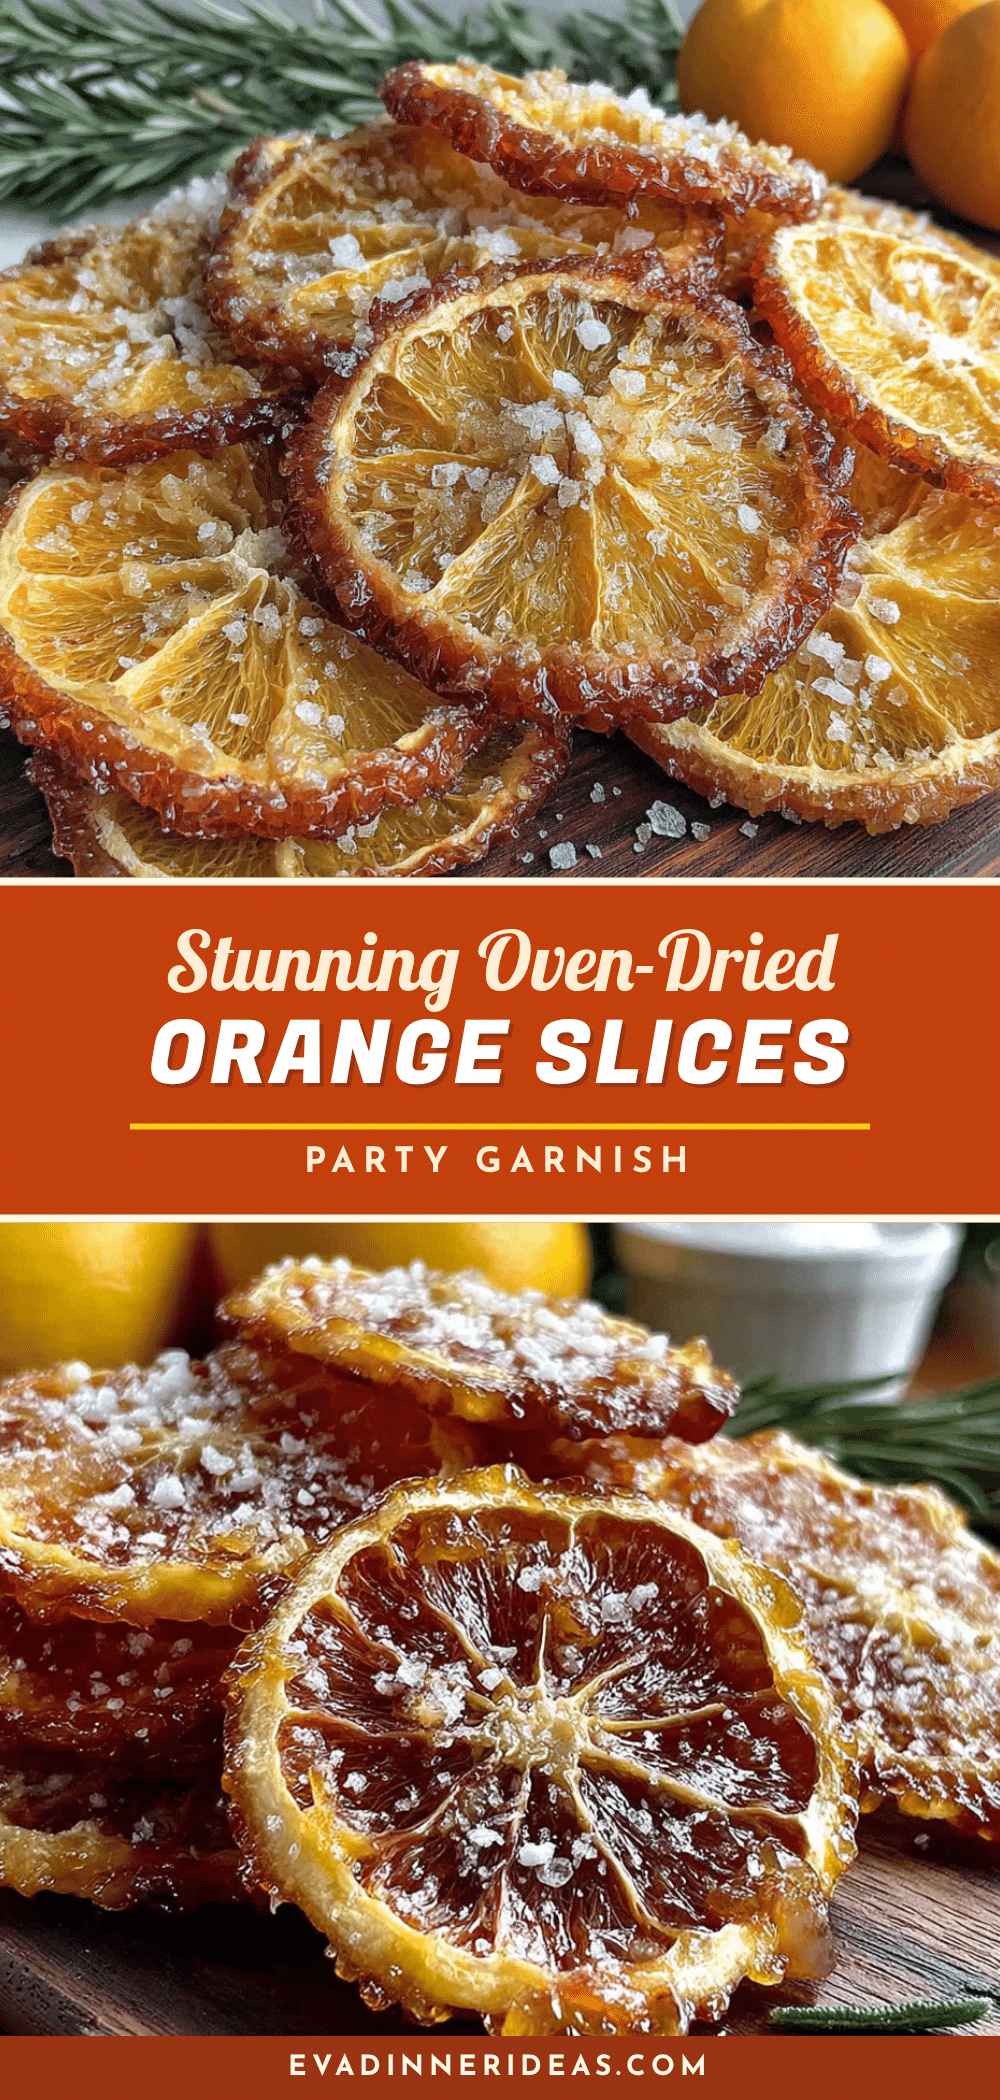
Best Easy Oven-Dried Orange Slices for Party Garnish

Transform ordinary oranges into stunning, chewy, translucent slices that look like stained glass. Perfect for garnishing cocktails, cheese boards, desserts, and more, with almost zero active work.
- Prep Time: 10 minutes
- Cook Time: 2 hours 30 minutes
- Total Time: 2 hours 40 minutes
- Yield: 24-30 slices 1x
- Category: Garnish
- Cuisine: American
Ingredients
- 3–4 large fresh oranges (navel, blood, or cara cara)
- 2 tablespoons granulated sugar (optional)
- Parchment paper
Instructions
- Preheat your oven to 200°F (93°C).
- Wash and dry the oranges thoroughly.
- Slice the oranges into even rounds, about 1/4 inch (6mm) thick.
- Blot the slices with paper towels to remove surface moisture.
- Arrange the slices in a single layer on a parchment-lined baking sheet, leaving space between each slice.
- Optional: Sprinkle a tiny pinch of sugar over each slice.
- Bake for 2.5 to 3 hours. At the 90-minute mark, flip each slice and rotate the baking sheet front to back.
- Let the slices cool completely on the baking sheet before handling.
Notes
For even drying, use a mandoline for consistent thickness. Patting slices dry is crucial to reduce drying time. If edges brown too quickly, crack the oven door slightly. Slices can be stored in an airtight container at room temperature for up to two weeks. For a citrus medley, try lemons, limes, or grapefruits. For a spiced version, mix sugar with cinnamon or cloves. For a chocolate version, dip cooled slices in melted dark chocolate.
Nutrition
- Serving Size: 1 slice
- Calories: 1520
- Sugar: 3
- Carbohydrates: 4
- Fiber: 0.5
Keywords: oven-dried orange slices, dried orange garnish, party garnish, citrus garnish, easy garnish, homemade garnish


