There used to be a tiny bookshop café tucked into the corner of an old Victorian house on Elm Street that made the most incredible hot cocoa I have ever tasted. When they closed their doors three years ago—just a handwritten sign in the window saying “Thank you for the memories”—I felt a genuine pang of loss. I mean, I literally stood there on the sidewalk holding my last cup, watching them lock up, and I knew I had to figure out how to make that magic happen in my own kitchen.
After seventeen tries—seventeen, people, with some truly questionable batches involving clumpy powder and weird aftertastes—I finally cracked the code. And honestly, the secret was simpler than I ever imagined. It wasn’t some fancy imported chocolate or a complicated technique. It was about balance, texture, and a little bit of patience.
This homemade hot cocoa mix in a jar with marshmallows is my love letter to that little café. It’s rich without being heavy, sweet without being cloying, and the marshmallows? They melt into this silky cloud on top that makes every sip feel like a hug from the inside. Maybe you’ve been there, standing in your kitchen, wanting to recreate something that felt special. Let me tell you, this is the one.
Why You’ll Love This Recipe
I’ve tested this homemade hot cocoa mix more times than I care to admit, and I can tell you with complete confidence—this is the version that delivers every single time. It’s not just another powdered mix that tastes like watered-down chocolate. This one has depth, creaminess, and that nostalgic comfort that makes you close your eyes after the first sip.
- Quick & Easy : This mix comes together in about 10 minutes, and you’ll have enough for weeks of cozy mornings or late-night cravings.
- Simple Ingredients : No weird additives or hard-to-find items. You probably have most of these in your pantry right now.
- Perfect for Gifting : Layer it in a mason jar with a ribbon, and you’ve got the most thoughtful handmade present for neighbors, teachers, or anyone who needs a little warmth.
- Crowd-Pleaser : Kids devour it, adults request it, and even the pickiest cocoa drinkers will ask for seconds.
- Unbelievably Delicious : The combination of Dutch-process cocoa and powdered milk creates a texture that’s velvety smooth, not grainy or thin.
What makes this recipe different from all the other cocoa mixes out there? It’s the little details. I use a pinch of salt to balance the sweetness and a whisper of vanilla powder that makes the chocolate taste more like, well, chocolate. Plus, the marshmallows aren’t just decoration—they’re folded into the jar so each serving gets a few that bloom into pillowy softness when you pour hot milk over them.
This is the kind of homemade hot cocoa mix that makes you look forward to cold weather. It’s comfort in a cup, made with love, and it takes almost zero effort. Honestly, once you make it yourself, you’ll never go back to the store-bought packets again.
What Ingredients You Will Need
This recipe uses simple, wholesome ingredients that work together to create a rich, satisfying cup of cocoa without any artificial flavors or preservatives. Most of these are pantry staples, and the ones that aren’t are easy to find at any grocery store.
- Dutch-process cocoa powder – 1 cup (100g) – This is the star of the show. Dutch-process cocoa is treated with alkali, which makes it darker, smoother, and less acidic than natural cocoa. I recommend Droste or Cacao Barry for the best flavor. (It creates that deep, fudgy taste you remember from the best hot chocolate of your childhood.)
- Powdered sugar – 1 ½ cups (180g) – Also called confectioners’ sugar, this dissolves instantly in hot liquid, so you never get that weird gritty texture. (Do not substitute granulated sugar—it won’t dissolve properly in cold or warm milk.)
- Powdered milk – 1 cup (120g) – This adds creaminess without needing fresh milk. Look for instant nonfat dry milk powder, like Carnation or Nestlé Nido. (It makes the mix shelf-stable and gives you that rich mouthfeel.)
- Powdered chocolate drink mix – ½ cup (60g) – I know this sounds redundant, but a little bit of instant hot cocoa mix (like Nesquik or Swiss Miss) adds a nostalgic, malted note that rounds out the flavor. (Optional, but trust me on this one.)
- Fine sea salt – ½ teaspoon – Just a pinch, but it makes all the difference. Salt enhances the chocolate flavor and balances the sweetness. (Don’t skip it—your cocoa will taste flat without it.)
- Vanilla powder – 1 teaspoon – This is my secret weapon. Vanilla powder blends seamlessly into the dry mix and adds warmth and depth. (You can substitute vanilla sugar, but avoid vanilla extract since it’s liquid and will clump the powder.)
- Mini marshmallows – 1 ½ cups (about 85g) – The cute little ones that fit perfectly in a jar. I use Jet-Puffed or Dandies (vegan option). (Add them right before serving, or layer them in the jar for gifting—they’ll stay fresh for weeks.)
For the best results, make sure your cocoa powder and powdered sugar are sifted before mixing. I learned this the hard way after my first batch had little lumps that refused to dissolve. A simple sifter or fine-mesh strainer takes thirty seconds and saves you from a lumpy cup of cocoa.
Equipment Needed
You don’t need anything fancy to make this homemade hot cocoa mix. Here’s what I use, along with a few alternatives if you’re working with a minimal kitchen.
- Mason jars – Quart-sized (32 oz) jars work perfectly for a generous batch. I love the wide-mouth Ball jars because they’re easy to fill and look beautiful. (If you’re gifting, pint-sized jars make adorable smaller portions.)
- Fine-mesh strainer or sifter – Essential for removing lumps from the cocoa and powdered sugar. I use a simple stainless steel strainer from IKEA that cost me five bucks.
- Mixing bowl – Any medium bowl will do. I prefer glass or stainless steel because they don’t hold onto odors.
- Whisk – A good balloon whisk breaks up any clumps and incorporates everything evenly. (A fork works in a pinch, but it takes longer.)
- Funnel – This makes transferring the mix into jars so much less messy. I have a small metal funnel that was part of a canning set, but a plastic one from the dollar store works fine.
- Measuring cups and spoons – Standard set for dry ingredients. Spoon and level your cocoa powder for accuracy.
- Ribbon or twine – Optional, but if you’re gifting these jars, a little decorative touch makes them feel special. (I keep a roll of baker’s twine in my drawer just for this purpose.)
One tip I learned the hard way: don’t use a blender or food processor to mix the dry ingredients. The friction can heat up the cocoa powder and alter its flavor, plus you’ll end up with a dusty mess everywhere. A simple whisk and bowl is all you need.
Preparation Method
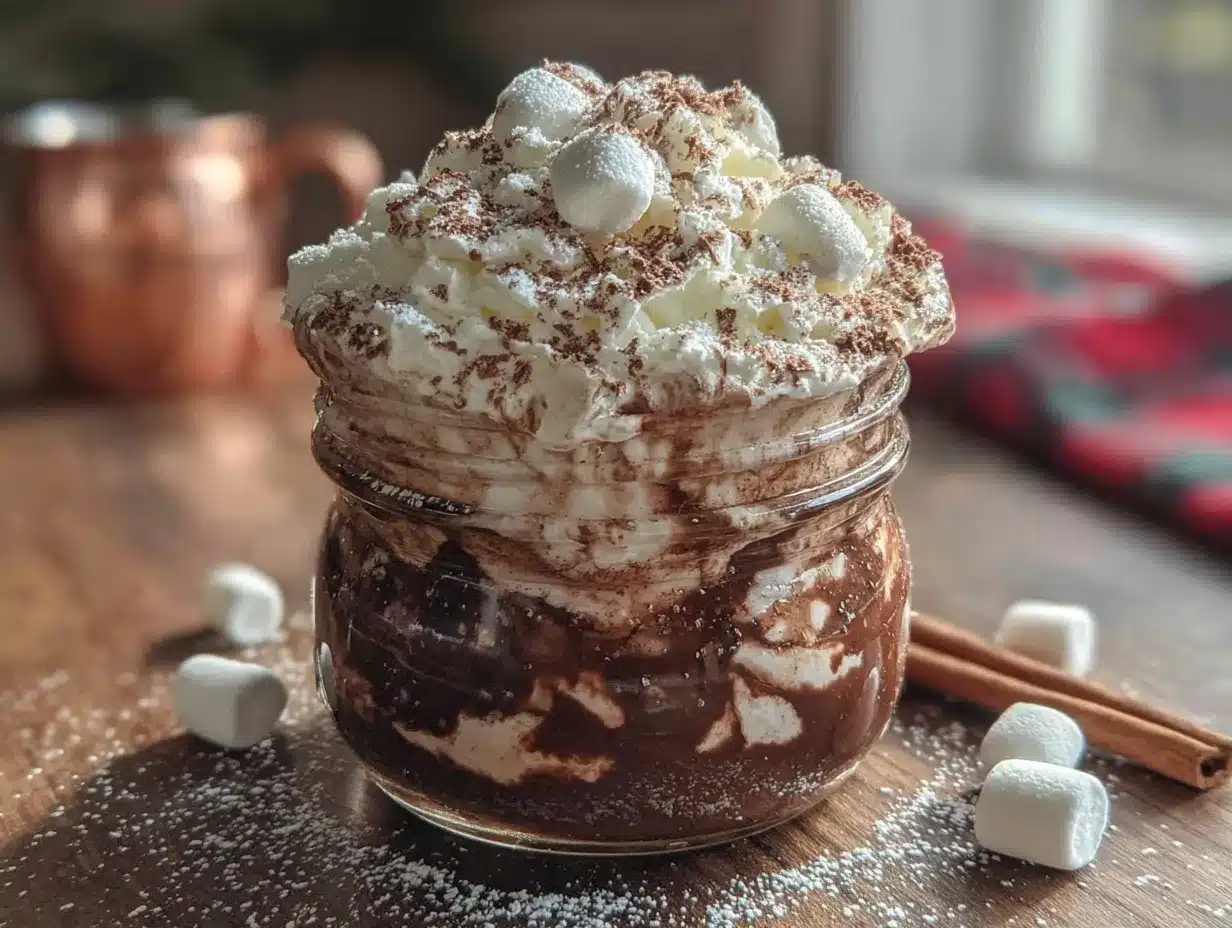
Making this homemade hot cocoa mix is almost embarrassingly easy. But there are a few little tricks I’ve picked up along the way that make the difference between a good mix and a great one. Follow these steps, and you’ll have a jar of cocoa magic ready in under fifteen minutes.
- Sift the dry ingredients together. In your mixing bowl, place the fine-mesh strainer over the bowl and add the Dutch-process cocoa powder, powdered sugar, powdered milk, and powdered chocolate drink mix. Gently tap the strainer to sift everything through. This takes about two minutes and removes any clumps that would otherwise ruin your cocoa. (I forgot to sift once and ended up with little white lumps floating in my cup—never again.)
- Add the salt and vanilla powder. Sprinkle the fine sea salt and vanilla powder over the sifted mixture. Whisk everything together for about thirty seconds until the color is uniform and you can’t see any streaks. The mixture should look like a fine, dark powder that smells intensely chocolatey.
- Layer in the jar. Using your funnel, pour about one-third of the cocoa mix into your clean, dry mason jar. Add a layer of mini marshmallows—about half a cup. Add another third of the cocoa mix, another layer of marshmallows, then the remaining cocoa mix. Top with the rest of the marshmallows. (This layering creates a beautiful visual effect, especially if you’re gifting the jar. If you’re just making it for yourself, you can mix the marshmallows in all at once—it doesn’t affect the taste.)
- Seal and label. Screw the lid on tightly. If you’re giving these as gifts, attach a small tag with the instructions: “Add 3 tablespoons of mix to 8 oz of hot milk. Stir until dissolved. Top with extra marshmallows if desired.” (I write mine on little kraft paper tags tied with twine—it looks so charming.)
- Store properly. Keep the jar in a cool, dry place away from direct sunlight. Your pantry or a cabinet works perfectly. Do not refrigerate—the moisture will cause the powder to clump. Stored correctly, this mix stays fresh for up to six months. (Though in my house, it never lasts that long.)
When you’re ready to make a cup, here’s the method I swear by: Heat 8 ounces of milk (dairy or plant-based) in a small saucepan over medium heat until it’s steaming but not boiling—about 3 to 4 minutes. Add 3 heaping tablespoons of the cocoa mix (about 45 grams) and whisk continuously until fully dissolved. Pour into your favorite mug, and if you’re feeling fancy, top with a dollop of whipped cream or extra marshmallows. The marshmallows from the jar will have softened slightly from the heat, creating this incredible silky texture that blends into the cocoa as you stir.
One thing I want to warn you about: don’t use boiling water or milk that’s too hot. High heat can scorch the powdered milk and give your cocoa a slightly burnt taste. You want it hot enough to dissolve everything but not so hot that it’s bubbling aggressively. Steaming with tiny bubbles around the edges is your sweet spot.
Cooking Tips & Techniques
After all those failed attempts, I’ve gathered some hard-won wisdom that I’m passing on to you. These tips will save you from the same frustrations I dealt with.
Always sift your cocoa powder. I cannot emphasize this enough. Cocoa powder loves to form tiny, stubborn clumps that refuse to dissolve even in hot liquid. Sifting takes thirty seconds and guarantees a smooth, lump-free cup. I use a fine-mesh strainer over my mixing bowl and tap it gently—no need for a fancy sifter.
Toast your marshmallows for an extra layer of flavor. This is a trick I picked up from a friend who runs a hot chocolate stand at our local farmers’ market. Spread mini marshmallows on a baking sheet and toast them under the broiler for about 30 seconds until they’re golden brown on top. Let them cool completely, then layer them into the jar. They add a subtle smoky, caramelized note that takes the cocoa to another level. (Just watch them closely—they burn fast!)
Double-check your powdered milk expiration date. I once made a batch with powdered milk that was past its prime, and the cocoa had this weird, slightly stale aftertaste. Fresh powdered milk makes a noticeable difference. If you’re not sure about yours, smell it first—it should smell clean and milky, not sour or musty.
Use a thermometer for the milk. Okay, this might sound a little extra, but hear me out. The ideal temperature for hot cocoa is between 160°F and 170°F (71°C to 77°C). Below that, the powder won’t fully dissolve. Above that, you risk scalding the milk and ruining the flavor. A simple kitchen thermometer takes the guesswork out of it. (I use a ThermoPop, and it was worth every penny.)
Don’t skip the vanilla powder. I know it’s an extra ingredient you might not have on hand, but it truly elevates the homemade hot cocoa mix from “good” to “I can’t believe this came from a jar.” Vanilla enhances the chocolate’s natural sweetness and rounds out any bitterness from the cocoa. If you absolutely can’t find vanilla powder, you can use vanilla sugar (just reduce the powdered sugar slightly) or add a drop of vanilla extract to each cup when you make it.
One mistake I made early on was trying to use natural cocoa powder instead of Dutch-process. The result was a cup of cocoa that was way too acidic and sharp—not the smooth, comforting drink I was after. Stick with Dutch-process for that deep, fudgy flavor. Trust me on this one.
Variations & Adaptations
One of the best things about this homemade hot cocoa mix is how easily it adapts to different tastes and dietary needs. I’ve experimented with quite a few variations over the years, and these are my favorites.
Dairy-Free Version : Swap the powdered milk for coconut milk powder or oat milk powder. Both work beautifully and add their own subtle flavor. Coconut milk powder gives the cocoa a tropical richness, while oat milk powder keeps it neutral and creamy. (I’ve used both, and honestly, I can’t pick a favorite.)
Spiced Hot Cocoa : Add 1 teaspoon of ground cinnamon, ½ teaspoon of ground ginger, and a pinch of cayenne pepper to the dry mix. This creates a Mexican-inspired hot chocolate that’s warm and slightly spicy. The cayenne doesn’t make it hot—it just enhances the chocolate flavor in a way that’s hard to describe but impossible to ignore.
Peppermint Cocoa : Crush a few peppermint candies or candy canes into small pieces and layer them in the jar with the marshmallows. You can also add ¼ teaspoon of peppermint extract to the dry mix (just make sure it’s evenly distributed). This is my go-to version during the holiday season, and it makes for incredible gifts.
Dark Chocolate Lover’s Mix : Increase the Dutch-process cocoa powder to 1 ¼ cups and reduce the powdered sugar to 1 cup. This creates a deeply intense, almost bittersweet cocoa that’s perfect for adults who prefer their chocolate less sweet. (My husband requests this version exclusively.)
Vegan Marshmallow Option : Dandies brand mini marshmallows are vegan and work exactly like regular marshmallows in this recipe. They melt beautifully and have the same fluffy texture. I’ve used them in batches for friends with dietary restrictions, and nobody could tell the difference.
If you’re feeling adventurous, try adding a tablespoon of instant espresso powder to the mix. It doesn’t make the cocoa taste like coffee—it just deepens the chocolate flavor and adds a subtle complexity that’s absolutely divine.
Serving & Storage Suggestions
This homemade hot cocoa mix is incredibly versatile when it comes to serving. Here’s how I like to enjoy it, along with some tips for keeping it fresh.
Serving Temperature : I prefer my cocoa piping hot, but it’s also wonderful served warm or even at room temperature if you’re making it for a party. For hot cocoa, heat your milk to around 165°F (74°C) for the perfect drinking temperature. If you’re serving it at a gathering, keep it warm in a slow cooker on the “warm” setting—it’ll stay perfect for hours.
Presentation Ideas : Pour the prepared cocoa into your favorite mug and top with a generous swirl of whipped cream. Sprinkle a little cocoa powder or cinnamon on top for a finished look. If you’re feeling extra fancy, add a cinnamon stick or a peppermint stirrer. For a cozy winter party, set up a hot cocoa bar with mix, marshmallows, whipped cream, chocolate shavings, and various toppings like crushed candy canes or caramel sauce.
Complementary Dishes : This cocoa pairs beautifully with buttery shortbread cookies, gingerbread, or a simple slice of banana bread. I also love serving it alongside a cheese board with sharp cheddar and apple slices—the contrast of savory and sweet is unexpectedly perfect.
Storage Instructions : Keep your jar of mix in a cool, dry place like your pantry or a kitchen cabinet. Avoid storing it near the stove or dishwasher where humidity and heat can cause clumping. Properly stored, the mix stays fresh for up to six months. The marshmallows may start to soften slightly after a month or two, but they’ll still taste delicious.
Reheating Tips : If your cocoa has cooled down, reheat it gently on the stove over low heat, whisking occasionally. Do not microwave it—the milk can separate and create an unpleasant texture. If you’re in a hurry, pour it into a thermos and it’ll stay warm for hours.
One thing I’ve noticed: the flavors actually deepen and meld together after the mix has been sitting in the jar for a week or two. So if you can resist the urge, let it rest before diving in. The cocoa powder and vanilla have time to marry, and the result is even more harmonious.
Nutritional Information & Benefits
I’m not a nutritionist, but I’ve done my homework on this recipe because I care about what I put into my body. Here’s a rough breakdown for one serving (made with 2% dairy milk).
| Nutrient | Amount per Serving |
|---|---|
| Calories | 220 |
| Total Fat | 6g |
| Saturated Fat | 3.5g |
| Carbohydrates | 36g |
| Sugar | 28g |
| Protein | 8g |
| Calcium | 280mg (22% DV) |
| Iron | 2mg (11% DV) |
The cocoa powder in this mix is actually packed with antioxidants called flavanols, which are great for heart health and can help lower blood pressure. The milk provides calcium and vitamin D, making this a surprisingly nutritious treat when enjoyed in moderation. Plus, there’s something genuinely comforting about a warm cup of cocoa that can lift your mood on a dreary day.
If you’re watching your sugar intake, you can reduce the powdered sugar by half and add a sugar-free sweetener like monk fruit or stevia. The cocoa will be less sweet, but the chocolate flavor will shine through even more.
This recipe is naturally vegetarian and can be made gluten-free by ensuring your powdered milk and cocoa powder are certified gluten-free (most are, but it’s worth checking labels). It’s also free from eggs, soy, and nuts in its basic form, making it a safe choice for many common allergies.
Conclusion
This homemade hot cocoa mix in a jar with marshmallows is more than just a recipe—it’s a little bit of warmth and comfort that you can make with your own hands. After all those failed attempts and that sad day at the bookshop café, I finally have a version that brings me back to that first perfect sip every single time.
I love that this mix lets me control exactly what goes into it—no weird preservatives, no artificial flavors, just real ingredients that taste like they should. And the best part? It takes almost no effort to make, but it feels like such a special treat. Whether you’re making it for yourself on a quiet evening or gifting jars to everyone you know, this recipe delivers.
I’d love to hear how yours turns out. Did you add any fun variations? Do you have a favorite way to serve it? Drop a comment below and share your cocoa creations. And if you loved this recipe, please share it with someone who needs a little warmth in their life. Happy sipping, friends!
Frequently Asked Questions
Can I use regular cocoa powder instead of Dutch-process?
You can, but the flavor will be different. Natural cocoa powder is more acidic and has a sharper taste. Dutch-process cocoa is smoother and richer. If you only have natural cocoa, add a tiny pinch of baking soda (about ⅛ teaspoon) to neutralize some of the acidity.
How long does this homemade hot cocoa mix last?
Stored in an airtight container in a cool, dry place, it stays fresh for up to six months. The marshmallows may soften slightly after a month or two, but they’ll still taste great. If you notice any clumping or off smells, it’s time to make a fresh batch.
Can I make this without powdered milk?
Absolutely. You can omit the powdered milk entirely and just use fresh milk when you make each cup. The mix will still taste delicious—it just won’t be as creamy. Alternatively, you can use coconut milk powder or oat milk powder for a dairy-free version.
What’s the best way to gift these jars?
Layer the mix and marshmallows in a clean mason jar, then attach a small tag with brewing instructions. Tie it all up with ribbon or twine, and you’ve got a thoughtful, homemade gift. I like to add a little bag of extra marshmallows tied to the jar for an extra special touch.
Can I double this recipe?
Yes! This recipe doubles and even triples beautifully. Just make sure you have a large enough bowl to whisk everything together evenly. I often make a triple batch at the beginning of winter and keep it on hand for last-minute gifts and cozy nights in.
Pin This Recipe!
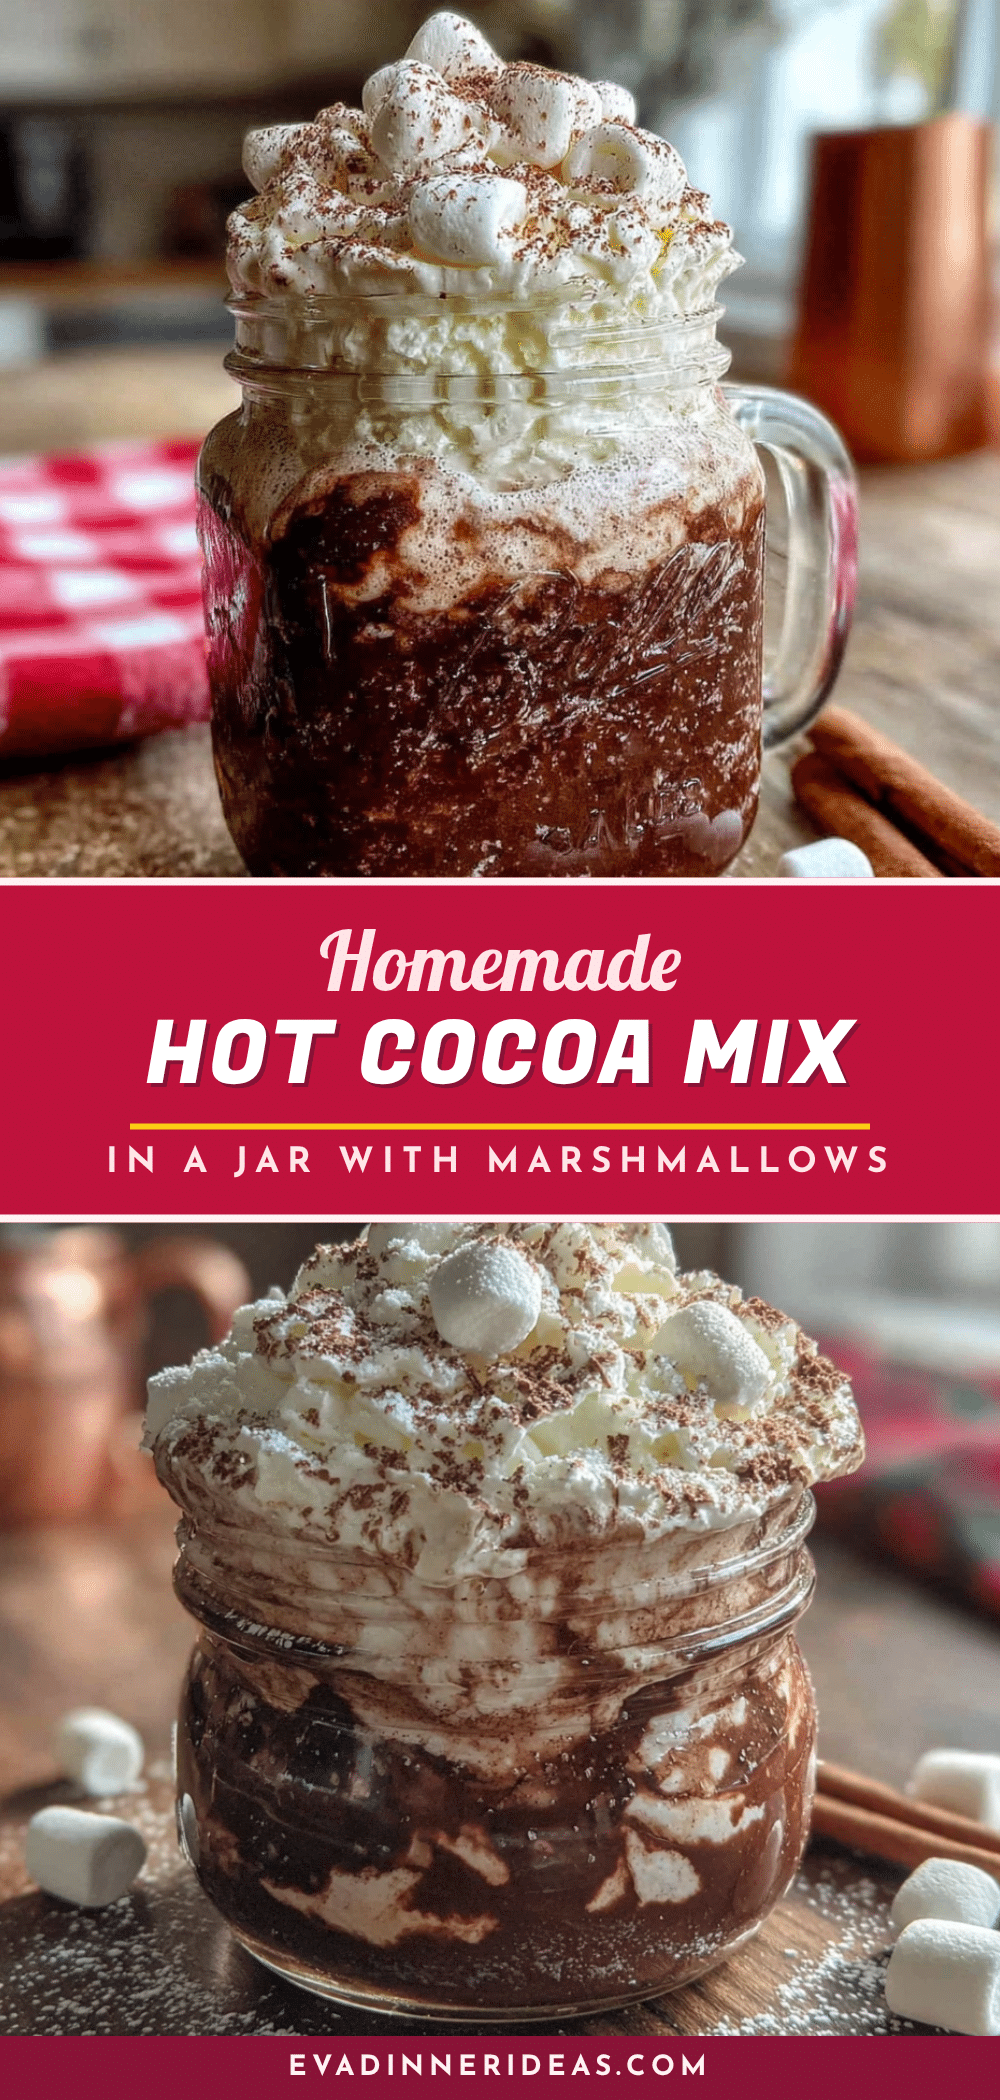
Homemade Hot Cocoa Mix in a Jar Recipe
This homemade hot cocoa mix in a jar with marshmallows is rich, creamy, and perfect for cozy mornings or gifting. Made with Dutch-process cocoa and simple pantry staples, it delivers a velvety smooth cup every time.
- Prep Time: 10 minutes
- Cook Time: 5 minutes
- Total Time: 15 minutes
- Yield: 12 servings 1x
- Category: Beverage
- Cuisine: American
Ingredients
- 1 cup (100g) Dutch-process cocoa powder
- 1 ½ cups (180g) powdered sugar
- 1 cup (120g) powdered milk
- ½ cup (60g) powdered chocolate drink mix (optional)
- ½ teaspoon fine sea salt
- 1 teaspoon vanilla powder
- 1 ½ cups (about 85g) mini marshmallows
Instructions
- Sift the dry ingredients together: In a mixing bowl, place a fine-mesh strainer over the bowl and add the Dutch-process cocoa powder, powdered sugar, powdered milk, and powdered chocolate drink mix. Gently tap the strainer to sift everything through.
- Add the salt and vanilla powder: Sprinkle the fine sea salt and vanilla powder over the sifted mixture. Whisk everything together for about thirty seconds until the color is uniform.
- Layer in the jar: Using a funnel, pour about one-third of the cocoa mix into a clean, dry mason jar. Add a layer of mini marshmallows—about half a cup. Add another third of the cocoa mix, another layer of marshmallows, then the remaining cocoa mix. Top with the rest of the marshmallows.
- Seal and label: Screw the lid on tightly. If gifting, attach a small tag with instructions: ‘Add 3 tablespoons of mix to 8 oz of hot milk. Stir until dissolved. Top with extra marshmallows if desired.’
- Store properly: Keep the jar in a cool, dry place away from direct sunlight. Do not refrigerate. Stored correctly, this mix stays fresh for up to six months.
- To make a cup: Heat 8 ounces of milk (dairy or plant-based) in a small saucepan over medium heat until steaming but not boiling (about 3-4 minutes). Add 3 heaping tablespoons of the cocoa mix (about 45g) and whisk continuously until fully dissolved. Pour into a mug and enjoy.
Notes
Always sift cocoa powder to avoid lumps. Use Dutch-process cocoa for a smooth, rich flavor. For best results, heat milk to 160-170°F (71-77°C). The mix can be stored for up to six months in a cool, dry place. Variations include dairy-free (use coconut or oat milk powder), spiced (add cinnamon, ginger, cayenne), peppermint (add crushed candy canes), and dark chocolate (increase cocoa, reduce sugar).
Nutrition
- Serving Size: 1 cup (8 oz prepared
- Calories: 220
- Sugar: 28
- Sodium: 180
- Fat: 6
- Saturated Fat: 3.5
- Carbohydrates: 36
- Fiber: 2
- Protein: 8
Keywords: hot cocoa mix, homemade hot chocolate, cocoa in a jar, gift jar, hot chocolate mix, Dutch-process cocoa, marshmallows


