I was standing in the baking aisle of our local grocery store last Tuesday, staring at a box of semi-sweet chocolate chips, when the smell hit me. It wasn’t actually there, of course — it was a memory, sharp and sudden. I was nine years old again, standing on a wobbly wooden stool in my Aunt Rita’s tiny kitchen, watching her pour a thick, glossy river of warm fudge onto a buttered sheet pan. The air was thick with the scent of melting chocolate and vanilla, and she was humming some old song I couldn’t name now. She passed me a wooden spoon, and I got to scrape the pot. That moment, that taste of warm, almost-set fudge, has been my gold standard for over twenty years.
Aunt Rita passed away a few years ago, and I never got her exact recipe. I’ve spent more holiday seasons than I care to admit trying to recreate that specific texture — not too hard, not too soft, with that slight give when you bite into it. I’ve made batches that were grainy, batches that never set, and one particularly sad attempt that involved a burnt pan and a smoke alarm. Honestly, I almost gave up. Then, a neighbor mentioned using marshmallow creme, and something clicked. This Crowd-Pleasing Fantasy Fudge with Marshmallow Creme and Walnuts is the result of that journey. It’s the fudge I’ve been chasing all these years, and let me tell you, it’s the one you’ll want to make for every single gathering.
Maybe you’ve been there, trying to recapture a taste from your past. This recipe is for that moment. It’s for the host who wants to show up with a tray of something that looks like you spent hours on it, when really, the whole thing comes together in about five minutes of active work. It’s rich, it’s creamy, it’s studded with crunchy walnuts, and it has that nostalgic, classic fudge flavor that makes everyone close their eyes after the first bite. This isn’t just another fudge recipe; it’s the one that finally worked for me, and I’m pretty sure it’s going to be the one that works for you, too.
Why You’ll Love This Recipe
Let’s be real for a second. Fudge can be a finicky thing. You’ve got to watch the temperature like a hawk, and one wrong move and you’ve got a sugary mess that never sets. This recipe throws all that stress out the window. It’s practically foolproof. I’ve tested it a dozen times, for everything from casual potlucks to fancy holiday parties, and it has never let me down. It’s the kind of recipe that builds your confidence in the kitchen.
- Quick & Easy: This comes together in literally 5 minutes of active time. No candy thermometer, no constant stirring. Just melt, mix, and pour. It’s perfect for last-minute holiday cravings or when you need a dessert in a flash.
- Simple Ingredients: You likely have most of these in your pantry right now. No fancy trips to a specialty store. Marshmallow creme, chocolate chips, sugar, butter — these are the building blocks of pure comfort.
- Perfect for Hosting: This is the ultimate crowd-pleaser for gatherings. It makes a generous batch, so you can feed a crowd. It cuts beautifully into neat squares, making it easy for guests to grab and go. Plus, it looks incredibly impressive on a dessert table.
- Crowd-Pleaser: I have never, and I mean never, put out a tray of this fudge without it disappearing in minutes. Kids love it, adults love it, and it always gets rave reviews. It’s a guaranteed hit.
- Unbelievably Delicious: The texture is absolute perfection. It’s creamy and smooth from the marshmallow creme, with a rich chocolate flavor that isn’t too sweet. The walnuts add that essential crunch and a touch of savory depth that balances everything out.
What makes this version different from the rest? It’s the marshmallow creme. That’s the secret weapon. It gives the fudge a silky, melt-in-your-mouth texture that you just can’t get with marshmallows alone. It also makes the process incredibly forgiving, so you don’t have to worry about crystallization. This isn’t just another fudge recipe; it’s the best version I’ve ever found, and it’s the one I’ll be making for every gathering from now on.
What Ingredients You Will Need
This recipe uses simple, pantry-friendly ingredients to deliver that classic, decadent fudge flavor. Each component plays a specific role in creating the perfect texture and taste. Here’s what you’ll need to grab:
- For the Fudge Base:
- 3 cups (750 ml) granulated sugar: This is the foundation of the fudge. It provides the structure and sweetness. Make sure it’s fresh and not clumpy.
- 3/4 cup (1.5 sticks or 170 g) unsalted butter: Use unsalted so you can control the salt level. The butter adds richness and a smooth, creamy texture. I personally prefer using a good quality butter like Kerrygold for the best flavor.
- 2/3 cup (160 ml) evaporated milk: This is not the same as sweetened condensed milk. Evaporated milk adds creaminess without making the fudge overly sweet. It’s a key component for that classic fudge consistency.
- 1 (12-ounce or 340 g) package semi-sweet chocolate chips: I recommend using a quality brand like Ghirardelli or Guittard for the best melt and flavor. These provide the deep chocolate taste that makes this fudge so addictive.
- 1 (7-ounce or 198 g) jar marshmallow creme (like Jet-Puffed): This is the magic ingredient. It gives the fudge its signature smooth, soft texture and prevents the sugar from crystallizing. Don’t skip it or try to substitute with regular marshmallows — the texture won’t be the same.
- 1 teaspoon pure vanilla extract: Vanilla enhances the chocolate flavor. Use pure, not imitation, for the best result.
- 1 cup (120 g) chopped walnuts: You can toast them lightly in a dry pan for a deeper flavor, but raw is perfectly fine too. The walnuts add a wonderful crunch and nutty flavor that cuts through the richness of the fudge.
Ingredient Selection Tips: For the best texture, make sure your evaporated milk is full-fat. Low-fat versions can make the fudge less creamy. When it comes to the marshmallow creme, I stick with Jet-Puffed as it consistently yields the best results. If you’re making this for a party with nut allergies, you can absolutely leave out the walnuts or substitute them with an equal amount of toasted pecans or even crushed pretzels for a sweet-salty kick. For a dairy-free version, you can try using a vegan butter stick and dairy-free chocolate chips, but I have to be honest — the texture will be slightly different. I haven’t tested it extensively, so proceed with caution if you go that route.
Equipment Needed
You don’t need a fancy kitchen to make this fudge. Here’s the simple equipment that gets the job done:
- Large, heavy-bottomed saucepan (3-quart or larger): This is crucial for even heat distribution. A thin pot can cause the sugar mixture to scorch. I use a stainless steel saucepan and it works perfectly.
- Wooden spoon or heat-resistant silicone spatula: You’ll be doing a lot of stirring, so make sure it’s sturdy and comfortable to hold.
- 8×8-inch (20×20 cm) baking pan: This is the perfect size for a generous batch of fudge. You can also use a 9×9-inch pan for slightly thinner pieces.
- Parchment paper or aluminum foil: To line the pan. This makes lifting the fudge out super easy and saves you from a sticky cleanup.
- Sharp knife: For cutting the fudge into neat squares once it’s set. A chef’s knife works best.
If you don’t have a heavy-bottomed saucepan, you can use a double boiler to melt the mixture, but it will take a bit longer. Honestly, a good heavy pot is a worthwhile investment for all kinds of candy-making and sauces. Also, a candy thermometer isn’t needed for this recipe, which is one of the reasons I love it so much!
Preparation Method
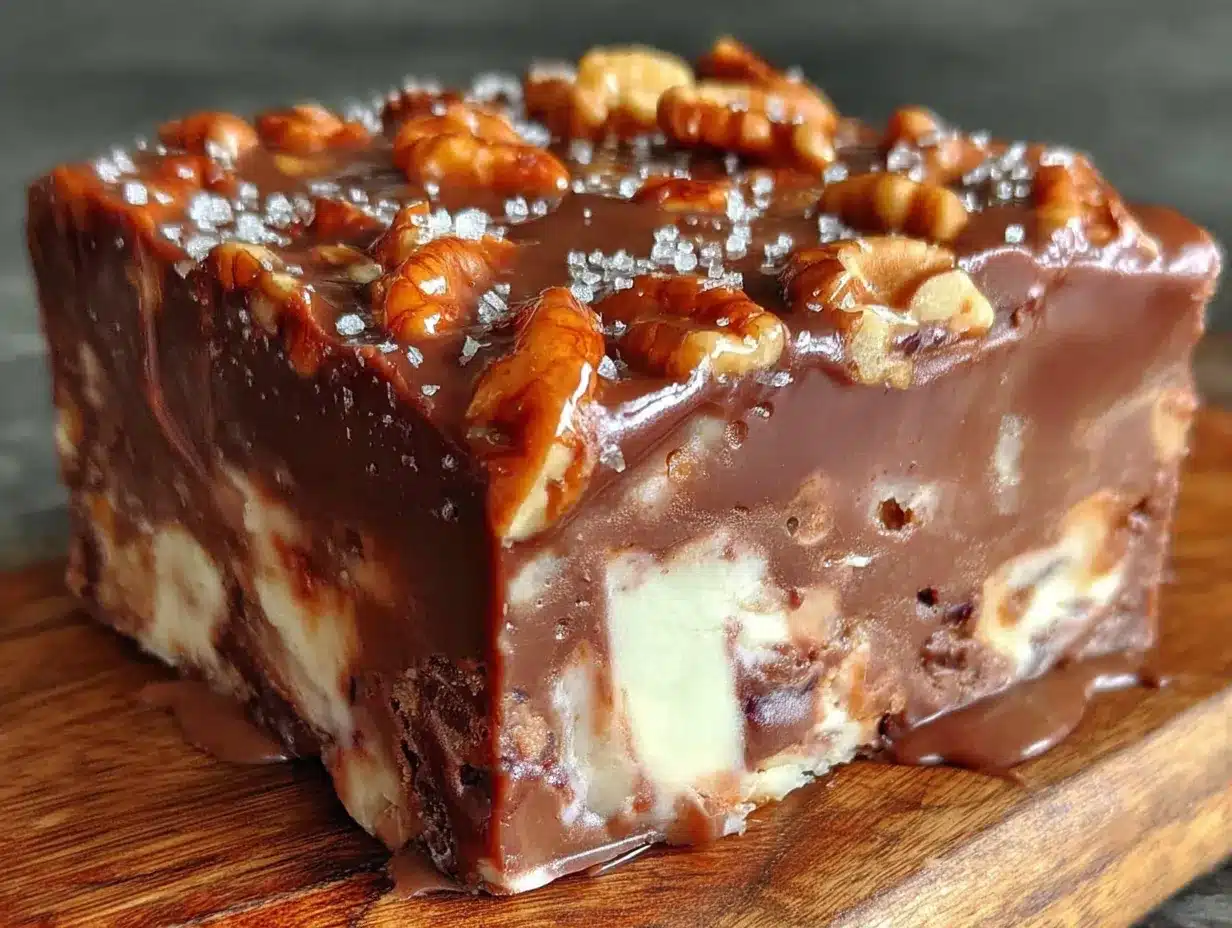
Alright, let’s get to the fun part. This process is incredibly straightforward, but a few key steps make all the difference. Follow these closely, and you’ll have perfect fudge every time.
- Prepare your pan: Line an 8×8-inch baking pan with a long sheet of parchment paper or aluminum foil, leaving a 2-inch overhang on two opposite sides. This will act as your handles to lift the fudge out later. Lightly grease the parchment or foil with a little butter or non-stick spray. Set the pan aside.
- Combine the base ingredients: In your large, heavy-bottomed saucepan, combine the 3 cups of granulated sugar, 3/4 cup of unsalted butter, and 2/3 cup of evaporated milk. Place the pan over medium heat. Stir constantly with your wooden spoon or spatula until the butter is completely melted and the sugar is dissolved. The mixture will look a bit grainy at first, but keep stirring.
- Bring to a full, rolling boil: Once everything is melted and combined, increase the heat slightly to bring the mixture to a full, rolling boil. This means the entire surface should be bubbling, not just the edges. This is a critical step. Set a timer for exactly 4 minutes. Keep stirring the entire time to prevent scorching on the bottom. The mixture will thicken slightly and become a bit darker in color.
- Remove from heat and add chocolate: After 4 minutes, immediately remove the pan from the heat. Don’t let it boil a second longer. Quickly add the entire bag of semi-sweet chocolate chips to the hot mixture. Stir gently but continuously until all the chocolate chips are completely melted and the mixture is smooth and glossy.
- Add the marshmallow creme and vanilla: Now, add the entire jar of marshmallow creme and the 1 teaspoon of vanilla extract. Stir vigorously until the marshmallow creme is fully incorporated and the fudge is a uniform, rich chocolate color. This might take a minute of steady stirring. Don’t rush it — you want it completely smooth.
- Fold in the walnuts: Add the 1 cup of chopped walnuts and fold them into the fudge mixture until they are evenly distributed. Make sure you don’t overmix at this point, just enough to get them all in there.
- Pour and spread: Working quickly (the fudge will start to set), pour the mixture into your prepared pan. Use your spatula to spread it into an even layer. Don’t worry if it’s not perfectly smooth on top; it will settle as it cools.
- Let it set: Let the fudge cool completely at room temperature. This will take about 2-3 hours. Do not put it in the refrigerator to speed up the process, as this can cause the sugar to crystallize and make the fudge grainy. Patience is key here.
- Cut and serve: Once the fudge is completely firm to the touch, use the parchment overhangs to lift the entire block out of the pan. Place it on a cutting board. Use a sharp knife to cut it into 1-inch squares. For clean cuts, wipe the knife clean between each slice.
Sensory Cue: When you pour the fudge into the pan, it should be thick and slightly shiny. As it cools, the surface will lose its shine and become matte. It should feel firm but not rock-hard when you press on it.
Cooking Tips & Techniques
I’ve made this fudge more times than I can count, and I’ve learned a few things the hard way. Here are my best tips to ensure your fudge turns out perfect every time.
- The Boil is Everything: This is the most important part. You must bring the sugar mixture to a full, rolling boil and then boil it for exactly 4 minutes. If you boil it for too long, the fudge will be dry and crumbly. If you don’t boil it long enough, it won’t set properly and will be a sticky mess. Set that timer and don’t walk away!
- Don’t Over-Stir After Boiling: Once you remove the pan from the heat, stir just enough to melt the chocolate and incorporate the marshmallow creme. Over-stirring at this stage can cause the fudge to become grainy. It’s a delicate balance between smooth and overworked.
- Room Temperature Setting is Best: I know it’s tempting to pop it in the fridge to speed things up, but resist the urge. Refrigerating fudge can cause the sugar to crystallize, leading to a grainy texture. Letting it cool slowly at room temperature gives you that creamy, smooth finish. I usually make it the night before I need it.
- Use a Sharp Knife for Cutting: A dull knife will drag and tear the fudge, leaving messy edges. A sharp, clean knife will give you those beautiful, professional-looking squares. Wiping the blade between cuts is a simple trick that makes a huge difference.
- My Biggest Failure: I once tried to double the batch in a pot that was too small. The mixture boiled over, creating a sticky, burnt mess on my stovetop. It took an hour to clean up. Learn from my mistake — make sure your pot is large enough (at least 3 quarts) to give the boiling mixture room to expand.
Variations & Adaptations
This recipe is a fantastic base, and it’s easy to adapt to your own tastes or dietary needs. Here are a few of my favorite variations.
- Nut-Free Version: Simply omit the walnuts. The fudge will still be deliciously creamy and chocolatey. You can also replace them with an equal amount of crushed pretzels, toffee bits, or even dried cherries for a different texture and flavor.
- Flavor Twists: For a mint-chocolate version, add 1/2 teaspoon of peppermint extract along with the vanilla. For a mocha version, dissolve 1 tablespoon of instant espresso powder in the evaporated milk before adding it to the pot. A pinch of sea salt sprinkled on top right after pouring is also a game-changer.
- Different Chocolate: Feel free to swap the semi-sweet chips for milk chocolate for a sweeter, milder fudge, or dark chocolate (60-70% cacao) for a richer, more intense flavor. Just be aware that the sweetness level will change.
- Festive Add-Ins: For the holidays, I love adding 1/2 cup of dried cranberries along with the walnuts. It adds a beautiful pop of color and a tartness that cuts through the sweetness. You could also use chopped pecans or almonds instead of walnuts.
- Dietary Adaptation for Lactose Sensitivity: While I haven’t perfected a fully dairy-free version that matches the texture exactly, you can try using a high-quality vegan butter stick and dairy-free chocolate chips. The texture might be a bit softer, but the flavor is still fantastic. I’d recommend using a brand like Miyoko’s for the butter.
Serving & Storage Suggestions
This fudge is a star on any dessert table, but a little thought into serving and storing it goes a long way.
Serving: This fudge is best served at room temperature. Let it sit out for about 15-20 minutes before serving if it’s been stored in a cooler place. It pairs beautifully with a cup of strong coffee or a glass of cold milk. For a party, I like to arrange the squares on a pretty platter with other sweets like classic chocolate chip cookies or buttery shortbread. It also makes a wonderful gift — just stack a few squares in a cute tin or box lined with parchment paper.
Storage: Store the fudge in an airtight container at room temperature. It will keep well for up to 2 weeks. Do not store it in the refrigerator, as this will dry it out and can alter the texture. If you live in a very warm climate, you can store it in the fridge, but let it come to room temperature before serving for the best texture.
Freezing: This fudge freezes beautifully. Wrap the whole block or individual squares tightly in plastic wrap, then place them in a freezer-safe bag or container. It will keep for up to 3 months. To thaw, transfer it to the counter for a few hours. The flavor and texture remain almost perfect. This is my secret for always having a dessert ready for unexpected guests!
Nutritional Information & Benefits
Let’s be honest, fudge is a treat. It’s not a health food, but it’s made with real ingredients that offer some surprising benefits. Here’s a quick look at the nutritional profile per serving (based on 1-inch square, assuming 64 pieces from the recipe):
- Estimated Calories: 115 kcal
- Fat: 6g
- Carbohydrates: 16g
- Sugar: 14g
- Protein: 1g
Ingredient Benefits: The walnuts are a great source of healthy omega-3 fatty acids and antioxidants. Dark chocolate (if you use a higher cacao percentage) is rich in flavonoids, which are good for heart health. The butter and milk provide a small amount of calcium and vitamin A. Of course, this is a dessert meant to be enjoyed in moderation, but it’s nice to know there are a few redeeming qualities!
Dietary Considerations: This recipe contains dairy (butter, evaporated milk) and nuts (walnuts). It is gluten-free as written. For nut allergies, simply omit the walnuts. For lactose sensitivity, see the variations section above.
Conclusion
This Crowd-Pleasing Fantasy Fudge with Marshmallow Creme and Walnuts is more than just a recipe; it’s a little piece of nostalgia that you can create in your own kitchen. It’s the taste of holidays, of family gatherings, and of simple, unapologetic joy. It’s the dessert that will make you look like a hero with almost zero effort, and it’s the one that will have your friends and family asking for the recipe every single time.
I love this recipe because it’s a connection to my Aunt Rita, but also because it’s become a staple in my own life. It’s the thing I bring to potlucks, the gift I give to neighbors, and the treat I make just because. I encourage you to make it your own. Swap the nuts, add a flavor twist, or just enjoy it exactly as written. The beauty of this fudge is that it’s incredibly forgiving and endlessly adaptable.
So, go ahead and give it a try. I promise you won’t be disappointed. When you do, I’d love to hear about it. Leave a comment below and tell me how it turned out, or share your own variation. And if you’re looking for another show-stopping dessert for your next gathering, you absolutely have to try my no-bake cheesecake — it’s just as easy and always a hit. Happy cooking, and enjoy every single bite!
Frequently Asked Questions (FAQs)
Can I use regular marshmallows instead of marshmallow creme?
I wouldn’t recommend it. Marshmallow creme has a different consistency and a stabilizer that gives the fudge its smooth, creamy texture. Using regular marshmallows can result in a grainy or rubbery fudge. Stick with the creme for the best results.
My fudge didn’t set. What went wrong?
This usually happens if the sugar mixture wasn’t boiled for the full 4 minutes. The boiling step is crucial for reaching the right temperature to allow the fudge to set. Make sure you have a full, rolling boil before you start the timer, and don’t stop stirring!
Can I make this fudge in the microwave?
I don’t recommend it for this particular recipe. The stovetop method gives you much better control over the boil, which is the most critical step. The microwave can heat unevenly and make it difficult to achieve the right consistency.
How do I get clean, even cuts on my fudge?
Use a sharp, large knife and wipe the blade clean with a damp paper towel after each cut. This prevents the fudge from sticking to the knife and dragging, giving you those beautiful, professional-looking squares.
Can I double this recipe?
You can, but you need to use a much larger pot (at least 6 quarts) to prevent the mixture from boiling over. You will also need to increase the boiling time slightly, to about 5-6 minutes. Keep a close eye on it and use a candy thermometer if you have one — you’re aiming for the soft-ball stage (234-240°F or 112-115°C).
Pin This Recipe!
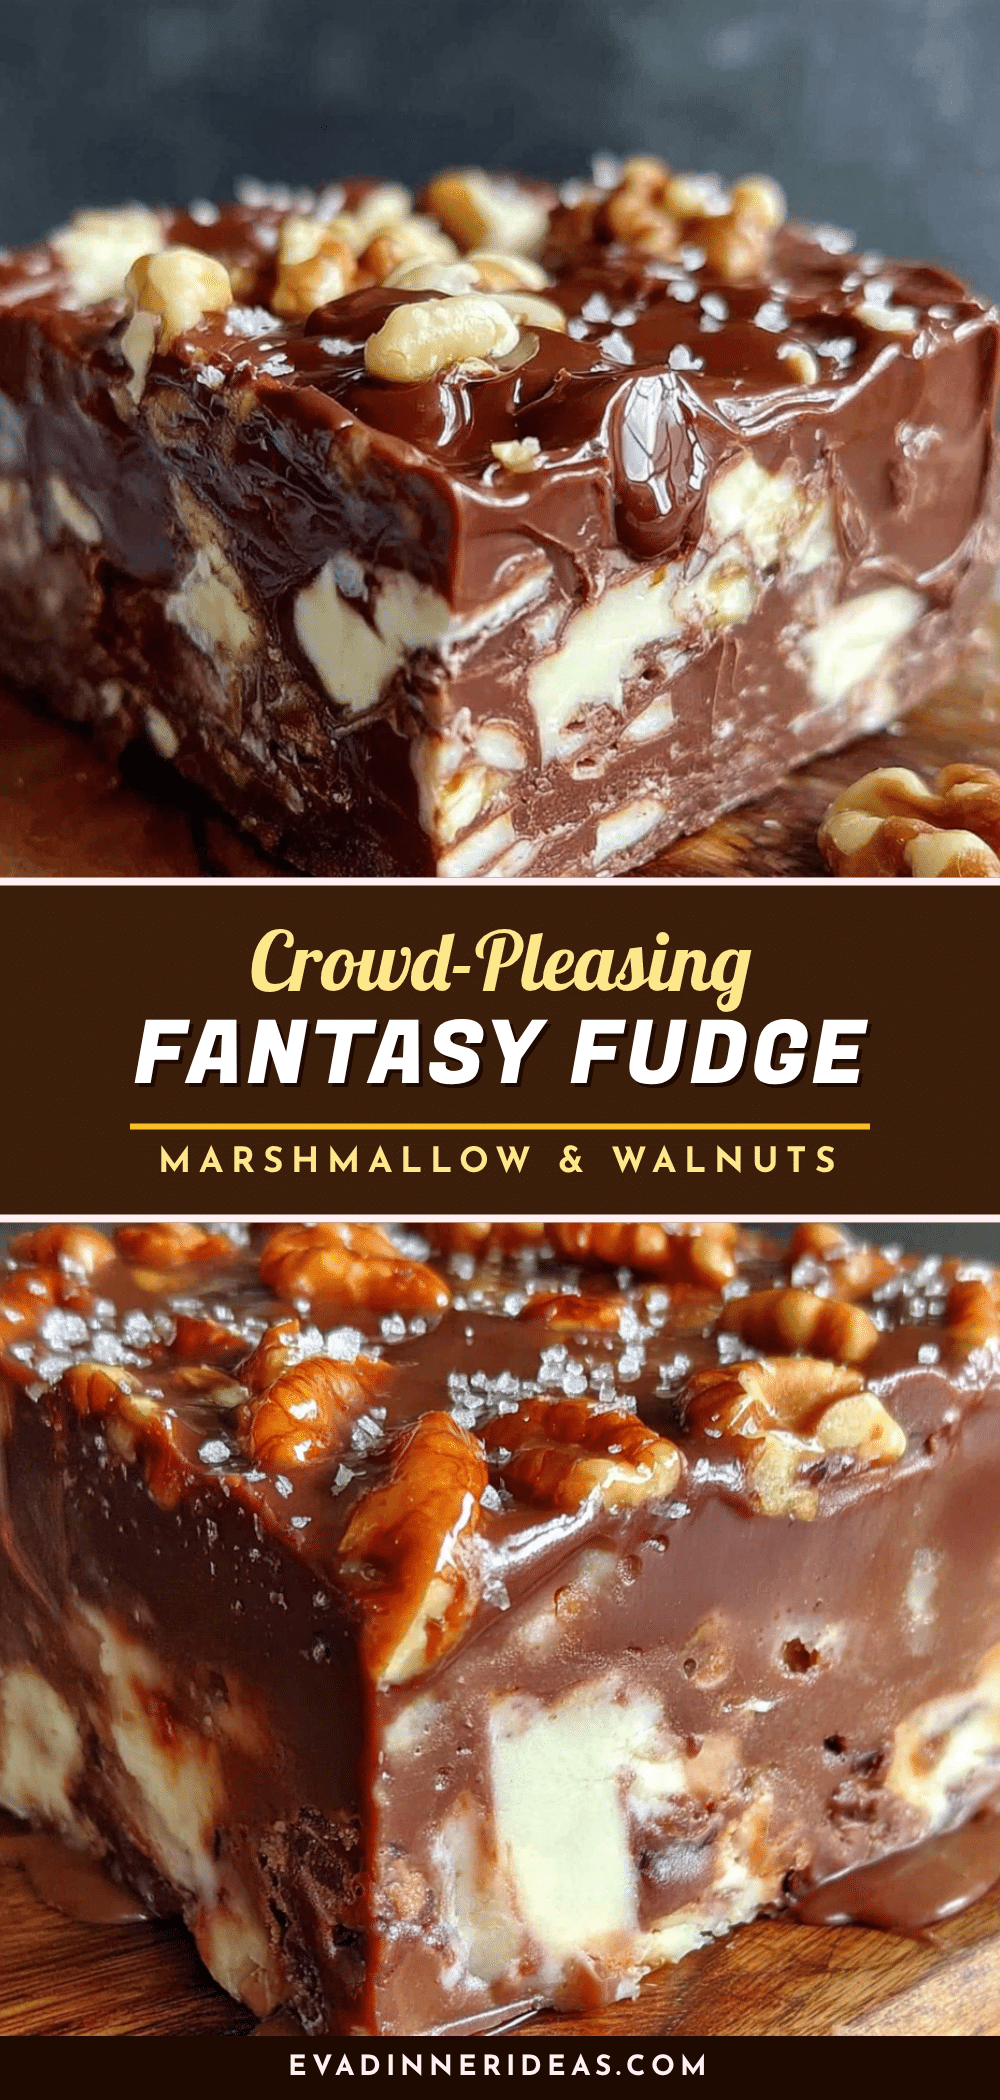
Easy 5-Minute Fantasy Fudge Recipe with Marshmallow Creme
This creamy, rich fudge with marshmallow creme and walnuts is a foolproof, crowd-pleasing dessert that comes together in just 5 minutes of active time. Perfect for holiday gatherings or any occasion, it delivers that nostalgic, melt-in-your-mouth texture every time.
- Prep Time: 5 minutes
- Cook Time: 4 minutes
- Total Time: 2 hours 9 minutes (including cooling)
- Yield: 64 servings 1x
- Category: Dessert
- Cuisine: American
Ingredients
- 3 cups (750 ml) granulated sugar
- 3/4 cup (1.5 sticks or 170 g) unsalted butter
- 2/3 cup (160 ml) evaporated milk
- 1 (12-ounce or 340 g) package semi-sweet chocolate chips
- 1 (7-ounce or 198 g) jar marshmallow creme (like Jet-Puffed)
- 1 teaspoon pure vanilla extract
- 1 cup (120 g) chopped walnuts
Instructions
- Line an 8×8-inch baking pan with parchment paper or aluminum foil, leaving a 2-inch overhang on two opposite sides. Lightly grease the parchment or foil with butter or non-stick spray. Set aside.
- In a large, heavy-bottomed saucepan, combine the sugar, butter, and evaporated milk. Place over medium heat and stir constantly until the butter is melted and the sugar is dissolved.
- Increase heat slightly to bring the mixture to a full, rolling boil. Set a timer for exactly 4 minutes, stirring constantly to prevent scorching.
- Remove the pan from the heat immediately. Add the chocolate chips and stir gently until completely melted and smooth.
- Add the marshmallow creme and vanilla extract. Stir vigorously until fully incorporated and the fudge is a uniform, rich chocolate color.
- Fold in the chopped walnuts until evenly distributed.
- Pour the mixture into the prepared pan and spread into an even layer. Let cool completely at room temperature (about 2-3 hours). Do not refrigerate.
- Once firm, use the parchment overhangs to lift the fudge out of the pan. Place on a cutting board and cut into 1-inch squares with a sharp knife, wiping the blade clean between cuts.
Notes
The boil is critical: bring to a full rolling boil and boil for exactly 4 minutes. Do not refrigerate to speed up setting, as this can cause graininess. For clean cuts, wipe the knife between slices. Store in an airtight container at room temperature for up to 2 weeks, or freeze for up to 3 months.
Nutrition
- Serving Size: 1 square (1-inch)
- Calories: 115
- Sugar: 14
- Sodium: 15
- Fat: 6
- Saturated Fat: 3
- Carbohydrates: 16
- Fiber: 1
- Protein: 1
Keywords: fantasy fudge, marshmallow creme fudge, easy fudge, 5-minute fudge, chocolate fudge, walnut fudge, holiday fudge, crowd-pleasing fudge


