I was standing in the frozen foods aisle at Costco last November when the smell of someone’s roasting turkey from the deli section hit me — and suddenly I was twelve years old at my aunt Patsy’s kitchen table, my elbows sticky with maple syrup, watching her build what she called a “nibble plate” on a chipped blue platter. She’d pass it around the room while the grown-ups argued about the right way to brine a bird, and somehow that plate of cheese cubes, salami roses, and those little bread-and-butter pickles she fished from a jar with her fingers felt more like Thanksgiving than any turkey ever did. I mean, I honestly didn’t even like turkey back then. I just wanted the nibble plate.
Aunt Patsy passed away three years ago, and I’ve spent every November since trying to recreate that exact feeling — that moment of quiet abundance before the chaos of dinner, when everyone’s still in their good clothes and nobody’s fighting yet. But here’s the thing. I kept trying to make a single big platter, and it kept getting destroyed within minutes. The cheese would get mixed up with the pickles. Someone would double-dip. The salami roses would collapse into a sad pile of meat. It was a mess, honestly.
So last year, I finally cracked it. I made individual Friendsgiving charcuterie grazing cups, and let me tell you — it was the best decision I ever made for a group gathering. Each person gets their own little cup of curated goodness. No sharing. No fighting over the last prosciutto-wrapped mozzarella bite. Everyone gets exactly the same beautiful, intentional spread, and somehow that makes the whole thing feel more special. Maybe you’ve been there — watching your carefully arranged cheese board get demolished in thirty seconds flat, wondering why you even bothered. These grazing cups fix all of that.
And honestly? They taste even better than I remember Aunt Patsy’s nibble plate tasting. Which is saying something, because I’ve been chasing that memory for years.
Why You’ll Love These Friendsgiving Charcuterie Grazing Cups
These individual Friendsgiving charcuterie grazing cups are about to become your new hosting secret weapon. I’ve made them for three different gatherings now, and they’ve been the first thing to disappear every single time. Here’s why they work so well:
- Perfect for Crowds: Each guest gets their own cup, so there’s zero jostling or hovering. Your cheese board stays intact, and everyone feels special.
- Prep Ahead Friendly: You can assemble these cups up to 24 hours in advance. Just cover them with plastic wrap and pop them in the fridge. When guests arrive, you’re done.
- No Special Equipment: You don’t need a fancy cheese board or a dozen little ramekins. Just clear plastic cups or small mason jars — stuff you probably already have.
- Customizable for Every Guest: Have a vegan friend? A gluten-free cousin? A kid who only wants pepperoni? You can tailor each cup without messing up the whole spread.
- Visually Stunning: These cups look incredible. The layers of color — red grapes, green olives, orange cheddar, brown salami — make for a gorgeous presentation that screams “I put thought into this.”
- Less Mess, Less Stress: No one’s reaching across the table. No one’s dropping cracker crumbs into the dip. Each cup is a self-contained little world of deliciousness.
What makes these different from every other charcuterie board you’ve seen? It’s the individual portioning. I tested this with a group of twelve people last Friendsgiving, and the difference was night and day. Everyone sat down with their cup, and instead of the usual feeding frenzy, there was this moment of calm appreciation. People actually talked about what they liked in their cup. They swapped stories about their favorite cheeses. It became a conversation starter instead of a free-for-all.
This is comfort food reimagined for the modern host — less work, more impact, and the same soul-soothing satisfaction of a classic charcuterie board. It’s the kind of recipe that makes you close your eyes after the first bite and think, “Yeah, I nailed this.”
What Ingredients You Will Need
This recipe uses simple, high-quality ingredients to deliver maximum flavor and visual appeal without the fuss. Most of these are pantry staples or easy to find at any grocery store. Here’s what you’ll need for each cup:
For the Meat Layer
- 4-5 slices of salami (I prefer Genoa salami from Boar’s Head for that perfect balance of fat and spice)
- 2-3 slices of prosciutto (look for it pre-sliced at the deli counter; it tears beautifully into ribbons)
- 2-3 slices of capicola or soppressata (adds a nice spicy kick if you want variety)
For the Cheese Layer
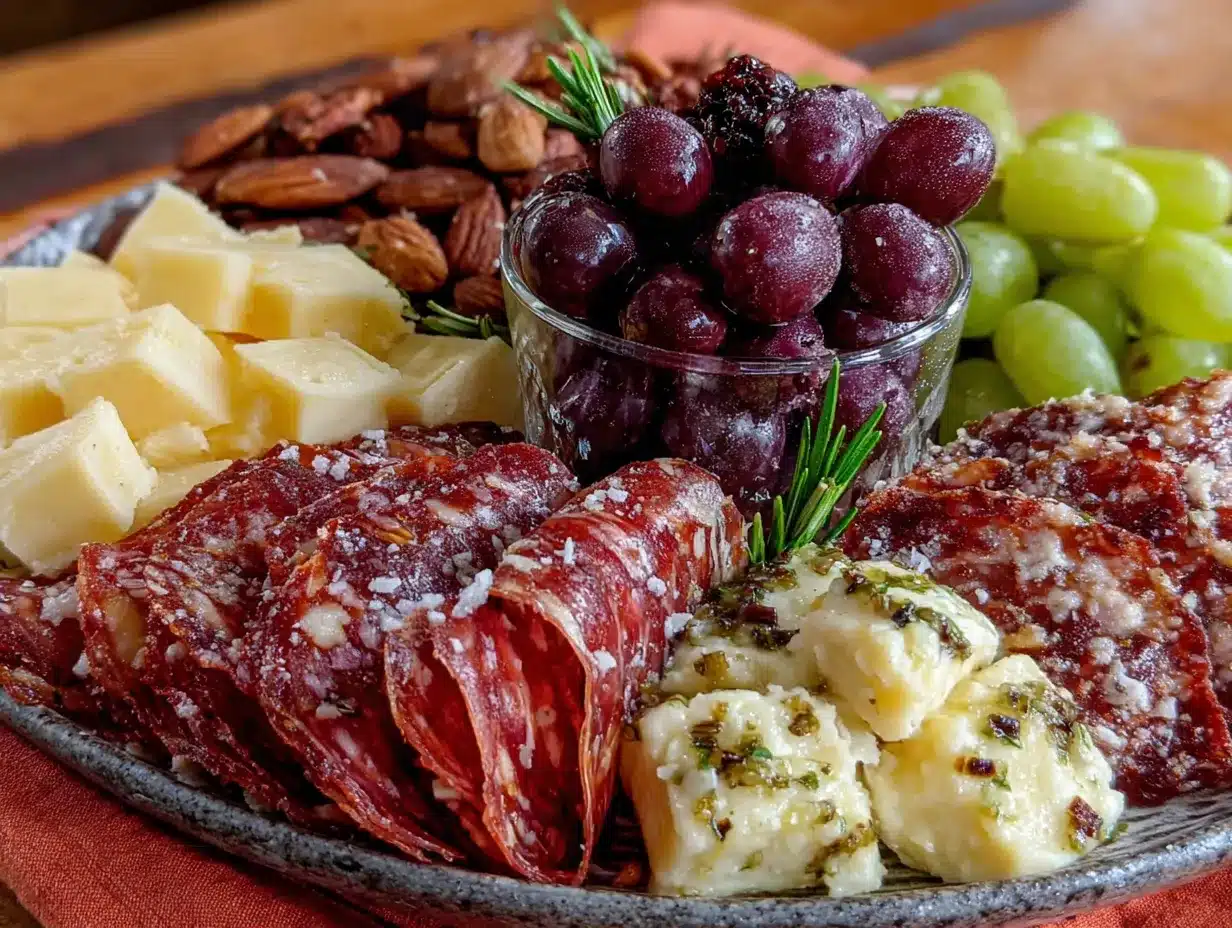
- 2-3 cubes of sharp cheddar (Cabot’s Seriously Sharp is my go-to; it holds up well and has that classic tang)
- 2-3 cubes of Gouda (smoked Gouda adds a lovely depth, but plain works great too)
- 2-3 small fresh mozzarella balls (the little ciliegine size, about the size of a cherry tomato)
- 1-2 slices of Brie (cut into wedges; it softens at room temperature and gets all creamy)
For the Fruit & Savory Elements
- 4-5 red seedless grapes (green works too, but red adds that pop of color)
- 3-4 dried apricots (their sweetness cuts through the saltiness beautifully)
- 2-3 marinated olives (I love Castelvetrano olives for their buttery flavor; use pitted ones)
- A small handful of Marcona almonds (they’re already salted and roasted — no extra work needed)
For the Crunch Factor
- 3-4 good crackers (I recommend Raincoast Crisps or a simple water cracker; they hold up without getting soggy)
- 1-2 breadsticks (the thin, crispy kind — they double as a dipper and a snack)
For the Dip (Optional but Highly Recommended)
- 1 tablespoon honey (drizzled over the Brie or used as a dip for the prosciutto)
- 1 tablespoon whole-grain mustard (adds a tangy kick that pairs perfectly with the cheddar)
- A small ramekin of fig jam or red pepper jelly (if you want to get fancy; I use Bonne Maman fig preserves)
You can absolutely swap things around based on what’s available or what your guests like. If someone doesn’t eat pork, use turkey salami and beef prosciutto-style meat. If you’re feeding a crowd that loves spicy food, add some pepperoni or Calabrian chili paste. The beauty of these cups is that they’re endlessly adaptable.
Equipment Needed
You don’t need much for this recipe, which is part of why I love it. Here’s what I use:
- Clear plastic cups or small mason jars — I use 12-ounce clear plastic cups from the party supply store. They’re sturdy, disposable, and let the beautiful layers show through. Mason jars work great too if you want something reusable.
- A cutting board and sharp knife — For cubing cheese and slicing fruit. Nothing fancy needed.
- Small ramekins or shot glasses — If you’re including dips, these fit perfectly inside the cup or on the side.
- A serving tray or platter — To arrange the cups on. A wooden board or even a clean baking sheet works.
- Plastic wrap — If you’re prepping ahead, cover each cup tightly.
I’ve made these with everything from actual wine glasses (fancy but risky — they tip over) to those little paper cone cups from the water cooler (too small). The sweet spot is a cup that holds about 8-10 ounces. You want enough room for layers without everything getting squished.
Preparation Method
Making these Friendsgiving charcuterie grazing cups is surprisingly simple. Here’s how I do it, step by step:
- Start with the base — Place a small handful of crackers or breadsticks at the bottom of each cup. This creates a stable foundation and keeps the heavier ingredients from sinking. I usually break the breadsticks in half so they fit better.
- Add the cheese cubes — Drop in 2-3 cubes of each cheese variety. Try to distribute them evenly so every cup gets a mix of cheddar, Gouda, mozzarella, and Brie. Pro tip: cut the Brie into wedges about the size of a thumbnail so they don’t overwhelm the cup.
- Layer in the meat — Fold each slice of salami into a little rose or simply roll it into a cylinder. Tear the prosciutto into ribbons and nestle them around the cheese. The capicola can go in as is or folded. You want the meat to look intentional, not just thrown in.
- Add the fruit and olives — Tuck the grapes, dried apricots, and olives into the gaps between the cheese and meat. This is where the visual magic happens — the red of the grapes against the orange cheddar, the green olives peeking out. Don’t overcrowd; leave some breathing room.
- Sprinkle the nuts — Drop a small handful of Marcona almonds or any nut you’re using into the cup. They’ll settle into the crevices and add that lovely crunch.
- Finish with any dips or drizzles — If you’re using honey, drizzle a tiny bit over the Brie or prosciutto. If you’re including a ramekin of jam or mustard, place it on top or alongside the cup. A little goes a long way here.
- Garnish for color — Add a sprig of fresh rosemary or a few leaves of flat-leaf parsley on top. It sounds fussy, but it makes the cup look professionally styled. Plus, it smells nice.
- Chill until serving — If you’re making these ahead, cover each cup with plastic wrap and refrigerate for up to 24 hours. Take them out about 20 minutes before serving to let the cheese come to room temperature — that’s when the flavors really open up.
A quick note on timing: the first time I made these, I tried to assemble everything while the turkey was resting and the rolls were warming. Bad idea. I was rushing, the prosciutto kept sticking to my fingers, and I accidentally dropped an olive into someone’s wine glass. Now I prep everything the night before. I cube the cheese, fold the meat, wash the grapes, and lay everything out on a sheet pan. Then assembly takes about 10 minutes tops.
Cooking Tips & Techniques
I’ve made plenty of mistakes with these cups so you don’t have to. Here’s what I’ve learned:
Don’t overstuff the cups. I know it’s tempting to cram in as much as possible, but a crowded cup looks messy and makes it hard for guests to grab what they want. Leave about an inch of space at the top. Trust me, it’ll still look abundant.
Layer with intention. Think about color and texture as you build. Put the bright red grapes next to the pale Brie. Tuck the green olives near the dark salami. The visual contrast makes each cup look like a tiny work of art.
Keep the crackers separate if you can. If you’re prepping more than a few hours ahead, store the crackers in a separate bag and add them just before serving. Otherwise they’ll get soft from the moisture in the fruit and cheese. I learned this the hard way when I made cups for a brunch and the crackers were basically mush by noon.
Use room temperature cheese. Cold cheese doesn’t have much flavor. Take your cheese out of the fridge about 30 minutes before you start assembling. It’ll be easier to cut and taste way better.
Make extra cups. I always make two or three more than I think I need. People will eat one and then want another, or someone will bring an unexpected plus-one. Having extras saves the day every time.
Don’t skip the honey drizzle. I know it seems like an extra step, but that tiny bit of sweetness against the salty prosciutto and tangy cheddar is what makes these cups unforgettable. It’s the little detail that people notice but can’t quite name.
Variations & Adaptations
These cups are endlessly adaptable. Here are some variations I’ve tried and loved:
Vegetarian Version: Skip the meat entirely and double up on the cheese and nuts. Add roasted red pepper strips, marinated artichoke hearts, or pickled vegetables for that savory punch. I made these for a vegetarian friend last year and she said they were the best part of the meal.
Gluten-Free Version: Use gluten-free crackers or skip the crackers altogether and add extra nuts and dried fruit. Rice crackers work great too. Just make sure your meats and cheeses are gluten-free — most are, but it never hurts to check.
Dairy-Free Version: Use vegan cheese alternatives or skip the cheese and load up on marinated vegetables, olives, nuts, and fruit. I’ve used cashew cheese from Miyoko’s Creamery and it worked beautifully.
Spicy Version: Add pepperoni, Calabrian chili paste, or pickled jalapeños. Swap the Gouda for pepper jack cheese. The heat pairs surprisingly well with the sweet grapes and honey.
Kid-Friendly Version: Use mild cheddar, string cheese, and turkey pepperoni. Skip the olives and Brie. Add some goldfish crackers or pretzel sticks for a fun twist. My nephew calls these his “snack cups” and asks for them year-round.
Seasonal Version: In the fall, add sliced apple or pear, dried cranberries, and a sprinkle of pumpkin seeds. In the summer, use fresh figs, strawberries, and basil leaves. The base formula stays the same; just swap in what’s fresh.
Serving & Storage Suggestions
These cups are best served at room temperature, so take them out of the fridge about 20 minutes before your guests arrive. Arrange them on a large wooden board or a clean baking sheet — the contrast of the clear cups against wood looks gorgeous. You can also scatter a few extra nuts and dried fruit around the board for a more abundant look.
For drinks, these cups pair beautifully with a crisp white wine like Sauvignon Blanc or a light red like Pinot Noir. Sparkling water with a slice of lemon works great for non-drinkers. I also love serving them alongside a warm bowl of butternut squash soup or a simple arugula salad with lemon vinaigrette — something light that doesn’t compete with the flavors in the cup.
If you have leftovers (which honestly, you probably won’t), store the components separately. The meat and cheese can go in an airtight container in the fridge for up to three days. The fruit will get soft, so eat that within a day. The crackers should be stored in a ziplock bag at room temperature. Don’t try to reassemble leftover cups — just serve everything on a small plate like a mini charcuterie board.
One thing I love about these cups is that the flavors actually get better as they sit. The honey soaks into the prosciutto just a little, the cheese softens, and everything melds together in a really lovely way. So don’t stress about serving them immediately. They’re forgiving.
Nutritional Information & Benefits
These cups are naturally high in protein from the meat and cheese, which makes them satisfying without being heavy. A typical cup (using the ingredients listed above) contains roughly:
- Calories: 350-450 per cup (depending on portions)
- Protein: 18-22 grams
- Fat: 25-30 grams (mostly from healthy sources like nuts and cheese)
- Carbohydrates: 15-20 grams (from fruit and crackers)
- Fiber: 3-4 grams
The cheese provides calcium and vitamin D, while the nuts offer healthy fats and vitamin E. Grapes are packed with antioxidants, and olives contain heart-healthy monounsaturated fats. If you’re watching your sodium, opt for low-sodium meats and unsalted nuts — you can always add a pinch of flaky salt at the end if needed.
These cups are naturally low in added sugar (the honey is the only sweetener) and can easily be adapted for keto, paleo, or whole30 diets by swapping out the crackers and using compliant meats and cheeses. I’ve made keto versions with cucumber rounds instead of crackers and they were a hit.
Conclusion
These individual Friendsgiving charcuterie grazing cups are more than just a pretty appetizer — they’re a solution to the age-old problem of the chaos that surrounds a shared cheese board. They give each guest their own curated experience, they look stunning on the table, and they let you actually enjoy your own party instead of hovering over the appetizer spread.
I’ve made these for Friendsgiving, Christmas Eve, New Year’s Eve, and even a casual Sunday football gathering. Every single time, they’re the first thing to go. People love the novelty of having their own cup, and they love the thought that went into each one.
So go ahead and make them your own. Swap in your favorite cheeses, add that weird fruit spread your aunt swears by, or skip the meat entirely if that’s your thing. The formula is simple: good ingredients, thoughtful layering, and a little bit of love. That’s all you need.
I’d love to hear how yours turn out. Drop a comment below and tell me what combinations you tried — I’m always looking for new ideas. And if you make these for your own Friendsgiving, tag me in your photos. Nothing makes me happier than seeing someone else fall in love with these cups the way I did.
Happy hosting, friends. You’ve got this.
Frequently Asked Questions
Can I make these cups ahead of time?
Absolutely. You can assemble them up to 24 hours in advance. Just cover each cup tightly with plastic wrap and refrigerate. Add any crackers or breadsticks right before serving to keep them crunchy.
How many cups should I make per person?
I usually plan for one cup per person, plus two or three extra. Most guests will eat one cup as an appetizer, but some people go back for seconds. Having extras ensures nobody misses out.
What if I don’t have clear plastic cups?
Mason jars, small glass tumblers, or even sturdy paper cups work fine. The clear cups just let the beautiful layers show through. If you’re using opaque cups, consider adding a colorful garnish on top so they still look festive.
Can I make these for a crowd larger than 12?
Yes! The recipe scales beautifully. Just multiply the ingredients by the number of guests. I recommend setting up an assembly line — one person adds cheese, another adds meat, etc. It goes fast with a team.
What’s the best way to transport these cups?
Place them on a large baking sheet with raised edges (like a jelly roll pan) and cover with plastic wrap. The edges prevent the cups from sliding around in the car. For longer trips, keep them in a cooler with ice packs.
Pin This Recipe!
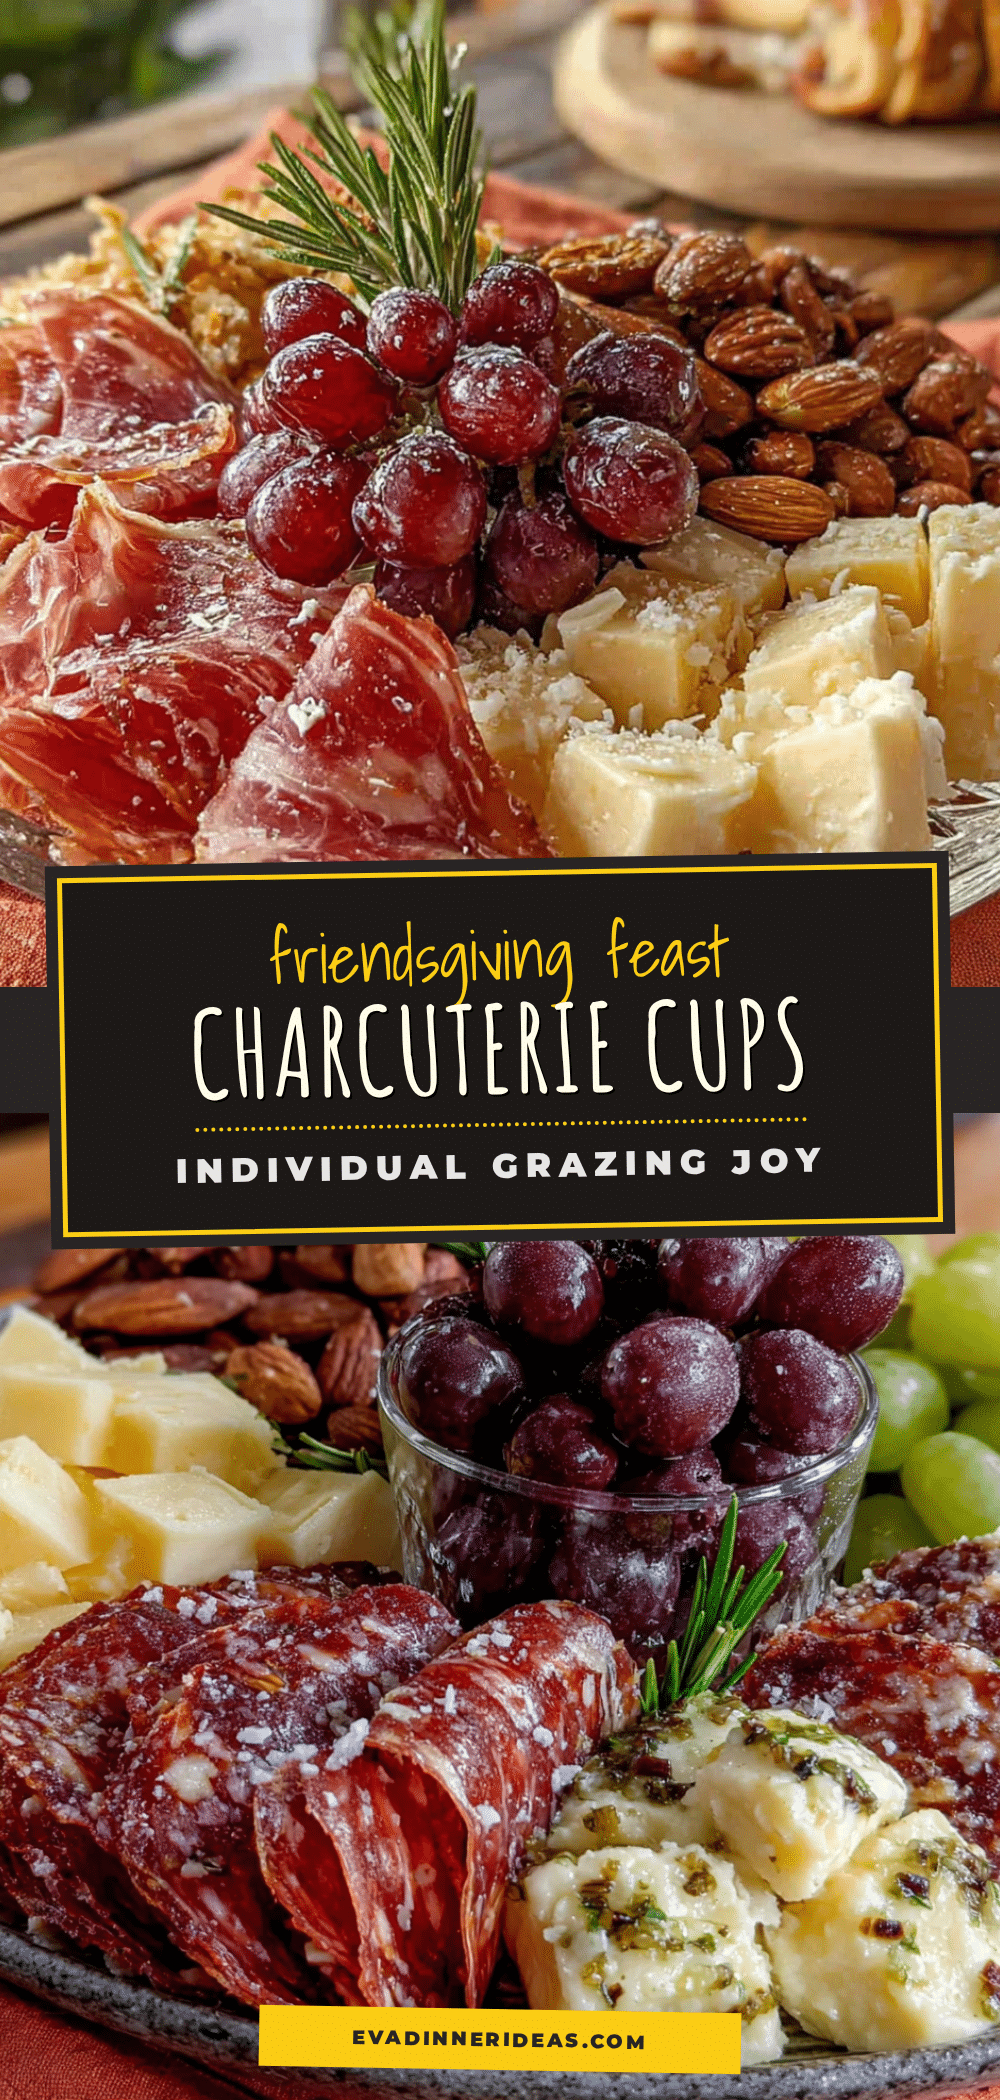
Best Easy Friendsgiving Charcuterie Grazing Cups
Individual charcuterie grazing cups that give each guest their own curated experience. Perfect for Friendsgiving, these cups are prep-ahead friendly, visually stunning, and eliminate the chaos of shared cheese boards.
- Prep Time: 20 minutes
- Cook Time: 0 minutes
- Total Time: 20 minutes
- Yield: 12 servings 1x
- Category: Appetizer
- Cuisine: American
Ingredients
- 4–5 slices of salami (Genoa salami recommended)
- 2–3 slices of prosciutto
- 2–3 slices of capicola or soppressata
- 2–3 cubes of sharp cheddar cheese
- 2–3 cubes of Gouda cheese (smoked Gouda recommended)
- 2–3 small fresh mozzarella balls (ciliegine size)
- 1–2 slices of Brie cheese (cut into wedges)
- 4–5 red seedless grapes
- 3–4 dried apricots
- 2–3 marinated olives (Castelvetrano olives recommended)
- Small handful of Marcona almonds
- 3–4 good crackers (Raincoast Crisps or water crackers recommended)
- 1–2 breadsticks (thin, crispy kind)
- 1 tablespoon honey (optional, for drizzling)
- 1 tablespoon whole-grain mustard (optional)
- Small ramekin of fig jam or red pepper jelly (optional)
Instructions
- Start with the base: Place a small handful of crackers or breadsticks at the bottom of each cup. Break breadsticks in half if needed.
- Add the cheese cubes: Drop in 2-3 cubes of each cheese variety (cheddar, Gouda, mozzarella, Brie). Cut Brie into thumbnail-sized wedges.
- Layer in the meat: Fold each salami slice into a rose or roll into a cylinder. Tear prosciutto into ribbons and nestle around cheese. Add capicola folded or as is.
- Add the fruit and olives: Tuck grapes, dried apricots, and olives into gaps between cheese and meat. Leave some breathing room.
- Sprinkle the nuts: Drop a small handful of Marcona almonds into the cup.
- Finish with any dips or drizzles: Drizzle honey over Brie or prosciutto if using. Place ramekin of jam or mustard on top or alongside.
- Garnish for color: Add a sprig of fresh rosemary or a few flat-leaf parsley leaves on top.
- Chill until serving: Cover each cup with plastic wrap and refrigerate for up to 24 hours. Remove from fridge 20 minutes before serving to let cheese come to room temperature.
Notes
Don’t overstuff cups; leave about an inch of space at the top. Layer with intention for visual contrast. If prepping more than a few hours ahead, store crackers separately and add just before serving to prevent sogginess. Use room temperature cheese for best flavor. Make 2-3 extra cups for unexpected guests. The honey drizzle is highly recommended for flavor balance.
Nutrition
- Serving Size: 1 cup
- Calories: 400
- Sugar: 8
- Sodium: 800
- Fat: 27.5
- Saturated Fat: 10
- Carbohydrates: 17.5
- Fiber: 3.5
- Protein: 20
Keywords: Friendsgiving, charcuterie, grazing cups, appetizer, party food, cheese board, individual servings, holiday appetizer