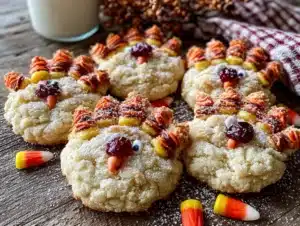
Introduction
My neighbor wasn’t making a big deal of it. I’d stopped by to borrow a cup of sugar—cliché, I know—and the smell of warm butter and vanilla hit me before I even knocked. She opened the door with flour on her cheek and a cookie sheet in her hand, completely unbothered by the chaos of two toddlers running circles around her kitchen island.
“Oh, these?” she said when I asked about the tray of golden cookies cooling on her stovetop. “Just turkey hands. The kids make them every year.” She shrugged like it was nothing, but let me tell you—those little cookies had more personality than anything I’d ever baked with my own two hands. Each one was slightly different. Some had crooked feathers. One turkey had three eyes because her son got “creative.” And honestly? They were perfect.
I stood there holding my borrowed sugar, watching her frost another batch with the kind of ease that only comes from years of doing something without overthinking it. She wasn’t trying to impress anyone. She was just making cookies with her kids on a rainy Tuesday afternoon. But something about that moment stuck with me—the way the kitchen smelled, the way the kids giggled, the way those little turkey cookies looked so ridiculously happy sitting on that tray.
That’s the thing about recipes like these. They’re not about perfection. They’re about the mess, the laughter, the flour on the floor. Maybe you’ve been there—trying to make a holiday treat with little helpers and realizing the joy is in the imperfection. These Cozy Turkey Hand Sugar Cookies for Kids capture that exact feeling. They’re simple enough for tiny hands to help with, cute enough to steal the show at any Thanksgiving table, and cozy enough to make your kitchen feel like the warmest place in the world.
Why You’ll Love This Recipe
Let’s be real for a second—baking with kids can be a hot mess. I’ve been there. Flour everywhere, sugar on the dog, and somehow sprinkles in places you don’t want to think about. But this recipe? It’s different. It’s designed to actually work with little helpers, not against them.
- Kid-Friendly from Start to Finish : The dough comes together in about 10 minutes, and the handprint shaping is something even a three-year-old can do with a little guidance. No fancy piping bags or complicated techniques here.
- Simple Pantry Ingredients : Butter, sugar, flour, eggs, vanilla—the usual suspects. You probably have everything already, which means no last-minute grocery runs in the Thanksgiving chaos.
- Perfect for Thanksgiving : These little turkeys are the ultimate holiday activity cookie. They keep kids busy while the turkey roasts, and they make the dessert table feel extra special.
- Crowd-Pleaser for All Ages : I’ve watched grown adults fight over the last turkey cookie. There’s something about the handprint shape that makes everyone smile.
- Unbelievably Delicious : This isn’t just a cute cookie—it’s a genuinely good sugar cookie. Soft in the middle, slightly crisp at the edges, with that perfect buttery vanilla flavor.
What makes this recipe different from the dozens of turkey cookie recipes out there? I’ve tested this dough six times to get the right balance—sturdy enough to hold its shape during baking, but soft enough that kids can press their hands into it without it cracking. Plus, I’m sharing my trick for keeping the handprint impression clean and defined, which took me a few failed batches to figure out.
This is the kind of recipe that makes you close your eyes after the first bite. It’s comfort food in cookie form—nostalgic, warm, and full of the kind of sweetness that has nothing to do with sugar.
What Ingredients You Will Need
This recipe uses simple, wholesome ingredients to deliver that classic sugar cookie taste and texture. Nothing fancy, nothing hard to find—just the good stuff your grandmother probably used.
- Unsalted butter, softened (1 cup / 226g) – I always use unsalted so I can control the salt level. Let it sit out for about 30 minutes before you start. Cold butter makes for sad, flat cookies.
- Granulated sugar (1 cup / 200g) – Regular white sugar gives these cookies that perfect tender crumb. No need for anything fancy here.
- Large egg (1, room temperature) – Room temperature eggs mix in more evenly. If you forgot to take it out early, place it in a bowl of warm water for 5 minutes.
- Vanilla extract (2 teaspoons) – Pure vanilla makes a difference, but honestly, good quality imitation vanilla works too. I use Nielsen-Massey when I’m feeling fancy.
- All-purpose flour (2 ½ cups / 312g) – Spoon and level your flour. Scooping directly from the bag packs it down and gives you too much flour, which means dry cookies.
- Baking powder (1 teaspoon) – This gives the cookies a little lift without spreading too much.
- Salt (½ teaspoon) – Don’t skip it. Salt balances the sweetness and makes the vanilla flavor pop.
For the frosting and decorating:
- Powdered sugar (2 cups / 240g) – Sift it if you want a super smooth frosting. I don’t always bother, and it’s fine.
- Milk (2-3 tablespoons) – Whole milk gives the creamiest frosting, but any milk works. Add it slowly—you want a spreadable consistency, not a puddle.
- Vanilla extract (½ teaspoon) – For the frosting too, because double vanilla is never a bad thing.
- Food coloring – Red, orange, yellow, and brown for the turkey feathers and face. Gel food coloring gives you vibrant colors without thinning the frosting.
- Candy eyes – Those little white and black dots that make everything cuter. You can find them in the baking aisle.
- Orange sprinkles or candy corn – For the turkey beak. Candy corn works perfectly here and tastes like pure nostalgia.
Ingredient tips from my kitchen to yours: If you’re out of butter, I’ve tested this with margarine and it works okay, but the cookies are slightly less tender. For a dairy-free version, use a good quality vegan butter stick—not the spreadable kind in a tub. And if you want to skip the artificial food coloring, try natural food colors from brands like Watkins. The colors are a little more muted, but they still look adorable.
Equipment Needed
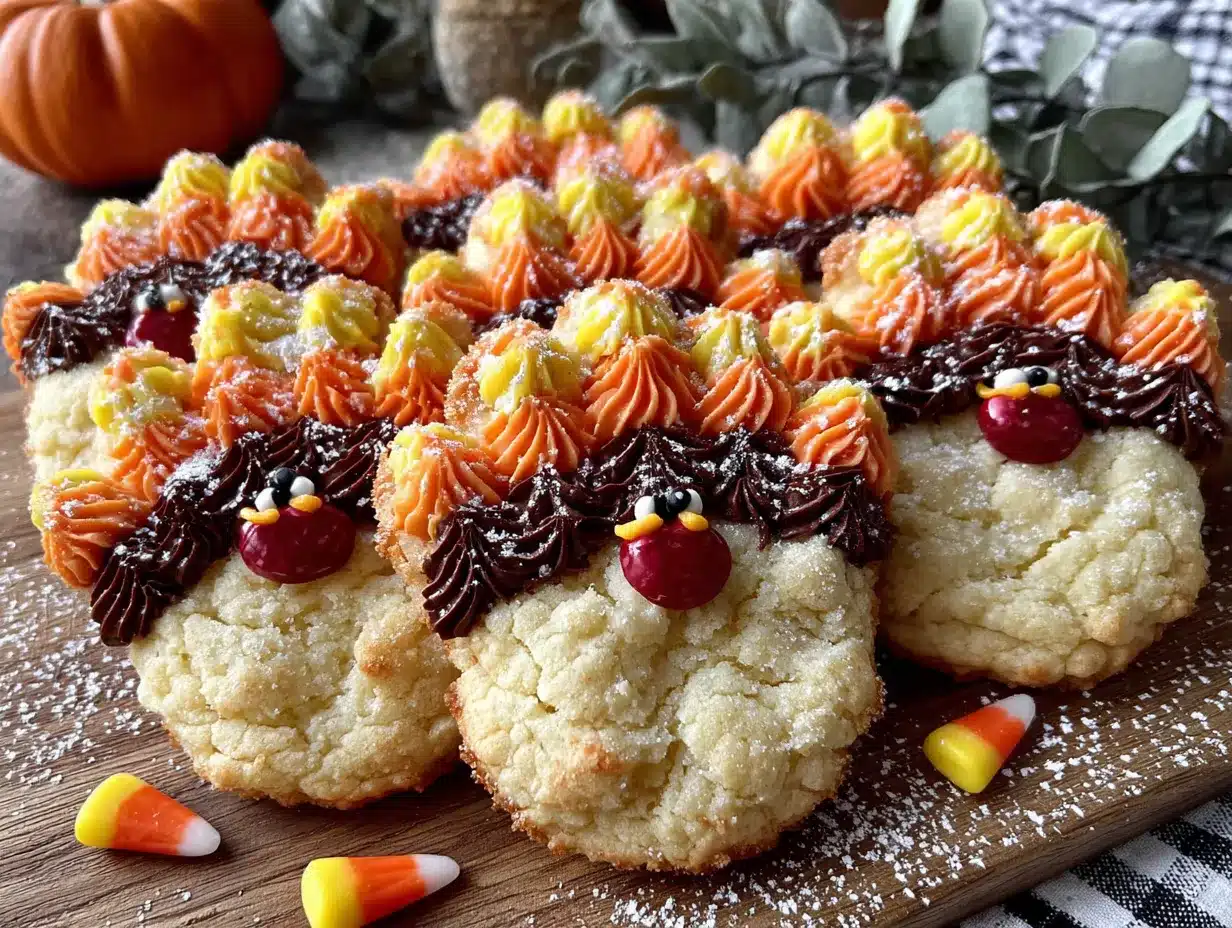
You don’t need a lot of fancy equipment for these cookies, which is part of why I love this recipe so much.
- Mixing bowls – One large, one medium. Nothing special. I use the same set I’ve had since college.
- Electric mixer – Hand mixer or stand mixer, either works. You can do it by hand with a wooden spoon, but your arm will get tired.
- Baking sheets – Two or three, depending on how many cookies you’re making. Light-colored sheets give you more even browning.
- Parchment paper or silicone baking mats – Essential for easy cleanup and preventing stickage. I prefer parchment because it’s cheaper.
- Rolling pin – Any rolling pin works. If you don’t have one, a wine bottle works in a pinch. I’ve been there.
- Wax paper or plastic wrap – For rolling out the dough without making a mess.
- Wire cooling rack – For cooling cookies evenly. If you don’t have one, just let them cool on the baking sheet for a few extra minutes.
- Small offset spatula – Makes frosting so much easier, but a butter knife works too.
- Piping bags or small zip-top bags – For decorating. Zip-top bags with a tiny corner snipped off work perfectly and cost nothing.
One thing I learned the hard way: make sure your baking sheets are completely cool before placing raw cookie dough on them. Warm sheets make the butter melt too fast, and your turkeys will spread into unrecognizable blobs. I ruined a whole batch this way and learned my lesson.
Preparation Method
Alright, let’s make some turkey cookies! This process is broken down into simple steps so you can follow along without stress. Get your little helpers washed up and ready—this is the fun part.
Step 1: Make the cookie dough
In your large mixing bowl, beat the softened butter and granulated sugar together until light and fluffy. This takes about 2-3 minutes with an electric mixer on medium speed. You’re looking for a pale yellow color and a texture that looks like fluffy sand. Scrape down the sides of the bowl halfway through.
Add the egg and vanilla extract, then beat until combined. The mixture might look a little curdled at this point—don’t panic. That’s normal. It’ll come together once you add the flour.
In a separate medium bowl, whisk together the flour, baking powder, and salt. Gradually add the dry ingredients to the wet mixture, mixing on low speed until just combined. Stop as soon as you don’t see any more streaks of flour. Overmixing makes tough cookies, and nobody wants tough cookies.
Step 2: Chill the dough
This step is non-negotiable, I’m telling you. Wrap the dough in plastic wrap and flatten it into a disk. Refrigerate for at least 30 minutes, or up to 2 days. Chilling solidifies the butter, which means your cookies will hold their shape better when you press those little hands into them.
I once skipped this step because I was in a hurry. The cookies spread so much that the handprints looked like mutant turkey blobs. My kids still ate them, but they were not proud of those cookies.
Step 3: Roll and shape
Preheat your oven to 350°F (175°C). Line your baking sheets with parchment paper.
Lightly flour a clean surface and your rolling pin. Roll the dough out to about ¼-inch thickness. Here’s my secret: roll the dough between two sheets of wax paper. It prevents sticking without adding extra flour, which can dry out your cookies.
Now for the fun part—the handprint. Have your child wash and dry their hands thoroughly. Gently press their hand into the rolled-out dough, fingers slightly spread. Don’t press too hard or you’ll go all the way through. You want a nice, clean impression. If the dough cracks around the edges, just pinch it back together—it’s very forgiving.
Use a sharp knife or a pizza cutter to cut around the handprint, leaving about ¼ inch of space around the outline. Carefully transfer the handprint cookie to your prepared baking sheet using a spatula. Repeat with the remaining dough, rerolling scraps as needed.
Step 4: Bake
Bake for 8-10 minutes, or until the edges are just barely golden. The centers will still look slightly soft—that’s perfect. They’ll continue to set as they cool.
Let the cookies cool on the baking sheet for 5 minutes, then transfer to a wire cooling rack to cool completely. Do not try to frost warm cookies. The frosting will melt into a puddle, and you’ll be sad. I learned this the hard way, twice.
Step 5: Make the frosting
While the cookies cool, make your frosting. In a medium bowl, whisk together the powdered sugar, 2 tablespoons of milk, and the vanilla extract. Add more milk, one teaspoon at a time, until you reach a spreadable consistency. You want it thick enough to hold its shape but thin enough to spread smoothly.
Divide the frosting into separate bowls for each color you’re using. Add food coloring and stir until you reach your desired shades. I usually make brown for the turkey body, orange for the beak, and a mix of red, orange, and yellow for the feathers.
Step 6: Decorate
This is where the magic happens. Spread brown frosting over the palm area of the cookie (the turkey body). Use a small offset spatula or butter knife. Let the kids go wild with the feather colors on the fingers.
Add candy eyes while the frosting is still wet. Use a tiny dot of orange frosting or an orange sprinkle for the beak. If you’re using candy corn, place it point-down for a cute little beak shape.
Let the decorated cookies sit for about 20 minutes to let the frosting set. Or don’t. Sometimes the best part is eating them while the frosting is still soft and messy.
Cooking Tips & Techniques
After making these cookies more times than I can count, I’ve picked up a few tricks that make the process smoother and the results cuter.
The handprint trick: If your child’s hand is too small or too big for the cookie, adjust the dough thickness. Thinner dough gives a smaller footprint, thicker dough gives a larger one. For tiny toddler hands, roll the dough slightly thinner than ¼ inch. For bigger kids, keep it at ¼ inch.
Chill between batches: If the dough gets too warm and sticky while you’re shaping, pop it back in the fridge for 10 minutes. Warm dough is sticky dough, and sticky dough makes messy handprints.
My biggest failure: I once tried to use a cookie cutter shaped like a hand instead of pressing an actual hand into the dough. It was a disaster. The cookie cutter hand looked stiff and weird. Real handprints have personality. They’re slightly uneven, and that’s what makes them charming. Trust me on this.
Multitasking strategy: Make the dough the night before and chill it overnight. Then the next day, all you have to do is roll, shape, bake, and decorate. This is my go-to move for Thanksgiving morning when I’m already juggling a million things.
Consistency tip: If your cookies are spreading too much, your butter was too soft or your dough wasn’t chilled enough. Next time, chill the shaped cookies on the baking sheet for 10 minutes before baking. It makes a huge difference.
Variations & Adaptations
One of the best things about this recipe is how easy it is to adapt. Here are some of my favorite variations.
Gluten-Free Version: Substitute the all-purpose flour with a 1:1 gluten-free baking flour blend. I’ve tested this with Bob’s Red Mill and King Arthur brands, and both work well. The cookies are slightly more delicate, so be gentle when transferring them to the baking sheet.
Vegan Version: Use vegan butter sticks and a flax egg (1 tablespoon ground flaxseed mixed with 3 tablespoons water, let sit for 5 minutes). The texture is a little less tender, but the taste is still delicious. My vegan friend couldn’t tell the difference.
Different Holiday Shapes: This same dough works for any holiday. Press a handprint and decorate it as a reindeer for Christmas, a flower for spring, or a bat for Halloween. The possibilities are endless, and kids love coming up with new ideas.
Flavor Variations: Add 1 teaspoon of almond extract along with the vanilla for a different flavor profile. Or add the zest of one lemon for a bright, citrusy twist that pairs beautifully with the buttery cookie.
No Food Coloring Option: Use natural alternatives like beet powder for red, turmeric for yellow, and spinach powder for green. The colors are more muted, but they’re completely natural and safe for kids who might be sensitive to artificial dyes.
My personal favorite variation? I made these for a friend’s Halloween party and decorated them as little monsters instead of turkeys. Green frosting, purple sprinkles, and googly eyes everywhere. The kids went absolutely crazy for them.
Serving & Storage Suggestions
These cookies are best served at room temperature, and they’re honestly at their peak of cuteness within the first 24 hours. The frosting stays soft and the cookies are perfectly tender.
How to serve: Arrange them on a platter with the handprints facing up so everyone can see the turkey designs. They make a fantastic centerpiece for a kids’ Thanksgiving table. Pair them with warm apple cider or a mug of hot chocolate for the ultimate cozy treat.
Storage instructions: Store unfrosted cookies in an airtight container at room temperature for up to 5 days. Frosted cookies should be stored in a single layer, or between layers of wax paper, for up to 3 days. The frosting can get a little sticky if stacked too high.
Freezer instructions: You can freeze the baked, unfrosted cookies for up to 3 months. Wrap them tightly in plastic wrap and then place them in a freezer-safe bag. Thaw at room temperature before frosting. I’ve done this for Thanksgiving prep, and it works like a charm.
Reheating tips: These cookies are meant to be eaten at room temperature, but if you want a warm cookie experience, pop one in the microwave for 5-7 seconds. Just be careful—the frosting can get melty if you overdo it.
One thing I’ve noticed: the flavors actually develop a little overnight. The cookies taste even better the next day, when the vanilla has had time to mellow and the butter flavor has deepened. So don’t stress about making them fresh the day of your event. Day-old cookies are still amazing.
Nutritional Information & Benefits
Let’s be honest—these are sugar cookies, so they’re not health food. But they’re made with real ingredients, and that counts for something.
Estimated nutritional values per cookie (based on 24 cookies):
- Calories: 185
- Total Fat: 8g
- Saturated Fat: 5g
- Carbohydrates: 27g
- Sugar: 16g
- Protein: 2g
- Sodium: 95mg
Health benefits of key ingredients: Butter contains vitamin A, which supports eye health. Eggs provide high-quality protein and essential amino acids. And let’s not forget the emotional benefits—baking with kids reduces stress and creates lasting memories. That counts as wellness in my book.
Dietary considerations: This recipe contains gluten, dairy, and eggs. For gluten-free and vegan options, check the variations section above. These cookies are nut-free as written, making them a safe option for school events.
Potential allergens: Wheat (gluten), dairy, eggs. Always check your ingredient labels if you’re serving people with allergies, especially the candy eyes and sprinkles.
My personal take? Food is about more than numbers on a nutrition label. These cookies are about connection, creativity, and the joy of making something with your hands. That has its own kind of nutritional value.
Conclusion
These Cozy Turkey Hand Sugar Cookies for Kids are more than just a Thanksgiving treat—they’re a memory in the making. Every time I make them, I think back to that afternoon at my neighbor’s house, standing in her flour-dusted kitchen, watching her kids press their tiny hands into cookie dough like it was the most natural thing in the world.
That’s the beauty of this recipe. It doesn’t require perfection. In fact, it celebrates imperfection. The crooked feathers, the smudged frosting, the occasional three-eyed turkey—those are the details that make each cookie unique and special. Your kids will remember the mess and the laughter long after they forget how the cookies tasted.
I encourage you to make this recipe your own. Let your kids experiment with different colors and decorations. Try the variations I shared, or come up with your own. The best recipes are the ones that evolve with the people who make them.
If you try these cookies, I’d love to hear about it. Leave a comment below and tell me about your turkey cookie adventures. How did your kids decorate them? What creative twists did you add? Share a photo if you’re feeling brave—I promise I won’t judge the frosting job.
Happy baking, friends. May your kitchen be warm, your cookies be buttery, and your turkeys be gloriously imperfect.
Frequently Asked Questions
Can I make the dough ahead of time?
Absolutely. You can refrigerate the dough for up to 2 days or freeze it for up to 3 months. Just wrap it tightly in plastic wrap and thaw in the refrigerator before rolling out.
Why did my cookies spread too much?
Most likely your dough wasn’t chilled enough, or your butter was too soft. Make sure to chill the dough for at least 30 minutes, and chill the shaped cookies on the baking sheet for 10 minutes before baking if you’re having trouble.
Can I use a different frosting recipe?
Of course! A cream cheese frosting works beautifully, or you can use store-bought frosting in a pinch. Just make sure whatever you use is thick enough to hold its shape on the cookie.
How do I get clean handprints without the dough cracking?
Make sure your dough is at the right temperature—not too cold and not too warm. If it cracks, just pinch it back together. A light dusting of flour on your child’s hand can also help prevent sticking.
Can I make these cookies without food coloring?
Yes! Use natural alternatives like beet powder for red, turmeric for yellow, and spinach powder for green. Or skip the colors altogether and use white frosting with sprinkles for a simpler look.
Pin This Recipe!
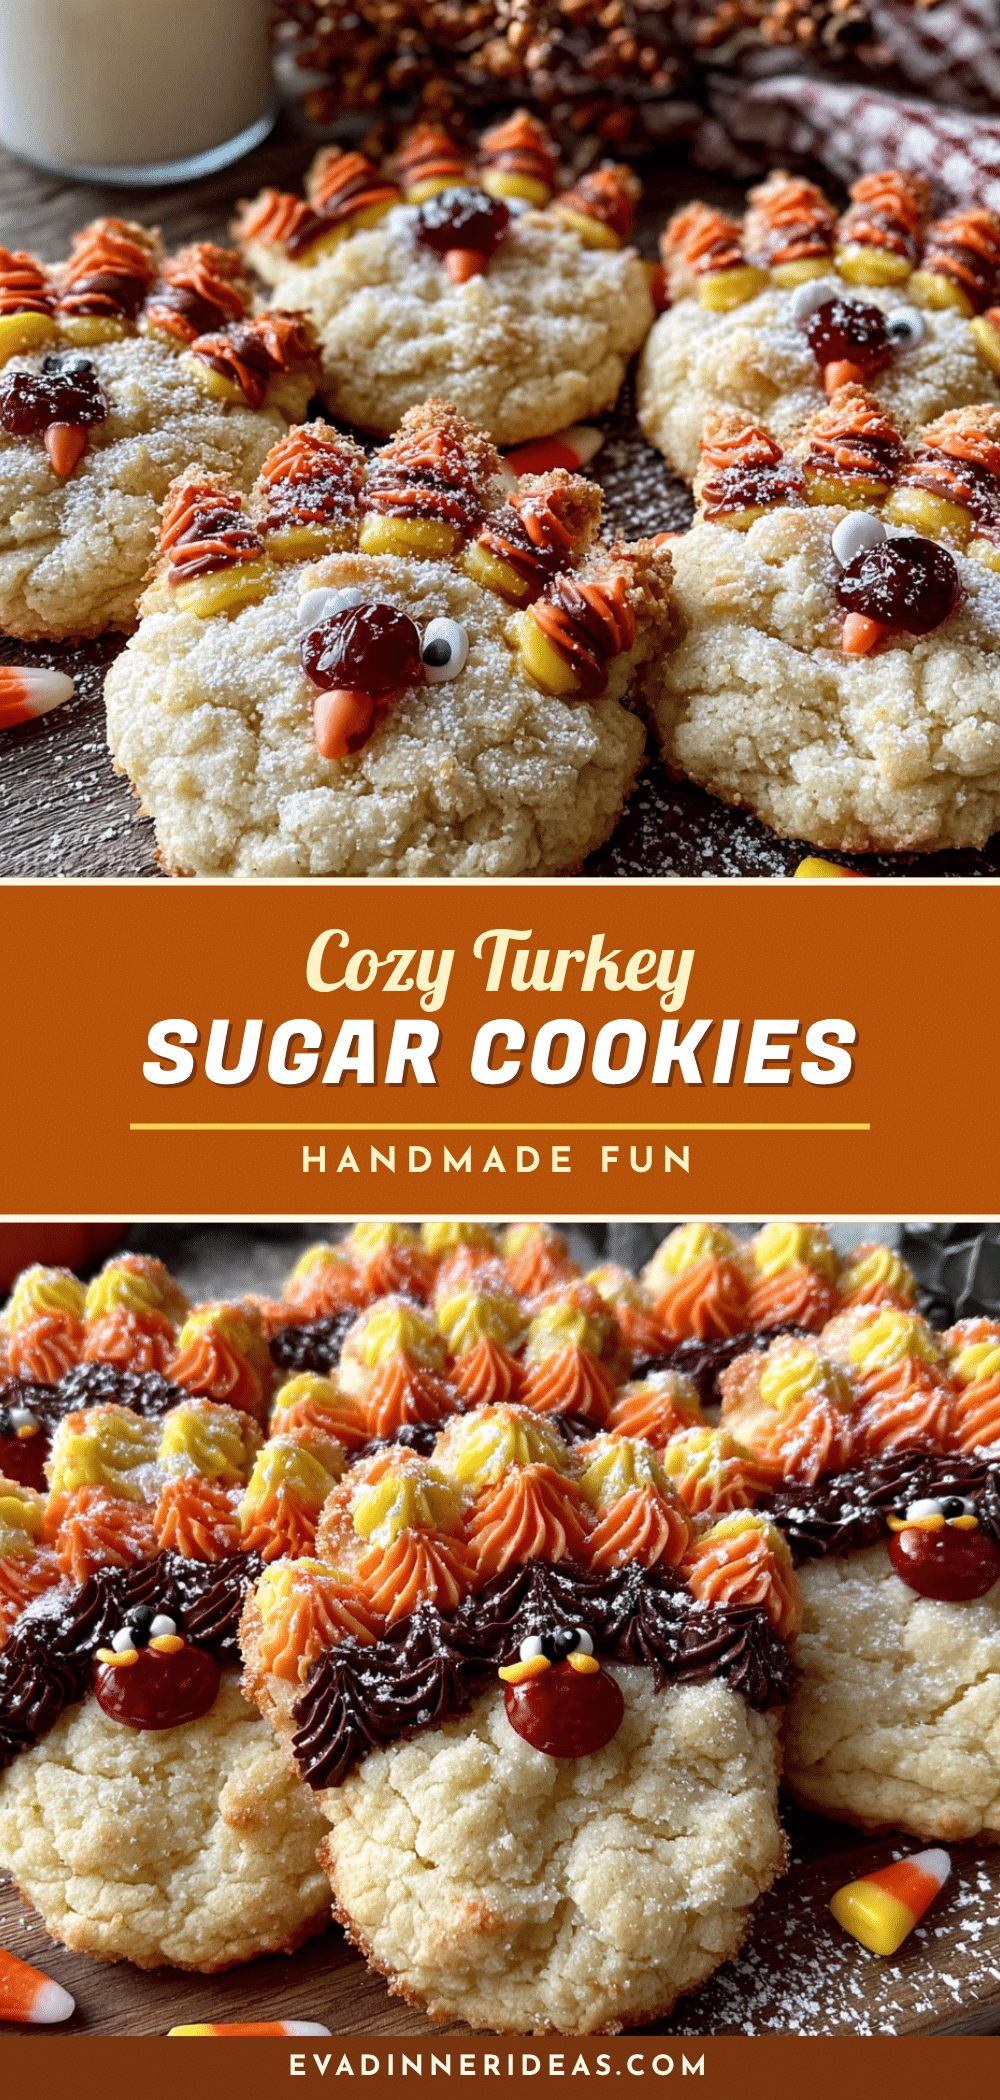
Cozy Turkey Hand Sugar Cookies for Kids – Easy Thanksgiving Treat

These adorable turkey handprint sugar cookies are perfect for making with kids. Simple pantry ingredients, easy handprint shaping, and a buttery vanilla flavor make them a cozy Thanksgiving treat that celebrates imperfection and creativity.
- Prep Time: 15 minutes
- Cook Time: 10 minutes
- Total Time: 55 minutes
- Yield: 24 servings 1x
- Category: Dessert
- Cuisine: American
Ingredients
- 1 cup (226g) unsalted butter, softened
- 1 cup (200g) granulated sugar
- 1 large egg, room temperature
- 2 teaspoons vanilla extract
- 2 ½ cups (312g) all-purpose flour
- 1 teaspoon baking powder
- ½ teaspoon salt
- 2 cups (240g) powdered sugar
- 2–3 tablespoons milk
- ½ teaspoon vanilla extract (for frosting)
- Food coloring (red, orange, yellow, brown)
- Candy eyes
- Orange sprinkles or candy corn
Instructions
- In a large mixing bowl, beat softened butter and granulated sugar together until light and fluffy, about 2-3 minutes. Scrape down the sides halfway through.
- Add egg and vanilla extract, beat until combined. The mixture may look curdled; that’s normal.
- In a separate medium bowl, whisk together flour, baking powder, and salt. Gradually add to wet mixture, mixing on low speed until just combined. Do not overmix.
- Wrap dough in plastic wrap, flatten into a disk, and refrigerate for at least 30 minutes (up to 2 days).
- Preheat oven to 350°F (175°C). Line baking sheets with parchment paper.
- Lightly flour a clean surface and rolling pin. Roll dough to ¼-inch thickness between two sheets of wax paper to prevent sticking.
- Have child wash and dry hands thoroughly. Gently press hand into dough, fingers slightly spread, to create a clean impression. Cut around handprint with a sharp knife or pizza cutter, leaving ¼ inch border. Transfer to prepared baking sheet.
- Bake for 8-10 minutes, until edges are just barely golden. Centers will look slightly soft. Cool on baking sheet for 5 minutes, then transfer to wire rack to cool completely.
- While cookies cool, make frosting: whisk together powdered sugar, 2 tablespoons milk, and ½ teaspoon vanilla extract. Add more milk, 1 teaspoon at a time, until spreadable. Divide into bowls and add food coloring as desired.
- Decorate cooled cookies: spread brown frosting on palm area (turkey body), use red, orange, yellow on fingers (feathers). Add candy eyes and orange sprinkle or candy corn for beak while frosting is wet. Let set for 20 minutes.
Notes
Chill dough thoroughly to prevent spreading. For clean handprints, ensure dough is not too cold or warm; a light dusting of flour on child’s hand helps. Cookies can be made ahead and frozen unfrosted for up to 3 months. Day-old cookies often taste even better as flavors develop.
Nutrition
- Serving Size: 1 cookie
- Calories: 185
- Sugar: 16
- Sodium: 95
- Fat: 8
- Saturated Fat: 5
- Carbohydrates: 27
- Protein: 2
Keywords: turkey cookies, handprint cookies, sugar cookies, Thanksgiving cookies, kids baking, easy holiday treat