There used to be a little lunch counter attached to a hardware store on Main Street that made the best cheesy rice I’d ever had. When they closed up shop two summers ago — just a taped-up sign on the door one Tuesday — I honestly felt a little lost. That skillet of ground beef and rice with that perfect, gooey cheese topping was my go-to comfort meal after a long week. After maybe six or seven tries — I lost count, honestly, and my family was very patient with some questionable cheesy experiments — I finally cracked the code. Let me tell you, this version is even better than the original.
This Kid-Approved Cheesy Ground Beef and Rice Skillet is the kind of dinner that makes everyone at the table happy. It’s a one-pan wonder that comes together in about 30 minutes, which honestly feels like a miracle on a busy Tuesday night. I mean, the first time I made this for my family, I was bracing for complaints — but my youngest actually asked for seconds before I could even sit down. That’s when I knew I had something special.
You know that feeling when you’re staring into the pantry and nothing seems to click? This recipe was born from one of those exact nights. I had ground beef, some leftover rice, and a block of cheddar staring back at me. It seemed too simple to work, but sometimes the simplest things are the ones that stick. Maybe you’ve been there — standing in your kitchen, wondering how to turn a few humble ingredients into something that feels like a hug on a plate. Well, this is it.
Why You’ll Love This Recipe
This isn’t just another ground beef recipe — it’s the one that will end up in your regular dinner rotation. I’ve tested this skillet more times than I can count, tweaking the seasoning and the cheese ratio until it was absolutely perfect. Trust me, my family was very willing taste-testers, and they let me know when something was off.
- Quick & Easy: This whole meal comes together in about 30 minutes from start to finish. Perfect for those nights when you need dinner on the table fast without sacrificing flavor.
- Simple Ingredients: You probably already have most of these in your kitchen right now. No fancy grocery trips or obscure spices — just honest, affordable food.
- Perfect for Busy Weeknights: This is the definition of a weeknight hero. One pan, minimal cleanup, and happy kids at the table.
- Crowd-Pleaser: I’ve served this to picky eaters, hungry teenagers, and even my in-laws — and it gets rave reviews every single time. The cheese does the heavy lifting, honestly.
- Unbelievably Delicious: The combination of seasoned ground beef, tender rice, and that melty cheese topping is pure comfort food magic. It’s the kind of meal that makes you close your eyes after the first bite.
What makes this recipe different? It’s the balance — the rice is perfectly cooked, not mushy; the beef is seasoned just right, not bland; and the cheese is gooey without being greasy. I’ve found that using a mix of sharp cheddar and a little Monterey Jack gives the best melt and flavor. It’s a small tweak that makes a big difference.
This recipe isn’t just good — it’s the kind that makes you feel like you’ve got dinner handled. It’s comfort food reimagined for real life: faster, budget-friendly, but with the same soul-soothing satisfaction. Perfect for impressing your family without any stress, or turning a simple Tuesday into something a little more special.
What Ingredients You Will Need
This recipe uses simple, wholesome ingredients that work together to create something truly satisfying. Most of these are pantry staples, which makes this skillet a great go-to when you need a no-fuss dinner.
- 1 pound ground beef (80/20 works best for flavor; drain excess fat after browning)
- 1 cup long-grain white rice (uncooked; basmati or jasmine also work well)
- 2 cups beef broth (low-sodium preferred so you can control the salt)
- 1 cup water
- 1 small yellow onion, diced (about 1 cup)
- 2 cloves garlic, minced
- 1 teaspoon salt
- ½ teaspoon black pepper
- 1 teaspoon paprika (smoked paprika adds a lovely depth)
- ½ teaspoon onion powder
- ½ teaspoon garlic powder
- 1 cup shredded sharp cheddar cheese (I really recommend shredding your own — it melts so much better)
- ½ cup shredded Monterey Jack cheese (optional but highly recommended for extra creaminess)
- 2 tablespoons butter (for richness)
- Optional garnish: chopped fresh parsley or green onions
When it comes to the ground beef, I usually grab whatever is on sale at my local grocery store. Honestly, you don’t need the fancy grass-fed stuff for this recipe — the seasoning and cheese do the work. If you want to lighten it up, you can use ground turkey or chicken, just add a tablespoon of olive oil when browning because lean meat can be a bit dry.
For the rice, long-grain white rice is my go-to because it stays fluffy and separate. Brown rice will work but you’ll need to adjust the cooking time and add more liquid — about 20 extra minutes and an extra half cup of broth. I’ve tried it both ways, and while brown rice is healthier, the white rice version is definitely creamier.
The cheese is where you can really make this your own. Sharp cheddar gives that classic cheesy flavor, but feel free to use whatever melty cheese you have on hand. Colby Jack, Gouda, or even a mild provolone would all work beautifully. Just avoid pre-shredded cheese if you can — the anti-caking coating can make the sauce grainy.
Equipment Needed
This is a one-pan recipe, which is honestly my favorite kind of cooking. Here’s what you’ll need:
- Large skillet or deep frying pan (12-inch with a lid is ideal; a Dutch oven also works great)
- Wooden spoon or spatula for stirring
- Cheese grater (if shredding your own cheese)
- Measuring cups and spoons
- Sharp knife and cutting board for the onion and garlic
If you don’t have a lid for your skillet, a large sheet of aluminum foil works as a makeshift cover. I’ve done this more times than I care to admit, and it works perfectly. Just crimp the edges tightly to trap the steam.
A good-quality nonstick skillet makes cleanup a breeze, but a stainless steel or cast iron pan works too. Just keep an eye on the rice toward the end of cooking to make sure it’s not sticking to the bottom. I’ve had a few sticky disasters with my cast iron, so I usually stick with my trusty nonstick for this one.
Preparation Method
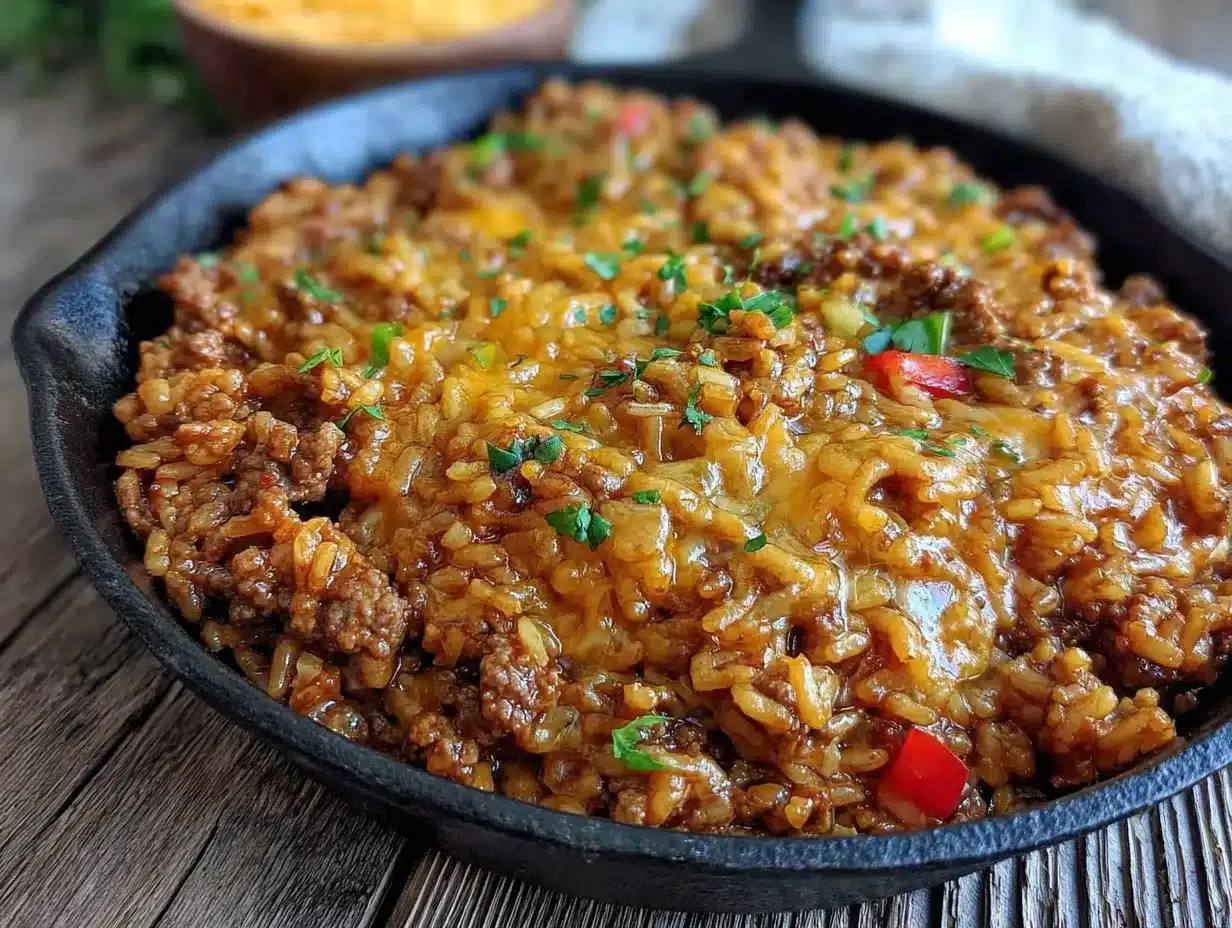
Let’s get cooking! This comes together quickly, so have everything prepped and ready to go before you start.
- Brown the ground beef: Place your large skillet over medium-high heat. Add the ground beef and cook, breaking it apart with your spoon, until it’s no longer pink — about 5-6 minutes. If there’s a lot of excess fat, carefully drain it off, leaving about a tablespoon in the pan for flavor. I usually tilt the pan and spoon out the extra fat, leaving just enough to keep things moist.
- Sauté the aromatics: Reduce the heat to medium. Add the diced onion to the pan and cook for 2-3 minutes until it starts to soften and turn translucent. Add the minced garlic and cook for another 30 seconds until fragrant — you’ll know it’s ready when the smell fills your kitchen. Be careful not to burn the garlic, or it will turn bitter.
- Add the seasonings: Sprinkle the salt, pepper, paprika, onion powder, and garlic powder over the beef and onion mixture. Stir everything together and let it cook for about 30 seconds to toast the spices. This little step really wakes up the flavors — I learned this trick from a chef friend and it makes a noticeable difference.
- Add the rice and liquids: Pour in the uncooked rice and stir to coat it with all the seasoned beef mixture. Then add the beef broth and water, scraping the bottom of the pan with your spoon to release any browned bits — that’s where so much flavor lives. Bring the mixture to a boil.
- Simmer the rice: Once boiling, reduce the heat to low, cover the skillet with a tight-fitting lid, and let it simmer gently for 18-20 minutes. Do not peek! I know it’s tempting, but lifting the lid lets out steam and can make the rice unevenly cooked. Set a timer and walk away — maybe prep a quick salad or set the table.
- Check the rice: After 18 minutes, remove the lid carefully. The rice should be tender and most of the liquid should be absorbed. If the rice is still a bit firm and there’s still liquid, cover and cook for another 2-3 minutes. If the rice is done but there’s excess liquid, leave the lid off and cook on low for a minute or two to let it evaporate.
- Add the butter and cheese: Turn off the heat. Add the butter and stir it through the rice mixture until it melts. Then sprinkle the shredded cheddar and Monterey Jack evenly over the top. Cover the skillet again and let it sit for 2-3 minutes — the residual heat will melt the cheese into a beautiful, gooey blanket.
- Serve and enjoy: Give everything a gentle stir to incorporate the melted cheese, or leave it layered on top for a prettier presentation. Spoon into bowls, garnish with fresh parsley or green onions if you like, and serve hot.
A quick note — if your rice seems a little undercooked after the full simmer time, don’t panic. Just add a couple tablespoons of water, cover, and cook for another 3-4 minutes. Every stovetop runs a little differently, and I’ve had to do this rescue move more than once. It always works out.
Cooking Tips & Techniques
After making this recipe probably a dozen times, I’ve picked up a few tricks that make a real difference. Here are the things I wish I’d known from the start.
Don’t skip draining the fat. I know it’s tempting to leave it all in for flavor, but too much grease will make the rice heavy and greasy. Leave just a tablespoon or so — enough to sauté the onions but not so much that the dish feels oily.
Toast the rice briefly. Before adding the broth, let the rice cook in the pan with the beef mixture for about a minute, stirring constantly. This little step helps the rice stay separate and fluffy instead of turning into a mushy mess. I learned this after a few sad, sticky batches.
Use low-sodium broth. This gives you control over the salt level. Different brands of broth have wildly different sodium contents, and you can always add more salt at the end if needed. Trust me, it’s harder to fix an oversalted dish.
Let the cheese melt off the heat. Adding the cheese after you’ve turned off the heat prevents it from separating or turning greasy. The gentle residual heat melts it perfectly into a creamy layer. I’ve rushed this step before and ended up with oily, grainy cheese — not worth it.
Multitask wisely. While the rice is simmering, use that time to chop any garnishes, make a quick side salad, or set out plates and utensils. The 18-20 minutes of hands-off cooking time is a gift — use it well.
One common mistake: using too much liquid. I know the recipe seems straightforward, but if you’re tempted to add extra broth because it looks dry, resist! The rice needs that specific ratio to cook properly. Too much liquid and you’ll end up with porridge instead of a skillet dinner.
Variations & Adaptations
This recipe is wonderfully flexible, and I’ve tried several variations that have become favorites in their own right.
Vegetable-loaded version: Add a cup of frozen peas and carrots along with the broth. You can also stir in a handful of fresh spinach right at the end, letting it wilt from the residual heat. My kids actually eat more veggies this way because they’re hidden in all that cheesy goodness.
Spicy kick: Add ½ teaspoon of red pepper flakes along with the other seasonings, or stir in a diced jalapeño with the onions. For an even bolder flavor, use pepper jack cheese instead of Monterey Jack. My husband loves this version, though the kids prefer the milder original.
Mexican-inspired twist: Swap the paprika for cumin and chili powder, use salsa instead of some of the broth, and top with a little chopped cilantro. You can also add a can of drained black beans or corn for extra heartiness.
Dairy-free adaptation: Use a good-quality dairy-free shredded cheese and a dairy-free butter substitute. I’ve tried this with a few brands, and the key is to look for one that melts well — some just get oily and weird. Violife and Daiya have worked best for me.
Lower-carb option: Replace the rice with cauliflower rice. You’ll need to reduce the broth to about 1 cup and cook for only 5-7 minutes covered. It’s not quite the same texture, but it’s a solid option if you’re watching carbs.
Serving & Storage Suggestions
This cheesy skillet is hearty enough to be a complete meal on its own, but it pairs beautifully with a few simple sides.
Serve it hot straight from the skillet for maximum cheese pull. I like to spoon it into bowls and top with a little fresh parsley or chopped green onions for color. A side of steamed broccoli or a simple green salad with a light vinaigrette balances the richness perfectly.
For the kids, a dollop of sour cream on top or a side of tortilla chips for dipping makes it extra fun. Honestly, my kids eat this with chips more often than forks, and I’m totally fine with that.
Storage: Leftovers keep well in an airtight container in the refrigerator for up to 4 days. The rice will absorb more liquid as it sits, so the texture will be a little softer the next day — but the flavor actually gets better. I often make a double batch on purpose for easy lunches.
Reheating: The best way is in a skillet over medium-low heat with a splash of water or broth, stirring occasionally until heated through. You can also use the microwave, but add a damp paper towel over the bowl to keep the rice from drying out. I’ve found that the stovetop method gives the most consistent results.
Freezer-friendly: This recipe freezes beautifully. Let it cool completely, then portion into freezer-safe containers. It will keep for up to 3 months. Thaw overnight in the refrigerator and reheat as directed above. The cheese might lose a little of its creaminess, but it’s still delicious.
Nutritional Information & Benefits
Here’s an approximate nutritional breakdown per serving (based on 6 servings):
- Calories: 420
- Protein: 28g
- Fat: 18g
- Carbohydrates: 38g
- Fiber: 1g
- Calcium: 20% of daily value
- Iron: 15% of daily value
This meal provides a good balance of protein, carbohydrates, and healthy fats to keep everyone full and satisfied. The ground beef is an excellent source of iron and B vitamins, which are important for energy. The cheese adds calcium for strong bones, and if you add vegetables like peas or spinach, you’ll boost the fiber and vitamin content even more.
Dietary considerations: This recipe is naturally gluten-free (just double-check your broth label). For a lower-fat version, use lean ground beef and reduced-fat cheese. To make it dairy-free, follow the adaptation notes above. It’s not suitable for a low-carb or keto diet as written, but the cauliflower rice variation works well.
Potential allergens: Dairy (cheese, butter). This recipe does not contain nuts, eggs, or soy, but always check your specific ingredient labels if you have allergies.
Conclusion
This Kid-Approved Cheesy Ground Beef and Rice Skillet is the kind of recipe that earns a permanent spot in your dinner rotation. It’s affordable, simple, and honestly, it’s the meal that gets my family to the table without any complaints. The first time I made it, I knew I had finally recreated that memory from the little lunch counter — and maybe even improved on it.
I love this recipe because it’s forgiving. You can tweak the seasonings, swap the cheese, add vegetables, or make it spicier — and it always works. It’s a canvas for whatever you have on hand, and that’s what real home cooking is all about. Don’t be afraid to make it your own.
If you try this recipe, I’d love to hear how it turned out! Leave a comment below and let me know what variations you tried or how your family liked it. And if you have a picky eater at home, I’d especially love to hear if this won them over. Happy cooking, friends — you’ve got this.
Frequently Asked Questions
Can I use brown rice instead of white rice?
Yes, you can. Brown rice needs a longer cooking time and more liquid. Use 2½ cups of broth and simmer for about 35-40 minutes, checking for doneness. The texture will be chewier, but it works well and adds more fiber.
Can I make this ahead of time for meal prep?
Absolutely. This recipe is great for meal prep. Cook it as directed, let it cool completely, and portion it into containers. It will keep in the fridge for up to 4 days. Reheat in a skillet or microwave with a splash of water to restore moisture.
How can I make this recipe lower in fat?
Use lean ground beef (93/7) and drain all the fat after browning. You can also use reduced-fat cheese and skip the butter. The flavor will still be good, though the texture won’t be quite as rich. Adding extra vegetables helps bulk it up without adding fat.
Can I freeze this cheesy ground beef and rice skillet?
Yes, it freezes well for up to 3 months. Let it cool completely, then transfer to freezer-safe containers. Thaw overnight in the refrigerator before reheating. The cheese might be a little less creamy after freezing, but it’s still delicious.
What can I add to make this more kid-friendly?
Kids love this recipe as-is, but you can make it even more appealing by adding a handful of shredded carrots along with the onions (they cook down and add sweetness). Some kids also love a drizzle of ketchup or a sprinkle of crispy fried onions on top.
Pin This Recipe!
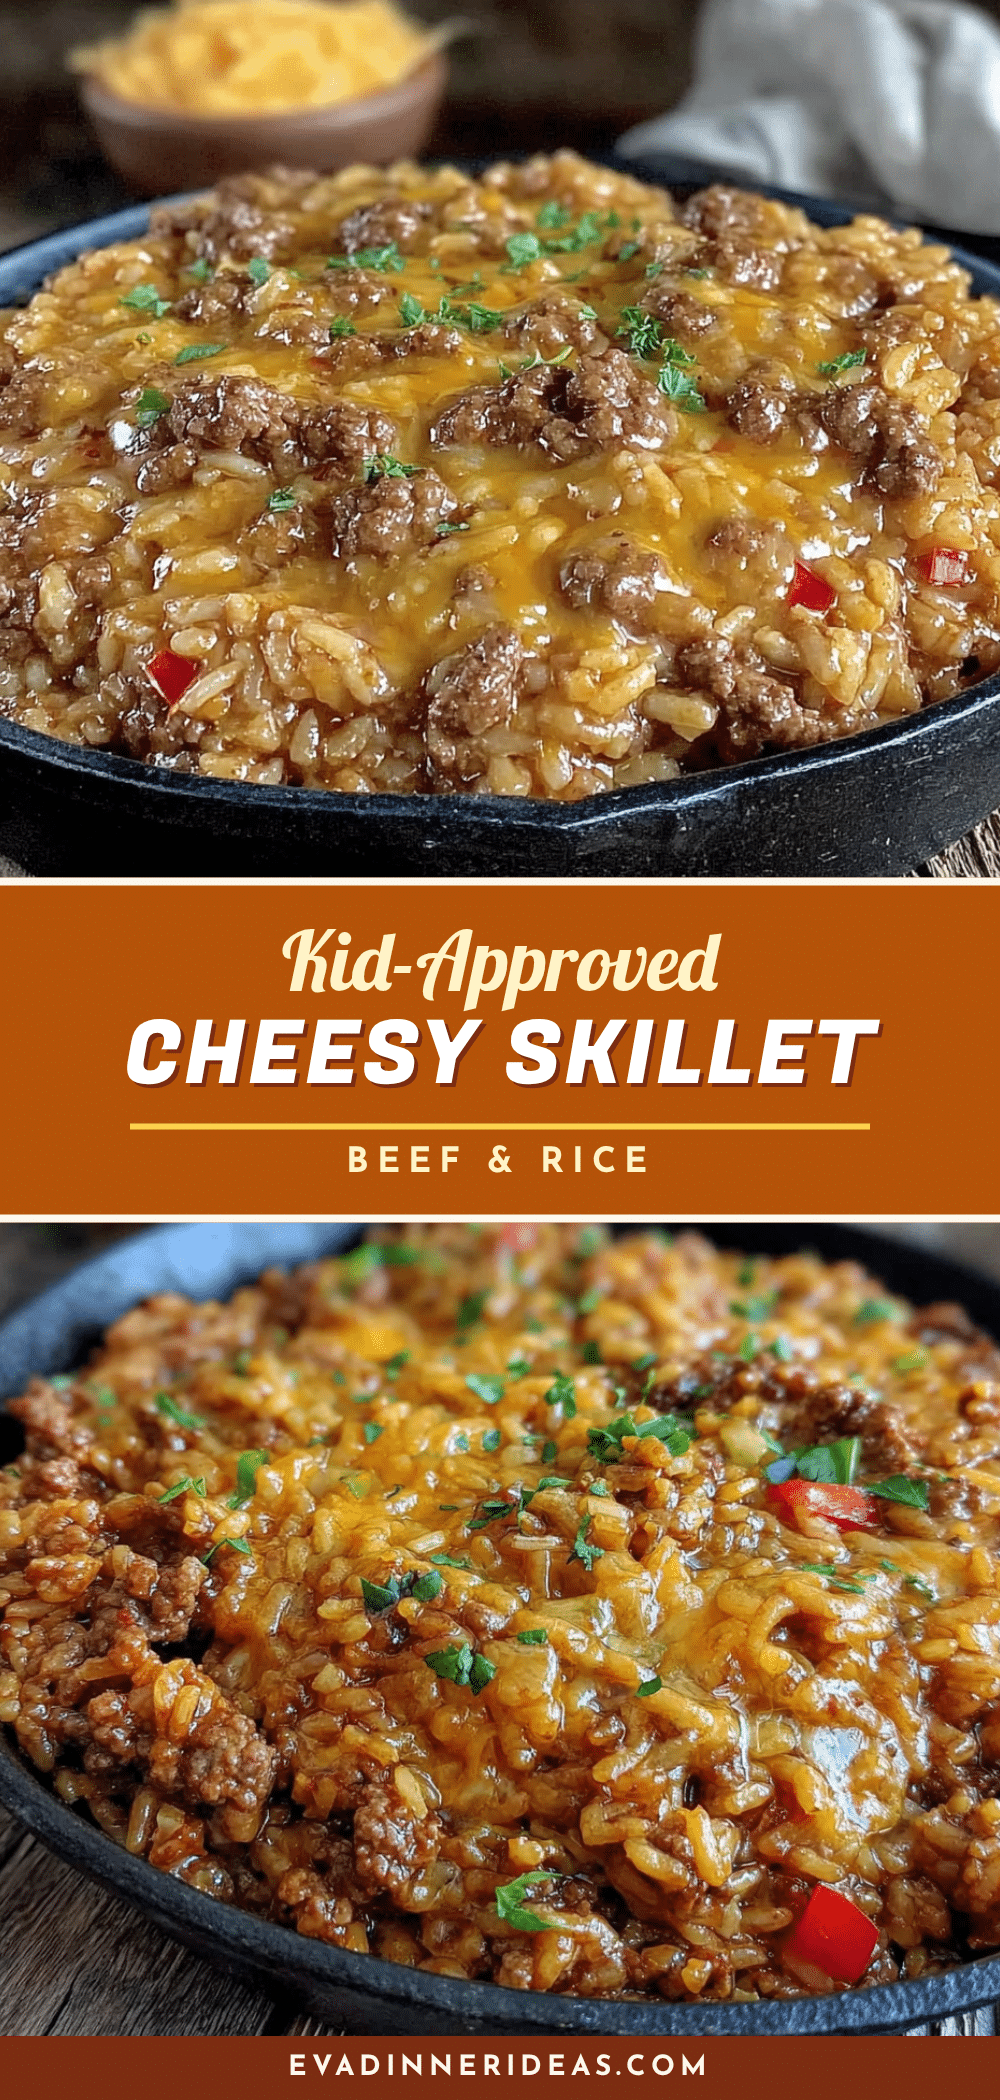
Kid-Approved Cheesy Ground Beef & Rice Skillet: Easy Dinner

A one-pan wonder that comes together in about 30 minutes, this cheesy ground beef and rice skillet is the ultimate comfort food for busy weeknights. With simple ingredients and a gooey cheese topping, it’s a crowd-pleaser that even picky eaters love.
- Prep Time: 10 minutes
- Cook Time: 20 minutes
- Total Time: 30 minutes
- Yield: 6 servings 1x
- Category: Main Course
- Cuisine: American
Ingredients
- 1 pound ground beef (80/20 works best)
- 1 cup long-grain white rice (uncooked)
- 2 cups low-sodium beef broth
- 1 cup water
- 1 small yellow onion, diced (about 1 cup)
- 2 cloves garlic, minced
- 1 teaspoon salt
- ½ teaspoon black pepper
- 1 teaspoon paprika (smoked paprika adds depth)
- ½ teaspoon onion powder
- ½ teaspoon garlic powder
- 1 cup shredded sharp cheddar cheese
- ½ cup shredded Monterey Jack cheese (optional)
- 2 tablespoons butter
- Optional garnish: chopped fresh parsley or green onions
Instructions
- Brown the ground beef: Place your large skillet over medium-high heat. Add the ground beef and cook, breaking it apart, until no longer pink (about 5-6 minutes). Drain excess fat, leaving about 1 tablespoon in the pan.
- Sauté the aromatics: Reduce heat to medium. Add diced onion and cook for 2-3 minutes until softened. Add minced garlic and cook for 30 seconds until fragrant.
- Add the seasonings: Sprinkle salt, pepper, paprika, onion powder, and garlic powder over the mixture. Stir and cook for 30 seconds to toast the spices.
- Add the rice and liquids: Pour in uncooked rice and stir to coat. Add beef broth and water, scraping the bottom of the pan to release browned bits. Bring to a boil.
- Simmer the rice: Reduce heat to low, cover with a tight-fitting lid, and simmer gently for 18-20 minutes. Do not lift the lid.
- Check the rice: Remove lid carefully. Rice should be tender and most liquid absorbed. If needed, cook 2-3 minutes more or leave lid off to evaporate excess liquid.
- Add the butter and cheese: Turn off heat. Add butter and stir until melted. Sprinkle shredded cheddar and Monterey Jack evenly over the top. Cover and let sit for 2-3 minutes until cheese is melted.
- Serve and enjoy: Stir gently to incorporate cheese or leave layered. Spoon into bowls, garnish with parsley or green onions, and serve hot.
Notes
For best results, shred your own cheese to avoid graininess. Use low-sodium broth to control salt. Let cheese melt off the heat to prevent separation. If rice seems undercooked, add a couple tablespoons of water and cook 3-4 minutes more.
Nutrition
- Serving Size: 1 serving (about 1.5
- Calories: 420
- Sugar: 2
- Sodium: 680
- Fat: 18
- Saturated Fat: 9
- Carbohydrates: 38
- Fiber: 1
- Protein: 28
Keywords: cheesy ground beef and rice skillet, easy dinner, one-pan meal, weeknight dinner, kid-friendly, comfort food, ground beef recipe, cheesy rice