My husband claimed he hated chocolate lava cake for seven years. Seven years! Every time we saw it on a dessert menu—at anniversary dinners, Valentine’s Day, random Tuesdays when we were feeling fancy—he’d wave it away. “Too rich,” he’d say. “The texture is weird.” I stopped suggesting we share one. Honestly, I figured he just wasn’t a chocolate dessert person, and I learned to order my molten chocolate fix solo.
Then last Thursday happened. Not a special occasion, not a holiday. Just a grey, drizzly evening where we were both exhausted from the work week. I had raspberries in the fridge that were about to turn, a half-stick of butter, and a sudden, stubborn craving for something warm and sweet. I threw together a quick version of lava cake, just for myself—no big production, no expectations. I slid the ramekins into the oven and turned away to start the dishes.
That’s when I heard the oven door creak open. I turned around and there he was, spoon in hand, mid-scoop into one of the ramekins. He froze, caught red-handed (or rather, red-chocolate-handed). “It smelled like something was burning,” he mumbled with a full mouth. I just laughed. Maybe you’ve been there—watching someone who swore they hated something get caught in the act of loving it. That’s the power of this recipe. It’s not trying to convert anyone. It just sits there, all warm and gooey, and lets you discover the truth for yourself. I’ve been making this version ever since, and let me tell you—it’s the one that changed everything.
Why You’ll Love This Recipe
Let me be straight with you—I’ve tested more lava cake recipes than I care to count. Some were too fussy, some fell flat (literally), and others just didn’t deliver that dramatic, molten center we’re all after. This version? It’s the one I keep coming back to, and here’s why it’ll become your go-to too:
- Ready in under 25 minutes : From craving to fork in your mouth in less time than it takes to decide what to order for delivery. The active prep time is maybe 10 minutes—the rest is just letting the oven do its magic.
- Pantry-friendly ingredients : No weird extracts, no specialty chocolate, no trip to three different stores. If you’ve got butter, eggs, sugar, flour, and some chocolate chips, you’re basically already eating this dessert.
- Perfect for weeknight indulgence : This isn’t a “save it for a special occasion” recipe. This is a “Tuesday night was rough and I deserve something warm and chocolatey” recipe. It scales down perfectly for two, so you’re not stuck with leftovers calling your name.
- Impossible to mess up : I’ve made this with semi-sweet chips, dark chocolate chunks, even a chopped-up chocolate bar that was sitting in the pantry. The raspberries add moisture and acidity that help the structure stay tender, giving you a wider window of doneness.
- The raspberry twist changes everything : That burst of tartness cutting through the rich chocolate? It’s not just garnish—it’s the secret to why this version works so well. The berries keep the cake from feeling heavy, and they add a pop of color that makes you feel like you actually tried.
This isn’t just another lava cake recipe. It’s the one that makes you close your eyes after the first bite, spoon hovering mid-air, thinking “why don’t I make this more often?” It’s comfort food reimagined—faster, simpler, but with the same soul-soothing satisfaction. Perfect for impressing someone special without the stress, or for turning a regular weeknight into something quietly memorable.
What Ingredients You Will Need
This recipe keeps things simple, using basic baking staples to create something that tastes far more complex than the ingredient list suggests. The raspberries do double duty here—they add moisture and acidity that balances the richness of the chocolate, while also creating those beautiful pockets of tartness throughout the cake.
- 4 ounces semi-sweet chocolate chips (about ⅔ cup)—I prefer Ghirardelli or Guittard for reliable melting and flavor. Avoid chocolate chips with “natural flavoring” additives, as they can seize up when melted.
- 4 tablespoons unsalted butter (½ stick), cut into small cubes—salted butter works in a pinch, just reduce the added salt slightly. The butter needs to be cubed so it melts evenly with the chocolate.
- 2 large eggs, at room temperature—this matters! Cold eggs will seize your chocolate mixture. If you forgot to set them out, place them in a bowl of warm water for 5 minutes before cracking.
- ¼ cup granulated sugar—regular white sugar works best here. Don’t substitute brown sugar, as the molasses content changes the structure and makes the cakes denser.
- 2 tablespoons all-purpose flour—spoon and level it; don’t scoop directly from the bag or you’ll get too much. For a gluten-free version, use 1 tablespoon of almond flour plus 1 tablespoon of oat flour.
- ¼ teaspoon vanilla extract—pure vanilla is worth it here, but imitation vanilla won’t ruin the recipe. Just don’t skip it entirely.
- ⅛ teaspoon salt—a tiny pinch that makes a big difference in balancing sweetness.
- ⅓ cup fresh or frozen raspberries—if using frozen, do not thaw them first. Toss them in a tiny bit of flour to prevent them from sinking to the bottom of the batter. Fresh raspberries are ideal when in season (June through August), but frozen work beautifully year-round.
- Optional for serving: powdered sugar for dusting, extra fresh raspberries, vanilla ice cream, or lightly sweetened whipped cream.
Ingredient swap notes: You can use dark chocolate (60-70% cacao) for a less sweet, more intense lava cake. Milk chocolate makes the cakes too sweet and the centers less molten, so I don’t recommend it. For a dairy-free version, use vegan butter sticks (not tub margarine) and dairy-free chocolate chips—Enjoy Life makes a good option.
Equipment Needed
The beauty of this recipe is that it doesn’t require a stand mixer, a double boiler, or any fancy gadgets. Here’s what you’ll actually need:
- Two 6-ounce ramekins—these are the standard size for individual lava cakes. If you only have 4-ounce ramekins, the cakes will be smaller and will need about 2 minutes less baking time. No ramekins at all? Use a standard muffin tin—just grease it well and check for doneness at the 10-minute mark.
- A microwave-safe bowl—for melting the chocolate and butter together. A glass measuring cup works great because the spout makes pouring easier.
- A medium mixing bowl—for whisking the eggs and sugar.
- A whisk—a simple wire whisk is all you need. No electric mixer required.
- A rubber spatula—for folding the batter and scraping every last bit into the ramekins.
- A baking sheet—place the ramekins on a baking sheet before they go into the oven. This catches any potential overflow and makes transferring them in and out much safer.
- Cooking spray or butter—for greasing the ramekins. Don’t skip this, or your cakes will stick and you’ll be eating them out of the ramekin with a spoon (which, honestly, isn’t the worst thing).
- Cocoa powder—for dusting the greased ramekins. This creates a non-stick surface and adds a subtle chocolate flavor to the outside of the cake. You can use flour instead, but cocoa powder is better.
Budget-friendly tip: Ramekins are cheap—you can find them at most grocery stores or online for a few dollars each. But if you’re not ready to invest, a ceramic mug works in a pinch. Just adjust the baking time and keep a close eye on it.
Preparation Method
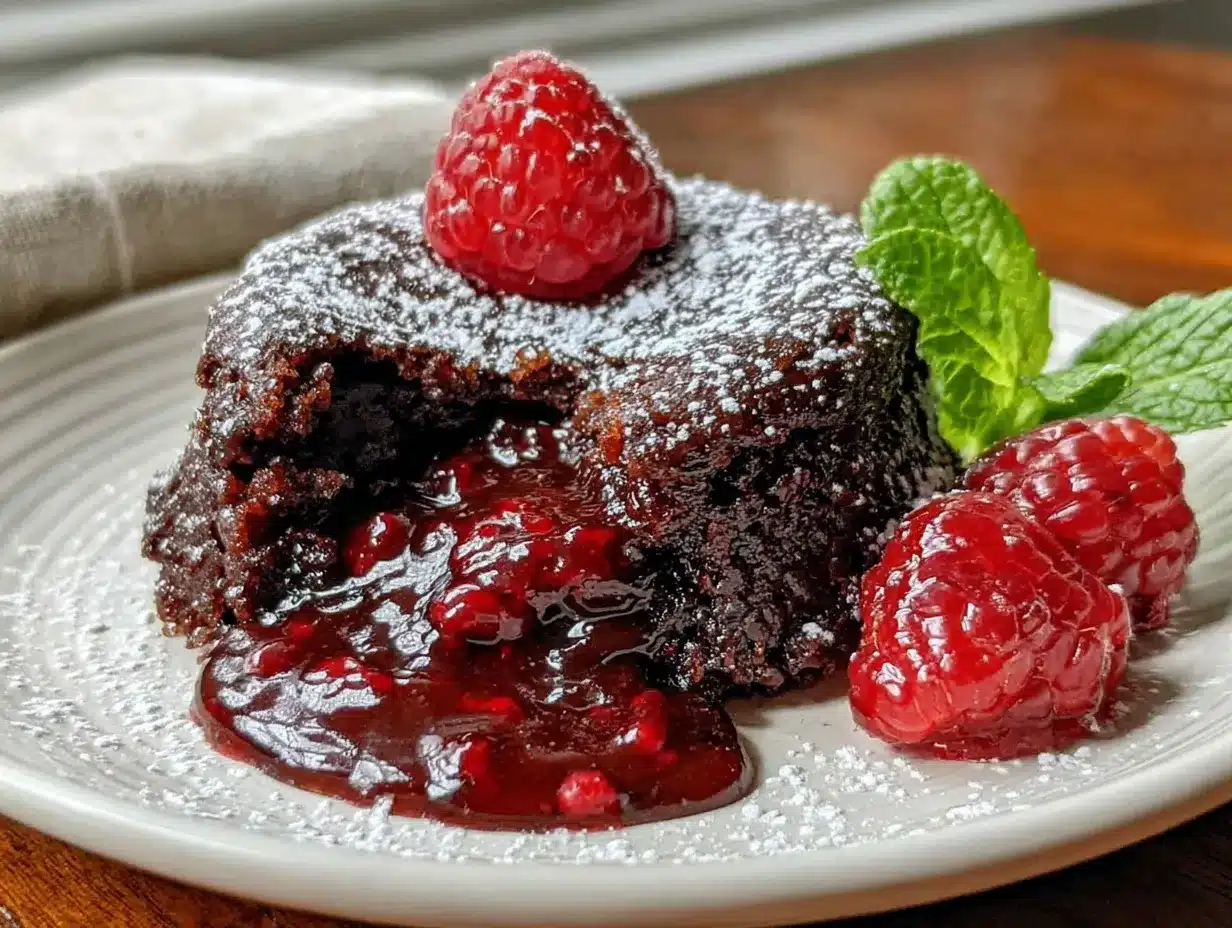
Set your oven to 425°F (220°C). Position the rack in the center of the oven—not too close to the top or bottom. While the oven heats up, grease two 6-ounce ramekins thoroughly with butter or cooking spray. Make sure you get the sides all the way up to the rim. Dust the inside with cocoa powder, tapping out any excess. Place the ramekins on a small baking sheet and set them aside.
In a microwave-safe bowl, combine the chocolate chips and cubed butter. Microwave in 30-second bursts, stirring well after each interval. It usually takes about 60 to 90 seconds total. Stop when the mixture is mostly melted—stir until it’s completely smooth and glossy. The residual heat will finish the job. Set it aside to cool slightly while you work on the eggs. You want it warm, not hot, so it doesn’t scramble the eggs when you combine them.
In a medium mixing bowl, crack both eggs. Add the sugar. Whisk vigorously for about 2 minutes—yes, set a timer. You’re looking for the mixture to become pale, thick, and slightly foamy. When you lift the whisk, the batter should fall in a thick ribbon that sits on the surface for a few seconds before disappearing. This step is crucial because it incorporates air into the batter, which helps create that signature molten center. Don’t rush it.
Pour the slightly cooled chocolate mixture into the egg mixture. Add the vanilla extract and salt. Fold everything together gently with a rubber spatula until just combined—about 15 to 20 strokes. You don’t want to deflate all that air you just whipped in. The batter should be smooth, dark, and luscious.
Sprinkle the flour over the batter. Fold it in gently until no white streaks remain. Be careful not to overmix—a few small lumps are fine. Overmixing develops gluten, which makes the cakes tough instead of tender.
Divide the batter evenly between the two prepared ramekins. You’ll have about ½ cup of batter per ramekin. Drop 4 to 5 raspberries into the center of each ramekin, pushing them down slightly so they’re submerged in the batter. Don’t stir them in—just let them nestle in there. If you’re using frozen raspberries, work quickly so they don’t thaw and bleed too much color into the batter.
Bake for exactly 12 to 14 minutes. The edges should look set and slightly puffed, while the center should still jiggle when you gently shake the baking sheet. If the center looks completely firm, you’ve overbaked them and lost the lava effect. If it looks completely liquid, give it another minute. Every oven runs a little differently, so start checking at 11 minutes if you’re nervous.
Let the ramekins cool on the baking sheet for exactly 1 minute—no longer. Run a thin knife around the edge of each ramekin to loosen the cake. Place a plate upside down over the ramekin, then carefully flip it over. Give the ramekin a gentle shake, then lift it off. The cake should release cleanly onto the plate. If it sticks, you didn’t grease it well enough—just serve it in the ramekin with a spoon and call it rustic.
Dust with powdered sugar, add extra fresh raspberries, and serve immediately with a scoop of vanilla ice cream if you’re feeling extra. The cake needs to be eaten warm—within 5 minutes of coming out of the oven—while the center is still molten.
Cooking Tips & Techniques
Let me save you from the mistakes I’ve already made so you don’t have to learn them the hard way. First and foremost: do not overbake these cakes. I know it’s tempting to leave them in the oven for an extra minute “just to be safe,” but that minute is the difference between a dramatic, flowing lava center and a sad, fully-cooked chocolate muffin. The cake is done when the edges are set and the center wobbles like Jell-O. Trust the wobble.
Room temperature eggs are non-negotiable here. I learned this the hard way when I was rushing one Tuesday night and used cold eggs straight from the fridge. The cold eggs seized the warm chocolate mixture, creating a grainy, lumpy batter that baked unevenly. The cakes came out dense and heavy, with almost no molten center. If you forgot to take your eggs out ahead of time, place them in a bowl of warm tap water for 5 minutes. It works every time.
Timing is everything with lava cakes. I like to get the batter into the ramekins before I start the main course, then pop them in the oven right as we’re finishing dinner. That way, they come out warm and perfect just as we’re clearing our plates. The batter can sit at room temperature for up to 30 minutes before baking, so you have some flexibility.
Don’t skip the cocoa powder dusting. The first time I made these, I only used butter to grease the ramekins. The cakes stuck like cement. Dusting with cocoa powder creates a non-stick barrier and adds a nice dark color to the outside of the cake. Flour works too, but it leaves white patches that look unappetizing.
If you’re making these for a special occasion, you can prep the batter up to 24 hours in advance. Fill the ramekins, cover them with plastic wrap, and refrigerate. When you’re ready to bake, add 2 to 3 minutes to the baking time since you’re starting from cold. Let them sit at room temperature for 10 minutes before baking for more consistent results.
Variations & Adaptations
Once you’ve mastered the basic version, here are some fun ways to switch things up:
- Dark chocolate + orange zest: Use dark chocolate (70% cacao) instead of semi-sweet, and add ½ teaspoon of orange zest to the batter along with the vanilla. The orange brightens the dark chocolate beautifully and pairs wonderfully with the raspberries. This is my personal favorite variation for cold winter nights.
- White chocolate raspberry version: Swap the semi-sweet chocolate for good-quality white chocolate chips. The white chocolate creates a sweeter, creamier lava center that contrasts beautifully with the tart raspberries. Reduce the sugar to 3 tablespoons since white chocolate is already very sweet.
- Peanut butter swirl: After filling the ramekins with batter, drop in 1 tablespoon of creamy peanut butter in the center along with the raspberries. Use a toothpick to gently swirl it through the batter. The salty peanut butter against the sweet chocolate is absolutely irresistible.
- Vegan adaptation: Use vegan butter (I like Miyoko’s or Earth Balance buttery sticks), dairy-free chocolate chips, and replace each egg with ¼ cup of unsweetened applesauce plus ½ teaspoon of baking powder. The texture will be slightly more cake-like and less gooey, but it’s still delicious. Bake for 14 to 16 minutes.
- Gluten-free version: Replace the all-purpose flour with 1 tablespoon of almond flour plus 1 tablespoon of oat flour (or finely ground gluten-free oats). The almond flour adds a subtle nuttiness that complements the chocolate. Check that your chocolate chips are certified gluten-free if needed.
I tried the peanut butter swirl version last month when I had a jar of peanut butter that was down to the last few spoonfuls. Honestly, I wasn’t sure it would work—peanut butter and raspberry seemed like an odd combo. But that first bite, with the warm peanut butter mixing into the molten chocolate and bursting raspberry? I ate both ramekins myself. No regrets.
Serving & Storage Suggestions
These lava cakes are best served immediately, while the center is still warm and flowing. I’m talking within 5 minutes of them coming out of the oven. Place each inverted cake on a small plate, dust generously with powdered sugar, and arrange a few fresh raspberries around the base. A small scoop of vanilla ice cream or a dollop of lightly sweetened whipped cream is the perfect companion—the cold creaminess balances the warm, rich chocolate.
For a prettier presentation, drizzle a simple raspberry sauce around the plate: simmer ½ cup of raspberries with 2 tablespoons of sugar and 1 tablespoon of water for 5 minutes, then strain out the seeds. The bright red sauce against the dark chocolate cake is stunning.
Can you make these ahead? Technically yes, but they’re really designed to be eaten fresh. If you need to prep ahead, fill the greased and dusted ramekins with batter, cover them tightly with plastic wrap, and refrigerate for up to 24 hours. When you’re ready to bake, let them sit at room temperature for 10 minutes, then bake as directed, adding 2 to 3 minutes to the baking time.
Storage for leftovers (if you somehow have any): Once baked and cooled, these cakes will keep in the refrigerator for up to 2 days. But here’s the thing—they won’t be lava cakes anymore. The center will set as it cools. To reheat, microwave a single cake in its ramekin for 20 to 30 seconds. The center won’t be as molten as fresh, but it’ll still be warm and comforting. Honestly, I just eat them cold out of the ramekin with a spoon. No judgment.
Freezing instructions: You can freeze the unbaked batter in the greased ramekins for up to 1 month. Wrap each ramekin tightly in plastic wrap, then foil. Thaw overnight in the refrigerator before baking. Add 3 to 4 minutes to the baking time since you’re starting from cold.
Nutritional Information & Benefits
Here’s the honest nutritional breakdown for one lava cake (without ice cream or whipped cream). These are estimated values based on the ingredients listed:
Calories: approximately 420 | Fat: 28g | Carbohydrates: 42g | Fiber: 3g | Sugar: 32g | Protein: 8g
Now, let’s talk about what’s actually good about this dessert beyond the taste. Raspberries are nutritional powerhouses—they’re packed with vitamin C, manganese, and dietary fiber. They’re also loaded with antioxidants called anthocyanins, which give them that gorgeous red color and help fight inflammation in the body. So yes, you’re getting some actual nutrition with your chocolate fix.
Dark chocolate (especially if you use the 70% cacao version) contains flavonoids that support heart health by improving blood flow and lowering blood pressure. It also contains iron, magnesium, and zinc. The eggs provide high-quality protein and choline, which is important for brain health.
Dietary considerations: This recipe is naturally vegetarian. For gluten-free, use the flour substitutions mentioned in the variations section. For dairy-free, use vegan butter and dairy-free chocolate chips. This recipe is not suitable for a low-sugar or keto diet without significant modifications.
Allergen note: Contains eggs, dairy (butter), and gluten (flour). The raspberries are a common allergen trigger for some people with oral allergy syndrome, though this is rare.
Look, I’m not saying this is health food. It’s dessert. But knowing that the raspberries are doing some good work in there makes me feel a tiny bit better about going back for that second ramekin.
Conclusion
This quick raspberry chocolate lava cake recipe is proof that you don’t need a special occasion, a complicated ingredient list, or hours in the kitchen to create something truly memorable. It’s the kind of dessert that makes you pause mid-bite, look at the person across the table, and just smile. It’s warm, it’s rich, it’s a little bit messy—and that’s exactly what makes it perfect.
Whether you’re making this for a date night, a quiet evening after a long week, or just because you deserve something warm and chocolatey, this recipe delivers every single time. Don’t be afraid to play with the variations—swap in different berries, try the peanut butter version, or go all-in with dark chocolate and orange zest. The best recipes are the ones that become yours.
I’d love to hear how these turn out for you. Did you try a variation? Did your lava cake flow perfectly or did you end up with a molten muffin? Drop a comment below and let me know—your feedback helps other readers, and honestly, I just love hearing about your kitchen wins. If you found this recipe helpful, share it with a friend who needs a little chocolate in their life. Happy baking!
Frequently Asked Questions
Can I make this recipe for one person instead of two?
Absolutely! Simply halve all the ingredients. You’ll use 1 egg, which means you’ll need to whisk it really well before measuring out about 2 tablespoons of beaten egg for the recipe. Bake the single ramekin at the same temperature, but start checking for doneness at 10 minutes instead of 12.
Why did my lava cake turn out completely cooked through with no molten center?
This usually means you overbaked it. The key is to pull the cakes out when the edges are set but the center still wobbles when you gently shake the ramekin. Every oven runs differently, so if your cakes are consistently overbaked, reduce the baking time by 1 to 2 minutes next time. Also, make sure you’re using the correct size ramekins—6-ounce ramekins are standard for this recipe.
Can I use frozen raspberries instead of fresh?
Yes, frozen raspberries work beautifully! Do not thaw them first—add them directly to the batter while they’re still frozen. Toss them in a tiny bit of flour first to prevent them from sinking to the bottom. You may need to add 1 minute to the baking time since the frozen berries will cool the batter slightly.
What can I use instead of ramekins?
If you don’t have ramekins, you can use a standard 6-cup muffin tin. Grease and dust the muffin cups the same way you would ramekins. The cakes will be slightly wider and shallower, so check for doneness at 10 minutes. You can also use small oven-safe ceramic mugs or small glass bowls—just adjust the baking time accordingly and keep a close eye on them.
Can I double this recipe for a crowd?
Definitely! This recipe scales up easily. For 4 servings, simply double all ingredients. For 6 servings, triple them. The baking time stays roughly the same, but you may need to rotate the baking sheet halfway through if your oven has hot spots. Just remember that lava cakes are best served immediately, so have everything ready to go before your guests arrive.
Pin This Recipe!
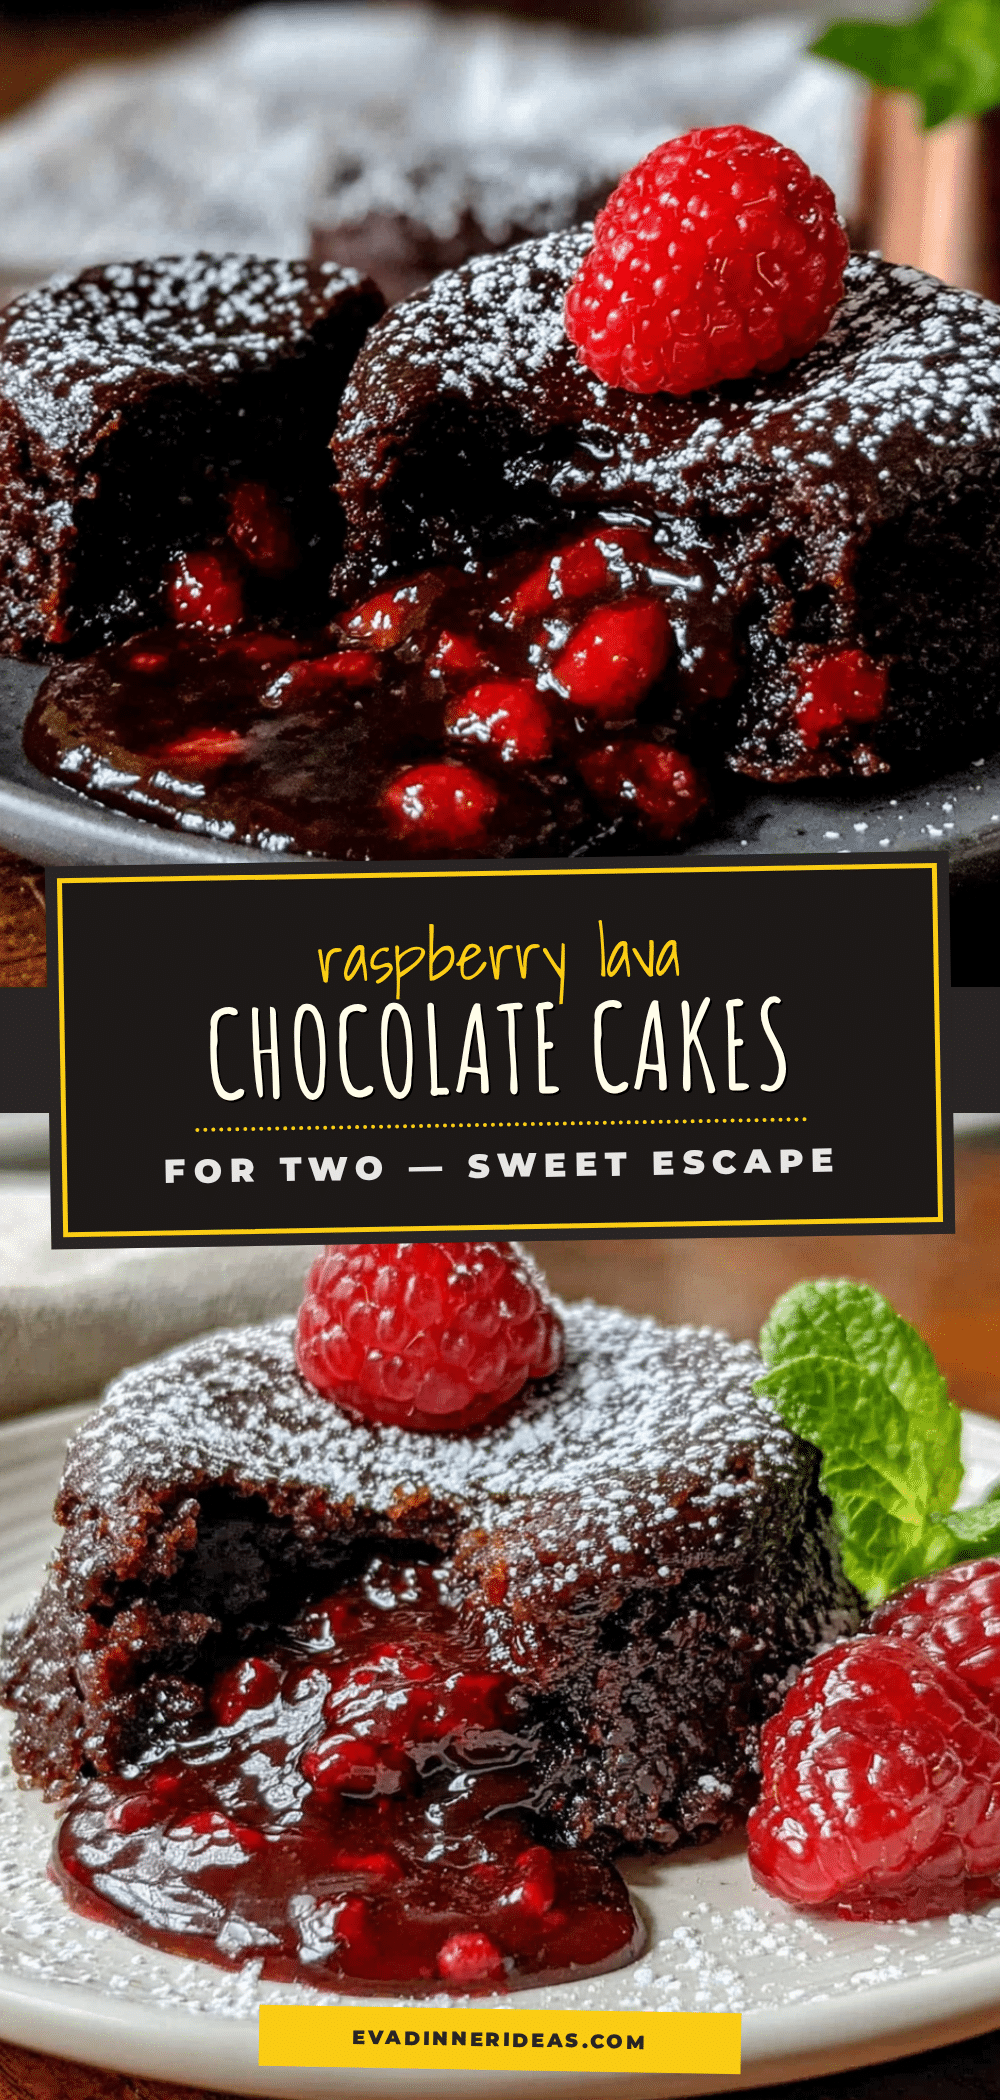
Quick Raspberry Chocolate Lava Cakes for Two (Easy Homemade Dessert)
Warm, gooey chocolate lava cakes with a burst of tart raspberries, ready in under 25 minutes. Perfect for a weeknight indulgence or a romantic dessert for two.
- Prep Time: 10 minutes
- Cook Time: 14 minutes
- Total Time: 24 minutes
- Yield: 2 servings 1x
- Category: Dessert
- Cuisine: American
Ingredients
- 4 ounces semi-sweet chocolate chips (about ⅔ cup)
- 4 tablespoons unsalted butter (½ stick), cut into small cubes
- 2 large eggs, at room temperature
- ¼ cup granulated sugar
- 2 tablespoons all-purpose flour
- ¼ teaspoon vanilla extract
- ⅛ teaspoon salt
- ⅓ cup fresh or frozen raspberries
- Optional for serving: powdered sugar, extra fresh raspberries, vanilla ice cream, or lightly sweetened whipped cream
Instructions
- Preheat oven to 425°F (220°C). Grease two 6-ounce ramekins with butter or cooking spray, then dust with cocoa powder, tapping out excess. Place ramekins on a baking sheet.
- In a microwave-safe bowl, combine chocolate chips and cubed butter. Microwave in 30-second bursts, stirring after each, until mostly melted (60-90 seconds). Stir until smooth and glossy. Set aside to cool slightly.
- In a medium bowl, whisk eggs and sugar vigorously for about 2 minutes until pale, thick, and foamy. The batter should fall in a thick ribbon that sits on the surface for a few seconds.
- Pour the slightly cooled chocolate mixture into the egg mixture. Add vanilla and salt. Fold gently with a rubber spatula until just combined (15-20 strokes).
- Sprinkle flour over the batter and fold until no white streaks remain. Do not overmix.
- Divide batter evenly between the prepared ramekins (about ½ cup each). Drop 4-5 raspberries into the center of each, pushing them down slightly.
- Bake for 12-14 minutes, until edges are set and center jiggles when shaken. Do not overbake.
- Let cool on baking sheet for exactly 1 minute. Run a thin knife around the edge, invert onto a plate, and lift off ramekin.
- Dust with powdered sugar, add extra raspberries, and serve immediately with ice cream or whipped cream if desired.
Notes
Do not overbake; the center should jiggle. Use room temperature eggs to avoid seizing the chocolate. For make-ahead, fill ramekins and refrigerate up to 24 hours; add 2-3 minutes to baking time. For gluten-free, use 1 tablespoon almond flour + 1 tablespoon oat flour.
Nutrition
- Serving Size: 1 lava cake
- Calories: 420
- Sugar: 32
- Sodium: 180
- Fat: 28
- Saturated Fat: 16
- Carbohydrates: 42
- Fiber: 3
- Protein: 8
Keywords: chocolate lava cake, raspberry lava cake, easy dessert, dessert for two, molten chocolate cake, quick dessert, homemade lava cake