My sister’s engagement party was in three hours and I’d completely forgotten I was supposed to bring dessert. Everyone else would be showing up with those fancy tiered cakes from that bakery downtown, or those elegant French pastries that look like they belong in a magazine. I had a block of cream cheese, some sad-looking strawberries, and a bar of dark chocolate I’d been saving for emergencies. Let me tell you, I was panicking. I mean, you know that feeling when your hands get all clammy and you start mentally calculating if you can make it to the grocery store and back in time? That was me, standing in my kitchen at 2 PM on a Saturday, wondering how I’d gotten myself into this mess.
I grabbed my phone to text my sister that I’d just pick up a cake from the store, but then I stopped. Honestly, I’m not one to back down from a challenge, even a self-imposed one. I started rummaging through my pantry, and that’s when I spotted the graham crackers. And the butter. And suddenly, it clicked. Cheesecake. But not just any cheesecake – a chocolate covered strawberry cheesecake. I mean, who doesn’t love that combo? It’s like the ultimate power couple of desserts. I had about two and a half hours to pull it off, which meant no water baths, no fancy techniques, just pure, delicious desperation.
The funny thing is, I was so frazzled I forgot to add the sugar to the crust. I realized it about ten minutes after I’d pressed it into the pan. I just sat there, staring at the pan, and thought, “Well, it’s too late now.” And you know what? That slightly less sweet crust ended up being the perfect balance to the rich, creamy filling and the intense chocolate coating. It was a happy accident. I threw it together, let it chill in the freezer for a quick set, dipped those strawberries in melted chocolate, and prayed. When I walked into that party with my creation, I felt like I was bringing a secret weapon. And honestly? It stole the show. People were asking for the recipe before they’d even finished their first slice. That’s the thing about this best chocolate covered strawberry cheesecake – it looks like you spent all day on it, but between you and me, it’s the kind of recipe that saves you when you’re in a bind. And that’s why I keep making it, even when I have plenty of time.
Why You’ll Love This Recipe
This isn’t just another cheesecake recipe. After countless trials in my own kitchen – and a few spectacular failures involving cracked tops and soggy crusts – I’ve nailed down the perfect method that works every single time. Let me tell you why this one is different.
- Quick & Easy: No water bath required. Seriously. This recipe comes together in about 30 minutes of active prep time, and the hardest part is waiting for it to chill. Perfect for when you need a showstopper without the stress.
- Simple Ingredients: You probably have most of this stuff in your kitchen right now. Cream cheese, sugar, eggs, graham crackers, butter, chocolate, and strawberries. No weird specialty items that you’ll use once and forget about.
- Perfect for Hosting: This is your secret weapon for dinner parties, holiday gatherings, or any occasion where you want to hear that “oooh” sound when you bring out the dessert. It slices beautifully and looks incredibly impressive on a cake stand.
- Crowd-Pleaser: I’ve served this to everyone from picky kids to my uncle who “doesn’t really like sweets.” It always gets devoured. The combination of creamy cheesecake, rich chocolate, and fresh strawberries is basically irresistible.
- Unbelievably Delicious: The texture is what gets people. It’s dense but creamy, not too heavy, with that slight tang from the cream cheese that cuts through the sweetness of the chocolate. And the strawberries on top? They add this fresh, juicy pop that makes every bite interesting.
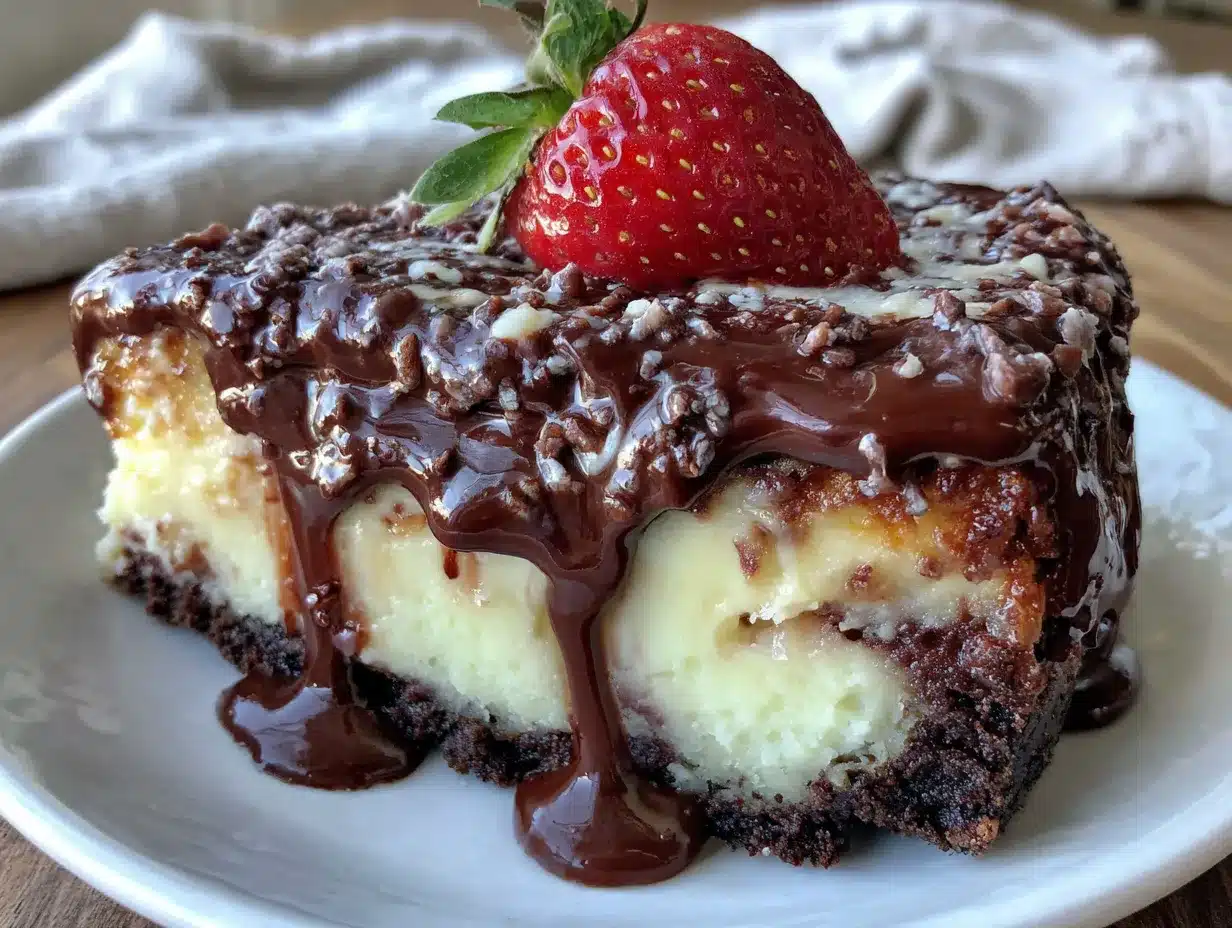
What makes this recipe different from the dozens of other cheesecake recipes out there is the technique. I use a slightly higher ratio of cream cheese to eggs, which gives you that ultra-creamy, almost mousse-like texture without any cracking. And instead of mixing the chocolate into the batter (which can make it dense), I save it for the topping. This way, you get that dramatic chocolate shell that cracks when you cut into it, revealing the smooth, pale cheesecake underneath. It’s not just a dessert – it’s a moment.
This is the kind of recipe that makes you close your eyes after the first bite. It’s comfort food reimagined – familiar enough to feel cozy, but elegant enough to impress your guests without any stress. Perfect for when you want to look like a hero without actually having to work like one.
What Ingredients You Will Need
This recipe uses simple, wholesome ingredients that work together to create something truly special. Most of these are pantry staples, and the fresh ingredients are easy to find at any grocery store. Let’s break it down.
For the Crust
- 2 cups (200g) graham cracker crumbs – About 14-16 full sheets. I prefer the Honey Maid brand for consistent texture. You can crush them in a food processor or just put them in a zip-top bag and go to town with a rolling pin. Both work fine.
- 1/2 cup (115g) unsalted butter, melted – Use real butter here, not margarine. It makes a huge difference in flavor and helps the crust hold together better. Let it cool slightly after melting so it doesn’t cook the crumbs.
- 1/4 cup (50g) granulated sugar – Just enough to add a touch of sweetness without making it cloying. Like I mentioned, I’ve forgotten this before and it still worked out, but it’s better with it.
- 1/4 teaspoon salt – Don’t skip this. It balances the sweetness and makes the crust taste more like, well, a real crust.
For the Cheesecake Filling
- 32 oz (900g) cream cheese, softened – Four 8-ounce blocks. This is non-negotiable. Full-fat cream cheese gives the best texture and flavor. I use Philadelphia because it’s reliable, but any good brand works. Make sure it’s at room temperature – cold cream cheese will give you a lumpy batter.
- 1 cup (200g) granulated sugar – Fine sugar dissolves more easily, but regular granulated works fine. Just make sure you beat it long enough to incorporate.
- 1 cup (240g) sour cream, room temperature – This is my secret ingredient. It adds tanginess and helps keep the cheesecake creamy and moist. Greek yogurt works as a substitute if you’re in a pinch.
- 1 teaspoon vanilla extract – Pure vanilla extract, not imitation. It makes a noticeable difference in the final flavor. I like Nielsen-Massey, but any good brand works.
- 4 large eggs, room temperature – Room temperature eggs incorporate more smoothly into the batter, reducing the risk of overmixing. Take them out of the fridge about an hour before you start.
For the Chocolate Ganache Topping
- 8 oz (225g) semi-sweet chocolate, finely chopped – I recommend Ghirardelli or Guittard for consistent melting. Don’t use chocolate chips – they have stabilizers that prevent smooth melting. A good quality chocolate bar is worth the extra few dollars here.
- 1 cup (240ml) heavy cream – Full-fat heavy cream or heavy whipping cream. The fat content is crucial for a glossy, smooth ganache that sets properly.
- 2 tablespoons unsalted butter, softened – This adds shine and helps the ganache set with a beautiful, smooth finish.
For the Strawberry Topping
- 1 lb (450g) fresh strawberries, hulled – Look for strawberries that are deep red, fragrant, and firm. Avoid any that are mushy or have white spots. In summer, local farmers’ market strawberries are incredible here. In winter, Driscoll’s is a reliable grocery store brand.
- 1/4 cup (50g) granulated sugar – For macerating the strawberries. This draws out their natural juices and creates a light syrup.
- 1 tablespoon lemon juice – Fresh squeezed is best. It brightens the flavor and helps the berries hold their color.
Equipment Needed
You don’t need a professional bakery setup for this, but a few key tools will make your life much easier. Here’s what I use:
- 9-inch springform pan – This is essential for getting the cheesecake out in one piece. I’ve used a regular cake pan with parchment slings in a pinch, but the springform is worth the investment. They’re about $15 at any kitchen store.
- Electric hand mixer or stand mixer – You can mix by hand if you have really strong arms, but an electric mixer makes the process much smoother and helps avoid overmixing. I prefer my KitchenAid stand mixer for this, but a hand mixer works just as well.
- Large mixing bowls – You’ll need at least two: one for the crust and one for the filling.
- Food processor or rolling pin – For crushing the graham crackers. I use my food processor because it’s faster, but the zip-top bag method is just as effective and requires less cleanup.
- Saucepan – For making the ganache. A small to medium saucepan works best.
- Offset spatula – For smoothing the top of the cheesecake and spreading the ganache evenly. A regular butter knife works in a pinch, but the offset spatula gives you a cleaner finish.
- Parchment paper – For lining the bottom of the springform pan. This ensures the crust doesn’t stick and makes removal a breeze.
- Wire cooling rack – For cooling the cheesecake evenly. If you don’t have one, you can use a trivet or just let it cool in the pan on the counter.
Preparation Method
Let’s get to the good part. Follow these steps carefully, and you’ll have a cheesecake that looks like it came from a bakery. I’ve included all my little tricks and tips along the way.
- Preheat your oven to 325°F (160°C). Position the rack in the center of the oven. While it’s heating, start your crust. Line the bottom of your springform pan with a circle of parchment paper – just trace the bottom, cut it out, and place it inside. This step saves so much hassle later.
- Make the crust. In a medium bowl, combine the graham cracker crumbs, sugar, and salt. Pour in the melted butter and stir with a fork until the mixture looks like wet sand and holds together when you squeeze it. Press this mixture firmly into the bottom of your prepared springform pan. I use the bottom of a measuring cup to press it down evenly. Make sure it’s compact – loose crust will fall apart when you slice the cheesecake. Bake for 10 minutes, then set aside to cool while you make the filling.
- Prepare the cream cheese. In a large mixing bowl, beat the softened cream cheese with an electric mixer on medium speed until it’s completely smooth and fluffy. This takes about 2-3 minutes. Scrape down the sides and bottom of the bowl with a spatula at least once. Any lumps now will stay in the final cheesecake, so be thorough.
- Add the sugar and sour cream. Add the sugar and beat on medium speed until well combined, about 1 minute. Then add the sour cream and vanilla extract and beat until smooth. Again, scrape down the bowl. Don’t rush this step – you want everything to be perfectly incorporated.
- Add the eggs one at a time. This is important. Add each egg and beat on low speed just until the yolk disappears into the batter. Overmixing at this stage incorporates too much air, which can cause cracks during baking. You want a smooth, thick batter that’s uniform in color. After the last egg is mixed in, give the bowl one final scrape and fold the batter a few times by hand with a spatula to make sure everything is incorporated.
- Pour the batter into the crust. Pour the filling over the cooled crust and spread it evenly with your offset spatula. Give the pan a few gentle taps on the counter to release any air bubbles. Don’t bang it too hard – you don’t want to disturb the crust.
- Bake the cheesecake. Place the springform pan on a baking sheet (this catches any drips and makes it easier to handle). Bake at 325°F (160°C) for 55-65 minutes. The edges should be set and slightly puffed, but the center should still jiggle slightly when you gently shake the pan. It will continue to cook as it cools. If you’re using a food thermometer, the internal temperature should be about 150°F (65°C).
- Cool the cheesecake. Turn off the oven and crack the door open. Let the cheesecake sit in the oven for 1 hour. This gradual cooling helps prevent cracks. After an hour, remove the cheesecake from the oven and run a thin knife around the edge of the pan to loosen it (this prevents cracking as it shrinks). Let it cool completely on a wire rack, about 2 hours.
- Chill the cheesecake. Once it’s at room temperature, cover the pan with plastic wrap and refrigerate for at least 6 hours, but preferably overnight. This is the hardest part, I know, but it’s essential. The cheesecake needs time to set up properly. I’ve tried rushing this step, and the texture just isn’t the same.
- Make the ganache. About 30 minutes before you’re ready to serve, make the chocolate ganache. Place the finely chopped chocolate in a heatproof bowl. Heat the heavy cream in a small saucepan over medium heat until it just begins to simmer – you’ll see small bubbles around the edge. Don’t let it boil. Pour the hot cream over the chocolate and let it sit for 2-3 minutes without stirring. Then gently whisk until smooth. Add the softened butter and whisk until shiny and smooth. Let the ganache cool for about 10-15 minutes until it’s slightly thickened but still pourable.
- Prepare the strawberries. While the ganache is cooling, hull and slice your strawberries. I like to slice them in half lengthwise, or into thirds if they’re really large. In a small bowl, toss them with the sugar and lemon juice. Let them sit for about 10 minutes – they’ll release their juices and create a beautiful syrup.
- Assemble the cheesecake. Remove the chilled cheesecake from the springform pan. Place it on your serving platter. Pour the ganache over the top, letting it drip down the sides. Use your offset spatula to spread it evenly if needed. Arrange the macerated strawberries on top in a pattern – I like to start from the outside and work my way in, creating concentric circles. Drizzle any remaining strawberry syrup over the top for extra color and flavor.
- Let it set. Return the assembled cheesecake to the refrigerator for at least 30 minutes to let the ganache set. This makes it easier to slice cleanly. When you’re ready to serve, use a sharp knife dipped in hot water and wiped dry between slices for the cleanest cuts.
Cooking Tips & Techniques
After making this cheesecake more times than I can count, I’ve learned a few things the hard way. Here are my best tips to ensure your success.
Room temperature ingredients are not optional. I know, I know, you’re in a hurry. But cold cream cheese creates lumps that no amount of beating will fully eliminate. Cold eggs can cause the batter to curdle. Take everything out of the fridge at least an hour before you start. If you’re really pressed for time, you can cut the cream cheese into cubes and microwave it in 10-second bursts until it’s soft, but be careful not to melt it.
Don’t overmix the batter. This is the most common mistake I see. Once you add the eggs, mix on low speed and stop as soon as the yolk disappears. Overmixing incorporates too much air, which expands during baking and then collapses, causing cracks. A few small lumps are actually better than a perfectly smooth batter that’s been overworked.
The water bath alternative. Traditional cheesecake recipes often call for a water bath to prevent cracking. I’ve found that with this recipe, it’s not necessary if you follow the cooling process correctly. But if you’re nervous, you can place a pan of hot water on the bottom rack of your oven while the cheesecake bakes. The steam helps keep the oven moist and reduces the chance of cracks.
Patience is key. I once tried to speed up the cooling process by putting the cheesecake in the freezer for an hour. It cracked right down the middle. The gradual cooling in the oven, then at room temperature, then in the fridge is non-negotiable. Trust the process.
Slice with a hot knife. For those perfect, Instagram-worthy slices, run your knife under hot water, dry it off, and make your cut. Wipe the blade clean between each slice. This gives you clean edges without dragging the ganache through the cheesecake.
Variations & Adaptations
One of the best things about this recipe is how versatile it is. Here are some of my favorite variations that I’ve tested over the years.
White Chocolate Raspberry. Swap the semi-sweet chocolate in the ganache for high-quality white chocolate. Replace the strawberries with fresh raspberries. The combination of white chocolate and tart raspberries is absolutely divine. I made this for a bridal shower last spring, and it was gone in 20 minutes.
Gluten-Free Option. Use gluten-free graham crackers or gluten-free shortbread cookies for the crust. I’ve tested this with several brands, and Schar’s gluten-free graham crackers work beautifully. Just make sure to check all your other ingredients for hidden gluten.
Vegan Adaptation. Use vegan cream cheese (I like Miyoko’s or Violife), vegan sour cream, and a flax egg (1 tablespoon ground flaxseed mixed with 3 tablespoons water per egg). For the ganache, use full-fat coconut cream instead of heavy cream. The texture will be slightly different – a bit softer – but the flavor is still incredible.
Chocolate Lover’s Twist. Add 1/4 cup of unsweetened cocoa powder to the cheesecake batter, sifting it in with the sugar. This gives you a chocolate cheesecake base that pairs beautifully with the strawberry topping. My husband requests this version for his birthday every year.
Mini Cheesecakes. Press the crust into a muffin tin lined with paper liners, fill with batter, and bake for about 18-22 minutes. Top with ganache and a single strawberry slice. These are perfect for parties where you want individual servings. Just reduce the chilling time to about 3 hours.
Serving & Storage Suggestions
This cheesecake is best served cold, straight from the refrigerator. The texture is firm but creamy, and the ganache has a satisfying snap when you cut through it. Here’s how to make the most of it.
Serving Temperature: Take the cheesecake out of the fridge about 15-20 minutes before serving. This takes the chill off just enough to let the flavors shine without compromising the texture. Any longer, and the ganache might start to soften too much.
Presentation: Serve on a beautiful cake stand or platter. I like to garnish with a few extra fresh strawberry slices and a sprinkle of flaky sea salt right before serving. The salt enhances the chocolate flavor and adds a lovely visual touch. A dollop of lightly sweetened whipped cream on the side is never a bad idea.
What to Serve Alongside: This cheesecake is rich enough to stand on its own, but if you’re hosting a dessert party, consider serving it with fresh coffee or an espresso martini. A simple berry compote or a scoop of vanilla ice cream also pairs beautifully.
Storage: Cover any leftover cheesecake loosely with plastic wrap or store it in an airtight container in the refrigerator. It will keep for up to 5 days, though I doubt it will last that long. The flavors actually develop and meld together over the first 24-48 hours, so day-old cheesecake is often even better than fresh.
Freezing: You can freeze this cheesecake for up to 3 months. Wrap it tightly in plastic wrap, then a layer of aluminum foil. Thaw in the refrigerator overnight before serving. I recommend freezing it before adding the ganache and strawberries – add those fresh after thawing for the best texture.
Reheating: Don’t. This is a cold dessert. If you want warm chocolate, microwave individual slices for about 10 seconds, but honestly, it’s better cold.
Nutritional Information & Benefits
Let’s be real – this is a decadent dessert, not a health food. But that doesn’t mean it can’t have some redeeming qualities. Here’s what you need to know.
Estimated Nutritional Values (per slice, based on 12 servings):
- Calories: 485
- Fat: 34g
- Carbohydrates: 38g
- Protein: 8g
- Sugar: 28g
- Fiber: 2g
Health Highlights: Strawberries are packed with vitamin C and antioxidants, which support immune health. Dark chocolate contains flavonoids that are good for heart health in moderation. The cream cheese provides calcium and protein. So while this isn’t a salad, it’s not completely devoid of nutritional value either.
Dietary Considerations: This recipe contains gluten, dairy, and eggs. For gluten-free and vegan options, see the variations section above. It’s naturally nut-free, but always check your chocolate and other ingredients for cross-contamination if you’re serving someone with allergies.
My Personal Perspective: I believe in balance. This cheesecake is a celebration dessert – something you make for special occasions, not for everyday snacking. When you do indulge, enjoy every single bite without guilt. That’s what food is all about.
Frequently Asked Questions
Can I use frozen strawberries instead of fresh?
I don’t recommend it for the topping. Frozen strawberries release too much water when they thaw, which can make the ganache watery and create a soggy mess on top of your cheesecake. Stick with fresh strawberries for the best texture and presentation. You can use frozen strawberries for a sauce or compote to serve on the side, but for the classic look, fresh is the way to go.
Why did my cheesecake crack on top?
This usually happens for one of three reasons: overmixing the batter (which incorporates too much air), baking at too high a temperature, or cooling too quickly. Make sure you’re mixing on low speed after adding the eggs, that your oven temperature is accurate (an oven thermometer is a great investment), and that you’re following the gradual cooling process I outlined. A few small cracks are totally normal and will be covered by the ganache anyway!
Can I make this cheesecake ahead of time?
Absolutely. In fact, I recommend it. The cheesecake needs at least 6 hours to chill, but making it a day ahead is even better. The flavors meld and the texture becomes perfectly creamy. You can make the entire cheesecake (including the ganache and strawberry topping) up to 24 hours in advance. Just keep it covered in the refrigerator until you’re ready to serve.
How do I get clean slices without the ganache smearing?
The key is a hot, dry knife. Run your knife under hot water, wipe it completely dry with a clean towel, then make your cut. Wipe the blade clean between each slice and reheat the knife as needed. This gives you those beautiful, clean slices that look like they came from a bakery. Also, make sure the cheesecake is thoroughly chilled – at least 6 hours in the fridge.
Can I use milk chocolate instead of semi-sweet for the ganache?
You can, but I wouldn’t recommend it. Milk chocolate has a higher sugar content and lower cocoa butter content, which can make the ganache too soft and overly sweet. If you prefer milk chocolate, use a high-quality brand and reduce the sugar in the strawberry topping slightly to balance the sweetness. Dark chocolate (60-70% cacao) is actually my favorite for this recipe – it provides a nice contrast to the sweet cheesecake and strawberries.
Conclusion
This best chocolate covered strawberry cheesecake is more than just a dessert – it’s a statement. It’s the kind of recipe that makes people think you spent hours in the kitchen, when really, it’s surprisingly straightforward. The creamy, tangy cheesecake, the rich chocolate ganache, the bright, juicy strawberries – every element works together in perfect harmony.
I love that this recipe is forgiving enough for beginners but impressive enough for experienced bakers. It’s become my go-to for birthdays, holidays, and any occasion that calls for something special. And honestly, sometimes I make it just because it’s Tuesday and I want to feel like a rockstar.
I encourage you to make this recipe your own. Play with the toppings, try different berries, experiment with the chocolate. That’s the beauty of cooking – it’s never exactly the same twice. And when you make this for your next gathering, I promise you’ll hear that satisfying “oooh” when you bring it to the table. That sound never gets old.
If you try this recipe, I’d love to hear about it! Drop a comment below and let me know how it turned out, what variations you tried, or just share your favorite cheesecake memory. And don’t forget to pin this recipe for later – you’ll thank me when you need a last-minute showstopper. Happy baking, friends!
Pin This Recipe!
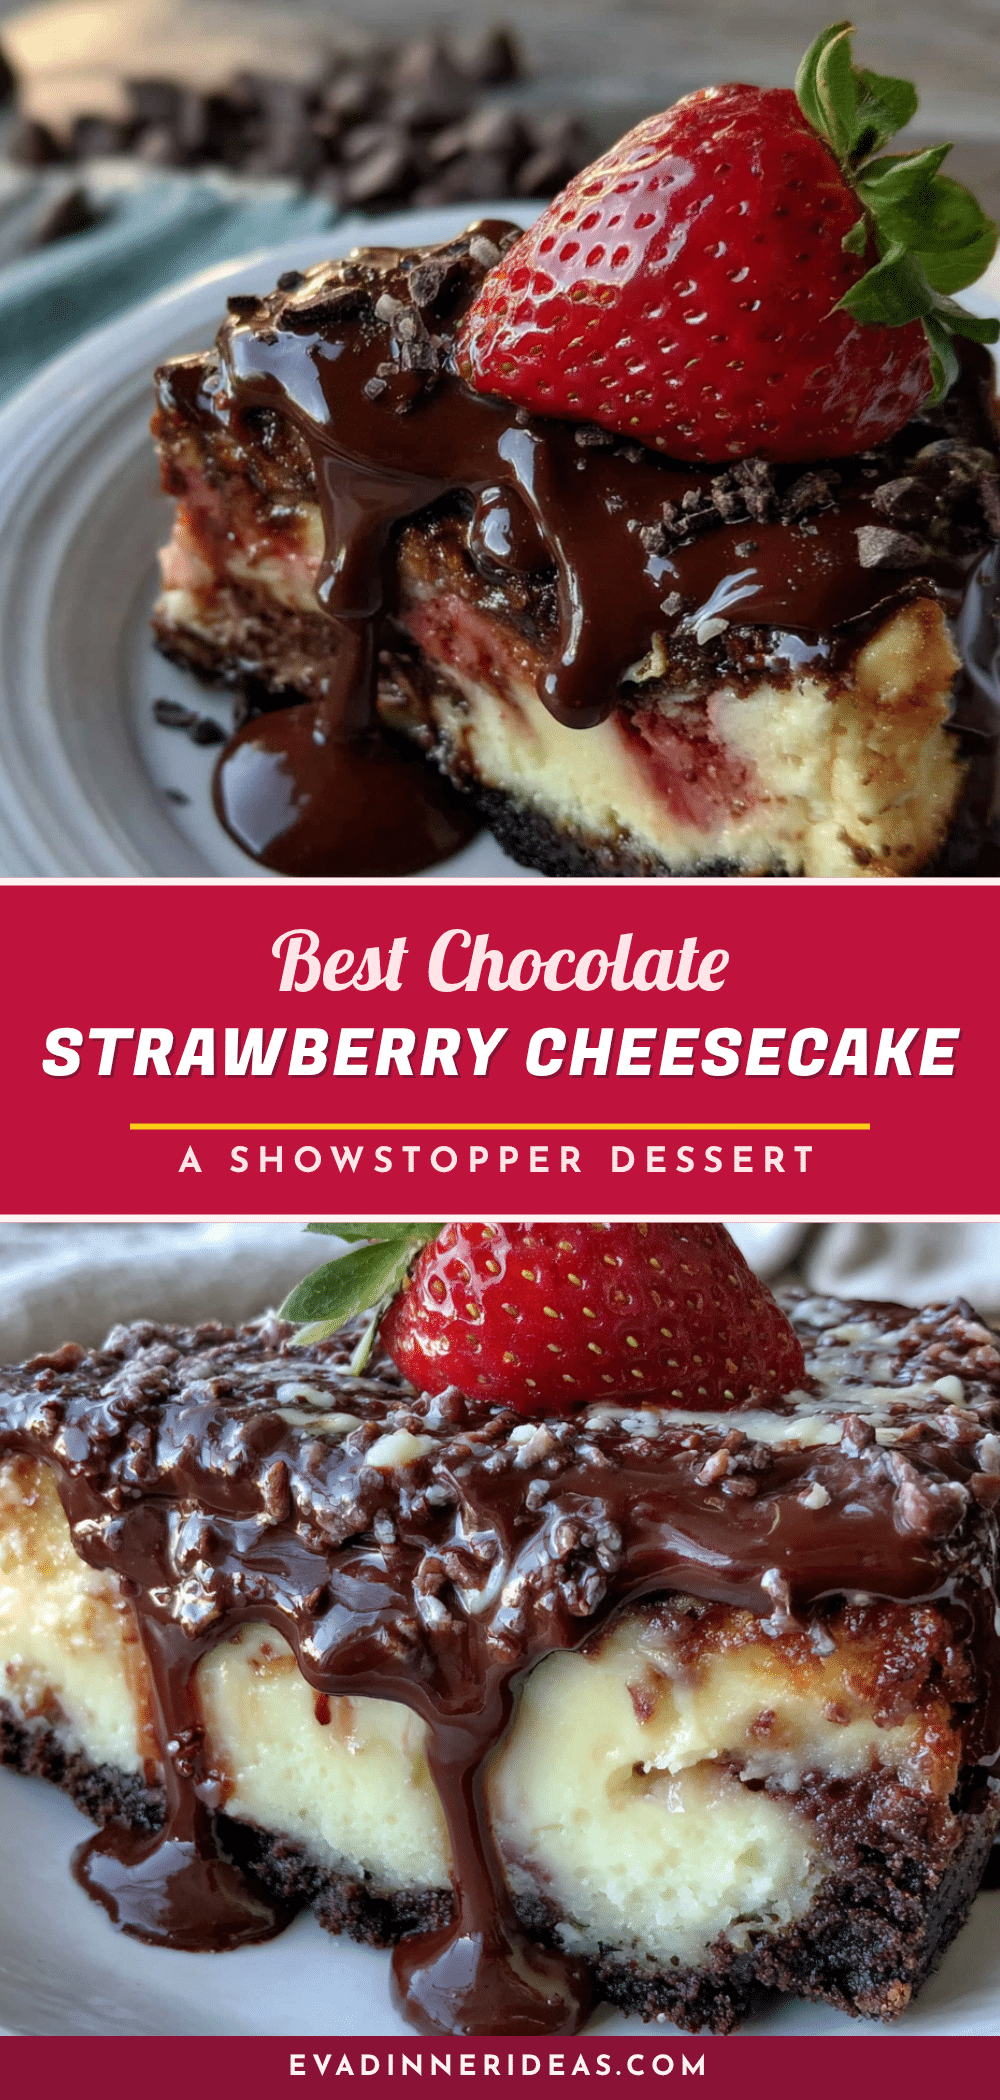
Best Chocolate Covered Strawberry Cheesecake – Easy Homemade Showstopper
A creamy, no-water-bath cheesecake topped with rich chocolate ganache and fresh macerated strawberries. This easy recipe is perfect for last-minute entertaining and always impresses guests.
- Prep Time: 30 minutes
- Cook Time: 55-65 minutes
- Total Time: 6 hours 30 minutes (including chilling)
- Yield: 12 servings 1x
- Category: Dessert
- Cuisine: American
Ingredients
- 2 cups (200g) graham cracker crumbs
- 1/2 cup (115g) unsalted butter, melted
- 1/4 cup (50g) granulated sugar
- 1/4 teaspoon salt
- 32 oz (900g) cream cheese, softened
- 1 cup (200g) granulated sugar
- 1 cup (240g) sour cream, room temperature
- 1 teaspoon vanilla extract
- 4 large eggs, room temperature
- 8 oz (225g) semi-sweet chocolate, finely chopped
- 1 cup (240ml) heavy cream
- 2 tablespoons unsalted butter, softened
- 1 lb (450g) fresh strawberries, hulled
- 1/4 cup (50g) granulated sugar
- 1 tablespoon lemon juice
Instructions
- Preheat oven to 325°F (160°C). Line bottom of a 9-inch springform pan with parchment paper.
- Make the crust: In a medium bowl, combine graham cracker crumbs, 1/4 cup sugar, and salt. Pour in melted butter and stir until mixture resembles wet sand. Press firmly into bottom of prepared pan. Bake for 10 minutes, then set aside to cool.
- In a large bowl, beat softened cream cheese with an electric mixer on medium speed until smooth and fluffy, about 2-3 minutes. Scrape down sides.
- Add 1 cup sugar and beat on medium until combined, about 1 minute. Add sour cream and vanilla extract, beat until smooth. Scrape bowl again.
- Add eggs one at a time, beating on low speed just until yolk disappears. Do not overmix. Fold batter a few times by hand with a spatula.
- Pour batter over cooled crust and spread evenly. Tap pan gently on counter to release air bubbles.
- Place springform pan on a baking sheet. Bake at 325°F (160°C) for 55-65 minutes, until edges are set but center still jiggles slightly.
- Turn off oven and crack door open. Let cheesecake sit in oven for 1 hour. Remove and run a thin knife around edge of pan. Cool completely on a wire rack, about 2 hours.
- Cover pan with plastic wrap and refrigerate for at least 6 hours, preferably overnight.
- About 30 minutes before serving, make ganache: Place chopped chocolate in a heatproof bowl. Heat heavy cream in a small saucepan over medium heat until it just simmers. Pour over chocolate, let sit 2-3 minutes, then whisk until smooth. Add softened butter and whisk until shiny. Let cool 10-15 minutes until slightly thickened.
- Hull and slice strawberries. Toss with 1/4 cup sugar and lemon juice in a small bowl. Let sit 10 minutes.
- Remove cheesecake from springform pan and place on serving platter. Pour ganache over top, letting it drip down sides. Spread evenly with offset spatula. Arrange strawberries on top in concentric circles. Drizzle with remaining strawberry syrup.
- Refrigerate assembled cheesecake for at least 30 minutes to set ganache. Slice with a hot, dry knife for clean cuts.
Notes
Room temperature ingredients are essential for a smooth batter. Do not overmix after adding eggs to prevent cracks. Gradual cooling in the oven helps prevent cracking. For best results, chill overnight. Slice with a hot knife for clean edges.
Nutrition
- Serving Size: 1 slice
- Calories: 485
- Sugar: 28
- Sodium: 320
- Fat: 34
- Saturated Fat: 20
- Carbohydrates: 38
- Fiber: 2
- Protein: 8
Keywords: chocolate covered strawberry cheesecake, easy cheesecake, no water bath cheesecake, strawberry cheesecake, chocolate ganache cheesecake, homemade cheesecake, showstopper dessert


