I was standing in the baking aisle of my local grocery store last February, staring at a display of neon-red gel food coloring, when a memory hit me so hard I almost laughed out loud. It was the scent of cocoa and vanilla, the faint tang of buttermilk, and the sight of my aunt’s hands—dusty with flour—pressing a heart-shaped cookie cutter into a pan of red velvet batter. I was maybe nine years old, perched on a stool in her tiny kitchen, watching her create what she called “love on a plate.” She wasn’t one for big displays of affection, but she’d spend an entire afternoon making these cupcakes for Valentine’s Day, each one a little message she couldn’t say out loud.
She passed away a few years ago, and honestly, I haven’t made a red velvet cupcake since. Not because I didn’t want to, but because I was scared I’d mess it up—that the texture wouldn’t be right, or the color would be off, or that I’d miss her so much I’d just give up halfway through. But last week, I found myself grabbing a carton of buttermilk and a bag of whole wheat pastry flour, determined to try again. Only this time, I wanted to make them lighter—less sugar, less guilt, but all the same tender crumb and that subtle cocoa flavor that makes red velvet so special.
These Lighter Red Velvet Heart-Shaped Cupcakes are my attempt to hold onto that memory while also making something that fits into my life now. They’re not a replica of my aunt’s recipe—they’re better, in a different way. They’re for the mornings when you want to surprise someone (or yourself) with something pretty, without spending hours in the kitchen. They’re for the moments when you need a little sweetness that doesn’t weigh you down. And honestly? They’re for anyone who’s ever tried to recreate a feeling from their past and found something even better along the way.
Why You’ll Love This Recipe
Let me be real with you—I’ve tested this recipe four times before I got it right. The first batch was too dry (I overbaked, rookie mistake), the second was too dense (wrong flour ratio), and the third was just… sad. But this version? This is the one. It’s the kind of cupcake that makes you close your eyes after the first bite, and I’m not exaggerating.
- Quick & Easy: From start to finish, these come together in under 45 minutes. That includes baking time. Perfect for a last-minute Valentine’s treat or a weekend baking project when you don’t want to be stuck in the kitchen all day.
- Simple Ingredients: No fancy grocery trips needed. You probably have most of this in your pantry right now—cocoa powder, vanilla, eggs, buttermilk. The heart-shaped pan is optional; you can use a regular muffin tin and a knife, I promise.
- Perfect for Valentine’s Day: Obviously, the heart shape is adorable, but honestly, these work for anniversaries, Galentine’s brunch, or just a random Tuesday when you want to feel fancy.
- Crowd-Pleaser: I brought a batch to my neighbor’s book club, and they disappeared before we even finished discussing chapter three. Kids love them, adults love them, even my picky friend who “doesn’t like red velvet” ate two.
- Unbelievably Delicious: The texture is light and fluffy—not dense like some healthier versions—and the cream cheese frosting is just the right amount of tangy-sweet. You won’t miss the extra sugar, I swear.
What makes this different from every other red velvet recipe out there? It’s the blend of whole wheat pastry flour and all-purpose flour, plus a little Greek yogurt in the batter. That yogurt keeps things moist without adding heavy fat, and the whole wheat flour gives it a subtle nuttiness that plays beautifully with the cocoa. It’s not just a lighter version—it’s my version, tested and perfected so you don’t have to guess.
This recipe is comfort food reimagined—healthier, faster, but with the same soul-soothing satisfaction. Perfect for impressing someone without stress, or turning a simple afternoon into something memorable.
What Ingredients You Will Need
This recipe uses simple, wholesome ingredients to deliver that classic red velvet flavor and tender texture without all the extra sugar and fat. Most of these are pantry staples, and I’ve included notes on substitutions so you can make it work for your kitchen.
For the Cupcakes
- 1 cup all-purpose flour (I use King Arthur; it gives a reliable crumb)
- ½ cup whole wheat pastry flour (this is the secret to a lighter texture—don’t use regular whole wheat, it’ll be too dense)
- ¼ cup unsweetened cocoa powder (natural, not Dutch-processed—I like Ghirardelli)
- 1 teaspoon baking soda
- ½ teaspoon salt
- ½ cup unsalted butter, softened (you can use coconut oil for dairy-free, but the texture will be slightly different)
- ⅔ cup granulated sugar (I’ve tried coconut sugar, and it works, but it darkens the color—use it if you prefer)
- 2 large eggs, room temperature
- ½ cup buttermilk, room temperature (adds that signature tang—make your own by adding 1 tablespoon lemon juice to ½ cup milk, let sit 5 minutes)
- ¼ cup plain Greek yogurt (non-fat or full-fat, both work—it keeps the cupcakes moist)
- 1 teaspoon vanilla extract
- 1 tablespoon red food coloring (gel works best for vibrant color; liquid is fine but use 1 ½ tablespoons)
- 1 teaspoon white vinegar (reacts with the baking soda for lift—don’t skip it!)
For the Cream Cheese Frosting
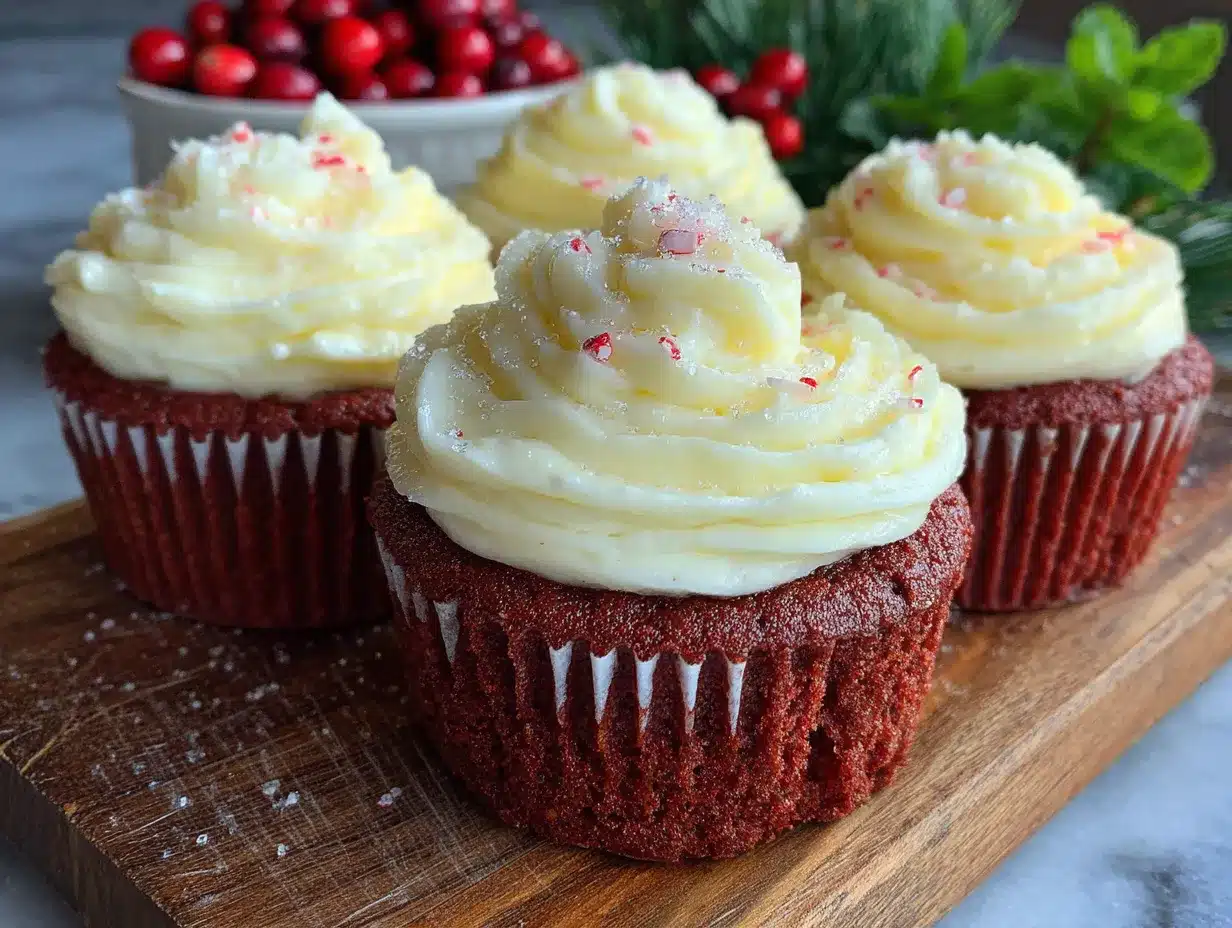
- 4 oz cream cheese, softened (low-fat is fine, but full-fat gives the best texture)
- ¼ cup unsalted butter, softened
- 1 ½ cups powdered sugar (sift it if you want a silky smooth frosting—I’m usually too lazy, and it’s still fine)
- ½ teaspoon vanilla extract
- Pinch of salt (balances the sweetness)
One thing I learned the hard way: don’t overmix the batter after adding the flour. I did that on my second test batch, and the cupcakes came out tough and flat. Mix just until combined—a few lumps are okay. Also, if you’re using a natural red food coloring (like beet powder), you’ll need about 2 tablespoons to get that classic red color. It’s less vibrant but works beautifully for a more natural approach.
For the frosting, make sure your cream cheese and butter are truly softened—not melted, not cold. I’ve made the mistake of using cold cream cheese, and the frosting came out lumpy and sad. Let them sit on the counter for at least 30 minutes before you start.
Equipment Needed
You don’t need a fancy kitchen for these cupcakes, but a few tools will make your life easier.
- Heart-shaped cupcake pan (I got mine at Target for $12; Wilton makes a good one too. If you don’t have one, use a regular muffin tin and cut the cupcakes into hearts with a cookie cutter after baking—it works, I’ve done it)
- Muffin liners (pink or red for Valentine’s vibes, or plain white if that’s what you have)
- Electric hand mixer or stand mixer (you can do this by hand, but your arm will thank you for the mixer—I speak from experience)
- Mixing bowls (one large, one medium)
- Measuring cups and spoons
- Whisk (for dry ingredients)
- Spatula (for scraping the bowl—don’t waste a single bit of batter)
- Cooling rack (or just a clean countertop if you’re in a pinch)
- Piping bag or zip-top bag (for frosting—snip the corner, and you’re good to go)
If you’re using a heart-shaped pan for the first time, here’s a tip: spray the liners lightly with non-stick spray even if they’re non-stick. I learned this after my first batch stuck like glue. Also, let the cupcakes cool completely before frosting—I know it’s tempting, but warm frosting is a mess.
Preparation Method
Alright, let’s get baking. This recipe makes 12 heart-shaped cupcakes, or about 14 regular-sized ones.
- Preheat your oven to 350°F (175°C). Line your heart-shaped cupcake pan with liners and set aside. If you’re using a regular muffin tin, line 12 cups.
- Mix the dry ingredients. In a medium bowl, whisk together the all-purpose flour, whole wheat pastry flour, cocoa powder, baking soda, and salt. Make sure there are no lumps—cocoa powder loves to clump. Set aside.
- Cream the butter and sugar. In a large bowl, beat the softened butter and granulated sugar together with an electric mixer on medium speed until light and fluffy, about 3 minutes. You want it to look pale and airy—this is where the texture starts.
- Add the eggs one at a time. Beat in the first egg until fully incorporated, then add the second. Scrape down the sides of the bowl with a spatula after each addition. Add the vanilla extract and mix until combined.
- Combine the wet ingredients. In a small bowl or measuring cup, whisk together the buttermilk, Greek yogurt, and red food coloring. It should look like a scary pinkish-red liquid—don’t worry, it’ll bake into a beautiful red.
- Alternate adding dry and wet ingredients. With the mixer on low speed, add about one-third of the flour mixture to the butter mixture, then half of the buttermilk mixture. Mix until just combined. Repeat with another third of flour, the remaining buttermilk, and then the last of the flour. Stop mixing as soon as you don’t see any more dry flour—overmixing is the enemy of fluffy cupcakes.
- Add the vinegar. In a small bowl, stir the white vinegar into the batter until just combined. You’ll see it bubble slightly—that’s the reaction with the baking soda, and it helps the cupcakes rise. Don’t overmix here either.
- Fill the liners. Use a cookie scoop or a spoon to fill each liner about two-thirds full. I usually use about 3 tablespoons of batter per cupcake. Don’t overfill, or they’ll spill over the heart shape and you’ll get weird edges.
- Bake for 15-18 minutes. Start checking at 15 minutes—insert a toothpick into the center of a cupcake; if it comes out clean or with a few moist crumbs, they’re done. If it’s wet batter, give them another 2 minutes. My oven runs hot, so I always check at 15.
- Cool completely. Let the cupcakes cool in the pan for 5 minutes, then transfer them to a cooling rack. Don’t skip this step—if you leave them in the pan too long, they’ll get soggy on the bottom. Let them cool completely before frosting, about 30 minutes.
While the cupcakes are cooling, make the frosting. Beat the softened cream cheese and butter together until smooth and creamy, about 2 minutes. Add the powdered sugar, vanilla, and salt, and beat on low speed until combined, then increase to medium and beat for another minute until fluffy. If it’s too thick, add a teaspoon of milk; if it’s too thin, add another tablespoon of powdered sugar.
Once the cupcakes are cool, frost them however you like. I use a piping bag with a star tip for that classic bakery look, but a zip-top bag with the corner snipped works just as well. Or just spread it on with a knife—no judgment here.
Cooking Tips & Techniques
I’ve made more batches of red velvet cupcakes than I care to count, and I’ve learned a few things along the way. Here’s what I wish someone had told me.
Don’t overmix the batter. I know I said this already, but it’s the most common mistake. Red velvet batter is relatively thin compared to other cake batters, and it’s easy to keep mixing until it’s perfectly smooth. But that extra mixing develops the gluten, and you’ll end up with dense, tough cupcakes instead of light, fluffy ones. Mix until the flour just disappears, and then stop. Seriously, stop.
Room temperature ingredients matter. Cold eggs and cold buttermilk won’t emulsify properly with the butter, and you’ll end up with a lumpy batter that doesn’t bake evenly. Set your eggs and buttermilk on the counter 30 minutes before you start. If you forget (I do, all the time), place the eggs in a bowl of warm water for 5 minutes, and microwave the buttermilk for 10 seconds—just don’t let it get hot.
The vinegar trick is real. I was skeptical the first time I saw this in a recipe, but white vinegar reacts with baking soda to create extra lift, giving the cupcakes a lighter texture. It also enhances the red color—something about the acidity. Don’t skip it, and don’t substitute with a different vinegar (apple cider vinegar works in a pinch, but it adds a slight flavor).
Check your oven temperature. My oven runs about 25 degrees hot, which I learned after my first batch of cupcakes came out with burnt edges and raw centers. An oven thermometer is cheap and worth every penny. If your oven runs hot, reduce the temperature by 25 degrees and bake a few minutes longer.
Let the cupcakes cool completely. I know you’re excited, I know the kitchen smells amazing, and I know you want to eat one right now. But if you frost warm cupcakes, the frosting will melt into a sad puddle. Trust me, I’ve done it. Give them a full 30 minutes on the cooling rack—go make a cup of tea, scroll through your phone, do something to distract yourself.
Variations & Adaptations
One of the best things about this recipe is how flexible it is. Here are a few ways to make it your own.
Gluten-Free Version: Swap the all-purpose and whole wheat pastry flours with a 1:1 gluten-free baking blend. I’ve used Bob’s Red Mill with good results—just make sure it contains xanthan gum, which helps with structure. The texture will be slightly more delicate, so handle the batter gently.
Dairy-Free Version: Use dairy-free butter (I like Miyoko’s) and a dairy-free cream cheese alternative (Kite Hill works well). Replace the buttermilk with ½ cup unsweetened almond milk mixed with 1 tablespoon lemon juice, and use a dairy-free yogurt like coconut-based yogurt. The flavor will be a little different, but still delicious.
Natural Red Coloring: If you want to avoid artificial food coloring, use 2 tablespoons of beet powder mixed with 1 tablespoon of water. The color will be more of a deep burgundy than a bright red, but it’s beautiful and earthy. I’ve also tried using pomegranate juice instead of some of the buttermilk—it gives a subtle pink tint and a fruity flavor that’s lovely.
Chocolate Lover’s Version: Add ½ cup mini chocolate chips to the batter before baking. They sink to the bottom, so fold them in gently. The extra chocolate pairs beautifully with the cream cheese frosting—I made this for my brother, and he said it was the best cupcake he’d ever had.
Mini Cupcakes: Use a mini muffin tin and bake for 10-12 minutes instead of 15-18. This makes about 24 mini cupcakes, perfect for parties or for portion control (if that’s your thing).
Serving & Storage Suggestions
These cupcakes are best served at room temperature, which lets the frosting soften and the cake stay tender. If you’ve refrigerated them, take them out about 30 minutes before serving.
For a Valentine’s Day spread, arrange them on a pretty cake stand with fresh raspberries and a few edible rose petals scattered around. They also pair beautifully with a cup of coffee or a glass of cold milk—I’m partial to oat milk with these, but that’s just me.
Storage: Store unfrosted cupcakes in an airtight container at room temperature for up to 3 days. Frosted cupcakes should be stored in the refrigerator, covered, for up to 5 days. The frosting will firm up in the fridge, so let them sit out for 15 minutes before serving.
Freezing: You can freeze unfrosted cupcakes for up to 3 months. Wrap each one tightly in plastic wrap, then place them in a freezer-safe bag. Thaw at room temperature for about an hour before frosting. I’ve also frozen frosted cupcakes—place them on a baking sheet in the freezer for an hour until the frosting is firm, then wrap and freeze. Thaw in the refrigerator overnight.
One thing I love about these cupcakes is that the flavor actually improves after a day in the fridge. The cocoa and buttermilk tang meld together beautifully, and the texture stays moist. So don’t feel like you have to eat them all on day one—they’re even better on day two.
Nutritional Information & Benefits
Per cupcake (with frosting), here’s the approximate breakdown:
- Calories: 285
- Fat: 14g
- Carbohydrates: 37g
- Fiber: 2g
- Sugar: 24g
- Protein: 4g
Compared to a traditional red velvet cupcake (which can clock in at 400+ calories), this version saves you about 120 calories per serving. That’s not nothing, especially if you’re having two—and let’s be honest, you probably will.
The whole wheat pastry flour adds a bit of fiber and a more complex carbohydrate profile than all-purpose flour alone. Greek yogurt provides protein and calcium, and the buttermilk adds probiotics (though they’re mostly killed during baking). The cocoa powder is rich in antioxidants called flavonoids, which are good for heart health—how fitting for a Valentine’s treat!
These cupcakes are not gluten-free (unless you use the substitution), and they contain dairy and eggs. If you have allergies, please check the substitutions section above. And as always, eat them in moderation—they’re still a treat, just a slightly more balanced one.
Conclusion
These Lighter Red Velvet Heart-Shaped Cupcakes are more than just a recipe to me—they’re a way to hold onto a memory while also making something new. They’re for the moments when you want to show someone you care, without spending hours in the kitchen or loading up on sugar. They’re for the quiet afternoons when you need a little sweetness, and for the celebrations when you want something special.
I hope you make these and love them as much as I do. Don’t be afraid to tweak them—add more cocoa if you want a deeper chocolate flavor, use a different frosting, or skip the heart shape and just make regular cupcakes. The beauty of baking is that it’s yours to play with.
If you do make them, I’d love to hear about it. Leave a comment below, tag me in your photos, or just send me a message. Honestly, nothing makes me happier than knowing someone tried one of my recipes and loved it. So go ahead—preheat that oven, put on your favorite playlist, and make some love on a plate.
Frequently Asked Questions
Can I make these cupcakes without a heart-shaped pan?
Absolutely! Use a regular muffin tin and bake as directed. Once cooled, you can cut the cupcakes into heart shapes using a heart-shaped cookie cutter, or just leave them round—they’ll still taste amazing.
Why did my cupcakes turn out dense?
This usually happens from overmixing the batter. Mix just until the flour disappears, and don’t beat the batter after adding the vinegar. Also, make sure your baking soda is fresh—old baking soda loses its leavening power.
Can I use beet powder instead of red food coloring?
Yes! Use 2 tablespoons of beet powder mixed with 1 tablespoon of water. The color will be more of a deep burgundy than bright red, and the cupcakes will have a subtle earthy flavor that pairs well with the cocoa.
How do I store leftover frosting?
Store leftover frosting in an airtight container in the refrigerator for up to a week. Let it come to room temperature and give it a quick stir before using. You can also freeze it for up to 3 months—thaw in the fridge overnight.
Can I make these cupcakes vegan?
I haven’t tested a vegan version, but you can try substituting the eggs with flax eggs (1 tablespoon ground flaxseed + 3 tablespoons water per egg), using dairy-free butter and cream cheese, and replacing the buttermilk with almond milk mixed with lemon juice. The texture will be different, but it’s worth experimenting with!
Pin This Recipe!
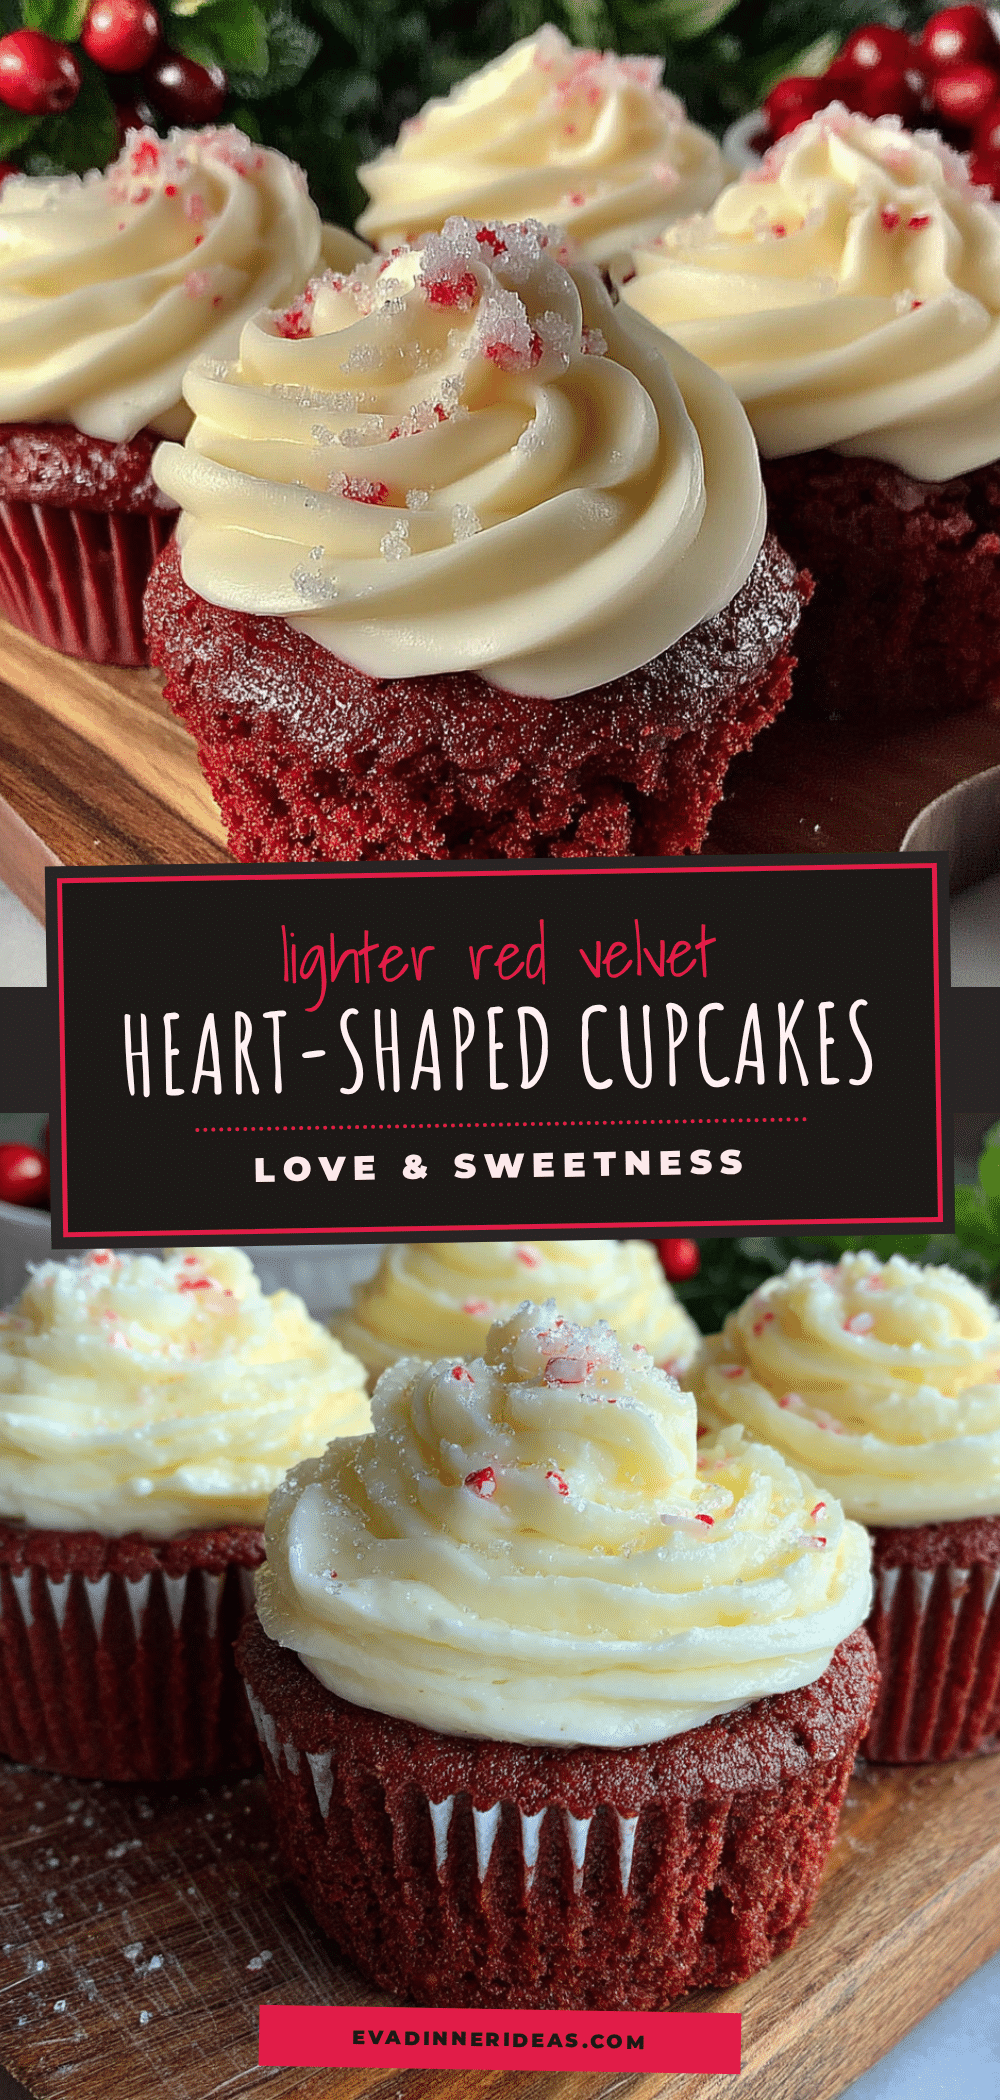
Lighter Red Velvet Heart-Shaped Cupcakes (Easy Recipe)
These Lighter Red Velvet Heart-Shaped Cupcakes are a healthier twist on a classic Valentine’s treat, featuring a tender crumb and tangy cream cheese frosting. Made with whole wheat pastry flour and Greek yogurt, they’re quick, easy, and perfect for surprising someone special.
- Prep Time: 15 minutes
- Cook Time: 18 minutes
- Total Time: 45 minutes
- Yield: 12 servings 1x
- Category: Dessert
- Cuisine: American
Ingredients
- 1 cup all-purpose flour
- ½ cup whole wheat pastry flour
- ¼ cup unsweetened cocoa powder (natural, not Dutch-processed)
- 1 teaspoon baking soda
- ½ teaspoon salt
- ½ cup unsalted butter, softened
- ⅔ cup granulated sugar
- 2 large eggs, room temperature
- ½ cup buttermilk, room temperature
- ¼ cup plain Greek yogurt (non-fat or full-fat)
- 1 teaspoon vanilla extract
- 1 tablespoon red food coloring (gel preferred; use 1 ½ tablespoons if liquid)
- 1 teaspoon white vinegar
- 4 oz cream cheese, softened
- ¼ cup unsalted butter, softened
- 1 ½ cups powdered sugar
- ½ teaspoon vanilla extract
- Pinch of salt
Instructions
- Preheat your oven to 350°F (175°C). Line a heart-shaped cupcake pan with liners (or use a regular muffin tin).
- In a medium bowl, whisk together the all-purpose flour, whole wheat pastry flour, cocoa powder, baking soda, and salt. Set aside.
- In a large bowl, beat the softened butter and granulated sugar with an electric mixer on medium speed until light and fluffy, about 3 minutes.
- Add the eggs one at a time, beating well after each addition. Scrape down the sides of the bowl. Add the vanilla extract and mix until combined.
- In a small bowl or measuring cup, whisk together the buttermilk, Greek yogurt, and red food coloring.
- With the mixer on low speed, add about one-third of the flour mixture to the butter mixture, then half of the buttermilk mixture. Mix until just combined. Repeat with another third of flour, the remaining buttermilk, and then the last of the flour. Stop mixing as soon as the flour disappears.
- Stir in the white vinegar until just combined (the batter will bubble slightly).
- Fill each liner about two-thirds full (about 3 tablespoons of batter per cupcake).
- Bake for 15-18 minutes, or until a toothpick inserted into the center comes out clean or with a few moist crumbs. Cool in the pan for 5 minutes, then transfer to a cooling rack to cool completely (about 30 minutes).
- While the cupcakes cool, make the frosting: Beat the softened cream cheese and butter together until smooth and creamy, about 2 minutes. Add the powdered sugar, vanilla, and salt, and beat on low speed until combined, then increase to medium and beat for another minute until fluffy. If too thick, add a teaspoon of milk; if too thin, add another tablespoon of powdered sugar.
- Once the cupcakes are completely cool, frost them using a piping bag or a zip-top bag with the corner snipped, or simply spread with a knife.
Notes
Don’t overmix the batter to avoid dense cupcakes. Room temperature ingredients are key for proper emulsification. The vinegar reacts with baking soda for extra lift and enhances the red color. Let cupcakes cool completely before frosting to prevent melting. For natural red coloring, use 2 tablespoons beet powder mixed with 1 tablespoon water. Store unfrosted cupcakes at room temperature for up to 3 days; frosted cupcakes in the refrigerator for up to 5 days. Freeze unfrosted cupcakes for up to 3 months.
Nutrition
- Serving Size: 1 cupcake
- Calories: 285
- Sugar: 24
- Sodium: 220
- Fat: 14
- Saturated Fat: 8
- Carbohydrates: 37
- Fiber: 2
- Protein: 4
Keywords: red velvet cupcakes, heart-shaped cupcakes, lighter red velvet, Valentine's Day cupcakes, healthy red velvet, cream cheese frosting, easy cupcake recipe


