I was standing in the bulk bin aisle of my local grocery store last Thursday, squinting at a bag of cinnamon sticks, when the smell hit me. It wasn’t the cinnamon itself—it was the weird, dusty-sweet scent of the wooden bin mixing with the faint cider aroma from the guy next to me squeezing apples. And just like that, I was eight years old in my neighbor Mrs. Kowalski’s kitchen, watching her peel apples so fast the skins fell in one long, unbroken spiral. She’d let me eat the raw slices dusted with sugar, and I’d sit on her cracked vinyl stool while the crisp baked, filling her tiny apartment with this smell I can’t quite put into words. Buttery. Tart. Like fall had crawled into the oven and decided to stay. She moved to Florida years ago, and I haven’t had her crisp since. Honestly, I’ve been chasing that exact feeling ever since—that quiet, late-afternoon warmth when it’s just you and one other person and a pan of something sweet. This Best Small-Batch Apple Crisp for Two is my closest attempt yet. Maybe you’ve got a memory like that, too. The kind you’re not even sure is real anymore, but you keep trying to recreate anyway.
Why You’ll Love This Recipe
Let me tell you—I’ve tested this recipe about seven times in the last month. My neighbor (different neighbor, not Mrs. Kowalski) started knocking on my door asking if everything was okay because the smell kept drifting through the walls. But honestly, it was worth every single trial. This crisp is everything you want in a fall dessert, but scaled down so there’s no sad leftovers sitting in the fridge for a week.
- Perfect Portion Control: It’s made for two people. No more, no less. You won’t be tempted to eat half the pan standing over the sink at midnight (though I won’t judge if you do).
- Simple Pantry Ingredients: You probably already have most of this stuff. Apples, oats, butter, brown sugar—nothing fancy required.
- Ideal for Hosting: When you’ve got a friend over for dinner and want to end the night with something warm, this is it. It feels special without making you disappear into the kitchen for an hour.
- Comfort Food at Its Core: That first bite—crispy oat topping, soft cinnamon-spiced apples—honestly, it’s the kind of moment that makes you close your eyes and forget about your to-do list.
- Foolproof Technique: I’ve made this with granny smith, honeycrisp, even some sad mealy apples from the bottom of the bag. It works. Every time.
What makes this version different from all the other apple crisp recipes out there? It’s the ratio. I spent a lot of time getting the topping-to-apple ratio just right for a small dish. Most recipes either drown the fruit or leave you with a sad, crumbly mess. This one? It’s perfectly balanced. The topping stays crunchy, the apples get jammy, and you get that satisfying contrast in every single bite.
What Ingredients You Will Need
This recipe keeps things simple. You don’t need a cart full of specialty items. Just good, honest ingredients that work together to create something genuinely delicious.
For the Apple Filling
- 2 medium apples – peeled, cored, and sliced about ¼-inch thick. I prefer honeycrisp or granny smith for the best texture. Fuji works too if you like a sweeter filling. (Adds natural sweetness and holds shape well during baking)
- 2 tablespoons granulated sugar – regular white sugar works perfectly here. You can also use coconut sugar for a less refined option.
- 1 tablespoon all-purpose flour – this helps thicken the juices so your crisp isn’t watery. Use cornstarch if you’re gluten-sensitive.
- 1 teaspoon ground cinnamon – I like McCormick’s for consistency, but any brand works. Freshly ground is always better if you have it.
- ¼ teaspoon ground nutmeg – freshly grated if you’re feeling fancy. It makes a difference, I promise.
- 1 tablespoon unsalted butter – cut into small cubes and scattered over the apples before baking. This adds richness and helps create that syrupy texture.
- 1 teaspoon lemon juice – fresh squeezed is best. It balances the sweetness and keeps the apples from browning while you prep.
For the Crisp Topping
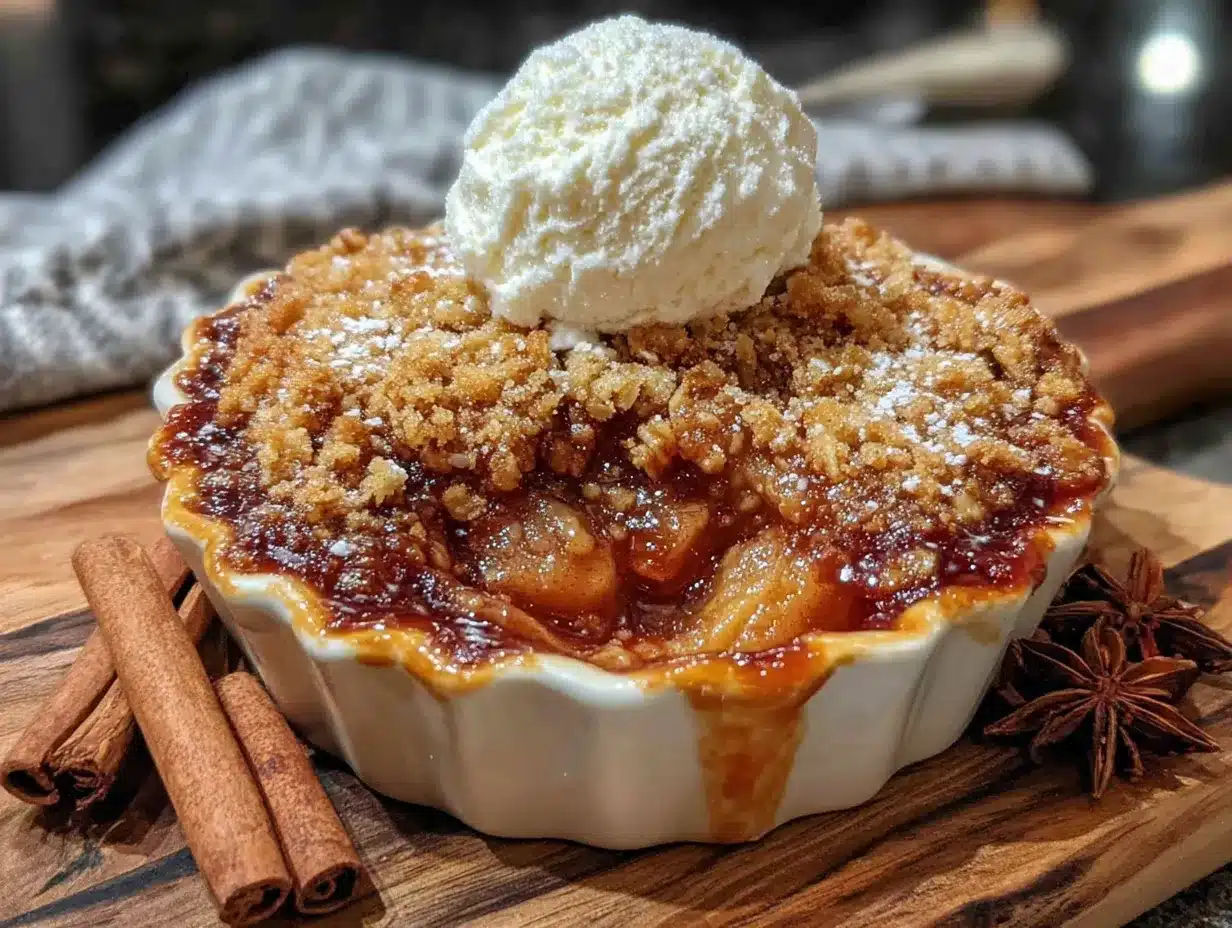
- ¼ cup old-fashioned rolled oats – not the quick-cooking kind. They get mushy. Old-fashioned oats give you that satisfying crunch.
- ¼ cup all-purpose flour – spoon and level it. Don’t scoop straight from the bag or you’ll end up with a dry topping.
- ¼ cup packed light brown sugar – dark brown sugar works too, but light gives a more delicate caramel flavor. (Adds moisture and that deep, molasses-like sweetness)
- ¼ teaspoon ground cinnamon – because you can never have too much cinnamon in a crisp.
- Pinch of salt – don’t skip this. It makes everything pop.
- 3 tablespoons cold unsalted butter – cut into small pieces. The butter needs to be cold so the topping stays crumbly, not greasy.
One thing I learned the hard way: don’t use margarine or spreadable butter. It changes the texture completely. Real butter, cold from the fridge, is non-negotiable here.
Equipment Needed
You don’t need a fully stocked kitchen for this one. Here’s what you’ll want to have on hand:
- Two 10-ounce ramekins or one small baking dish – I use 10-ounce ramekins because they make individual servings feel special. A 6-inch pie plate or small cast iron skillet works great too.
- Mixing bowls – one medium for the apple filling, one small for the topping.
- Sharp knife and cutting board – for peeling and slicing the apples. A good peeler helps too if you have one.
- Measuring cups and spoons – accuracy matters here since it’s a small batch.
- Pastry cutter or fork – for cutting the butter into the topping. Your hands work too, but a pastry cutter keeps things less messy.
- Baking sheet – place your ramekins on this to catch any bubbly overflow. Trust me on this one.
- Small saucepan (optional) – if you want to make a quick caramel drizzle for serving.
Budget-friendly tip: if you don’t have ramekins, a muffin tin works in a pinch. Just adjust the baking time down by about 5 minutes since they’re smaller.
Preparation Method
Alright, let’s get to the good part. Here’s how to make the best small-batch apple crisp for two, step by step.
- Preheat your oven to 350°F (175°C). Place a baking sheet on the middle rack. This preheats the sheet and helps the bottoms of your ramekins get golden.
- Prep your apples. Peel, core, and slice 2 medium apples into ¼-inch thick pieces. Don’t stress about perfection, but try to keep them uniform so they cook evenly. I like to cut the slices in half crosswise so they fit nicely in the ramekins.
- Make the filling. In a medium bowl, toss the apple slices with 2 tablespoons granulated sugar, 1 tablespoon flour, 1 teaspoon cinnamon, ¼ teaspoon nutmeg, and 1 teaspoon lemon juice. Stir gently until every slice is coated. Let it sit for 5 minutes while you make the topping. This helps the apples release some juice, which creates that lovely syrupy texture.
- Make the crisp topping. In a small bowl, combine ¼ cup rolled oats, ¼ cup flour, ¼ cup packed brown sugar, ¼ teaspoon cinnamon, and a pinch of salt. Stir with a fork to break up any lumps. Add 3 tablespoons cold butter (cut into small pieces) and use a pastry cutter or your fingertips to work the butter into the dry ingredients. You’re looking for a crumbly texture with some pea-sized butter pieces remaining. Don’t overwork it—you want those little pockets of butter to melt and create crispy bits.
- Assemble the crisp. Divide the apple mixture evenly between your two ramekins (or your single small dish). Scatter 1 tablespoon of cubed butter over the top of each ramekin. Then, divide the topping evenly, pressing it gently onto the apples. Don’t pack it down—just let it sit loosely so it gets crispy.
- Bake. Place the ramekins on your preheated baking sheet. Bake for 25 to 30 minutes, or until the topping is golden brown and the filling is bubbly around the edges. If you see the topping browning too fast around minute 20, tent loosely with foil for the remaining time.
- Cool slightly before serving. Let the ramekins sit on a wire rack for at least 10 minutes. This is the hardest part, I know. But the filling needs time to set, or you’ll end up with a soupy mess. Plus, you don’t want to burn your tongue on molten apple juice.
One thing I messed up the first few times: I didn’t let the apples sit after tossing them with sugar and flour. That 5-minute rest is crucial. It draws out the natural juices and helps the flour thicken everything into a gorgeous syrup instead of a watery puddle.
Cooking Tips & Techniques
I’ve made this recipe enough times to know where things can go sideways. Here’s what I’ve learned the hard way so you don’t have to.
Don’t skip the lemon juice. I know it seems like a small thing, but it does two important jobs: it keeps the apples from turning brown while you prep, and it balances the sweetness so the crisp doesn’t taste cloying. I forgot it once and the result was flat and one-dimensional.
Use cold butter for the topping. This is non-negotiable. If your butter is even slightly soft, you’ll end up with a dense, greasy paste instead of a crumbly topping. I keep my butter in the fridge until the last minute, then cut it into cubes and pop them back in the freezer for 5 minutes before mixing. It sounds extra, but it makes a real difference.
Watch your oven like a hawk. Ovens vary wildly. My old apartment oven ran hot and would burn the topping by minute 22. My current one takes the full 30 minutes. Check at 20 minutes, rotate the pan if needed, and use your judgment. The topping should be deep golden brown and the filling should be bubbling visibly.
Let it rest. I know you want to dig in immediately. I get it. But if you serve it too soon, the juices will run everywhere and you’ll lose that beautiful layered texture. Ten minutes on the counter is all it takes. Use that time to whip some cream or scoop some ice cream.
Make extra topping. Honestly, this is a pro tip. Double the topping recipe and keep half in the freezer. You can use it for fruit crisps, baked oatmeal, or even sprinkle it over yogurt. It keeps for about a month in an airtight bag.
Variations & Adaptations
One of the best things about this recipe is how flexible it is. Here are some ways to switch it up depending on what you have or who you’re cooking for.
Gluten-Free Version: Swap the all-purpose flour in both the filling and topping for a gluten-free all-purpose blend. I’ve used Bob’s Red Mill 1-to-1 with great results. The texture is slightly different—a bit more crumbly—but the taste is still fantastic.
Dairy-Free Option: Use a high-quality vegan butter like Miyoko’s or Earth Balance. Make sure it’s cold. Coconut oil works in a pinch but changes the flavor slightly. The topping won’t be quite as crispy, but it’s still delicious.
Different Fruit Combinations: You can swap one apple for a pear, or add a handful of fresh cranberries (about ¼ cup) for a tart twist. In the summer, try peaches or nectarines. Just reduce the sugar slightly since stone fruits are sweeter than apples.
Spice It Up: Add a pinch of cardamom or ginger to the filling for a warmer flavor profile. I sometimes add ¼ teaspoon of vanilla extract to the apple mixture for extra depth.
Nutty Topping: Add 2 tablespoons of chopped pecans or walnuts to the topping mixture. Toast them first for maximum flavor. I did this once for a dinner party and everyone asked for the recipe.
Single Serving: If you’re cooking just for yourself, halve the recipe and bake in one ramekin. Reduce the baking time by about 5 minutes.
Serving & Storage Suggestions
This crisp is best served warm, straight from the oven. Here’s how to make it feel like a real dessert moment.
Serving Temperature: Let it cool for 10 minutes, then serve while still warm. The contrast between the hot, jammy apples and cold ice cream is pure magic.
What to Serve With It: A scoop of vanilla bean ice cream is the classic choice. But honestly, a dollop of lightly sweetened whipped cream or a drizzle of heavy cream works beautifully too. For something different, try a spoonful of Greek yogurt with a drizzle of honey. It cuts the sweetness and adds a tangy note.
Presentation Tip: Serve the ramekins on small plates with a sprig of mint or a dusting of powdered sugar. It takes two seconds but makes it feel like you went to a lot of trouble. Your guests will be impressed.
Storage: If you somehow have leftovers, cover the ramekins with plastic wrap or transfer to an airtight container. Store in the refrigerator for up to 3 days. The topping will lose some of its crunch, but the flavor is still there.
Reheating: Pop the ramekin in a 350°F oven for about 10 minutes to reheat. The microwave works in a pinch (about 45 seconds), but the topping won’t be as crispy. If you have an air fryer, try reheating at 320°F for 5 minutes—it brings back some of that crunch.
Flavor Development: Honestly, the crisp is best the day it’s made. The topping stays crunchy and the apples are perfectly tender. Day-old crisp is still good, but the texture changes. So eat it fresh if you can.
Nutritional Information & Benefits
Here’s a rough estimate for one serving (one ramekin, without ice cream or whipped cream):
- Calories: Approximately 380
- Fat: 18g
- Carbohydrates: 55g
- Fiber: 5g
- Sugar: 35g
- Protein: 3g
Keep in mind these are estimates. Actual values depend on the exact ingredients and apple variety you use.
Health Benefits: Apples are a good source of fiber and vitamin C. Oats provide soluble fiber, which is great for heart health. The cinnamon in this recipe has anti-inflammatory properties. So while this is definitely a treat, it’s not completely devoid of nutritional value. I like to think of it as a dessert that happens to have some redeeming qualities.
Dietary Considerations: This recipe contains gluten and dairy. For a gluten-free version, use a gluten-free flour blend and certified gluten-free oats. For a dairy-free version, use vegan butter. It’s naturally nut-free unless you add the optional nuts to the topping.
Potential Allergens: Wheat (gluten), dairy (butter). If you’re serving guests with allergies, make sure to ask and adjust accordingly.
Conclusion
This Best Small-Batch Apple Crisp for Two is more than just a dessert. It’s a moment. It’s the quiet end to a good meal shared with someone you care about. It’s the smell of cinnamon and butter filling your kitchen on a cool evening. It’s the feeling of pulling something warm and beautiful out of the oven and knowing you made it yourself.
I’ve made this recipe for dinner parties, for lazy Sunday afternoons, and for nights when I just needed something comforting. Every single time, it delivers. The apples get soft and jammy, the topping gets crispy and golden, and that first bite always makes me smile. It’s simple enough for a beginner but impressive enough to serve to guests.
I’d love to hear how yours turns out. Did you try a different fruit combination? Add nuts to the topping? Serve it with something unexpected? Drop a comment below and let me know. And if you loved this recipe, share it with a friend who needs a little warmth in their life. Happy baking!
Frequently Asked Questions
Can I make this apple crisp ahead of time?
You can assemble the crisp up to a day ahead. Keep it covered in the refrigerator, then bake it just before serving. Add about 5 minutes to the baking time since you’re starting from cold.
What are the best apples for apple crisp?
Honeycrisp and granny smith are my top picks. Honeycrisp gives you natural sweetness and holds its shape well. Granny smith adds a nice tartness that balances the sugar. A mix of both is ideal if you have them.
Can I freeze small-batch apple crisp?
Yes, but the texture will change. Bake it first, let it cool completely, then wrap tightly and freeze for up to 3 months. Reheat in a 350°F oven until warmed through. The topping won’t be as crispy, but the flavor is still great.
Why is my apple crisp topping soggy?
This usually happens for two reasons: either your butter was too warm when you made the topping, or you didn’t bake it long enough. Make sure your butter is cold and bake until the topping is deep golden brown and the filling is bubbling.
Can I double this recipe?
Absolutely. Double all the ingredients and bake in an 8×8-inch baking dish. Increase the baking time to about 35-40 minutes. Check for doneness when the topping is golden and the filling is bubbly.
Pin This Recipe!
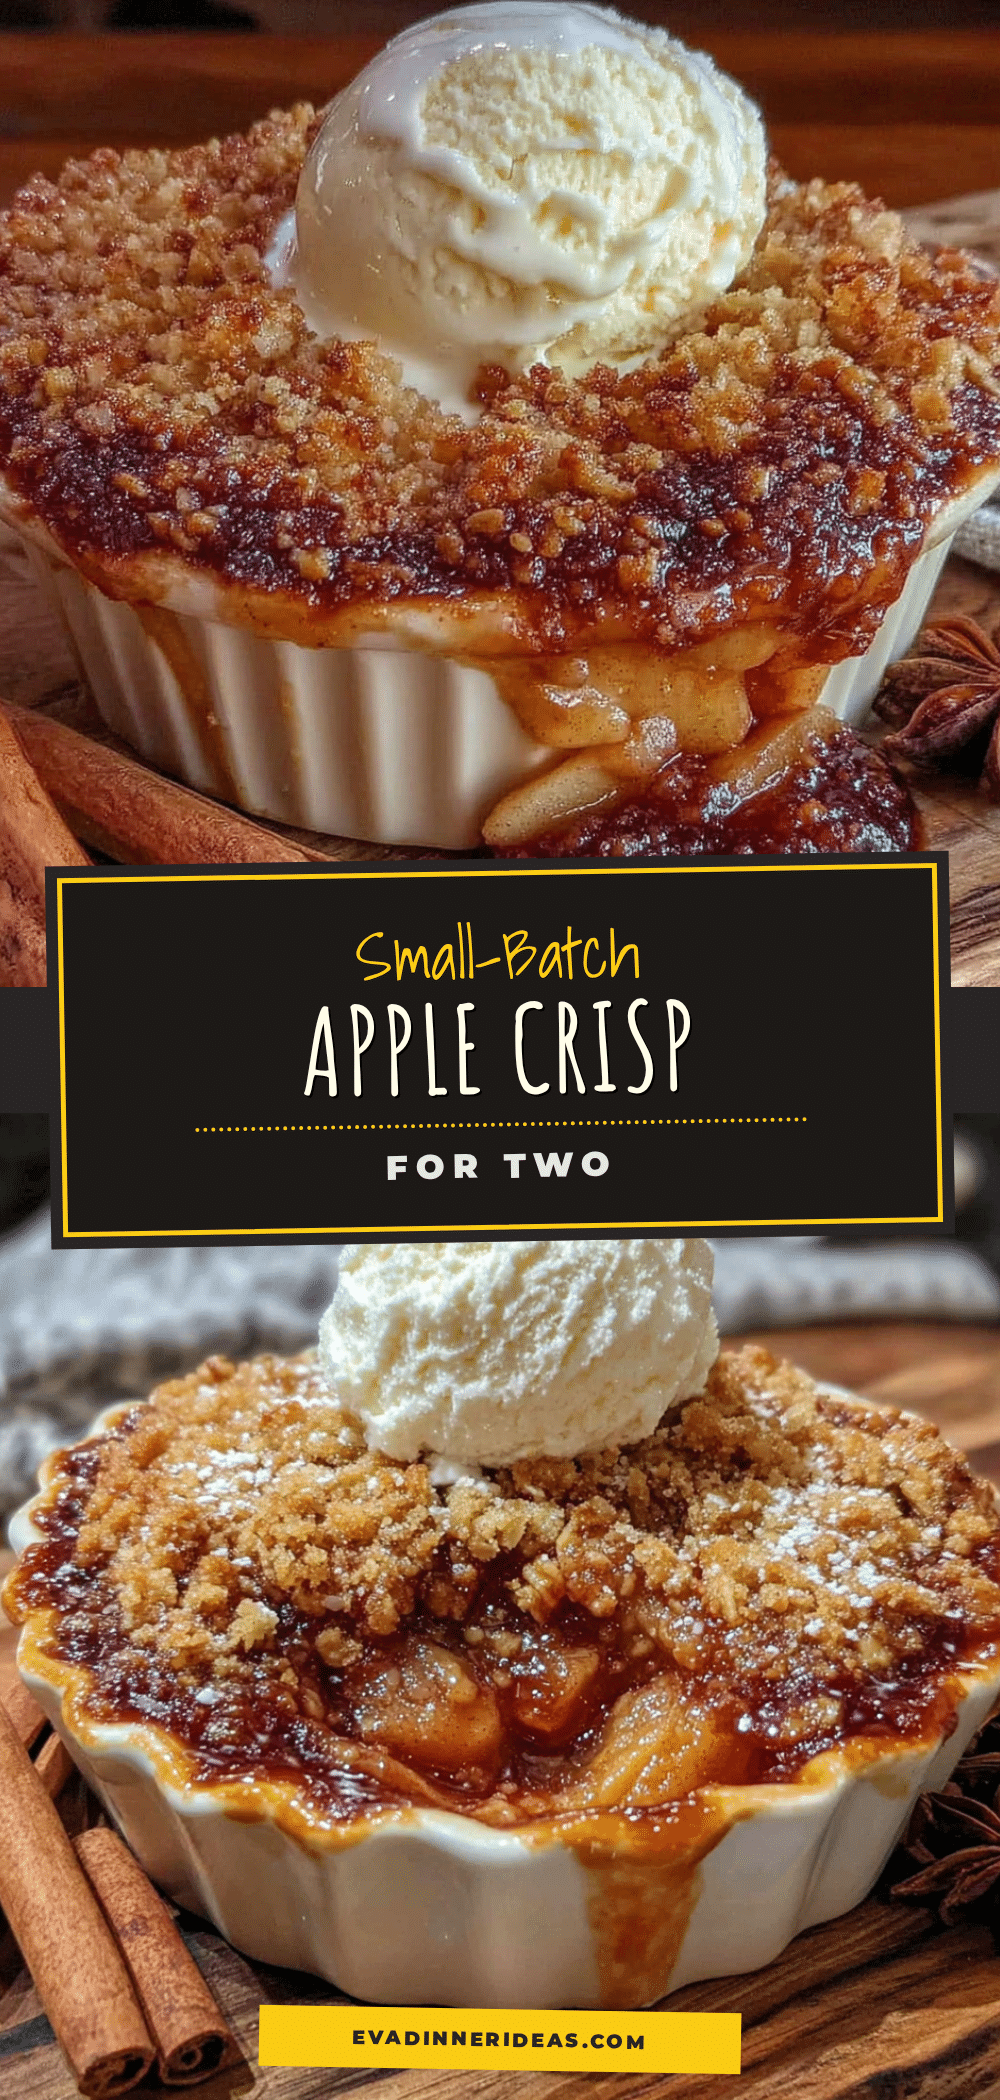
Best Small-Batch Apple Crisp for Two – Easy Homemade Dessert

This small-batch apple crisp is the perfect fall dessert for two, featuring a buttery oat topping and tender cinnamon-spiced apples. It’s simple, comforting, and ideal for a quiet evening or a dinner party finale.
- Prep Time: 15 minutes
- Cook Time: 30 minutes
- Total Time: 45 minutes
- Yield: 2 servings 1x
- Category: Dessert
- Cuisine: American
Ingredients
- 2 medium apples (honeycrisp or granny smith), peeled, cored, and sliced 1/4-inch thick
- 2 tablespoons granulated sugar
- 1 tablespoon all-purpose flour
- 1 teaspoon ground cinnamon
- 1/4 teaspoon ground nutmeg
- 1 tablespoon unsalted butter, cut into small cubes
- 1 teaspoon lemon juice
- 1/4 cup old-fashioned rolled oats
- 1/4 cup all-purpose flour
- 1/4 cup packed light brown sugar
- 1/4 teaspoon ground cinnamon
- Pinch of salt
- 3 tablespoons cold unsalted butter, cut into small pieces
Instructions
- Preheat your oven to 350°F (175°C). Place a baking sheet on the middle rack to preheat.
- Peel, core, and slice 2 medium apples into 1/4-inch thick pieces. Cut slices in half crosswise if desired.
- In a medium bowl, toss apple slices with 2 tablespoons granulated sugar, 1 tablespoon flour, 1 teaspoon cinnamon, 1/4 teaspoon nutmeg, and 1 teaspoon lemon juice. Let sit for 5 minutes.
- In a small bowl, combine 1/4 cup rolled oats, 1/4 cup flour, 1/4 cup packed brown sugar, 1/4 teaspoon cinnamon, and a pinch of salt. Stir with a fork.
- Add 3 tablespoons cold butter (cut into small pieces) and use a pastry cutter or fingertips to work butter into dry ingredients until crumbly with pea-sized butter pieces.
- Divide apple mixture evenly between two 10-ounce ramekins (or one small baking dish). Scatter 1 tablespoon cubed butter over each ramekin.
- Divide topping evenly over apples, pressing gently but not packing down.
- Place ramekins on preheated baking sheet. Bake for 25 to 30 minutes, until topping is golden brown and filling is bubbly. If topping browns too fast, tent with foil at 20 minutes.
- Let cool on a wire rack for at least 10 minutes before serving.
Notes
Don’t skip the lemon juice—it prevents browning and balances sweetness. Use cold butter for the topping to ensure a crumbly texture. Let the apples sit for 5 minutes after tossing with sugar and flour to draw out juices. For best results, serve warm with vanilla ice cream or whipped cream. Leftovers can be stored in the refrigerator for up to 3 days; reheat in a 350°F oven for 10 minutes.
Nutrition
- Serving Size: 1 ramekin
- Calories: 380
- Sugar: 35
- Sodium: 150
- Fat: 18
- Saturated Fat: 11
- Carbohydrates: 55
- Fiber: 5
- Protein: 3
Keywords: apple crisp, small batch, dessert for two, fall dessert, easy apple crisp, homemade apple crisp


