My neighbor Rachel wasn’t trying to impress me. I’d stopped by to borrow a lug wrench—don’t ask—and the smell hit me before I even made it past her screen door. Something warm and smoky, a little bit spicy, wrapped up in that distinct smell of toasted tortillas. I stood there, holding the lug wrench, completely distracted. She was just finishing up, piling these beautiful, golden-brown burritos onto a sheet pan, and she barely looked up. “Oh, those?” she said, when I finally asked. “Just something I throw together for the freezer.” Just. Something. She said it like it was nothing, like she hadn’t just created the most comforting, practical, and genuinely delicious thing I’d smelled in months. Honestly, I think I stood in her kitchen for another twenty minutes, watching her wrap them up, trying to ask casual questions while internally losing my mind. She was so nonchalant about the whole thing—it was just her Tuesday meal prep. But me? I was already planning my grocery list. I mean, maybe you’ve been there, standing in someone else’s kitchen, realizing you’re about to change your whole dinner game because of something they made without even trying. That’s this recipe. That’s exactly what these freezer-friendly chicken and rice burritos are.
Why You’ll Love This Recipe
Let me tell you, after making these burritos at least a dozen times—and tweaking them to near-perfection—I have some strong feelings. This isn’t just another burrito recipe you’ll bookmark and forget. This is the one you’ll actually make. Over and over.
- Quick & Easy: The filling comes together in about 20 minutes on the stove. The rest is just assembly. Honestly, the hardest part is not eating all the filling before you roll.
- Simple Ingredients: You probably have most of this stuff in your pantry right now. Canned beans, rice, chicken, cheese, spices. No weird trips to a specialty store.
- Perfect for Busy Nights: This is the ultimate “I don’t want to cook but I want a real dinner” solution. Pull one from the freezer, heat it up, and you’re done. No excuses for takeout.
- Crowd-Pleaser: I’ve served these to picky kids, hungry teenagers, and grown adults who claim they don’t like “freezer food.” Every single person has asked for the recipe. Every. Single. Time.
- Unbelievably Delicious: The texture is where it’s at. The rice stays fluffy, the chicken is tender, and the cheese gets all melty and perfect. It’s comfort food that actually works as leftovers.
What makes this recipe different from all the other burrito recipes out there? It’s the balance. The smoky cumin and chili powder, the tangy lime, the creamy beans, and that perfect ratio of filling to tortilla. I’ve tested this with different rices, different beans, different cheeses. This version is the one. It’s the one that makes you close your eyes after the first bite. I’m not kidding.
What Ingredients You Will Need
This recipe uses simple, honest ingredients that work together to create something genuinely special. No fuss, no complicated stuff—just good food that tastes like you spent way more effort than you actually did.
- For the Filling
- 2 tablespoons olive oil (adds richness and helps sauté the aromatics)
- 1 medium yellow onion, diced (about 1 cup)
- 3 cloves garlic, minced (fresh is best, but jarred works in a pinch)
- 1 pound cooked chicken, shredded (rotisserie chicken is my go-to—saves so much time)
- 1 can (15 ounces) black beans, drained and rinsed (I prefer Bush’s or Goya for consistent texture)
- 1 cup cooked long-grain white rice (leftover rice works beautifully here)
- 1 can (4 ounces) diced green chiles (mild or medium, your call)
- 1 teaspoon ground cumin
- 1 teaspoon chili powder
- ½ teaspoon smoked paprika (adds that subtle smoky depth)
- ½ teaspoon salt, plus more to taste
- ¼ teaspoon black pepper
- ½ cup chicken broth (keeps the filling moist)
- Juice of 1 lime (about 2 tablespoons—fresh is non-negotiable here)
- 1 cup shredded Mexican blend cheese (or cheddar, or Monterey Jack—use what you love)
- ¼ cup chopped fresh cilantro (optional, but highly recommended)
- For the Burritos
- 6 large (10-inch) flour tortillas (look for “burrito-size”—I like Mission or La Banderita)
- Optional: extra cheese for topping, sour cream for serving
Ingredient Tips & Substitutions: If you want a vegetarian version, swap the chicken for an extra can of black beans or some sautéed mushrooms. For a gluten-free option, use certified gluten-free tortillas—just warm them up first so they don’t crack. I’ve also made these with brown rice, and honestly, it works great. Just make sure your rice isn’t too wet or the filling gets mushy. And if you’re not a cilantro person? Leave it out. No hard feelings.
Equipment Needed
You don’t need a fancy kitchen to make these burritos. Here’s what you’ll actually use:
- Large skillet: A 12-inch skillet is perfect for sautéing the filling. I use my old cast iron, but any non-stick or stainless steel pan works.
- Cutting board and sharp knife: For dicing the onion and mincing the garlic. A dull knife makes everything harder—trust me on this.
- Mixing spoon: A wooden spoon or silicone spatula works great.
- Measuring cups and spoons: For accuracy. I’ve eyeballed it before, and it’s never quite as good.
- Baking sheet: To hold the assembled burritos while you work, and for the optional final bake.
- Parchment paper or aluminum foil: For wrapping and freezing. Wax paper also works in a pinch.
- Freezer-safe bags or containers: I use quart-sized zip-top bags. They stack beautifully.
If you don’t have a large skillet, a Dutch oven or even a large saucepan will do the job. Just give yourself a little extra stirring room. And if you’re using rotisserie chicken (which I highly recommend), you don’t even need a separate pot for cooking the chicken. One skillet, one cutting board, and you’re in business.
Preparation Method
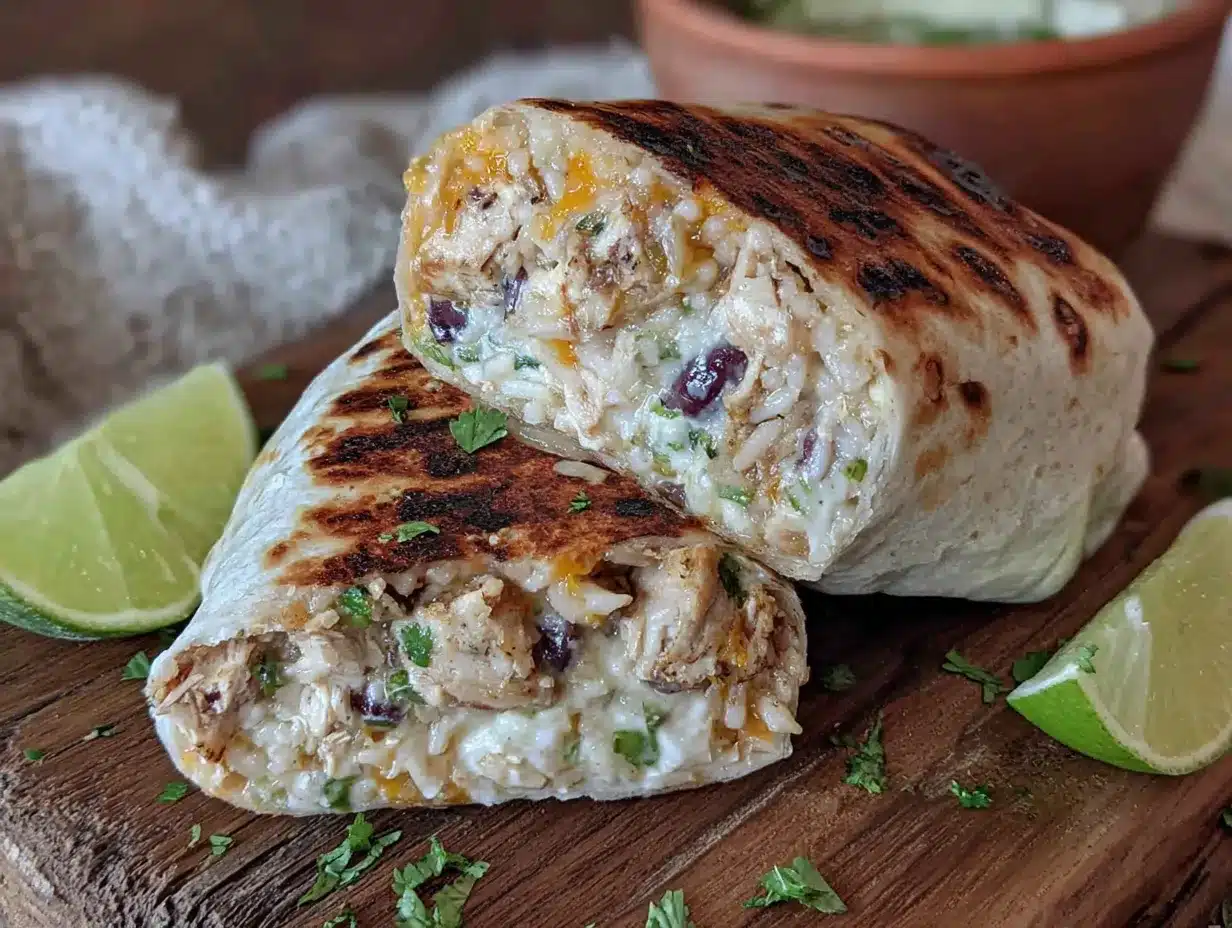
Alright, let’s get rolling—literally. Here’s how to make these freezer-friendly chicken and rice burritos step by step.
- Prep your ingredients: Dice the onion, mince the garlic, shred the chicken, and rinse the black beans. Having everything ready before you start cooking makes the whole process smoother. I learned this the hard way after burning garlic while hunting for the cumin.
- Cook the aromatics: Heat the olive oil in your large skillet over medium heat. Add the diced onion and cook for 3-4 minutes, until it’s soft and translucent. Stir occasionally so it doesn’t brown too much. You want it tender, not crispy.
- Add the garlic and spices: Toss in the minced garlic, cumin, chili powder, smoked paprika, salt, and pepper. Stir constantly for about 30 seconds—until the kitchen smells like a Mexican restaurant. Don’t walk away here; garlic burns fast.
- Build the filling: Add the shredded chicken, black beans, cooked rice, and diced green chiles to the skillet. Pour in the chicken broth and stir everything together. Let it cook for 3-4 minutes, stirring occasionally, until the broth is mostly absorbed and the filling is heated through. The mixture should be moist but not soupy.
- Finish with lime and cilantro: Remove the skillet from the heat. Squeeze in the lime juice and stir in the chopped cilantro. Taste it. Adjust the salt or spices if needed. This is your chance to make it perfect.
- Cool the filling slightly: Let the filling sit for 5-10 minutes. You don’t want it piping hot when you assemble the burritos, or the tortillas might get soggy. I usually spread it out on a plate to cool faster.
- Warm the tortillas: While the filling cools, warm your tortillas. You can do this in a dry skillet for about 15 seconds per side, or wrap them in a damp paper towel and microwave for 20-30 seconds. Warm tortillas are flexible and less likely to tear.
- Assemble the burritos: Lay a warm tortilla on a clean work surface. Spoon about ¾ cup of the filling into the center, leaving a 2-inch border on all sides. Sprinkle a little shredded cheese on top of the filling—this is the glue that holds everything together.
- Fold like a pro: Fold the sides of the tortilla inward over the filling. Then fold the bottom edge up and over the filling, tucking it tightly. Roll the burrito away from you, keeping it snug but not too tight. Place it seam-side down on your baking sheet. Repeat with the remaining tortillas and filling.
- Optional final touch: If you’re eating these right away, you can toast the burritos in a dry skillet for 1-2 minutes per side, until golden and crispy. For freezer burritos, skip this step—they’ll get crispy when you reheat them.
- Cool completely: Let the assembled burritos cool to room temperature on the baking sheet. This is crucial—if you wrap them while they’re warm, condensation will make the tortillas soggy.
- Wrap and freeze: Wrap each burrito tightly in parchment paper or aluminum foil. Place them in a freezer-safe bag or container, squeezing out as much air as possible. Label with the date and contents. They’ll keep for up to 3 months.
Cooking Tips & Techniques
I’ve made a lot of mistakes with these burritos so you don’t have to. Here’s what I’ve learned:
Don’t overfill the tortillas. I know it’s tempting to pack in as much filling as possible, but an overstuffed burrito is a leaky burrito. Stick to about ¾ cup of filling per large tortilla. Your future self will thank you when you’re not cleaning melted cheese off the bottom of the microwave.
Moisture management is key. The biggest enemy of a good freezer burrito is a soggy tortilla. That’s why you cool the filling before assembling, and why you let the assembled burritos cool completely before wrapping. If your filling looks too wet, cook it an extra minute or two to evaporate some of the liquid. Trust me, I’ve had burritos that turned into soup in the microwave. Not good.
Warm tortillas are your best friend. Cold tortillas crack. Warm tortillas bend. It’s that simple. If you’re using flour tortillas, 20 seconds in the microwave does the trick. Corn tortillas need a little more care—wrap them in a damp towel and steam them for 30 seconds.
Multitask like a pro. While the onion is cooking, shred your chicken. While the filling simmers, warm your tortillas. While the burritos cool, clean up your workspace. I’ve found that doing things in parallel makes the whole process feel less like a chore and more like a rhythm.
One more thing: I once forgot to add the cheese before rolling. Don’t be like me. The cheese acts as a barrier between the filling and the tortilla, helping prevent sogginess. Plus, it’s cheese. Why would you skip it?
Variations & Adaptations
This recipe is a canvas. Here are some of my favorite ways to switch it up:
- Spicy Southwest: Add ½ teaspoon of cayenne pepper or a diced jalapeño to the filling. Use pepper jack cheese instead of Mexican blend. The heat cuts through the richness beautifully.
- Vegetarian Black Bean & Sweet Potato: Swap the chicken for 1 cup of roasted sweet potato cubes. Add an extra can of black beans. The sweetness of the potato balances the smoky spices. I made this for a friend who’s vegetarian, and she said it was better than the original. I’m still processing that.
- Breakfast Burrito Style: Use the same filling but add scrambled eggs and a little extra cheese. Wrap and freeze as usual. Perfect for mornings when you need something more substantial than cereal.
- Low-Carb Option: Use low-carb tortillas or large lettuce wraps. The filling itself is already pretty balanced—just skip the rice or use cauliflower rice. I’ve tested this with cauliflower rice, and it works surprisingly well.
- Cheesy Enchilada Style: Instead of wrapping them as burritos, place them seam-side down in a baking dish, cover with enchilada sauce and more cheese, and bake at 375°F for 20 minutes. This turns them into something completely different and equally delicious.
Serving & Storage Suggestions
How to serve: Reheat your frozen burrito in the microwave for 2-3 minutes (unwrap it first!), or in a 350°F oven for 15-20 minutes for a crispier exterior. I like to serve them with a dollop of sour cream, a squeeze of fresh lime, and maybe some salsa or hot sauce on the side. A simple side salad with lime vinaigrette rounds out the meal.
How to store: Wrapped tightly in parchment or foil, these burritos will keep in the freezer for up to 3 months. I’ve pushed it to 4 months, and they were still fine—just a little less vibrant. Make sure they’re completely cool before wrapping to avoid ice crystals.
Reheating tips: If you’re reheating from frozen, unwrap the burrito and microwave it on a plate for 2 minutes. Flip it over and microwave for another 1-2 minutes. Let it rest for a minute before eating—the filling gets volcanic. For a crispy tortilla, finish it in a dry skillet for 1 minute per side after microwaving.
How flavors develop: Honestly, these burritos taste even better after a week in the freezer. The flavors meld together, the spices mellow out, and everything becomes more cohesive. It’s like the burrito version of soup the next day. Don’t ask me why—it just works.
Nutritional Information & Benefits
Here’s an estimated breakdown per burrito (based on the standard recipe with Mexican blend cheese and flour tortillas):
| Nutrient | Amount |
|---|---|
| Calories | ~450 |
| Protein | 28g |
| Fat | 16g |
| Carbohydrates | 45g |
| Fiber | 8g |
| Sugar | 3g |
| Sodium | 680mg |
These burritos are a solid source of lean protein from the chicken and fiber from the black beans and rice. The black beans also provide iron and folate, while the lime juice adds a little vitamin C. If you’re watching your sodium, use low-sodium broth and rinse your beans thoroughly. For a lower-carb option, swap the rice for cauliflower rice or omit it entirely. And if you’re dairy-sensitive, skip the cheese or use a dairy-free alternative—the burritos will still hold together.
Honestly, I feel good about eating these. They’re real food, made with real ingredients, and they keep me full for hours. That’s a win in my book.
Conclusion
These freezer-friendly chicken and rice burritos are the kind of recipe that makes your life easier without sacrificing flavor. They’re warm, comforting, and endlessly adaptable—exactly what you need on a busy weeknight or a lazy Sunday. I make a batch every couple of weeks, and it’s become one of those little rituals that makes me feel like I have my life together. Even on days when I definitely don’t.
I’d love to hear how yours turn out. Did you add extra spice? Swap in different beans? Forget the cheese like I did that one time? Drop a comment below and let me know. And if you share a photo on Pinterest, tag me—I want to see your beautiful burrito rolls. Happy cooking, friend. You’ve got this.
Frequently Asked Questions
Can I use brown rice instead of white rice?
Absolutely. Brown rice works great in this recipe. Just make sure it’s fully cooked and not too wet. I’ve used leftover brown rice many times, and the texture holds up well in the freezer.
How do I keep the tortillas from getting soggy?
Cool the filling completely before assembling, and let the rolled burritos cool to room temperature before wrapping. The cheese also helps create a barrier. If you’re still having trouble, try toasting the tortillas briefly in a dry skillet before filling them.
Can I make these dairy-free?
Yes. Omit the cheese or use a dairy-free shredded alternative. The burritos will still hold together, though they might be slightly less gooey. I’ve tested this with a cashew-based cheese, and it worked beautifully.
How long do these last in the freezer?
Properly wrapped, they’ll stay fresh for up to 3 months. I’ve kept them for 4 months with no issues, but the flavor and texture are best within the first three. Always label with the date so you know what’s what.
Can I reheat these in an air fryer?
Yes! Unwrap the frozen burrito and place it in the air fryer at 350°F for 8-10 minutes, flipping halfway through. The tortilla gets beautifully crispy. This is actually my preferred method now—it’s faster than the oven and gives better texture than the microwave.
Pin This Recipe!
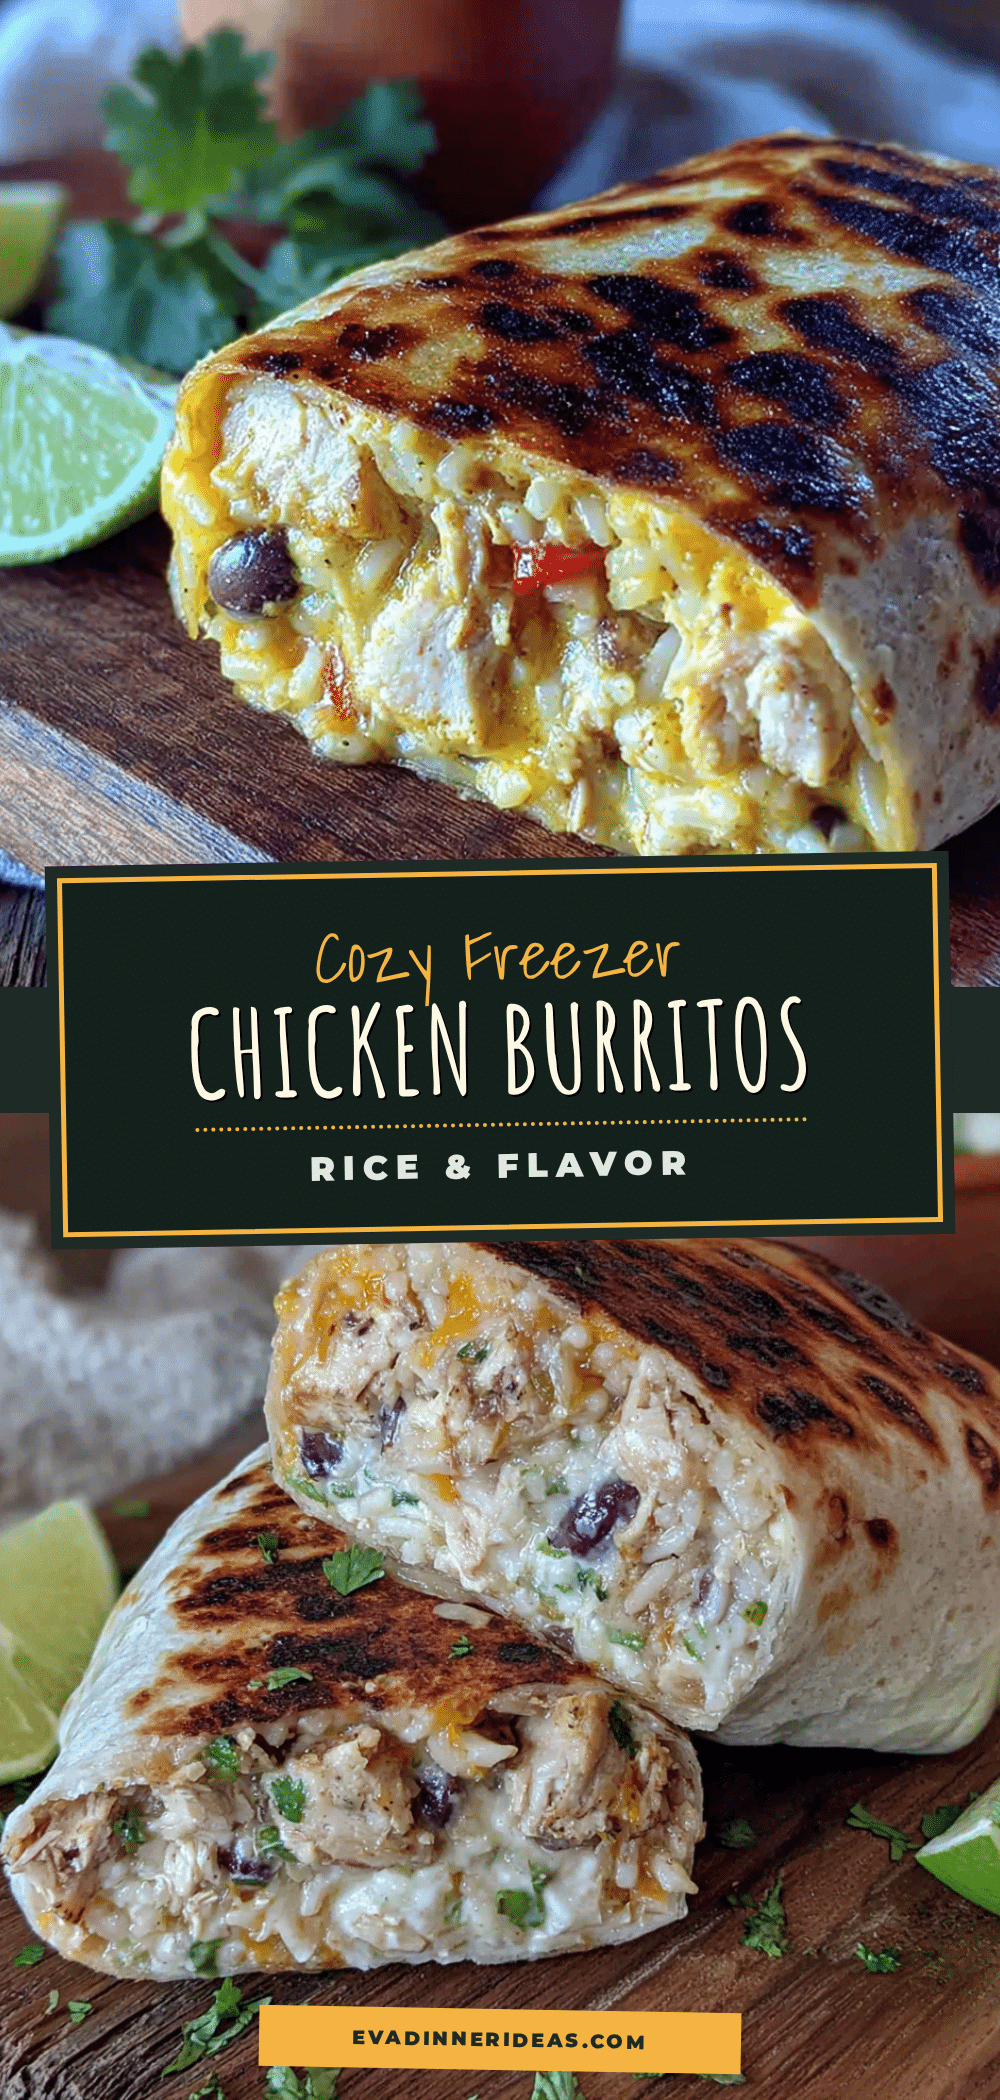
Easy Freezer-Friendly Chicken and Rice Burritos

These freezer-friendly chicken and rice burritos are warm, comforting, and endlessly adaptable—perfect for busy weeknights or lazy Sundays. Made with simple ingredients like shredded chicken, black beans, rice, and spices, they come together quickly and freeze beautifully for up to 3 months.
- Prep Time: 20 minutes
- Cook Time: 15 minutes
- Total Time: 35 minutes
- Yield: 6 servings 1x
- Category: Main Course
- Cuisine: Mexican
Ingredients
- 2 tablespoons olive oil
- 1 medium yellow onion, diced (about 1 cup)
- 3 cloves garlic, minced
- 1 pound cooked chicken, shredded (rotisserie chicken recommended)
- 1 can (15 ounces) black beans, drained and rinsed
- 1 cup cooked long-grain white rice
- 1 can (4 ounces) diced green chiles
- 1 teaspoon ground cumin
- 1 teaspoon chili powder
- ½ teaspoon smoked paprika
- ½ teaspoon salt, plus more to taste
- ¼ teaspoon black pepper
- ½ cup chicken broth
- Juice of 1 lime (about 2 tablespoons)
- 1 cup shredded Mexican blend cheese (or cheddar, Monterey Jack)
- ¼ cup chopped fresh cilantro (optional)
- 6 large (10-inch) flour tortillas (burrito-size)
- Optional: extra cheese for topping, sour cream for serving
Instructions
- Prep your ingredients: Dice the onion, mince the garlic, shred the chicken, and rinse the black beans.
- Cook the aromatics: Heat olive oil in a large skillet over medium heat. Add diced onion and cook for 3-4 minutes until soft and translucent.
- Add the garlic and spices: Add minced garlic, cumin, chili powder, smoked paprika, salt, and pepper. Stir constantly for about 30 seconds until fragrant.
- Build the filling: Add shredded chicken, black beans, cooked rice, and diced green chiles to the skillet. Pour in chicken broth and stir. Cook for 3-4 minutes until broth is mostly absorbed and filling is heated through.
- Finish with lime and cilantro: Remove from heat. Squeeze in lime juice and stir in cilantro. Taste and adjust seasoning if needed.
- Cool the filling slightly: Let filling sit for 5-10 minutes until no longer piping hot.
- Warm the tortillas: Warm tortillas in a dry skillet for 15 seconds per side, or microwave wrapped in a damp paper towel for 20-30 seconds.
- Assemble the burritos: Lay a warm tortilla on a clean surface. Spoon about ¾ cup filling into the center, leaving a 2-inch border. Sprinkle a little shredded cheese on top.
- Fold like a pro: Fold sides inward over filling. Fold bottom edge up and over filling, tucking tightly. Roll burrito away from you, keeping snug. Place seam-side down on a baking sheet. Repeat with remaining tortillas and filling.
- Optional final touch: For immediate eating, toast burritos in a dry skillet for 1-2 minutes per side until golden. For freezer burritos, skip this step.
- Cool completely: Let assembled burritos cool to room temperature on the baking sheet.
- Wrap and freeze: Wrap each burrito tightly in parchment paper or aluminum foil. Place in a freezer-safe bag or container, squeezing out air. Label with date. Keeps for up to 3 months.
Notes
Cool filling completely before assembling to prevent soggy tortillas. Cheese acts as a barrier between filling and tortilla. For best results, let burritos cool completely before wrapping to avoid ice crystals. Burritos taste even better after a week in the freezer as flavors meld together.
Nutrition
- Serving Size: 1 burrito
- Calories: 450
- Sugar: 3
- Sodium: 680
- Fat: 16
- Carbohydrates: 45
- Fiber: 8
- Protein: 28
Keywords: freezer burritos, chicken burritos, rice burritos, meal prep, freezer-friendly, easy dinner, make ahead


