My brother swore he hated sugar cookies. For as long as I can remember, he’d pass the plate at holiday parties, muttering something about them being “dry, boring, and a waste of a good butter supply.” He was a chocolate-or-nothing kind of guy, and I’d accepted this as an immutable fact of our family dynamic. Then, last October, I was testing a batch of these black cat cookies for a Halloween gathering. I had them cooling on the counter, the glossy black icing still a bit soft, and I walked back into the kitchen to find him. He was mid-bite, a guilty look on his face and a smudge of black icing on his nose. “These are different,” he mumbled, reaching for another. I didn’t say a word. I just smiled and let the cookies do the talking. Honestly, that moment was more satisfying than any compliment.
These cookies aren’t just a pretty face for your party table. They have a soft, tender center with the slightest crisp edge, and a deep, rich vanilla flavor that makes you forget every bland sugar cookie you’ve ever had. The secret is a little cream cheese in the dough—it gives them that perfect, almost melt-in-your-mouth texture. And let me tell you, when you pair that with a shiny, jet-black royal icing, you’ve got a showstopper that’s as fun to make as it is to eat. Maybe you’ve been on the hunt for a Halloween cookie that actually tastes as good as it looks. I promise, this is the one.
Why You’ll Love This Recipe
I’ve tested more sugar cookie recipes than I care to count, and this one came out on top for a reason. It’s the one I bring to every potluck and the one friends text me for every single October. Here’s why it works so well for a spooktacular party:
- Stays Soft for Days: The cream cheese in the dough keeps these cookies incredibly soft, even after you’ve iced them. You can bake them a day or two ahead of your party without worrying about them turning into hockey pucks.
- Simple Ingredients: No weird corn syrups or hard-to-find extracts. You probably have 90% of these items in your pantry right now. The black food coloring is the only special addition, and you can find it at any grocery store.
- Perfect for a Crowd: This recipe makes a generous batch, easily enough for a party of 10-12 people. You can even double it without any issues, which is a lifesaver when you’re hosting a big Halloween bash.
- Impressive but Easy: The black cat shape is instantly recognizable and incredibly cute. Your guests will think you spent hours, but the cutting and decorating are surprisingly straightforward. It’s a great way to look like a baking superstar without the stress.
- Unbelievably Delicious: Let’s be real—the taste is the star. The cookie itself is buttery and rich, and the royal icing sets up with a perfect, crackly snap. It’s the kind of cookie that makes people close their eyes after the first bite.
This recipe isn’t just another sugar cookie. It’s the one that proves a classic can be perfected. It’s the one that converts the skeptics (like my brother). And it’s the one that will make your Halloween party table the center of attention.
What Ingredients You Will Need
This recipe uses simple, wholesome ingredients to deliver a cookie that is both sturdy enough for decorating and tender enough to melt in your mouth. The magic is in the balance, and every ingredient plays a specific role.
- For the Cookies:
- 3 cups (375g) all-purpose flour, plus more for dusting
- 1 teaspoon baking powder
- 1/2 teaspoon salt
- 1 cup (226g) unsalted butter, softened (I always use Kerrygold for the best flavor)
- 1 1/2 cups (300g) granulated sugar
- 1 large egg, room temperature
- 2 teaspoons pure vanilla extract
- 2 ounces (57g) cream cheese, softened (this is the secret ingredient for texture!)
- For the Royal Icing:
- 4 cups (480g) powdered sugar, sifted
- 3 tablespoons meringue powder (I recommend Wilton brand for consistent results)
- 6-8 tablespoons warm water
- 1 teaspoon pure vanilla extract
- 1 tablespoon black gel food coloring (like Americolor Super Black—you need gel, not liquid, to avoid thinning the icing)
- 1 teaspoon cocoa powder (optional, helps deepen the black color without using as much dye)
- For Decoration:
- Orange or green sanding sugar (for the eyes)
- Piping bags or zip-top bags with a small corner snipped off
When you’re shopping for your ingredients, pay attention to the butter and cream cheese. They need to be truly softened—not melted, but soft enough to leave a dent when you press them with your finger. This is the most common mistake I see. If they’re too cold, your dough won’t come together properly. Also, for the black food coloring, don’t skimp. A good quality gel is a must. I’ve tried the liquid stuff before, and it just turns the icing a sad, murky gray.
Equipment Needed
You don’t need a professional bakery setup to make these cookies, but a few key tools will make your life a whole lot easier. I’ve learned the hard way that trying to improvise with certain things just leads to a sticky mess.
- Stand mixer or hand mixer (a stand mixer is a lifesaver for the royal icing)
- Large mixing bowls
- Whisk and rubber spatula
- Rolling pin (I prefer a French-style tapered pin, but any will do)
- Black cat cookie cutter (you can find these at craft stores or online—get a few sizes if you want a cat family!)
- Baking sheets (I use Nordic Ware aluminum sheets for even baking)
- Parchment paper or silicone baking mats
- Wire cooling racks
- Piping bags with small round tips (or just use zip-top bags)
- Toothpicks (for spreading icing and popping air bubbles)
If you don’t have a black cat cookie cutter, don’t panic. You can use any Halloween shape you like—pumpkins, ghosts, or even a simple circle. You could also freehand the shape with a sharp knife on a chilled piece of dough, but that takes a steady hand and a bit of patience. For the piping bags, I’ve found that the disposable plastic ones are the most affordable and work perfectly for this job.
Preparation Method
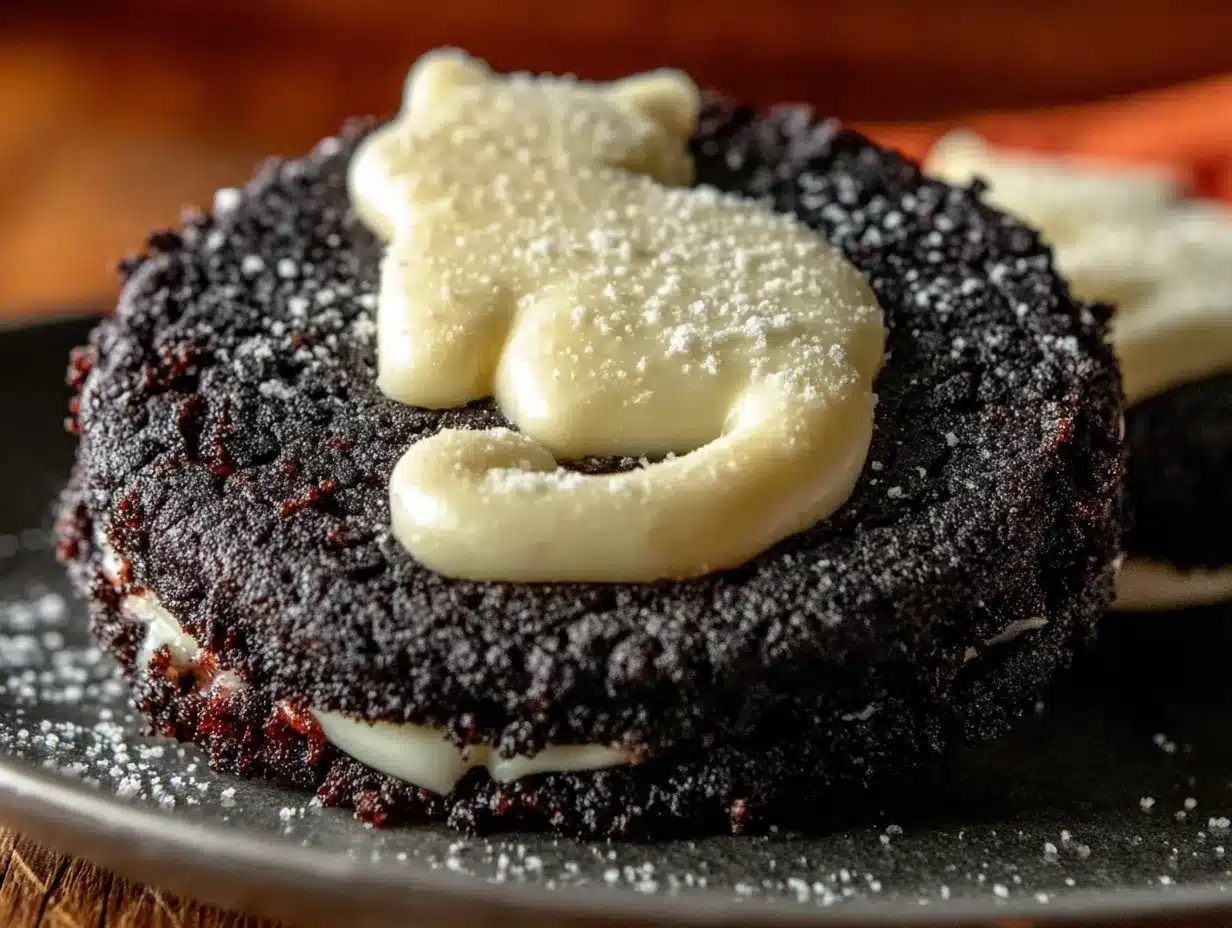
This process is broken down into two main parts: making the cookies and making the icing. I always do the cookies one day and the decorating the next, but you can absolutely do it all in one go if you have the time and energy.
Making the Cookie Dough
- Cream the butter and sugar. In the bowl of your stand mixer fitted with the paddle attachment, beat the softened butter and granulated sugar together on medium speed until light and fluffy, about 3-4 minutes. You’re looking for a pale, airy mixture. Scrape down the sides and bottom of the bowl with a spatula halfway through.
- Add the wet ingredients. Add the softened cream cheese and beat until combined, about 30 seconds. Then add the egg and vanilla extract. Mix on low until just incorporated—don’t overmix here. The mixture might look a little curdled, and that’s totally okay.
- Mix the dry ingredients. In a separate bowl, whisk together the flour, baking powder, and salt. With the mixer on low, gradually add the dry ingredients to the wet mixture. Mix until the dough just comes together. It will be soft and slightly sticky. This is where you need to stop the second it forms a ball.
- Chill the dough. Divide the dough in half, flatten each half into a disc about 1-inch thick, and wrap tightly in plastic wrap. Refrigerate for at least 2 hours, or overnight. This step is non-negotiable. Chilling the dough solidifies the butter, which prevents the cookies from spreading in the oven and losing their shape.
Baking the Cookies
- Preheat and prep. Preheat your oven to 350°F (175°C). Line your baking sheets with parchment paper or silicone mats.
- Roll and cut. On a lightly floured surface, roll out one disc of dough to about 1/4-inch thickness. Work quickly and dust your rolling pin with flour if it starts to stick. Use your black cat cookie cutter to cut out shapes. Re-roll the scraps once, then discard the rest (re-rolling too many times makes the dough tough).
- Bake. Place the cut-out cookies about 1 inch apart on the prepared baking sheets. Bake for 8-10 minutes, or until the edges are just barely starting to turn golden. The centers will still look soft and puffy. Don’t overbake! They will continue to set as they cool.
- Cool completely. Let the cookies cool on the baking sheet for 5 minutes, then transfer them to a wire rack to cool completely. They must be 100% cool before you even think about icing them.
Making and Applying the Royal Icing
- Make the icing. In the bowl of your stand mixer fitted with the whisk attachment, combine the sifted powdered sugar and meringue powder. Add 6 tablespoons of warm water and the vanilla extract. Mix on low until combined, then turn the speed to medium-high and beat for 5-7 minutes, until the icing is thick, glossy, and forms stiff peaks. It should hold its shape firmly.
- Color the icing. Add the black gel food coloring and the cocoa powder (if using). Mix on low until the color is fully incorporated. You’ll probably need to add more gel than you think—keep adding until you get a deep, true black. The icing will be very thick at this point.
- Thin the icing for flooding. This is the key step. Add the remaining 1-2 tablespoons of warm water, one teaspoon at a time, mixing on low after each addition. You’re looking for a “10-second consistency”—when you lift the whisk, the icing should drizzle back into the bowl and the surface should smooth out in about 10 seconds. It should flow like thick honey.
- Pipe the outline. Transfer a small amount of the thinned icing to a piping bag fitted with a small round tip (or just snip a tiny corner off a zip-top bag). Pipe an outline around the edge of each cookie.
- Flood the center. Use a toothpick to gently spread the icing from the outline into the center of the cookie. Pop any air bubbles with the toothpick. Let the icing set for at least 2 hours, or overnight.
- Add the eyes. Once the black icing is completely dry, pipe a tiny dot of leftover white royal icing for the eyes, and immediately sprinkle with orange or green sanding sugar.
Cooking Tips & Techniques
I’ve messed up this recipe more times than I’d like to admit. Let me save you from my own mistakes. The biggest one? Not chilling the dough long enough. I once tried to rush it, and my cats came out looking more like blobs than felines. Give it the full two hours, or even better, overnight.
Another common issue is the icing being too thin. When you add the water to thin it out, go slowly. It’s much easier to add more water than it is to fix a runny icing. If you accidentally make it too thin, just add a bit more sifted powdered sugar to bring it back. The “10-second rule” is your best friend here. Trust it.
For the black color, patience is key. The icing will look gray at first. Keep adding the gel food coloring a tiny bit at a time. I’ve found that letting the colored icing sit for about 30 minutes before using it helps the color deepen even more. And the cocoa powder trick? That’s a game-changer. It gives the black a richer, warmer tone without needing to use a whole bottle of dye.
Finally, when you’re flooding the cookies, don’t stress about perfection. The icing will settle and smooth out on its own. Just use your toothpick to guide it to the edges and pop any bubbles. The slight imperfections are what make them look homemade and charming.
Variations & Adaptations
This recipe is incredibly flexible, which is one of the reasons I love it. You can easily adapt it to suit different tastes or dietary needs.
- Gluten-Free Version: I’ve tested this with a good quality 1:1 gluten-free flour blend (like Bob’s Red Mill), and it works beautifully. Just note that the dough might be a little more fragile, so handle it gently. Add an extra tablespoon of flour if it feels too sticky.
- Different Shapes: Don’t have a cat cutter? No problem! Use a pumpkin, ghost, or bat cutter. You could even just make round cookies and decorate them like jack-o’-lanterns with orange and black icing. The cookie base is so good, it works with any shape.
- Spiced Version: For a fall twist, add 1 teaspoon of cinnamon, 1/2 teaspoon of ginger, and a pinch of nutmeg to the dry ingredients. It gives the cookies a warm, cozy flavor that’s perfect for a Halloween party. I did this last year, and they were a huge hit.
- Chocolate Cat Cookies: Swap out 1/4 cup of the all-purpose flour for 1/4 cup of unsweetened cocoa powder. This gives you a chocolate cookie base, which means you can skip the black food coloring in the icing and just use a simple white or orange glaze. It’s a darker, richer take on the classic.
Serving & Storage Suggestions
These cookies are best served at room temperature. I like to arrange them on a large platter or tiered stand for a party. The contrast of the black cats against a bright orange or white tablecloth is absolutely stunning. You can also wrap them individually in cellophane bags tied with orange ribbon for a perfect party favor.
For storage, place the fully decorated cookies in an airtight container at room temperature. They will stay fresh for up to a week. I’ve found that they actually get a little softer and more flavorful on the second day. You can also freeze the undecorated baked cookies for up to 3 months. Just thaw them at room temperature before icing.
If you’re serving them at a party, I recommend baking and icing them a day or two in advance. The flavors meld together beautifully, and it takes a huge load off your plate on the day of the event. Trust me, your future self will thank you.
Nutritional Information & Benefits
Let’s be honest—these are a treat, not a health food. But knowing what’s in them can help you plan your party menu. Here’s an approximate breakdown per cookie (based on a batch of 24):
| Nutrient | Amount Per Cookie |
|---|---|
| Calories | 180 |
| Total Fat | 8g |
| Saturated Fat | 5g |
| Cholesterol | 25mg |
| Sodium | 85mg |
| Total Carbohydrates | 26g |
| Sugars | 18g |
| Protein | 2g |
The cream cheese in the dough adds a small amount of calcium and protein, and the butter provides a dose of vitamin A. But the real benefit here is the joy of sharing something beautiful and delicious with the people you love. It’s about the smiles and the “wows” and the moment someone takes a bite and just closes their eyes for a second. That’s the real nutrition.
Conclusion
These Perfect Black Cat Sugar Cookies are more than just a Halloween dessert. They’re a memory in the making. They’re the cookie that will have your guests asking for the recipe before they’ve even finished their first one. They’re the project that will make you feel like a baking rockstar, even if you’re a beginner.
I encourage you to make them your own. Change the shape, try a different icing color, or add a sprinkle of edible glitter for extra sparkle. The best part of baking is the freedom to experiment. And honestly, the worst that can happen is you end up with a plate of delicious cookies that look a little wonky. That’s still a win in my book.
So go ahead, preheat that oven, and get ready to have some fun. I can’t wait to hear how they turn out for you. Drop a comment below and let me know—did your family love them? Did you try a fun variation? Share your spooky creations with me. Happy Halloween, and happy baking!
Frequently Asked Questions
Can I use liquid food coloring instead of gel?
I wouldn’t recommend it. Liquid food coloring will thin out your royal icing too much, making it runny and difficult to work with. Gel or paste food colors are concentrated and won’t affect the consistency of your icing.
My dough is too sticky to roll out. What should I do?
This usually means the dough wasn’t chilled long enough, or your kitchen is too warm. Pop it back in the fridge for another 30 minutes. You can also try rolling it out between two sheets of parchment paper to avoid adding too much extra flour.
How do I get the icing to be a true, deep black?
Use a high-quality black gel food coloring and don’t be shy with it. Add it a little at a time until you’re happy with the color. The cocoa powder trick also helps—it adds a dark base so you need less dye. Let the colored icing sit for 30 minutes before using it; the color will deepen as it rests.
Can I freeze the baked cookies before decorating them?
Absolutely! Bake the cookies, let them cool completely, and then place them in a single layer in a freezer-safe container. Separate layers with parchment paper. They’ll keep for up to 3 months. When you’re ready to decorate, just thaw them at room temperature.
Why did my cookies spread in the oven?
The most common reason is that the dough wasn’t cold enough when it went into the oven. Make sure you chill it for the full 2 hours. Also, check that your butter wasn’t too soft—it should be softened, not melted. And don’t skip lining your baking sheets with parchment paper, which can also cause spreading.
Pin This Recipe!
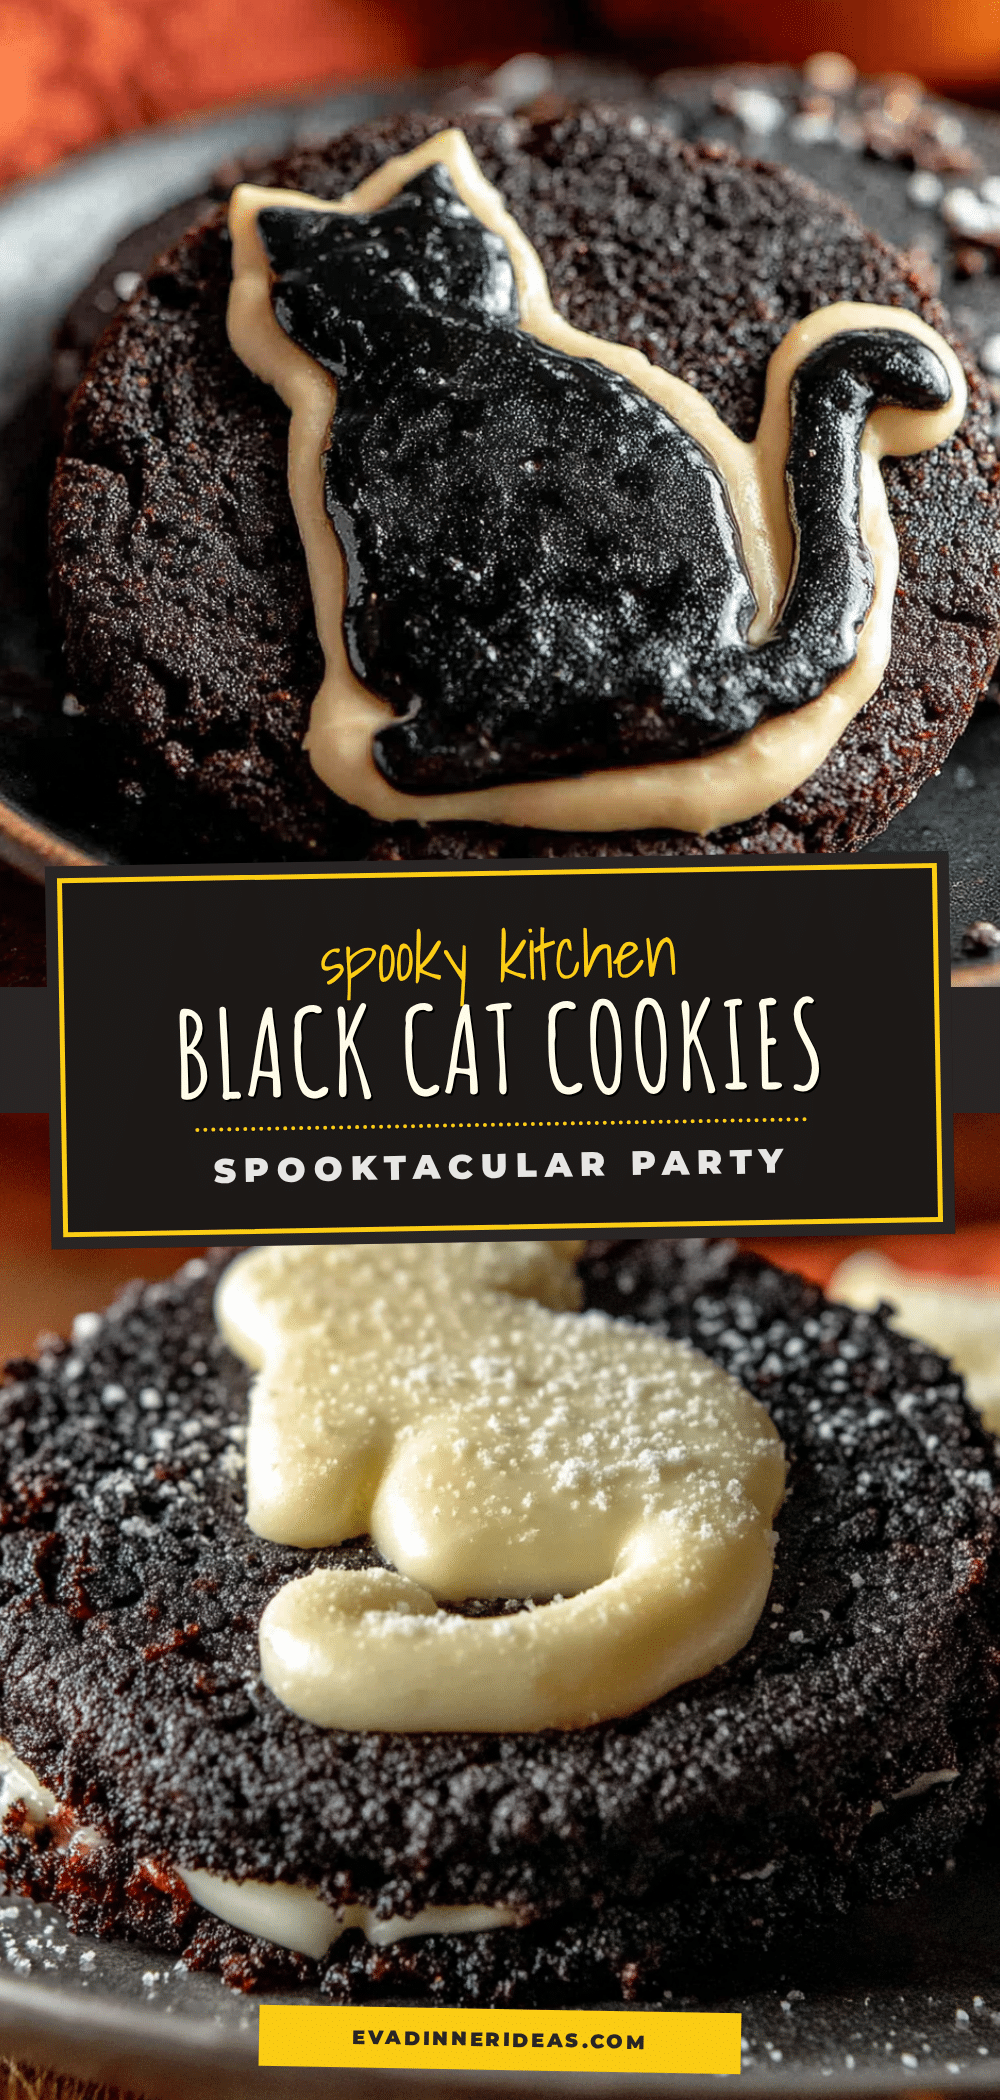
Perfect Black Cat Sugar Cookies for a Spooky Party

These black cat sugar cookies have a soft, tender center with a slight crisp edge and a deep, rich vanilla flavor. The secret is cream cheese in the dough, and they’re topped with a shiny, jet-black royal icing for a showstopping Halloween treat.
- Prep Time: 30 minutes
- Cook Time: 10 minutes
- Total Time: 2 hours 40 minutes (includes chilling and cooling)
- Yield: 24 servings 1x
- Category: Dessert
- Cuisine: American
Ingredients
- 3 cups (375g) all-purpose flour, plus more for dusting
- 1 teaspoon baking powder
- 1/2 teaspoon salt
- 1 cup (226g) unsalted butter, softened
- 1 1/2 cups (300g) granulated sugar
- 1 large egg, room temperature
- 2 teaspoons pure vanilla extract
- 2 ounces (57g) cream cheese, softened
- 4 cups (480g) powdered sugar, sifted
- 3 tablespoons meringue powder
- 6–8 tablespoons warm water
- 1 teaspoon pure vanilla extract
- 1 tablespoon black gel food coloring
- 1 teaspoon cocoa powder (optional)
- Orange or green sanding sugar (for eyes)
Instructions
- Cream the butter and sugar: In a stand mixer fitted with the paddle attachment, beat softened butter and granulated sugar on medium speed until light and fluffy, about 3-4 minutes. Scrape down the bowl halfway through.
- Add the wet ingredients: Add softened cream cheese and beat until combined, about 30 seconds. Then add egg and vanilla extract. Mix on low until just incorporated.
- Mix the dry ingredients: In a separate bowl, whisk together flour, baking powder, and salt. With mixer on low, gradually add dry ingredients to wet mixture. Mix until dough just comes together.
- Chill the dough: Divide dough in half, flatten into discs about 1-inch thick, wrap in plastic wrap, and refrigerate for at least 2 hours or overnight.
- Preheat and prep: Preheat oven to 350°F (175°C). Line baking sheets with parchment paper or silicone mats.
- Roll and cut: On a lightly floured surface, roll out one disc of dough to about 1/4-inch thickness. Use a black cat cookie cutter to cut out shapes. Re-roll scraps once, then discard.
- Bake: Place cut-out cookies about 1 inch apart on prepared baking sheets. Bake for 8-10 minutes, until edges are just barely starting to turn golden. Cool on baking sheet for 5 minutes, then transfer to wire rack to cool completely.
- Make the icing: In a stand mixer fitted with the whisk attachment, combine sifted powdered sugar and meringue powder. Add 6 tablespoons warm water and vanilla extract. Mix on low, then beat on medium-high for 5-7 minutes until thick, glossy, and forms stiff peaks.
- Color the icing: Add black gel food coloring and cocoa powder (if using). Mix on low until fully incorporated. Add more gel as needed for deep black color.
- Thin the icing for flooding: Add remaining 1-2 tablespoons warm water, one teaspoon at a time, mixing on low after each addition, until icing reaches a ’10-second consistency’.
- Pipe the outline: Transfer a small amount of thinned icing to a piping bag fitted with a small round tip. Pipe an outline around the edge of each cookie.
- Flood the center: Use a toothpick to gently spread icing from outline into center of cookie. Pop any air bubbles. Let icing set for at least 2 hours or overnight.
- Add the eyes: Once black icing is completely dry, pipe a tiny dot of leftover white royal icing for eyes and immediately sprinkle with orange or green sanding sugar.
Notes
Chill dough for at least 2 hours to prevent spreading. Use gel food coloring for deep black color. Let colored icing sit for 30 minutes to deepen color. Cookies stay fresh for up to a week in an airtight container at room temperature. Undecorated baked cookies can be frozen for up to 3 months.
Nutrition
- Serving Size: 1 cookie
- Calories: 180
- Sugar: 18
- Sodium: 85
- Fat: 8
- Saturated Fat: 5
- Carbohydrates: 26
- Protein: 2
Keywords: black cat cookies, Halloween cookies, sugar cookies, royal icing, spooky party, cream cheese cookies


