There used to be a tiny bakery tucked between a dry cleaner and a dollar store on the corner of Elm and 4th that made the most ridiculous Halloween cookies I have ever seen. When they closed three years ago—just a note on the door saying “Thanks for the memories”—I honestly felt a little pang in my chest. Their window display every October was pure magic, and the thing I obsessed over most wasn’t even a cookie. It was these long, twisted pretzel rods dipped in green chocolate, topped with a slivered almond fingernail, and dusted with red sugar that looked alarmingly like dried blood.
After at least six tries—some where the “fingers” looked more like green sausages, others where the almond kept sliding off like a bad toupee—I finally cracked the code. Let me tell you, the first batch that actually looked creepy instead of comical made me do a little dance in my kitchen. My kids came running in, took one look, and both screamed and laughed at the same time. That’s when I knew I had it right.
These Spooky Witch Finger Pretzel Rods are exactly what a Halloween treat should be: weird enough to impress the kids, simple enough that you won’t lose your mind making them, and just creepy enough that guests will do a double-take before taking a bite. The best part? They come together in under twenty minutes, which means more time for carving pumpkins or watching Hocus Pocus for the millionth time. Maybe you’ve been there—staring at a Pinterest board full of elaborate Halloween desserts that require piping bags and food coloring and three hours of your life you’ll never get back. This isn’t that. This is the treat that actually delivers.
Why You’ll Love This Recipe
I have tested this recipe more times than I care to admit, and let me tell you, these witch finger pretzels have earned their spot in our annual Halloween rotation. Here is why they work so well for busy families like ours.
- Quick & Easy: From start to finish, you are looking at about fifteen minutes of active work. The chocolate sets in the fridge in under ten minutes, so you can whip up a batch while the kids are still arguing over costumes.
- Simple Ingredients: You probably already have pretzel rods in your pantry, and the rest is just candy melts and almonds. No specialty baking supply store required.
- Perfect for Halloween Parties: These little guys are the talk of every classroom party, neighborhood gathering, or family movie night. They look fancy but cost pennies to make.
- Crowd-Pleaser: My picky nephew who refuses to eat anything “weird” ate three of these before realizing they were supposed to be creepy. The salty-sweet combo wins over even the skeptics.
- Unbelievably Delicious: There is something about that crunchy pretzel rod coated in smooth green chocolate with a hint of almond that just works. It is comfort food with a spooky twist.
What makes these different from every other Halloween treat you have seen? It is the texture, honestly. The snap of the pretzel, the creamy chocolate, the crunch of the almond nail—it all comes together in a way that feels intentional, not thrown together. I have tried the versions with white chocolate and food coloring, and they just don’t hit the same. Using pre-colored green candy melts gives you that perfect witchy shade without the streaky mess of homemade coloring.
This is the kind of recipe that makes you feel like a Halloween hero without the stress. Your kids will think you spent hours on them. Your friends will ask for the recipe. And you will get to enjoy that warm glow of having pulled off something genuinely fun without losing your cool.
What Ingredients You Will Need
This recipe uses simple, straightforward ingredients that come together fast. I have tested several brands and combinations, so let me walk you through what works best so you do not waste time or money on duds.
- Pretzel rods (one 12-ounce package, about 24 rods): Look for thick, sturdy rods that won’t snap easily when you dip them. I prefer the Snyder’s of Hanover brand because they are consistently straight and have a nice salt crunch. Avoid the thin, fragile sticks—they will break apart when you try to coat them.
- Green candy melts (12 ounces): These are your best friend for this project. Wilton makes a reliable green candy melt that melts smooth and sets hard with a nice shine. Do not substitute with white chocolate and green food coloring unless you are experienced with tempering chocolate—the texture will be off and the color will look muddy. Trust me on this one, I learned the hard way.
- Slivered almonds (about ½ cup): You want the whole slivered almonds, not the sliced ones. The slivered shape looks exactly like a witch’s fingernail when placed at the tip. I like the Blue Diamond brand for consistent size and shape. Pick through the bag and choose the nicest-looking pieces—you want them to be relatively uniform.
- Red sanding sugar or red decorating gel (2 tablespoons): This is for the “blood” effect at the base of the nail. Sanding sugar gives a nice sparkly look that catches the light, while decorating gel looks more realistic and gooey. I actually prefer the sanding sugar because it stays put and does not smear when you package the pretzels. Wilton makes a great red sanding sugar that is available at most craft stores.
- Coconut oil or shortening (1 teaspoon, optional): If your candy melts seem thick when melted, a tiny bit of coconut oil will thin them out to a perfect dipping consistency. Do not add too much or the chocolate will be too thin and run off the pretzels.
Substitution guidance: If you cannot find green candy melts, you can use white chocolate melting wafers with green gel food coloring. Just be aware that the color may be slightly different and you will need to work quickly before the chocolate seizes. For a nut-free version, skip the almonds and use a small dot of white chocolate at the tip to create a rounded fingernail shape. The look will be different but still creepy!
Equipment Needed
You do not need a fancy kitchen setup for these witch finger pretzels. Here is what I use and what you can substitute if you are improvising.
- Microwave-safe bowl or double boiler: I use a glass measuring cup for melting the candy melts because the spout makes dipping so much easier. A small, deep bowl works fine too. If you are using a double boiler, make sure the water does not touch the bottom of the top bowl.
- Baking sheet lined with parchment paper or wax paper: This is where your finished pretzels will set. Parchment paper is my preference because the pretzels release easily. Wax paper works but can sometimes stick in humid weather.
- Small offset spatula or butter knife: You will use this to spread the chocolate evenly if needed. A butter knife works perfectly fine.
- Tweezers (optional but helpful): For placing those almond “nails” precisely. I have big fingers, so tweezers save me from smudging the chocolate. Not necessary, but nice to have.
- Piping bag or small zip-top bag: For adding the red sugar or gel at the base. A zip-top bag with the tiniest corner snipped off works like a charm.
I bought a cheap set of tweezers from the dollar store specifically for baking projects, and honestly, they have saved me so many times. Worth the dollar investment if you make a lot of decorated treats.
Preparation Method
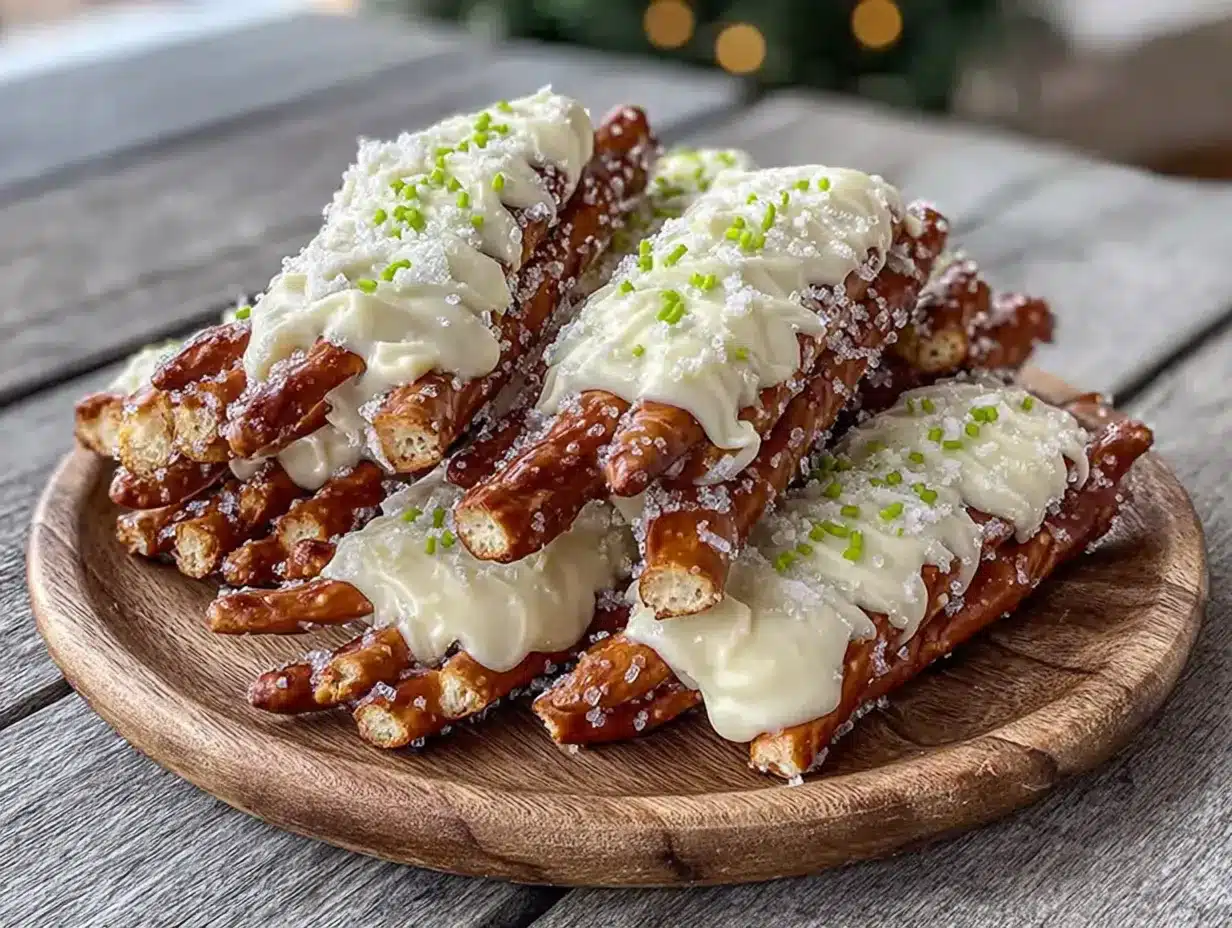
Alright, let us get to the fun part. Here is exactly how to make these spooky witch finger pretzels without losing your mind or making a giant mess.
- Set up your workspace. Line a large baking sheet with parchment paper and set it aside. Lay out your pretzel rods, slivered almonds, and red sanding sugar so everything is within arm’s reach. Trust me, once you start dipping, you do not want to be hunting for ingredients with chocolate-covered hands.
- Melt the green candy melts. Place the candy melts in a microwave-safe bowl. Microwave in 30-second intervals at 50% power, stirring thoroughly between each interval. It usually takes about 90 seconds total. The key here is to stop heating while there are still a few lumps—stirring will melt the rest and prevent overheating. If the mixture looks too thick, stir in ½ teaspoon of coconut oil until smooth.
- Test your dipping consistency. Dip one pretzel rod about two-thirds of the way into the melted chocolate. Lift it out and let the excess drip back into the bowl. The chocolate should coat the pretzel evenly without pooling at the bottom. If it is too thick, add a tiny bit more coconut oil. If it is too thin, let it sit for a minute to cool and thicken slightly.
- Dip each pretzel rod. Working one at a time, dip each pretzel rod into the melted chocolate, leaving about an inch of bare pretzel at the top (this will be the “wrist” area). Gently tap the pretzel against the side of the bowl to remove excess chocolate. You want a smooth, even coating—not too thick or it will look lumpy.
- Place on the baking sheet. Lay the dipped pretzel on the parchment-lined baking sheet. Leave a little space between each one so they do not touch. Work quickly but carefully—the chocolate will start to set after a few minutes.
- Add the fingernail. While the chocolate is still wet, press a slivered almond onto the tip of each pretzel rod. The pointed end of the almond should face outward, like a fingernail. Press gently so it sticks but do not push it all the way through the chocolate. If the chocolate has started to set, you can dip the almond in the melted chocolate first to help it adhere.
- Create the “blood” detail. Using a small piping bag or zip-top bag with a tiny corner snipped off, pipe a small dot of red sanding sugar or decorating gel at the base of each almond “nail.” This creates the effect of a bloody cuticle—gross but perfect for Halloween. If using sanding sugar, sprinkle it on while the chocolate is still wet so it sticks.
- Add wrinkles and knuckles (optional but awesome). For extra creepy effect, use a toothpick to drag a few lines in the wet chocolate along the length of the pretzel. These will look like wrinkles and knuckles on a witch’s finger. I do three or four lines on each pretzel, spaced unevenly, for a more organic look.
- Let them set completely. Place the baking sheet in the refrigerator for 10-15 minutes, or until the chocolate is completely hard and firm to the touch. Do not skip this step—the chocolate needs to set fully or the pretzels will be sticky and messy to handle.
- Serve or store. Once set, carefully remove the pretzels from the parchment paper. Arrange them on a platter with the “fingers” pointing every which way for maximum creep factor. You can also stand them up in a jar or vase filled with candy corn for a fun centerpiece.
Cooking Tips & Techniques
After making these witch finger pretzels more times than I care to count, I have learned a few tricks that make the process smoother and the results more impressive. Here is what I wish someone had told me before my first attempt.
Keep your chocolate at the right temperature. Candy melts are finicky creatures. If they get too hot, they will seize up into a clumpy mess that is impossible to work with. Always melt at 50% power and stir frequently. If your chocolate does seize, you can try adding a teaspoon of coconut oil and stirring vigorously, but honestly, it is usually better to start fresh. I keep an extra bag of candy melts in my pantry just in case.
Work in small batches. Do not try to dip all 24 pretzels at once. Melt half the candy melts first, dip 12 pretzels, then melt the remaining half. This keeps the chocolate at the perfect consistency and prevents it from cooling and thickening before you are done. I learned this the hard way when my last six pretzels came out looking lumpy and sad.
Use the fridge, not the freezer. I know it is tempting to speed things up by popping the pretzels in the freezer, but do not do it. The rapid temperature change can cause the chocolate to bloom—those white streaks that look like mold. The fridge gives you a nice, even set without any weird discoloration.
Keep your hands clean. Chocolate-covered fingerprints on the pretzels ruin the illusion. If you need to adjust an almond or smooth out a spot, use a toothpick or the tweezers. I keep a damp paper towel nearby to wipe my fingers between each pretzel.
Make extra for snacking. These pretzels are dangerously addictive. I always make a double batch because the first batch disappears before I can even arrange them on the platter. My kids have learned to guard the baking sheet like tiny dragons.
Variations & Adaptations
One of the best things about this recipe is how easy it is to customize. Here are some variations I have tried over the years, each with its own creepy charm.
Monster Fingers: Swap the green candy melts for purple or orange, and use a different colored sanding sugar at the base. I made a batch of purple monster fingers for my son’s birthday party and the kids went absolutely wild. The color combination looks like something from a cartoon.
Zombie Fingers: Use gray or white candy melts and add a few drops of black food coloring to create a mottled, undead look. Instead of red sanding sugar, use a dab of black decorating gel to look like dirt under the nails. These are perfect for a zombie-themed party or a “Walking Dead” marathon.
Nut-Free Version: If you are serving these at a school party or have allergy concerns, skip the almonds entirely. Instead, use a small dot of white chocolate at the tip and drag it slightly to create a rounded nail shape. The look is different but still creepy—like a witch who forgot to do her nails.
Spicy Fingers: For a grown-up twist, mix a pinch of cayenne pepper or chili powder into the melted chocolate before dipping. The heat sneaks up on you, which is perfect for a Halloween treat. I made these for a Halloween party and they were a hit with the adults who wanted something a little different.
Chocolate-Dipped Base: Instead of leaving the top inch of pretzel bare, dip the entire rod in chocolate and then roll the “wrist” area in crushed Oreos or graham cracker crumbs. This looks like dirt or grave dust and adds a nice textural contrast. My husband’s favorite variation by far.
Serving & Storage Suggestions
These witch finger pretzels are at their best when served chilled, right out of the fridge. The cold chocolate has a satisfying snap that contrasts perfectly with the crunchy pretzel. I like to arrange them on a black platter or a dark-colored plate so the green fingers really pop. For extra drama, scatter some candy eyeballs or gummy worms around the base.
If you are serving these at a party, consider standing them up in a tall glass jar or a clean flower pot filled with candy corn or black jelly beans. They look like a bouquet of witch fingers—creepy and wonderful. I did this for our neighborhood Halloween block party and people could not stop taking pictures.
Storage: These pretzels keep beautifully in an airtight container in the refrigerator for up to two weeks. Layer them between sheets of parchment paper to prevent them from sticking together. Do not store them at room temperature if your house is warm—the chocolate will soften and the almonds may slide off.
Freezing: You can freeze these for up to three months. Place them in a single layer on a baking sheet and freeze until solid, then transfer to a freezer-safe container. Thaw in the refrigerator overnight before serving. The texture holds up surprisingly well.
Transporting: If you are bringing these to a party, pack them in a single layer in a sturdy container with parchment paper between layers. Keep them cool with an ice pack if the weather is warm. I once made the mistake of transporting them in a warm car and arrived with a container full of green puddles. Learn from my failure!
Nutritional Information & Benefits
Let us be real—these are a treat, not a health food. But here is what you are looking at per pretzel rod, based on my best estimates using standard ingredients.
| Nutrient | Amount per pretzel rod |
|---|---|
| Calories | 120-140 |
| Total Fat | 6-8g |
| Saturated Fat | 4-5g |
| Carbohydrates | 16-18g |
| Sugar | 10-12g |
| Protein | 2-3g |
On the plus side, the almonds provide a small amount of healthy fats, vitamin E, and magnesium. The pretzel rod itself is relatively low in sugar compared to a cookie or cupcake. And honestly, the portion control is built right in—each pretzel is one serving, so it is easy to know exactly how many you have eaten. Not that I am counting.
Dietary considerations: These are not gluten-free unless you use gluten-free pretzel rods. They contain dairy from the candy melts (check the label for milk solids). For a vegan version, look for vegan candy melts and skip the almond if you have a tree nut allergy. The recipe is egg-free and peanut-free as written, but always check your ingredient labels if serving to people with allergies.
Conclusion
These Spooky Witch Finger Pretzel Rods have become a non-negotiable part of our Halloween tradition, and I cannot imagine October without them. They are the perfect balance of creepy and cute, simple enough for a weeknight project but impressive enough for a party. Every time I make them, I think about that little bakery on Elm Street and how their magic inspired me to create something of my own.
I would love to hear how your witch fingers turn out! Did you try a different color combination? Did your kids help with the dipping? Did anyone scream when they saw them? Drop a comment below and share your Halloween creations—I read every single one and I love seeing your photos. And if you make these for a party, tag me so I can cheer you on from my kitchen.
Go ahead, give these a try. They are weird, they are wonderful, and they are exactly what Halloween should taste like. Happy haunting, friends!
Frequently Asked Questions
Can I use white chocolate instead of candy melts?
You can, but I do not recommend it unless you are comfortable with tempering chocolate. White chocolate is more finicky and can seize or bloom easily. Candy melts are formulated to melt smoothly and set hard without any special techniques. If you do use white chocolate, add a bit of coconut oil and green gel food coloring, and work quickly.
How far in advance can I make these?
You can make these up to two weeks ahead if stored properly in an airtight container in the refrigerator. They also freeze beautifully for up to three months. Just make sure they are completely set before you stack them, and use parchment paper between layers to prevent sticking.
My almonds keep sliding off. What am I doing wrong?
This usually happens when the chocolate has started to set before you add the almond. Make sure to press the almond into the chocolate while it is still wet. If the chocolate has thickened, dip the almond in the melted chocolate first, then press it onto the pretzel. A tiny dab of chocolate acts like glue.
Can I make these without a microwave?
Absolutely! Use a double boiler instead. Fill a small saucepan with an inch of water and bring it to a simmer. Place a heat-safe bowl on top, making sure the bottom does not touch the water. Add the candy melts and stir until smooth. The process takes a few minutes longer but works perfectly.
My kids want to help. What parts can they do?
Kids can absolutely help with these! They can arrange the pretzels on the baking sheet, place the almond “nails” (with tweezers for little fingers), and sprinkle the red sanding sugar. Just handle the melting and dipping yourself since the chocolate gets hot. My kids have been “nail placer” and “sugar sprinkler” since they were old enough to follow directions, and they take their jobs very seriously.
Pin This Recipe!
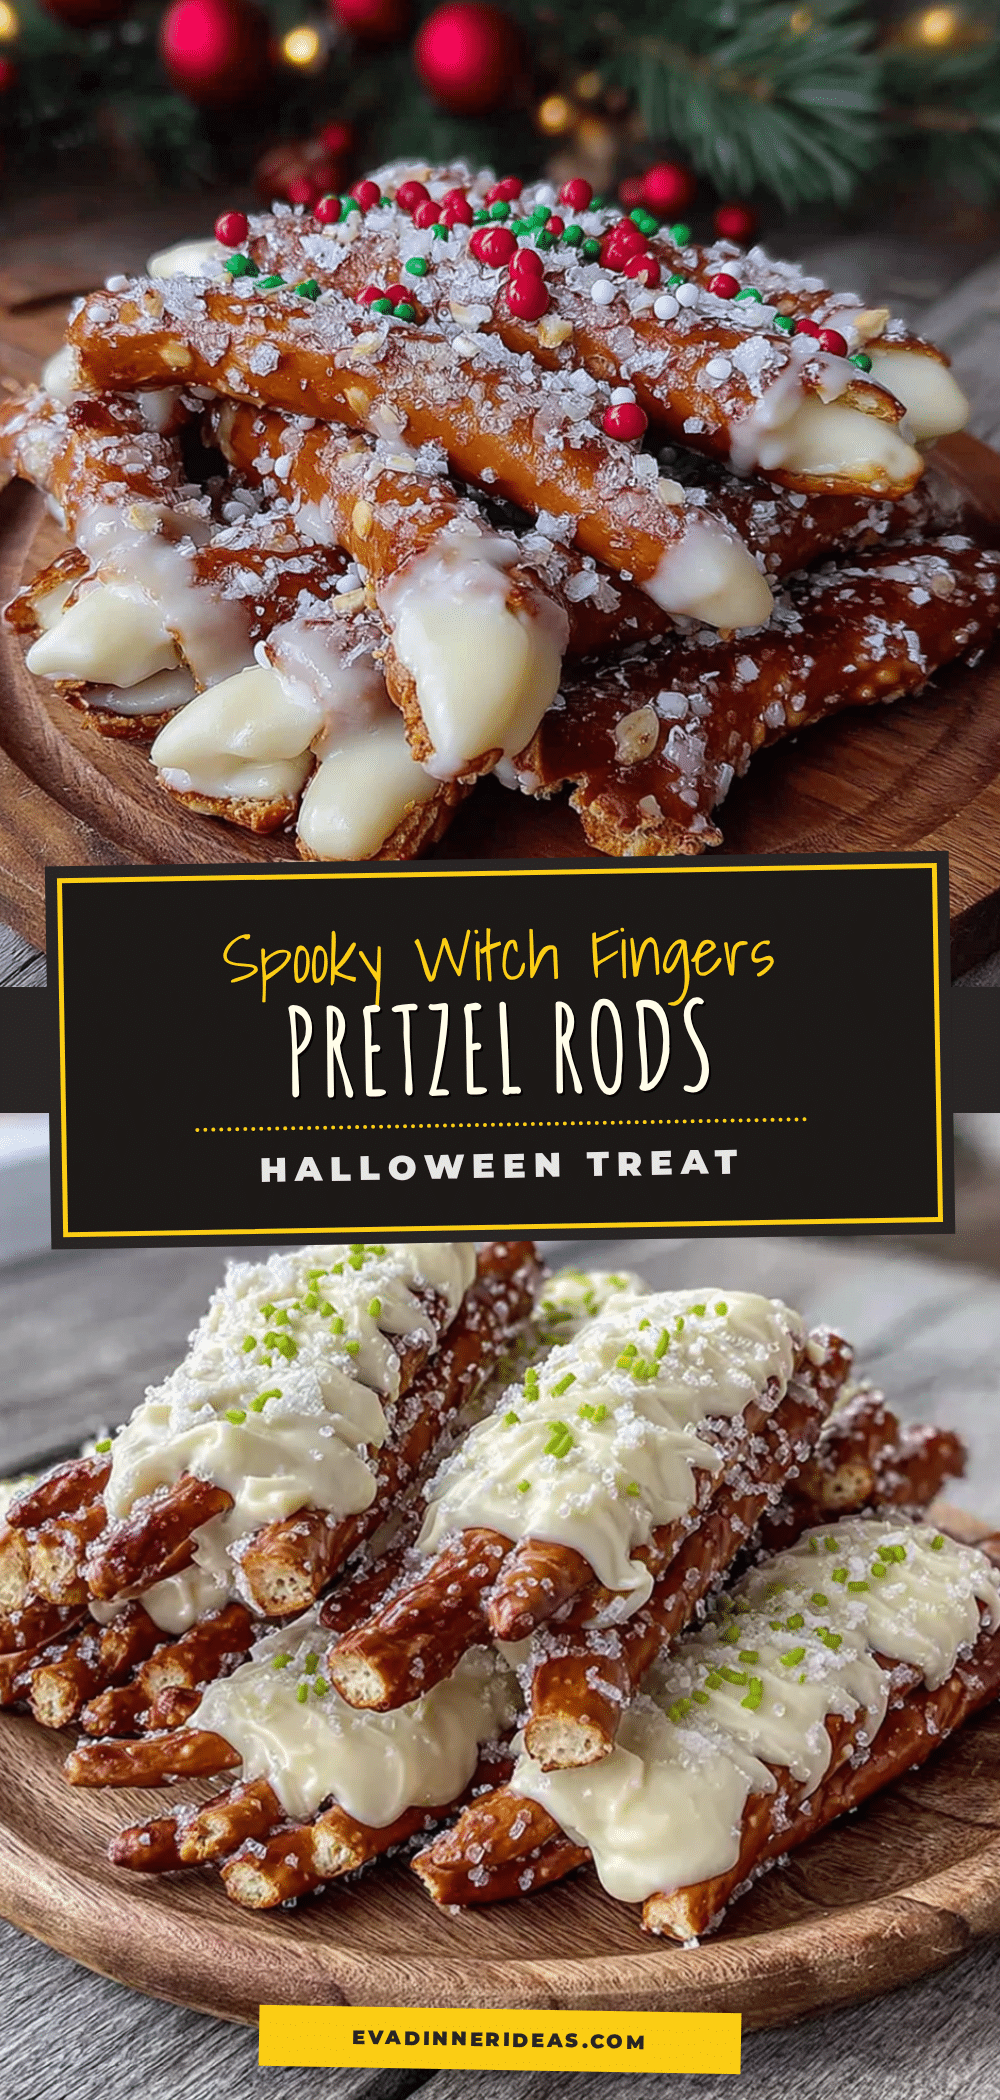
Spooky Witch Finger Pretzel Rods: Easy Halloween Treat

These spooky witch finger pretzel rods are a quick and easy Halloween treat that combines crunchy pretzels, smooth green chocolate, and almond fingernails for a delightfully creepy snack.
- Prep Time: 15 minutes
- Cook Time: 0 minutes
- Total Time: 25 minutes
- Yield: 24 servings 1x
- Category: Dessert
- Cuisine: American
Ingredients
- 1 (12-ounce) package pretzel rods (about 24 rods)
- 12 ounces green candy melts
- ½ cup slivered almonds
- 2 tablespoons red sanding sugar or red decorating gel
- 1 teaspoon coconut oil or shortening (optional)
Instructions
- Line a large baking sheet with parchment paper. Lay out pretzel rods, slivered almonds, and red sanding sugar.
- Place green candy melts in a microwave-safe bowl. Microwave in 30-second intervals at 50% power, stirring thoroughly between each interval, until smooth (about 90 seconds total). If too thick, stir in ½ teaspoon coconut oil.
- Test dipping consistency by dipping one pretzel rod about two-thirds of the way into the melted chocolate. Let excess drip off.
- Working one at a time, dip each pretzel rod into the melted chocolate, leaving about an inch of bare pretzel at the top (the ‘wrist’ area). Tap gently to remove excess chocolate.
- Place dipped pretzel on the parchment-lined baking sheet. Leave space between each.
- While chocolate is still wet, press a slivered almond onto the tip of each pretzel rod, pointed end outward, to create a fingernail.
- Using a small piping bag or zip-top bag with a tiny corner snipped off, pipe a small dot of red sanding sugar or decorating gel at the base of each almond ‘nail’ for a bloody cuticle effect.
- Optional: Use a toothpick to drag a few lines in the wet chocolate along the length of the pretzel to create wrinkles and knuckles.
- Place baking sheet in the refrigerator for 10-15 minutes, or until chocolate is completely hard and firm.
- Carefully remove pretzels from parchment. Serve chilled or store in an airtight container in the refrigerator.
Notes
Keep chocolate at the right temperature; melt at 50% power. Work in small batches to maintain consistency. Use the fridge, not the freezer, to set chocolate. Keep hands clean to avoid fingerprints. Make extra for snacking.
Nutrition
- Serving Size: 1 pretzel rod
- Calories: 130
- Sugar: 11
- Sodium: 200
- Fat: 7
- Saturated Fat: 4.5
- Carbohydrates: 17
- Fiber: 1
- Protein: 2.5
Keywords: Halloween treats, witch finger pretzels, easy Halloween dessert, pretzel rods, green candy melts, spooky snacks


