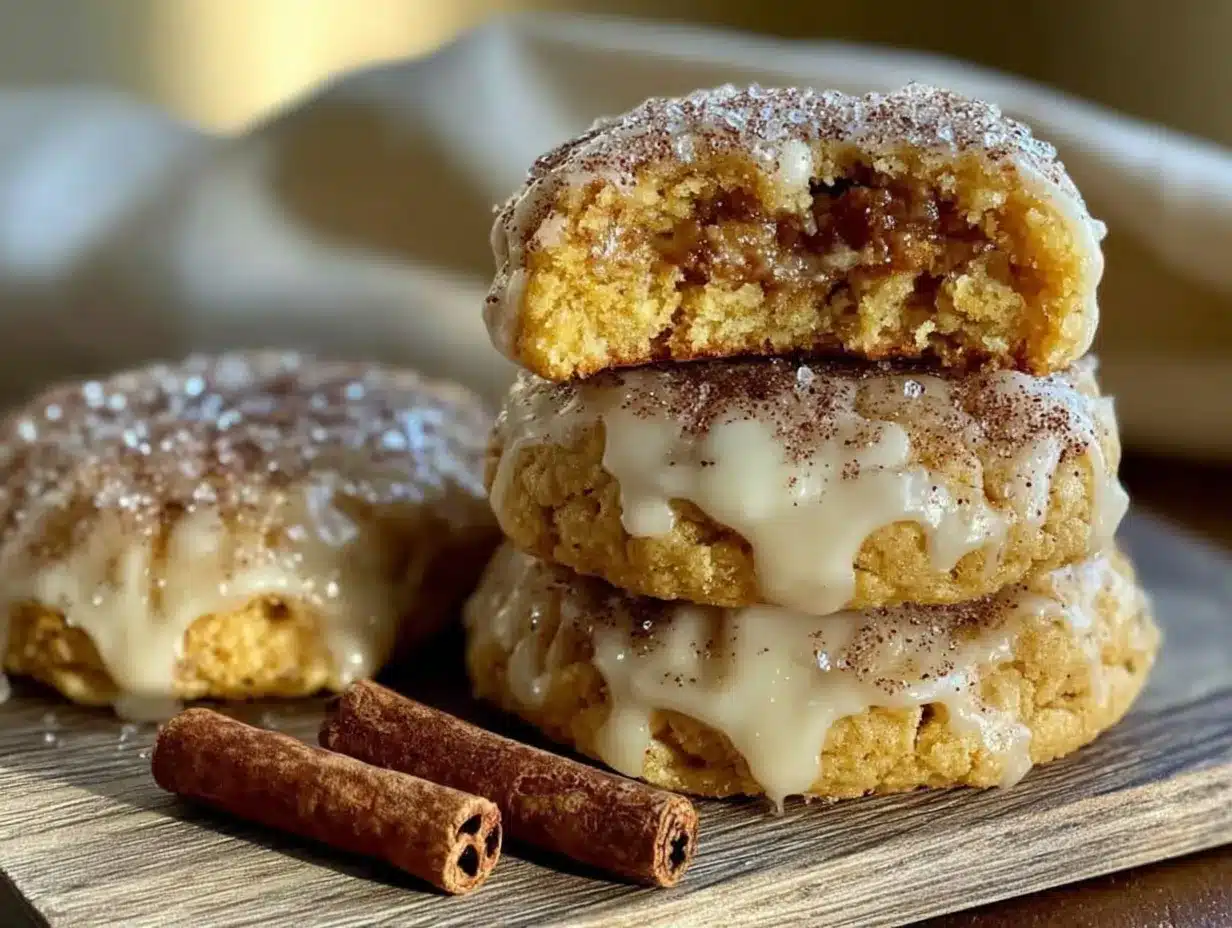
There used to be this little bakery tucked behind the old train station in my town that made the most incredible apple cider cookies every fall. When they closed their doors three years ago, I actually stood outside on the sidewalk feeling genuinely lost. I know that sounds dramatic, but those cookies were a seasonal ritual for my family. My kids would get off the school bus on crisp October afternoons and practically drag me there. The owner, a sweet older woman named Margaret, would always have a warm sample waiting for them. After she retired and the bakery became a dry cleaner, I spent an embarrassing amount of time trying to recreate that cookie. After twelve tries — twelve, let me tell you, my family was getting tired of being taste testers — I finally cracked the code. These Kid-Approved Iced Apple Cider Snickerdoodle Cookies are the exact replica of Margaret’s magic, and honestly, they might even be a little better.
The first few batches were disasters. Too dry, too cakey, not enough apple flavor. I tried using apple juice, apple butter, even chopped apples. Nothing worked until I figured out the secret was reducing the apple cider first. That one step changed everything. The flavor concentrated, the texture improved, and suddenly I had my family begging for cookies again. My youngest, who usually picks around anything that isn’t a plain chocolate chip cookie, ate four in one sitting. That’s when I knew I had nailed it. Maybe you’ve been there too — chasing a food memory that feels just out of reach. Let me tell you, when you finally get it right, it’s the best feeling in the world.
Why You’ll Love This Recipe
These aren’t your average snickerdoodles. The apple cider gives them this cozy, fall-in-your-mouth flavor that pairs perfectly with the classic cinnamon-sugar coating. And the icing? It’s the finishing touch that makes them feel special without being fussy. Here’s why this recipe works so well for real families:
- Simple Ingredients — You probably have most of these in your pantry right now. No chasing down fancy extracts or specialty flours.
- Budget-Friendly — Apple cider is affordable, especially during fall, and a little goes a long way in this recipe. Your wallet will thank you.
- Kid-Tested and Approved — My own children have vetted these cookies extensively. They disappear faster than I can bake them.
- Perfect for Fall Baking — Whether it’s a school bake sale, a Thanksgiving dessert table, or just a rainy Saturday afternoon, these cookies fit right in.
- Freezes Beautifully — Bake a double batch and stash some in the freezer. They thaw perfectly for last-minute treats or lunchbox surprises.
What makes these cookies different from other snickerdoodle recipes is the reduced apple cider. It adds a subtle tang and deep fruitiness that you just can’t get from extracts or juice. The texture is soft and chewy with slightly crisp edges — exactly what a good snickerdoodle should be. I’ve tested this recipe with regular butter and vegan butter, all-purpose flour and gluten-free blends, and it holds up beautifully every time. This isn’t just another cookie recipe; it’s the one you’ll come back to year after year. The kind that makes you close your eyes after the first bite and remember exactly why fall is the best season for baking.
What Ingredients You Will Need
This recipe uses simple, wholesome ingredients that work together to create that unforgettable apple cider flavor. Most of these are pantry staples, which makes this an easy last-minute baking project. I’ve tested several variations, so I’ll share what works best and what you can swap if needed.
For the Cookies
- 1 cup unsalted butter, softened — I prefer Land O’Lakes for consistent results. Salted butter works too, just reduce the added salt to ¼ teaspoon.
- 1 cup granulated sugar — Regular white sugar gives the best texture. Coconut sugar works but makes the cookies darker and slightly less sweet.
- ½ cup packed light brown sugar — Adds moisture and a hint of molasses that complements the apple cider. Dark brown sugar works too, but the flavor will be richer.
- 2 large eggs, room temperature — Cold eggs can make the dough stiff. Let them sit on the counter for 30 minutes before starting.
- 2 teaspoons vanilla extract — Pure vanilla makes a difference here. Imitation works in a pinch, but the flavor won’t be as warm and rounded.
- ½ cup apple cider, reduced to ¼ cup — This is the magic step. Simmer the cider on the stove until it thickens and concentrates. Don’t skip this.
- 3 cups all-purpose flour — Spoon and level your flour for accurate measuring. Scooping directly can add too much flour and make dry cookies.
- 1 teaspoon baking soda — Check the expiration date! Old baking soda leads to flat cookies.
- ½ teaspoon baking powder — Adds extra lift for a softer texture.
- ½ teaspoon salt — Balances the sweetness and enhances the apple flavor.
- 2 teaspoons ground cinnamon — I use McCormick for consistent quality. Fresh cinnamon makes a noticeable difference.
- ½ teaspoon ground nutmeg — Freshly grated is amazing, but pre-ground works perfectly fine.
- ¼ teaspoon ground cloves — Optional, but adds that classic apple pie spice warmth.
For the Cinnamon Sugar Coating
- ¼ cup granulated sugar
- 2 teaspoons ground cinnamon
For the Apple Cider Icing
- 1 cup powdered sugar
- 2 tablespoons apple cider, reduced to 1 tablespoon — You can use the same reduced cider from the cookie step.
- ½ teaspoon vanilla extract
- 1-2 tablespoons milk — Whole milk gives the creamiest texture. Almond or oat milk work for dairy-free.
A quick note on apple cider: look for fresh, unfiltered cider in the refrigerated section of your grocery store. It has more flavor than shelf-stable versions. If you can’t find cider, use a good quality apple juice and reduce it the same way. The flavor won’t be quite as complex, but it’ll still be delicious. I’ve also made these with hard apple cider in a pinch — just simmer it longer to cook off the alcohol. The result was surprisingly good, though probably not suitable for the kids’ lunchboxes!
Equipment Needed
You don’t need fancy equipment for these cookies, which is one of the reasons I love this recipe. Here’s what you’ll need:
- Large mixing bowls — At least two, one for dry ingredients and one for wet. I use glass or stainless steel.
- Electric mixer — A stand mixer with paddle attachment is ideal, but a hand mixer works perfectly. You can even mix by hand if your butter is very soft.
- Small saucepan — For reducing the apple cider. Any small pot will do.
- Baking sheets — I recommend rimmed baking sheets for even baking. My go-to is Nordic Ware.
- Parchment paper or silicone baking mats — Silpat mats are worth the investment. They prevent sticking and promote even browning.
- Cookie scoop — A 1.5-tablespoon scoop makes uniform cookies. If you don’t have one, use two spoons to portion the dough.
- Wire cooling rack — Essential for getting that icing to set properly. Stackable racks save space.
- Whisk — For combining the icing ingredients without lumps.
If you don’t have a cookie scoop, don’t worry. I used a regular tablespoon for years before I finally bought one. The cookies might be slightly different sizes, but they’ll taste the same. And if you don’t have parchment paper, lightly greased baking sheets work fine — just watch the bottoms to make sure they don’t over-brown.
Preparation Method
Let’s get baking! I’ve broken this down into clear steps with all the little details I’ve learned from making these cookies dozens of times.
Step 1: Reduce the Apple Cider
Pour ½ cup of apple cider into a small saucepan. Bring it to a simmer over medium heat, then reduce the heat to low. Let it bubble gently for about 10-12 minutes, stirring occasionally, until it reduces to ¼ cup. It should look syrupy and smell intensely of apples. Watch it carefully toward the end — it can burn quickly. Remove from heat and let it cool completely. I usually do this first so it’s cool by the time I need it.
Step 2: Preheat and Prep
Preheat your oven to 350°F (175°C). Line two baking sheets with parchment paper or silicone mats. In a small bowl, mix together the ¼ cup sugar and 2 teaspoons cinnamon for the coating. Set aside.
Step 3: Cream the Butter and Sugars
In a large mixing bowl, beat the softened butter, granulated sugar, and brown sugar together until light and fluffy. This takes about 3-4 minutes with an electric mixer on medium speed. Scrape down the sides of the bowl halfway through. The mixture should look pale and airy — that’s how you know you’ve incorporated enough air for soft cookies.
Step 4: Add Wet Ingredients
Beat in the eggs one at a time, mixing well after each addition. Add the vanilla extract and the cooled reduced apple cider. Mix until just combined. The batter might look slightly separated at this point — don’t panic, that’s normal. The flour will bring it all together.
Step 5: Combine Dry Ingredients
In a separate bowl, whisk together the flour, baking soda, baking powder, salt, cinnamon, nutmeg, and cloves. Make sure there are no lumps. Gradually add the dry ingredients to the wet mixture, mixing on low speed until just combined. Overmixing at this stage will make the cookies tough. Stop when you can still see a few streaks of flour, then finish mixing by hand with a spatula.
Step 6: Chill the Dough
This step is crucial. Cover the bowl with plastic wrap and refrigerate the dough for at least 30 minutes. Chilling prevents the cookies from spreading too much and deepens the flavors. I’ve made the mistake of skipping this step — the cookies came out flat and greasy. Trust me on this one. You can chill the dough for up to 24 hours if you want to prep ahead.
Step 7: Shape and Coat
Scoop rounded tablespoons of dough (about 1.5 tablespoons each) and roll them into balls. Roll each ball in the cinnamon-sugar mixture until completely coated. Place them on the prepared baking sheets about 2 inches apart. They will spread, so give them room.
Step 8: Bake
Bake for 10-12 minutes, or until the edges are set and lightly golden. The centers will look slightly soft and puffy — that’s perfect. They will continue to set as they cool. If you overbake them, they’ll be dry. I usually start checking at 10 minutes. Let the cookies cool on the baking sheet for 5 minutes, then transfer them to a wire rack to cool completely.
Step 9: Make the Icing
Whisk together the powdered sugar, reduced apple cider, vanilla extract, and 1 tablespoon of milk. Add more milk, one teaspoon at a time, until the icing is thin enough to drizzle but thick enough to hold its shape. It should fall off the whisk in a smooth ribbon.
Step 10: Ice the Cookies
Once the cookies are completely cool, drizzle the icing over them using a spoon or a piping bag with a small tip. I use a zip-top bag with the corner snipped off — it’s easier and less messy. Let the icing set for about 20 minutes before serving or storing.
Cooking Tips & Techniques
After twelve batches, I’ve learned a few things the hard way. Here are my best tips for perfect cookies every time:
Don’t skip reducing the cider. I know it’s an extra step, but it’s non-negotiable. Full-strength cider adds too much liquid and not enough flavor. The reduction process concentrates the apple taste and removes excess water that would make your cookies cakey. I learned this lesson when my first batch came out tasting like apple-scented cardboard.
Temperature matters. Your butter should be soft but not melted. If you press your finger into it, it should leave an indent without sinking in. If your butter is too cold, the dough won’t cream properly. Too warm, and the cookies will spread into flat discs. I’ve made both mistakes, and neither is pretty.
Use a cookie scoop for uniformity. Even-sized cookies bake evenly. If some are bigger than others, the small ones will burn while the big ones are still raw. A scoop also makes the process faster and less messy. My kids love helping with this part — they think it’s like making snowballs.
Watch the baking time closely. Ovens vary, so start checking at 9 minutes. The cookies are done when the edges are set and the centers look slightly underdone. They will continue baking on the hot sheet after you take them out. I once left a batch in for 13 minutes because I got distracted by a phone call. They were edible but definitely not my finest work.
Cool completely before icing. If you drizzle the icing on warm cookies, it will melt into a puddle and soak in. The cookies will still taste good, but they won’t have that pretty drizzle look. Patience is hard, I know, but it pays off.
Variations & Adaptations
One of the things I love about this recipe is how versatile it is. Here are some ways to make it your own:
Gluten-Free Version
Substitute the all-purpose flour with a 1:1 gluten-free baking blend. I’ve had great results with King Arthur Measure for Measure. Add 1 teaspoon of xanthan gum if your blend doesn’t include it. The texture will be slightly more tender, but the flavor is spot on.
Dairy-Free Option
Use vegan butter sticks (not tub margarine) and substitute the milk in the icing with almond or oat milk. I like Miyoko’s for baking. The cookies won’t be quite as rich, but they’re still delicious. My dairy-sensitive niece devours these.
Spiced-Up Version
Add ½ teaspoon of ground ginger and a pinch of cardamom to the dry ingredients. This gives the cookies a chai-inspired flavor that’s amazing with the apple cider. I made this version for a fall brunch and got requests for the recipe.
Apple Cider Caramel Drizzle
Instead of the powdered sugar icing, make a quick caramel sauce by melting 10 soft caramel candies with 2 tablespoons of apple cider. Drizzle over the cooled cookies. It’s extra indulgent and perfect for holiday cookie platters.
Pumpkin Spice Twist
Replace the cinnamon, nutmeg, and cloves with 2 teaspoons of pumpkin pie spice. Add ¼ cup of pumpkin puree to the wet ingredients and reduce the flour by 2 tablespoons. The cookies will be slightly cakier but packed with fall flavor.
Serving & Storage Suggestions
These cookies are best served at room temperature with a cold glass of milk or a warm cup of apple cider. The icing should be set but still soft — that contrast between the crisp cookie edge and the creamy icing is pure perfection. For a pretty presentation, arrange them on a rustic wooden board or a white platter. They look beautiful on a dessert table alongside other fall treats.
For storage, keep the cookies in an airtight container at room temperature for up to 5 days. Place a piece of bread in the container to keep them soft — the cookies will absorb the moisture and stay chewy. Change the bread every other day. I learned this trick from my grandmother, and it works like magic.
These cookies freeze beautifully. Layer them between sheets of parchment paper in a freezer-safe container. They’ll keep for up to 3 months. To thaw, let them sit at room temperature for about 30 minutes. The icing might get a little sticky, but the flavor stays perfect. I always stash a batch in the freezer for unexpected guests or school bake sale emergencies.
If you’re making these ahead for a party, bake and freeze the cookies without the icing. Ice them the day you plan to serve them. The icing stays prettier that way, and the cookies taste freshly baked. I did this for Thanksgiving last year, and everyone thought I had spent all morning baking.
Nutritional Information & Benefits
Let’s be real — these are cookies, not health food. But they do have some redeeming qualities. Here’s the estimated nutritional breakdown per cookie (based on 36 cookies):
- Calories: 145
- Total Fat: 6g
- Saturated Fat: 3.5g
- Carbohydrates: 22g
- Sugar: 14g
- Protein: 2g
- Fiber: 0.5g
The apple cider provides a small amount of vitamin C and antioxidants, though most of the nutritional value comes from the comfort factor. If you’re looking to lighten them up, you can reduce the sugar in the dough to ¾ cup and use a sugar substitute for the coating. I’ve tried it with Swerve, and while the texture is slightly different, the flavor is still great.
These cookies are not gluten-free or dairy-free in their standard form, but the variations above offer alternatives. They do contain eggs and wheat, so keep that in mind for allergy considerations. As always, I believe in balance — a cookie now and then is part of a happy life. My family eats these as a treat, not a daily staple, and we enjoy every single bite.
Conclusion
These Kid-Approved Iced Apple Cider Snickerdoodle Cookies are more than just a recipe — they’re a little piece of fall happiness that you can recreate in your own kitchen. They remind me of that little bakery and Margaret’s warm smile, but they’ve also become their own tradition in my home. My kids now associate the smell of apple cider simmering on the stove with cookie-baking afternoons, and honestly, that’s worth more than any bakery could offer.
I hope you’ll give these cookies a try, whether you’re chasing a food memory like I was or just looking for a new fall favorite. Don’t be afraid to make them your own — swap the spices, try a different icing, or double the batch because trust me, they’ll disappear fast. When you make them, I’d love to hear how they turned out. Drop a comment below and let me know if your family loved them as much as mine does. Happy baking, friends!
Frequently Asked Questions
Can I use apple juice instead of apple cider?
Yes, you can. The flavor won’t be as rich or complex, but apple juice works in a pinch. Make sure to reduce it the same way to concentrate the flavor. I’ve done this when I ran out of cider, and the cookies were still delicious — just a little milder.
Why did my cookies spread too much?
This usually happens for one of three reasons: the dough wasn’t chilled long enough, the butter was too warm, or the baking sheet was too hot. Make sure to chill the dough for at least 30 minutes, and always use cool baking sheets. If your first batch spreads, pop the remaining dough back in the fridge while the first batch bakes.
Can I make the dough ahead of time?
Absolutely! The dough can be refrigerated for up to 24 hours or frozen for up to 3 months. If freezing, shape the dough into balls and freeze them on a baking sheet before transferring to a freezer bag. Bake from frozen, adding 2-3 minutes to the baking time. I always keep a stash in my freezer for cookie emergencies.
How do I get the icing to set properly?
Make sure the cookies are completely cool before icing. The icing should be thick enough to hold its shape — if it’s too thin, add more powdered sugar. Let the iced cookies sit at room temperature for about 20 minutes. If you’re in a humid climate, they might take a little longer to set.
Can I double this recipe?
Yes, this recipe doubles beautifully. Just make sure your mixer bowl is large enough to handle the increased volume. You might need to bake in batches, but the dough holds up well in the fridge. I regularly make double batches for holiday gift-giving and bake sales.
Pin This Recipe!
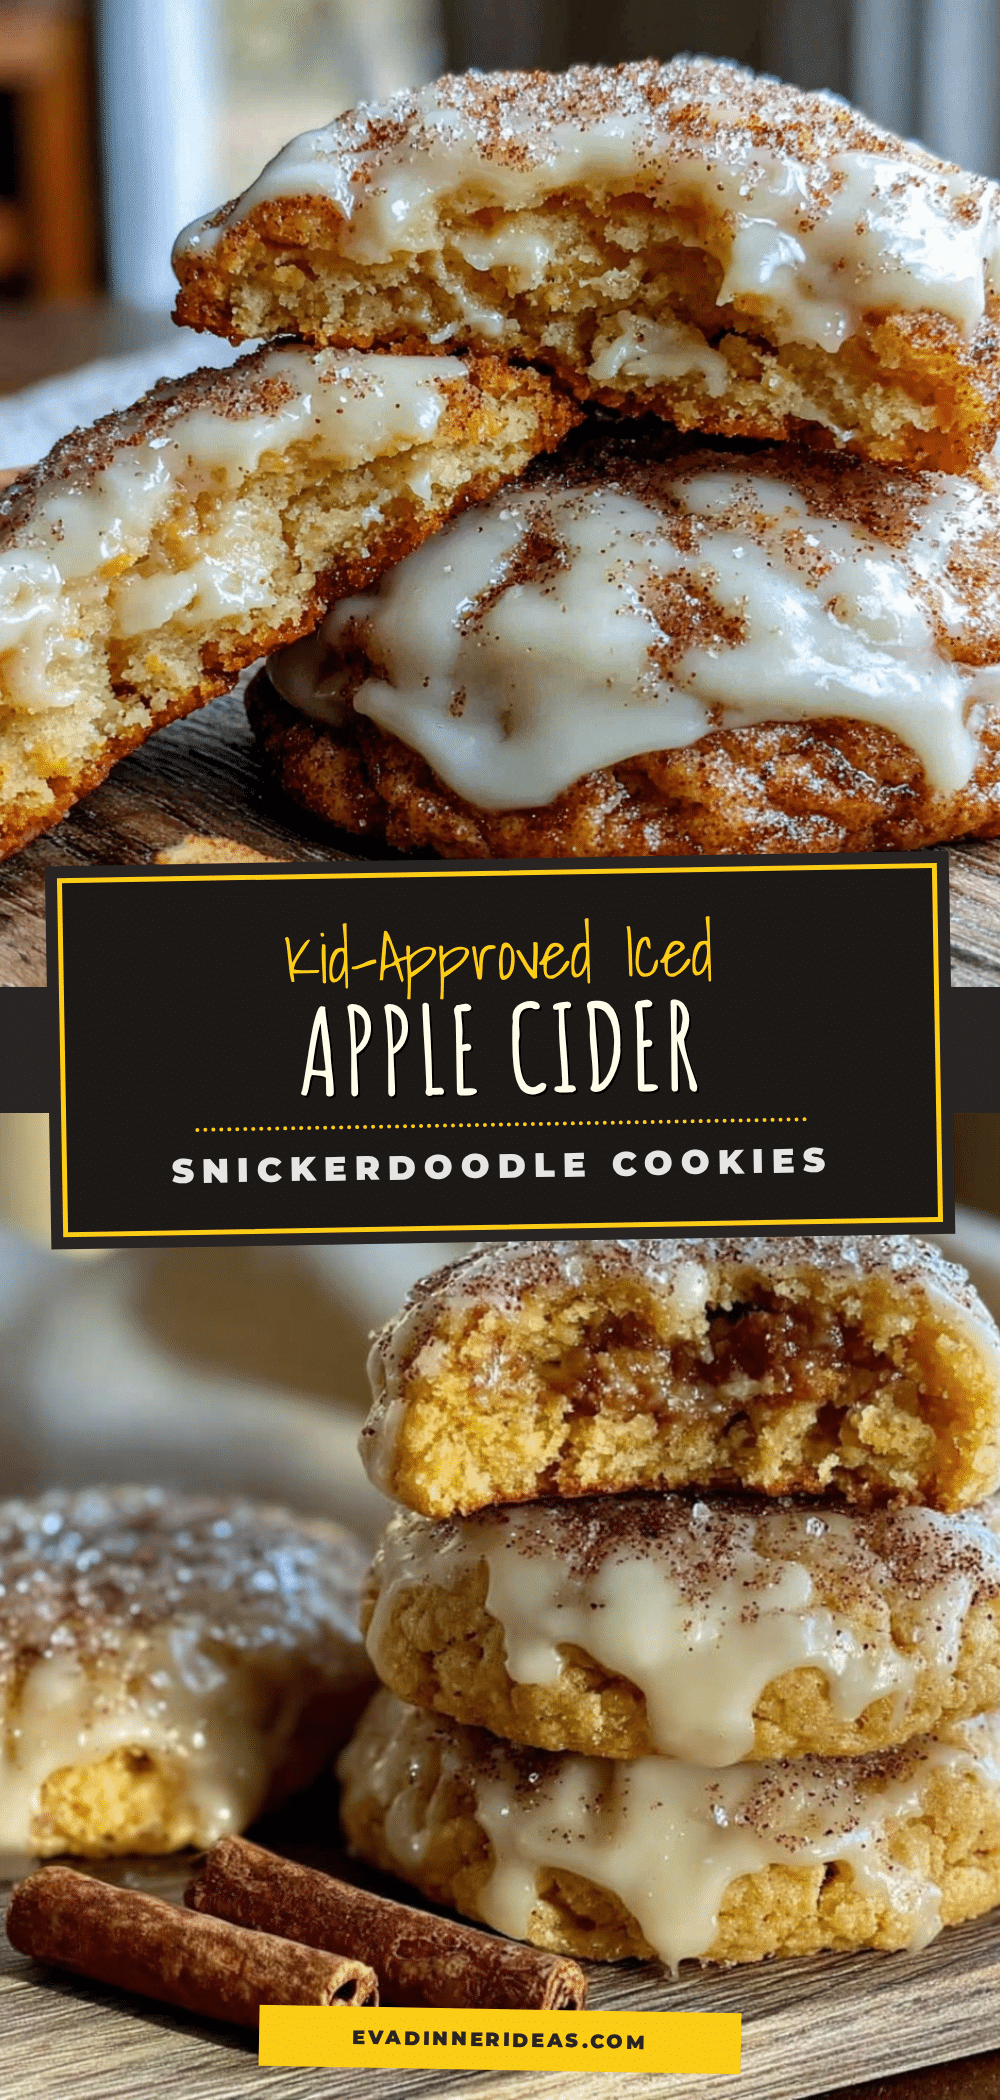
Best Easy Iced Apple Cider Snickerdoodle Cookies Recipe
These soft and chewy snickerdoodle cookies are infused with concentrated apple cider for a cozy fall flavor, topped with a simple apple cider icing. A kid-approved treat that’s perfect for autumn baking.
- Prep Time: 30 minutes
- Cook Time: 12 minutes
- Total Time: 1 hour 12 minutes
- Yield: 36 cookies 1x
- Category: Dessert
- Cuisine: American
Ingredients
- 1 cup unsalted butter, softened
- 1 cup granulated sugar
- ½ cup packed light brown sugar
- 2 large eggs, room temperature
- 2 teaspoons vanilla extract
- ½ cup apple cider, reduced to ¼ cup
- 3 cups all-purpose flour
- 1 teaspoon baking soda
- ½ teaspoon baking powder
- ½ teaspoon salt
- 2 teaspoons ground cinnamon
- ½ teaspoon ground nutmeg
- ¼ teaspoon ground cloves
- ¼ cup granulated sugar (for coating)
- 2 teaspoons ground cinnamon (for coating)
- 1 cup powdered sugar (for icing)
- 2 tablespoons apple cider, reduced to 1 tablespoon (for icing)
- ½ teaspoon vanilla extract (for icing)
- 1–2 tablespoons milk (for icing)
Instructions
- Reduce the apple cider: Pour ½ cup apple cider into a small saucepan. Bring to a simmer over medium heat, then reduce heat to low. Let bubble gently for 10-12 minutes, stirring occasionally, until reduced to ¼ cup. Remove from heat and let cool completely.
- Preheat oven to 350°F (175°C). Line two baking sheets with parchment paper or silicone mats. In a small bowl, mix together ¼ cup sugar and 2 teaspoons cinnamon for the coating. Set aside.
- In a large mixing bowl, beat softened butter, granulated sugar, and brown sugar together until light and fluffy, about 3-4 minutes on medium speed. Scrape down sides halfway through.
- Beat in eggs one at a time, mixing well after each. Add vanilla extract and cooled reduced apple cider. Mix until just combined.
- In a separate bowl, whisk together flour, baking soda, baking powder, salt, cinnamon, nutmeg, and cloves. Gradually add dry ingredients to wet mixture, mixing on low until just combined. Finish mixing by hand with a spatula.
- Cover bowl with plastic wrap and refrigerate dough for at least 30 minutes (up to 24 hours).
- Scoop rounded tablespoons of dough (about 1.5 tablespoons each) and roll into balls. Roll each ball in cinnamon-sugar mixture until completely coated. Place on prepared baking sheets about 2 inches apart.
- Bake for 10-12 minutes, until edges are set and lightly golden. Centers will look slightly soft. Let cool on baking sheet for 5 minutes, then transfer to wire rack to cool completely.
- Make the icing: Whisk together powdered sugar, reduced apple cider, vanilla extract, and 1 tablespoon milk. Add more milk, 1 teaspoon at a time, until icing is thin enough to drizzle but thick enough to hold its shape.
- Once cookies are completely cool, drizzle icing over them using a spoon or piping bag. Let icing set for about 20 minutes before serving or storing.
Notes
Don’t skip reducing the apple cider—it concentrates the flavor and removes excess liquid. Chill the dough for at least 30 minutes to prevent spreading. Cool cookies completely before icing to prevent melting. For softer cookies, store with a piece of bread in the container.
Nutrition
- Serving Size: 1 cookie
- Calories: 145
- Sugar: 14
- Sodium: 95
- Fat: 6
- Saturated Fat: 3.5
- Carbohydrates: 22
- Fiber: 0.5
- Protein: 2
Keywords: apple cider, snickerdoodle, cookies, fall baking, kid-approved, iced cookies